Archive for the ‘qrp’ Category
 K5P on QRP
I will be looking to work VP8STI on QRP. I need some band slots on QRO, but still need them in my QRP log for the first time.The pile-ups will need to die down a little before I jump in.
I like this logo, nothing against the SSB guys, but it only has a morse key on it:-)
Get a taste of the RF coming and going
Elecraft CP1 - A tasty RF treat
 |
| Elecraft CP1 Kit |
Couple what?
Ah, so if your new to this like me you might be asking what does a coupler do? Well it sorta listens in on the signal going out (forward) and reflected (back) and is able to send an attenuated sample of the signal to other devices. It attenuates the sample by either 20db or 30db depending on how you build the kit.The 20db version is good for signals 25 watts and less so that's the way I built it. It was easy to build but my glue under the second toroid wasn't strong enough and you can see it popped up a bit. Also the Elecraft instructions had one confusing instruction concerning mounting the toroids. The instructions say "... When wound and mounted correctly, the enamel wire will emerge from the top of each core and connect to the top hole at each inductor location". Well when you wind a toroid only one of the wires can "emerge from the top of the core" while the other comes from underneath. This confused me for a minute until I finally just went on with the install. Anyway, if you're a stickler for following instructions that one may cause a moment of pause...
The switches for the two outputs forward, reflected (J3, J4) are in the up position when they are not in use. When the switch(es) are in the up position the 50 ohm 3 watt resistor(s) take the place of the switched off output. Don't disconnect an output and leave the switch in the bottom position. I'm not sure what will happen... maybe nothing, probably a bit of a mismatch on the SWR, or maybe it could be like "Crossing the streams" in Ghostbusters. Your mileage may vary.
My uses for a coupler
My old Ten-Tec Century 21 has an analog VFO dial that gives me a good guess at where I'm at but I use an external frequency counter to give me more information. I had it sorta rigged my frequency counter to sample the signal from RF leaked on the shield but I didn't really know how much power I was sending to the counter so this coupler allows it, as well as other devices, to be safely connected to the transmitted signal.I also plan to use the coupler for IMD tests using a oscilloscope and other projects. It's handy device to have in your collection.
My confusion
But in the end - It works
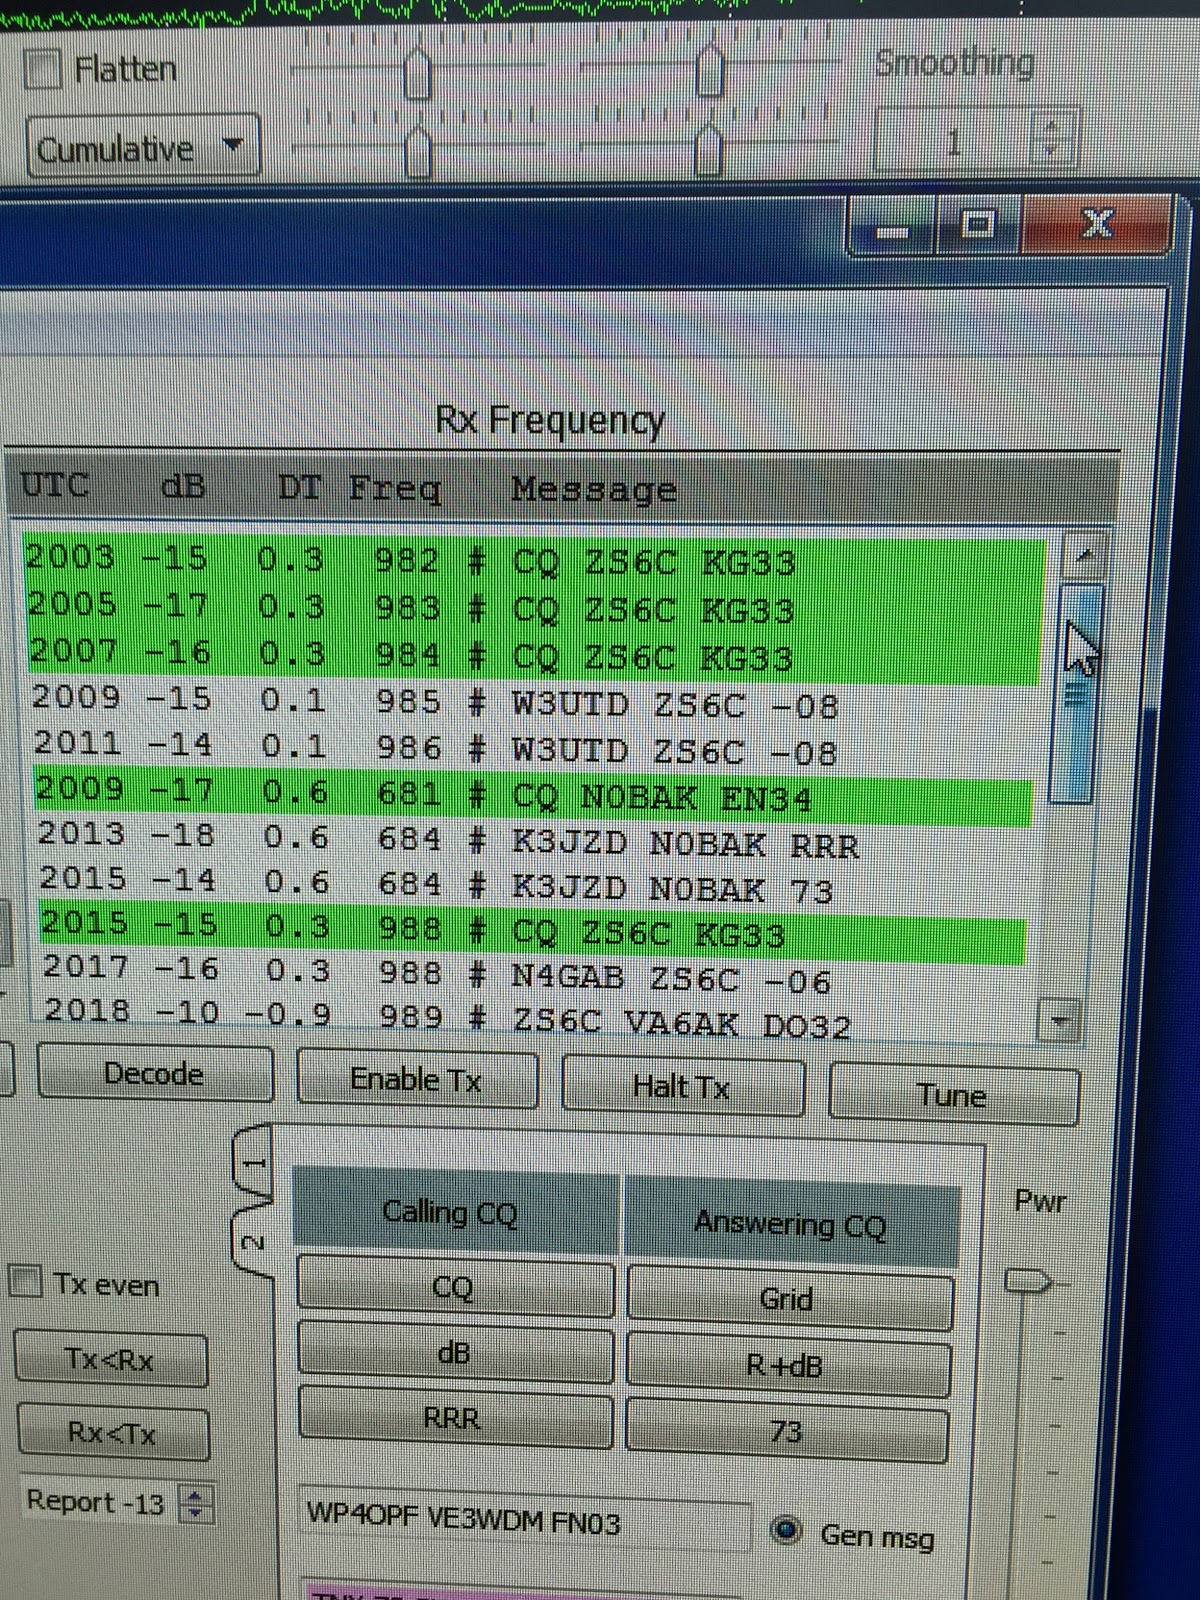
An afternoon with JT-65HF
SOTA Rig Reconfiguration
Since I've retired, I've now have the opportunity to have continuous thoughts about things like this without the interference of work or schedule related thoughts, it's great. Consequently, I've had some time to give my rig configuration some thought. What I have done is not totally unique as I have gotten ideas from others and mixed them into my own concoction. I have the 3 Band MTR, with 17m, 20m and 30m. I chose these particular bands so that I would have flexibility on contest weekends. So below is my latest, not my last configuration.
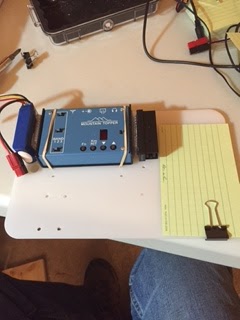
As you can see I am using a backpacking cutting board as the foundation of the setup. I used a product called Scotch Extreme fastener to attache the LIPO battery and the Pico Paddle, it's sort of like Velcro but it snaps into place and is 10x stronger than velcro. I simply drilled holes (this board has seen several iterations as you can see the many holes), and used rubber bands to hold the radio in place. I may decide to use the fastener instead. The "Rite in the Rain" card is for logging. A nice neat package to pull out of the pack, hook up the antenna, plug in the power and off I go.
There are however a couple of further improvements.
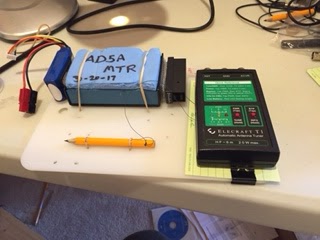
You can see I've added a tethered pencil for logging and an optional Elecraft T1 tuner, if you have a non-resonant wire. I can fasten it to the board with either rubber bands or the Scotch fastener.
I've also added a protective cover for the MTR. It's made from sleeping pad foam and protects the face and switches on the MTR when getting jostled in your pack. On the backside of the cover I've cut out recesses where the switches are and added little magnets that are attracted to the four screws on the case. Thanks to Fred, KT5X for this idea.
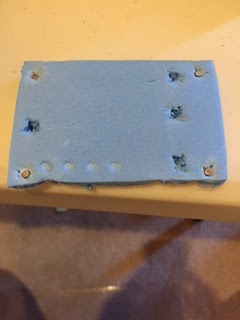
So there you have it, a light, three band, package that is compact, light and ready to go. So until I reconfigure again.
SOTA Rig Reconfiguration
Since I've retired, I've now have the opportunity to have continuous thoughts about things like this without the interference of work or schedule related thoughts, it's great. Consequently, I've had some time to give my rig configuration some thought. What I have done is not totally unique as I have gotten ideas from others and mixed them into my own concoction. I have the 3 Band MTR, with 17m, 20m and 30m. I chose these particular bands so that I would have flexibility on contest weekends. So below is my latest, not my last configuration.
As you can see I am using a backpacking cutting board as the foundation of the setup. I used a product called Scotch Extreme fastener to attache the LIPO battery and the Pico Paddle, it's sort of like Velcro but it snaps into place and is 10x stronger than velcro. I simply drilled holes (this board has seen several iterations as you can see the many holes), and used rubber bands to hold the radio in place. I may decide to use the fastener instead. The "Rite in the Rain" card is for logging. A nice neat package to pull out of the pack, hook up the antenna, plug in the power and off I go.
There are however a couple of further improvements.
You can see I've added a tethered pencil for logging and an optional Elecraft T1 tuner, if you have a non-resonant wire. I can fasten it to the board with either rubber bands or the Scotch fastener.
I've also added a protective cover for the MTR. It's made from sleeping pad foam and protects the face and switches on the MTR when getting jostled in your pack. On the backside of the cover I've cut out recesses where the switches are and added little magnets that are attracted to the four screws on the case. Thanks to Fred, KT5X for this idea.
So there you have it, a light, three band, package that is compact, light and ready to go. So until I reconfigure again.
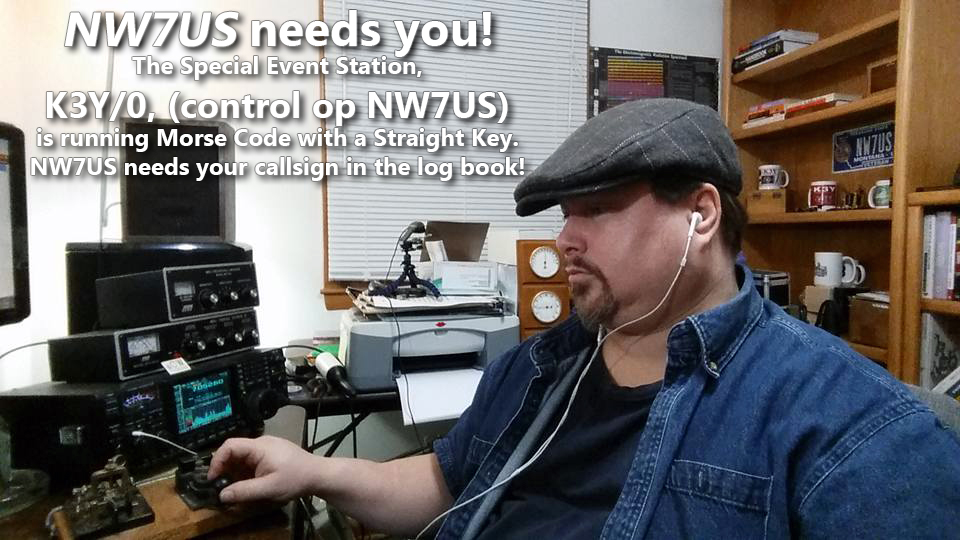
I Need You in My Log! SKCC K3Y/0 Special Event (January 2016)
I need your help!
Come meet me on the shortwave (HF) ham bands for the Morse code (CW mode) special event, the Straight Key Century Club (SKCC) celebration, with special callsign, K3Y. During the shifts (time slots) listed below, I am the control operator as K3Y/0.
 I need you to make a contact with me.
This special event takes place every year during January. We celebrate the legacy of Morse code, and promote Morse code and manual creation of the code by any non-electronic (digital) device and method. Which means that we love mechanical bugs, straight keys, two ends of a wire, or any other manual device, if Morse code is generated. The Straight Key Century Club is a free membership group. The link to their website is below.
I need you to make a contact with me, during my scheduled times, listed below.
NOTE: YOU DO NOT NEED TO BE A MEMBER OF THE (free) SKCC GROUP. To get into my logbook, you meet me on my frequency, and use Morse code to communicate with me. It is painless. If you must, you can use computer-generated Morse code. Or, you can tap it out on any Morse code signalling device, like a bug, a set of paddles, or a straight key; whatever you choose to make Morse code emanate from your HF transmitter.
HOWEVER: For those of you who want to get fully immersed in the spirit of this event, you are invited to use a straight key. And, as a bonus, you may and can join the SKCC group for FREE. Then, you would have your own SKCC number. That’d be cool; we SKCC members use that number in our exchange during our QSO information exchange. But, you don’t need that. Since it is free, why not?
What is needed is simply you, getting on the shortwave band, finding me, hearing me, and responding to me with Morse code. In other words, we need to have a QSO using Morse code. I am not a fast operator, so no problem if you are not very fast. I’ll meet your speed.
In any case, here are some of the times I will be on the air as K3Y/0… please dust off your straight key, bug, paddles, whatever, and make a QSO with me. Thanks!
My current schedule:
UTC Start/End (remember, these are NOT your local times, but are the UTC (GMT) times!)
(revised times, as of edit date)
 00:00 - 02:59 19-Jan-16
 00:00 - 02:59 20-Jan-16
 00:00 - 02:59 21-Jan-16
 00:00 - 02:59 22-Jan-16
 00:00 - 05:59 23-Jan-16
 14:00 - 18:59 23-Jan-16
 20:00 - 21:59 23-Jan-16
 00:00 - 02:59 24-Jan-16
 14:00 - 18:59 24-Jan-16
 21:00 - 21:59 24-Jan-16
 00:00 - 02:59 25-Jan-16
 00:00 - 02:59 26-Jan-16
 00:00 - 02:59 27-Jan-16
 00:00 - 02:59 28-Jan-16
 00:00 - 02:59 29-Jan-16
 00:00 - 05:59 30-Jan-16
 13:00 - 18:59 30-Jan-16
 20:00 - 21:59 30-Jan-16
 00:00 - 03:59 31-Jan-16
 13:00 - 23:59 31-Jan-16
Now, what frequency will I be on?
To find out what frequency I am on:
Visit http://g.nw7us.us/sched4SKCC and look on the right side for my callsign, NW7US. I usually post my frequency of operation right after my call sign.
Typically, evening operation is 30m, then 40m, and then possibly 80m.
If you are trying to alert me to your presence, you may message me on my personal Facebook profile, under my “Tomas David Hood” profile messages, but I may not see that right away.
Here is the detail covering the K3Y operation and the SKCC group: http://skccgroup.com/k3y
73 de NW7US
dit dit
This was last year:
https://www.youtube.com/watch?v=UfRvITFpTb4
..
..
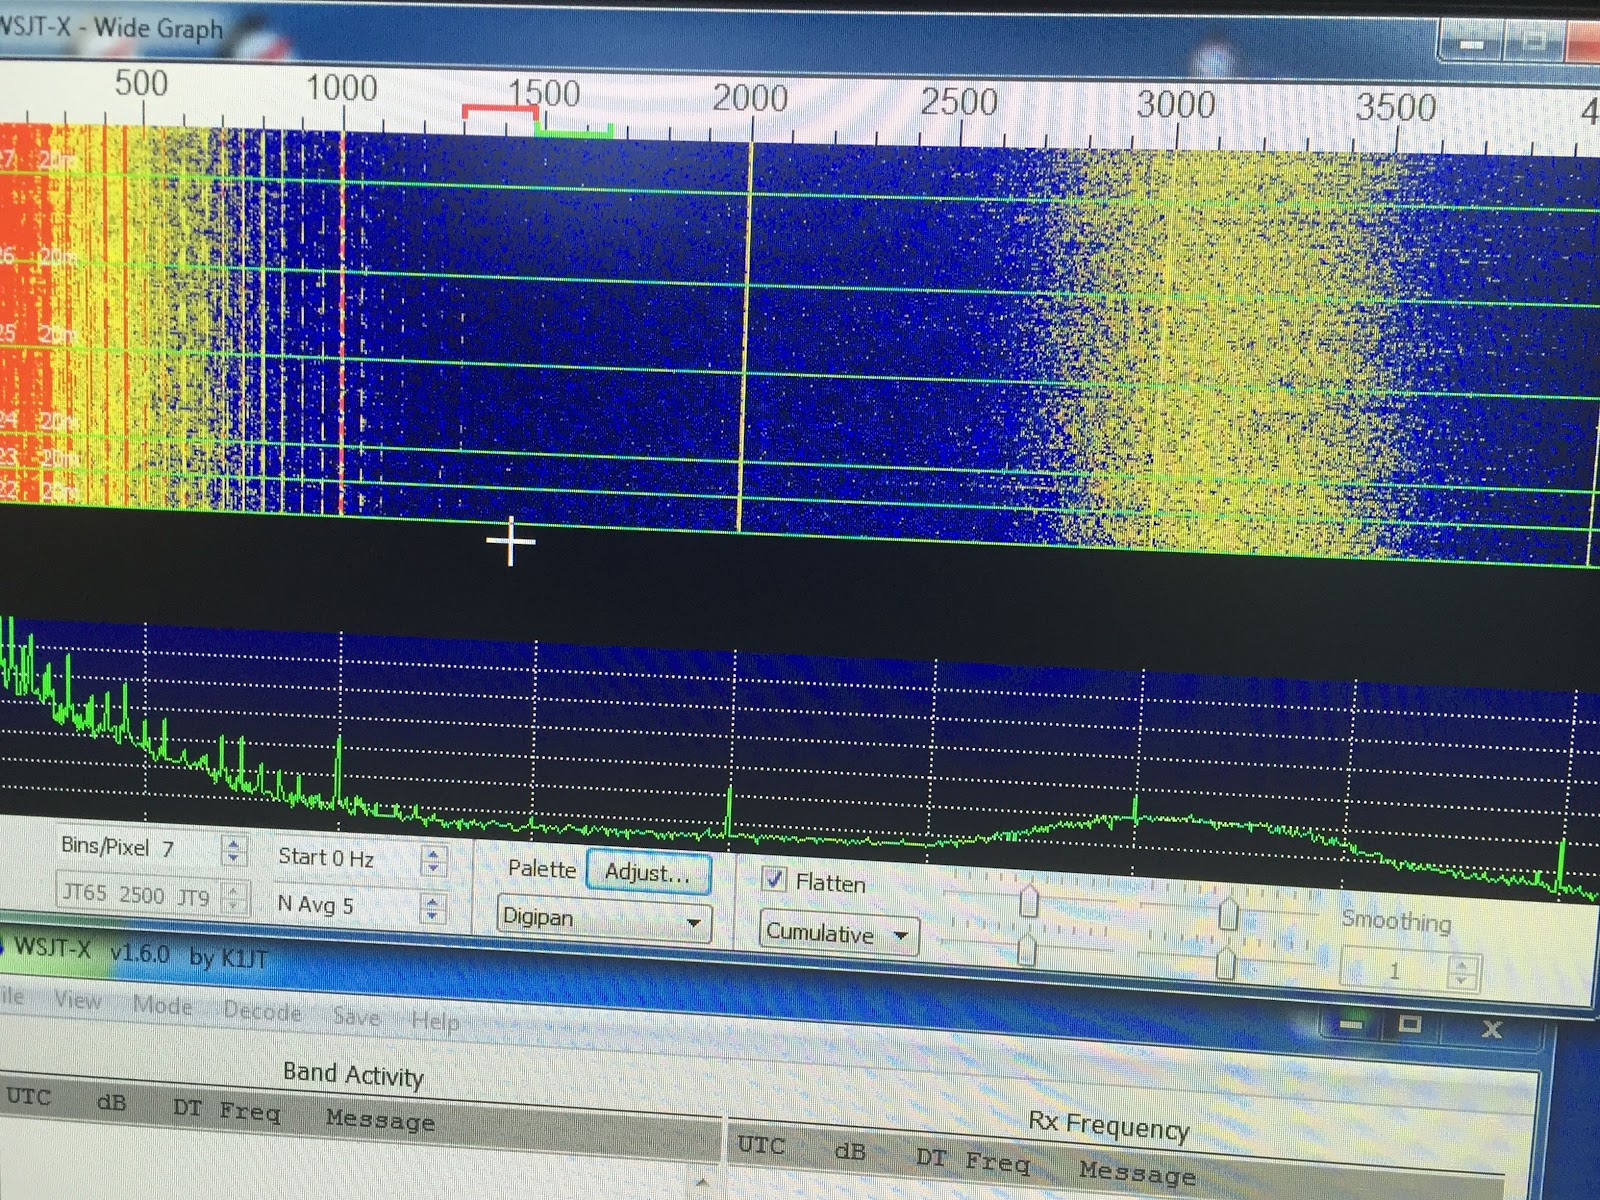
Needing some help with JT65-HF
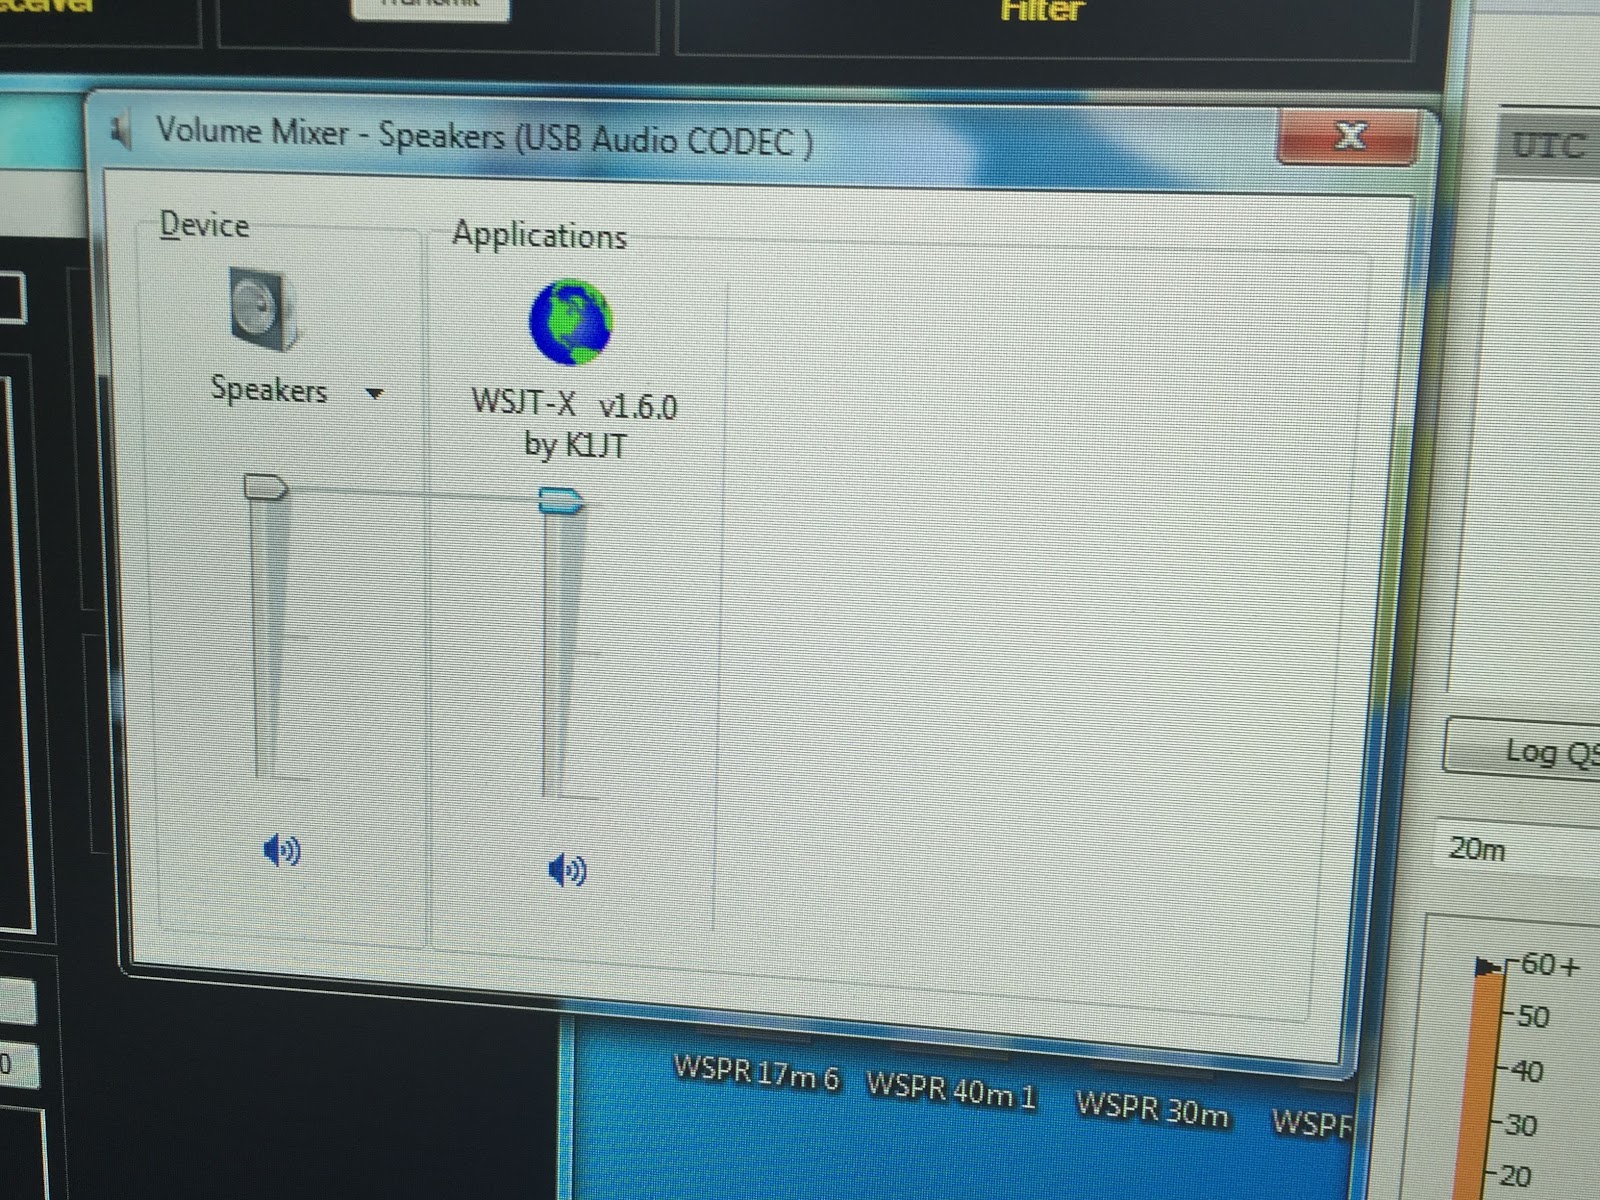 |
| Reset sound setting? |
 |
| PIC-1 |
 |
| PIC-3 |
 |
| PIC-2 |


