Posts Tagged ‘Products’
 PART2: Mod for Signalink USB so it can be used with 2 radios
 |
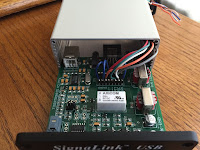
| The finished product |
Below are some of the options I came up with to see if I could get my Signalink USB to work with two different radios……
- Rewire the internals of the unit each time I switch radios, this was just not an option as it is time consuming and the unit I believe over time would not stand up to these continual wiring change outs.
- To purchase Signalinks plug and play boards, you simply plug in the board for the K3 or the KX3. This is for sure an option but again I was wanting to not take the Signalink apart each time I wanted to change out the radios.
- There is also the option of purchasing a second Singalink USB unit but this is very pricey for what I wanted to do.
- Try to figure out if it is possible to set up the internals so with the simple flip of a switch mounted on the outside of the unit I could change the internal wiring to make either the K3 or KX3 work. This was the option I decided to work on.
internal mod wiring
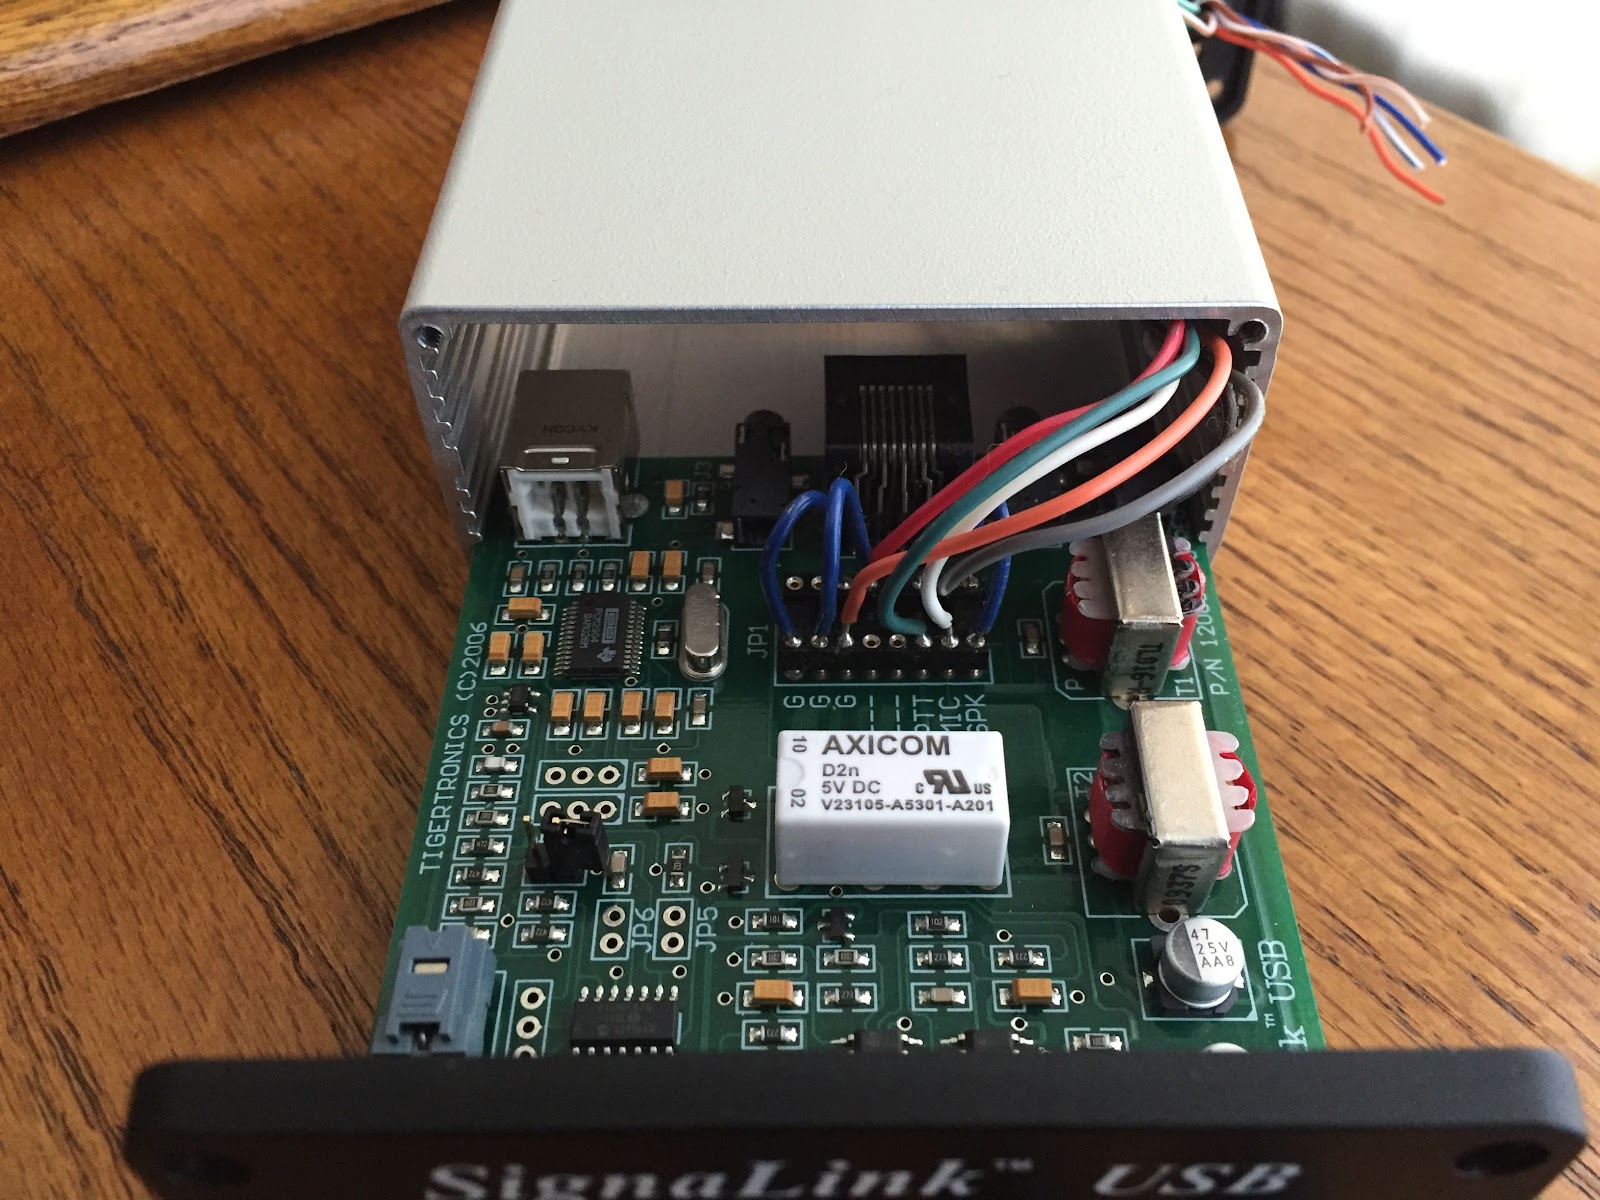
So settling on option 4 as my choice I set you to see if and how it could be done. I did an internet search because the way I look at it is why try to reinvent the wheel if someone else already has! My results turned up only 2 that I could find were the unit was being used for 2 radios. Both did not seem to suit my need. The first seemed the operator configured a device that allowed the use of two of the same radiosbut at different locations. Each radio could be controlled by the same Singnalink unit. The other site I found this op used 3 RJ45jacks in a separate box to do just what I wanted to do…BUT…..I was looking to not have yet another “box” I was ultimately looking for an “all in one” solution. I ended up drawing out many possible circuit diagrams and at one point almost finished wiring what I thought was the "solution". I then realized it just was not
going to work and had to hit the drawing board again. I finally came up with a workable plan that involved drilling only two holes in the back panel of the Signalink. I had to install a ON-NONE-ON mini switch and a hole for an RJ45 pigtail to be placed. Some of the things I ended up learning as I went along were:
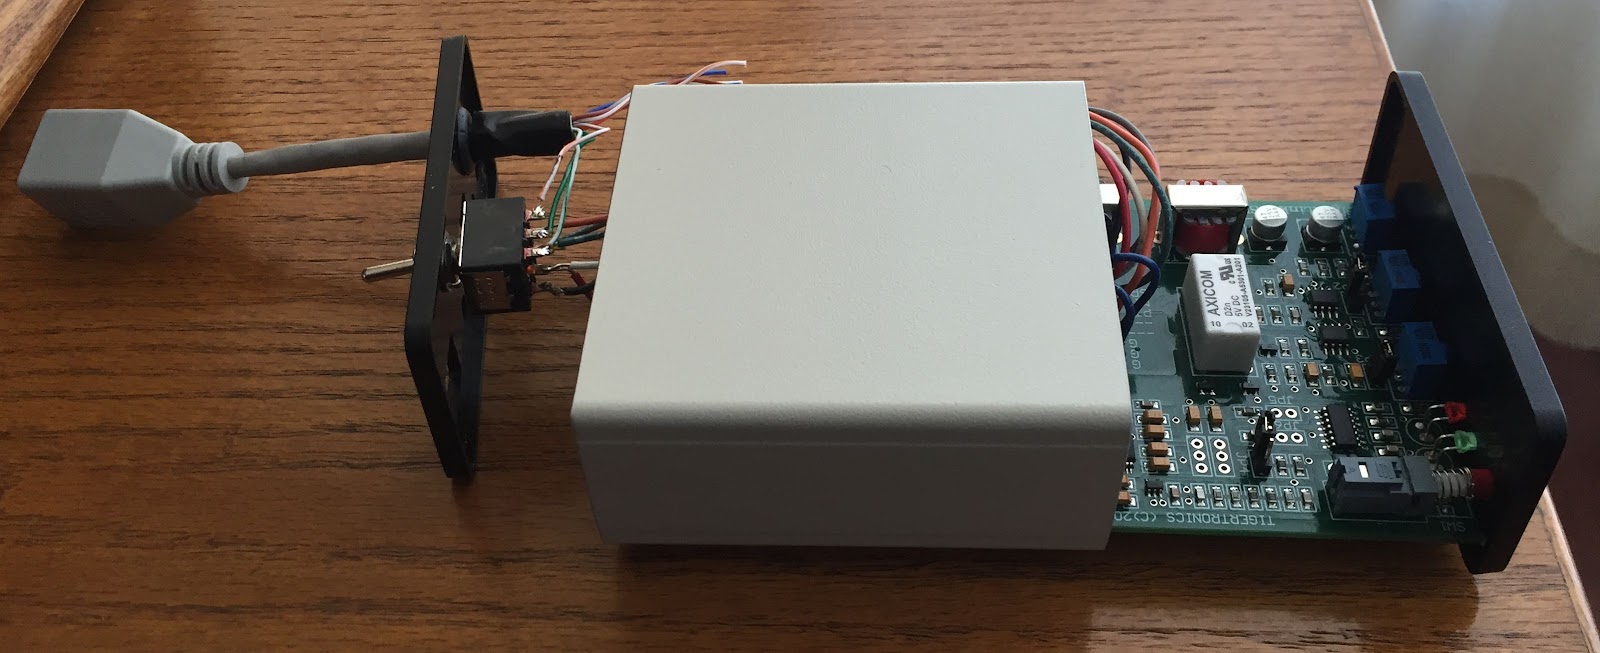 |
| One final check before assembly |
1. A long pigtail had to be made on the connections between new rear panel switch and the 8 pin DIN wiring. This allow the removal (if needed) of the circuit board.
2. I had to solder the wires into the 8 pin DIN they just did not stay in place and with the extended pigtail there was lots of movement in the wires as the covers were put in place, I didn't want any wires coming loose once assembled.
3. I ended up removing the pigtail and adding a rubber grommet as the plastic housing seem to have a sharp edge to it.
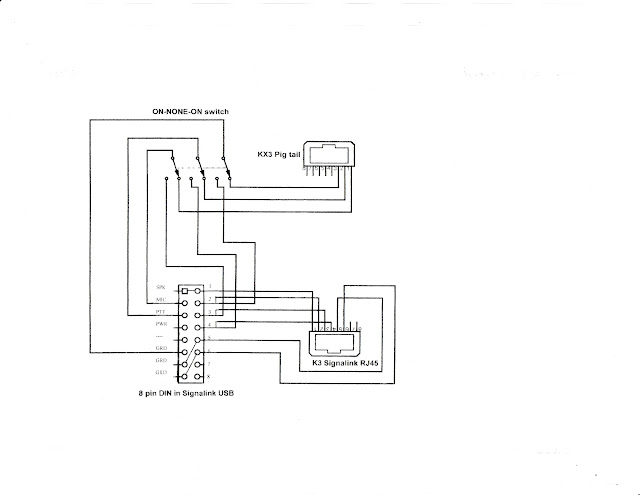
Below is my diagram for the mod, the "K3 Signalink RJ45" is the internal jack on the unit. The wiring shown in my diagram for this RJ45 is the wiring that is on the circuit board and does not need to be added. Also on the 8 pin DIN there are jumpers between Spk-1, GND-5 and GND-6. I have tried the unit both with my K3 and KX3 and it works great. The final thing I have to do is just label the rear switch.
3. I ended up removing the pigtail and adding a rubber grommet as the plastic housing seem to have a sharp edge to it.
Below is my diagram for the mod, the "K3 Signalink RJ45" is the internal jack on the unit. The wiring shown in my diagram for this RJ45 is the wiring that is on the circuit board and does not need to be added. Also on the 8 pin DIN there are jumpers between Spk-1, GND-5 and GND-6. I have tried the unit both with my K3 and KX3 and it works great. The final thing I have to do is just label the rear switch.

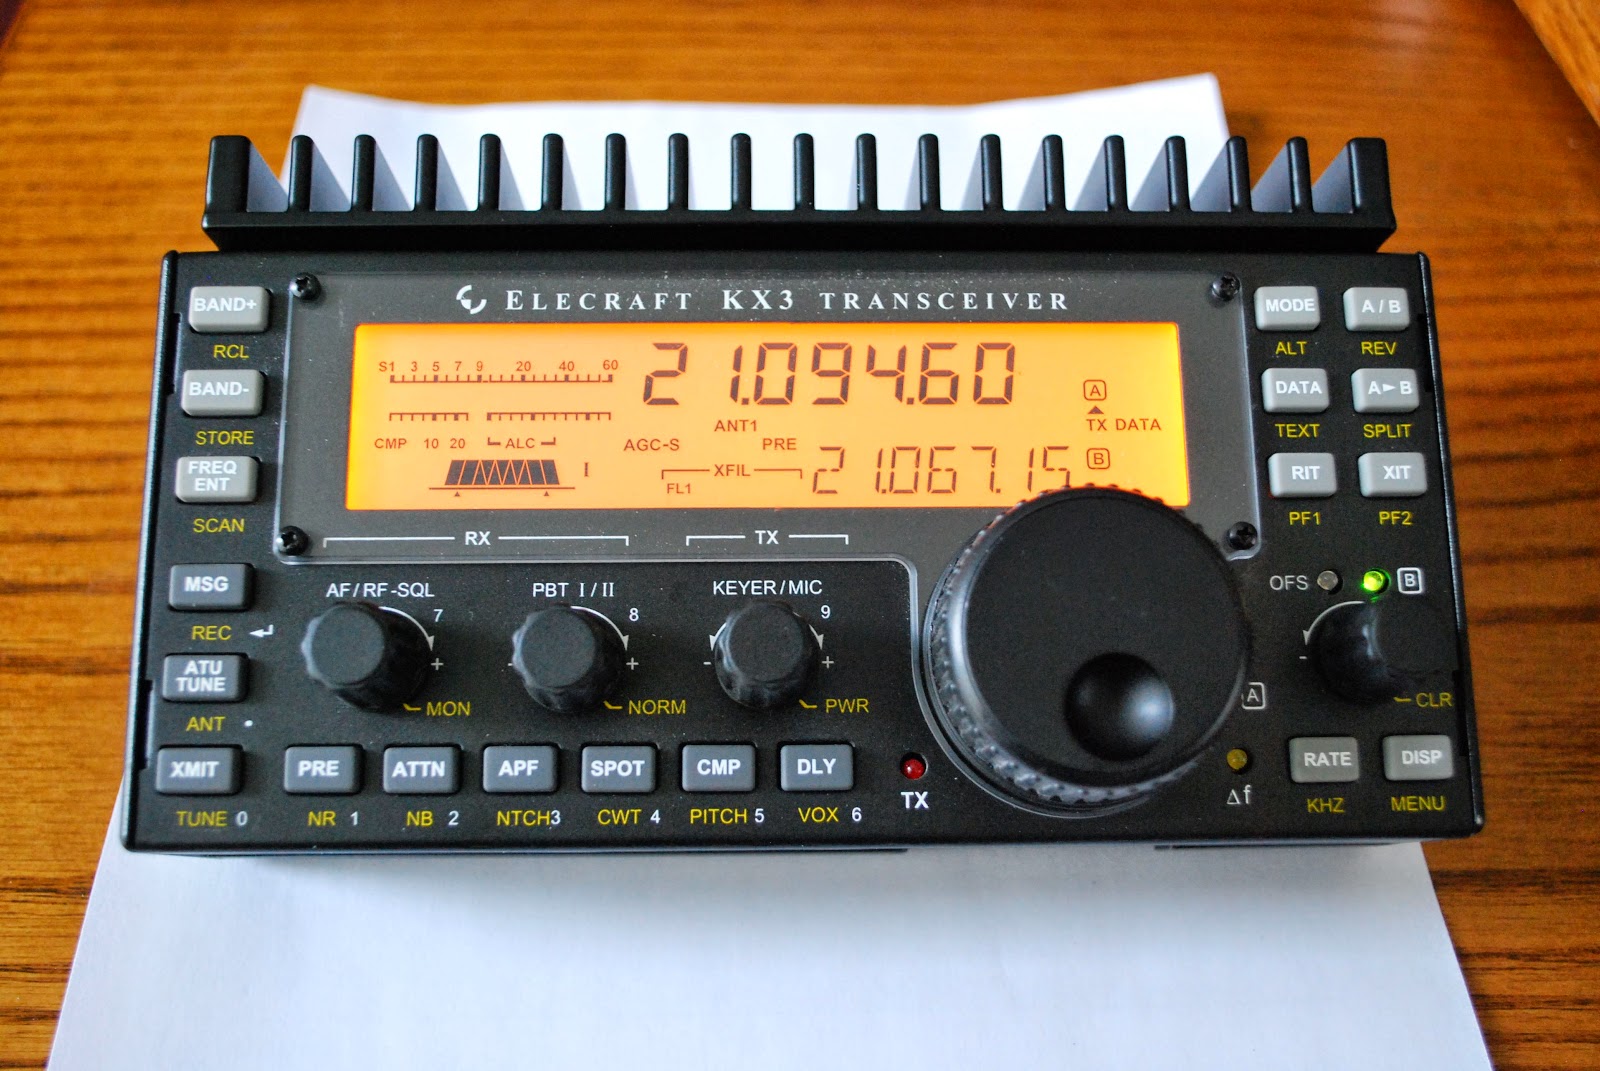
Out and about with my KX3 radio
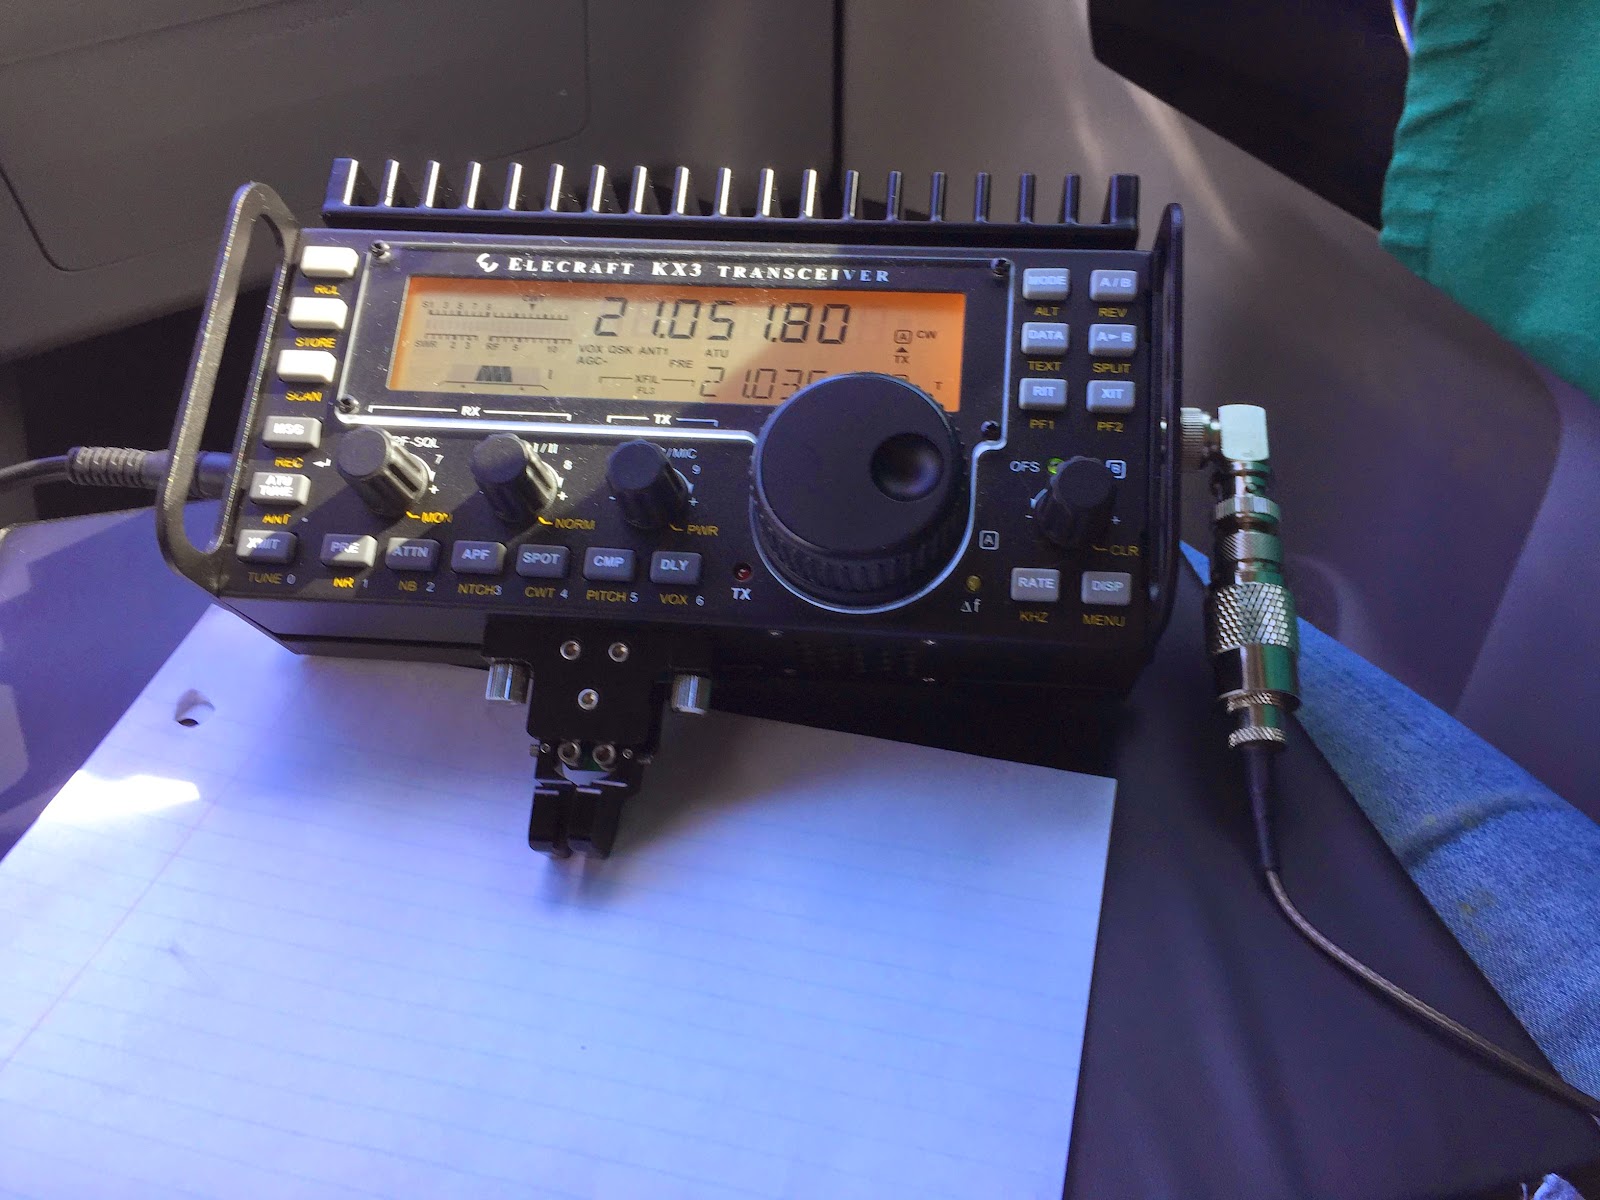 |
| The KX3 being used in my lap. |
1. I1YRL from Italy and Luc was very strong and no fading what so ever. While talking to him I found out that in the summer of 2014 he and his wife visited Toronto. Luc gave my 5 watt QRP signal a report of 579. Luc was very surprised I was QRP 5 watts using a mobile whip from my car.
2. EG90IARU/5 this was a special event again they were booming in and I was able to make the contact on my first call. This was a very fast contact with the usual 599 report.
3. IT9NJE and Gene again from Italy gave me a 549 signal report.
Over all I was very pleased with my hour on the radio from the car out in the park. I was happy I did not have any Murphy moments but I did have an "old age" moment..................I installed the 15m mono band whip antenna on the car. For some reason (old age) I set the KX3 to 20m and could not understand why the antenna tuner was needed everywhere on the band! Then in occurred to me I was on 20m using my 15m antenna. Once that was sorted out the morning went very well.
Time for some shack cleaning and putting items up for sale.
As I am doing my operating from the condo there are a number if items in the shack that have just been gather dust. My feeling is if Im not using it someone else can! So the following items are up for sale…….
1. Balun designs balun model 1110cu it's called a QRP balun but is rated at 300 watts. It's a 1:1 isolation balun I did use them at my old place to make sure not unwanted RF was radiating from the coax. Since I only have one antenna now I no long require one.
The price is 25.00 including shipping within North America.

2. Elecraft N-Gen this is a kit that I put together myself and works great. It is very good for many RF and IF alignment tasks. The price including shipping is 50.00.

3. LDG AT200pro antenna tuner I am no longer in need of a tuner as my K3 and KX3 all have on board ATU's this unit works and looks great. Price is 150.00 shipping included.

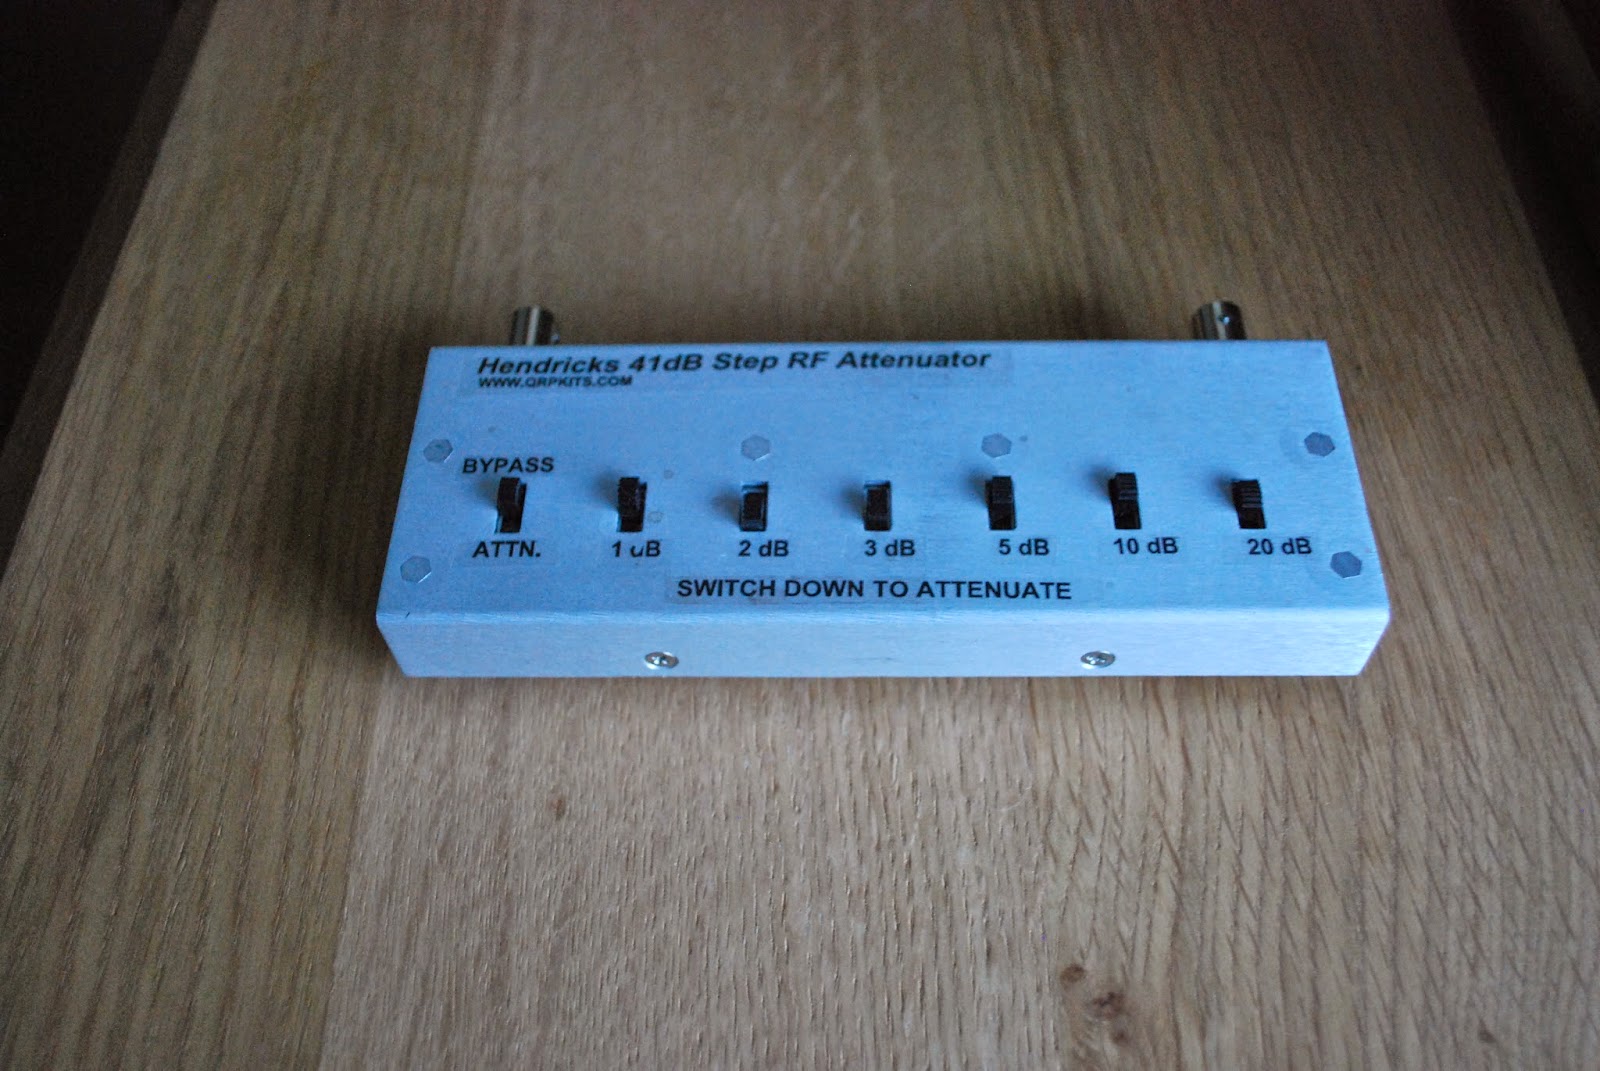
4 Hendricks 41dB step attenuator, I put this unit together myself and works great. Price is 50.00 including shipping.
The selling of these items will both clean up the shack and give me some ham bucks to clutter things up again!
1. Balun designs balun model 1110cu it's called a QRP balun but is rated at 300 watts. It's a 1:1 isolation balun I did use them at my old place to make sure not unwanted RF was radiating from the coax. Since I only have one antenna now I no long require one.
The price is 25.00 including shipping within North America.
2. Elecraft N-Gen this is a kit that I put together myself and works great. It is very good for many RF and IF alignment tasks. The price including shipping is 50.00.
3. LDG AT200pro antenna tuner I am no longer in need of a tuner as my K3 and KX3 all have on board ATU's this unit works and looks great. Price is 150.00 shipping included.
4 Hendricks 41dB step attenuator, I put this unit together myself and works great. Price is 50.00 including shipping.
The selling of these items will both clean up the shack and give me some ham bucks to clutter things up again!
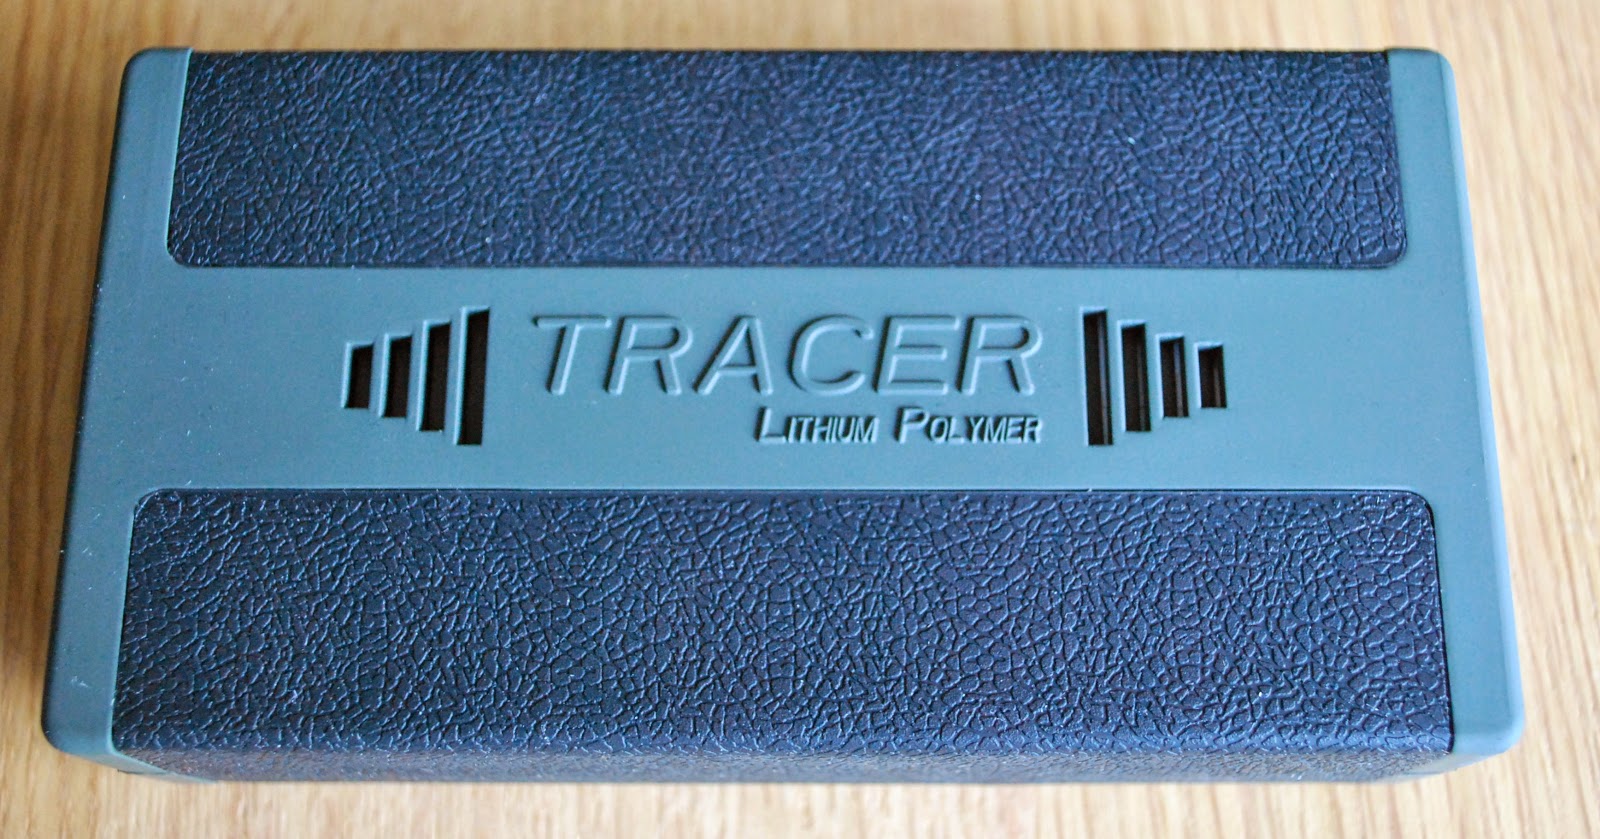
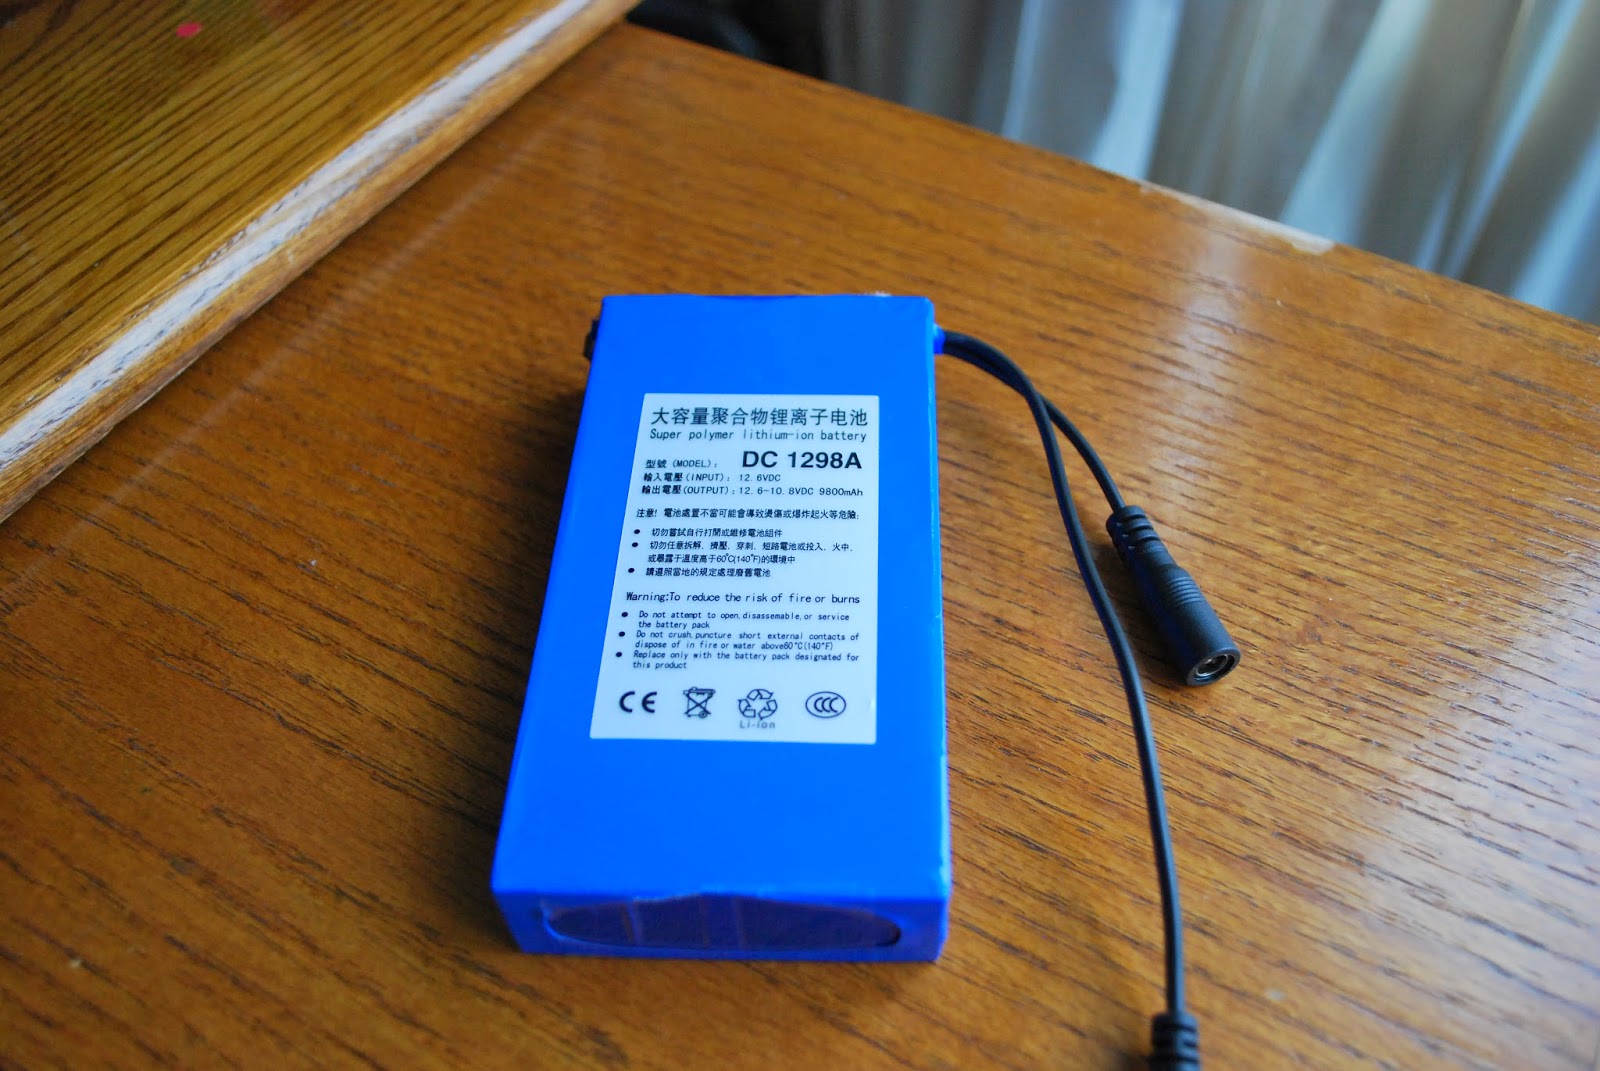
Replacement rechargeable battery for Elecraft KX3
 |
| Tracer Battery kit |
 |
| Closer look at the battery |
- Come with it's own wall charger and car adapter charger.
- An LED battery charge status indicator.
- A flate discharge curve.
- Zero self discharge.
- A tough ABS case
 |
| Status indicator light |
Cooler KX plus heat-sink
 |
| The Cooler KX plus heat sink installed |
 |
| Cooler KX plus compared to stock |
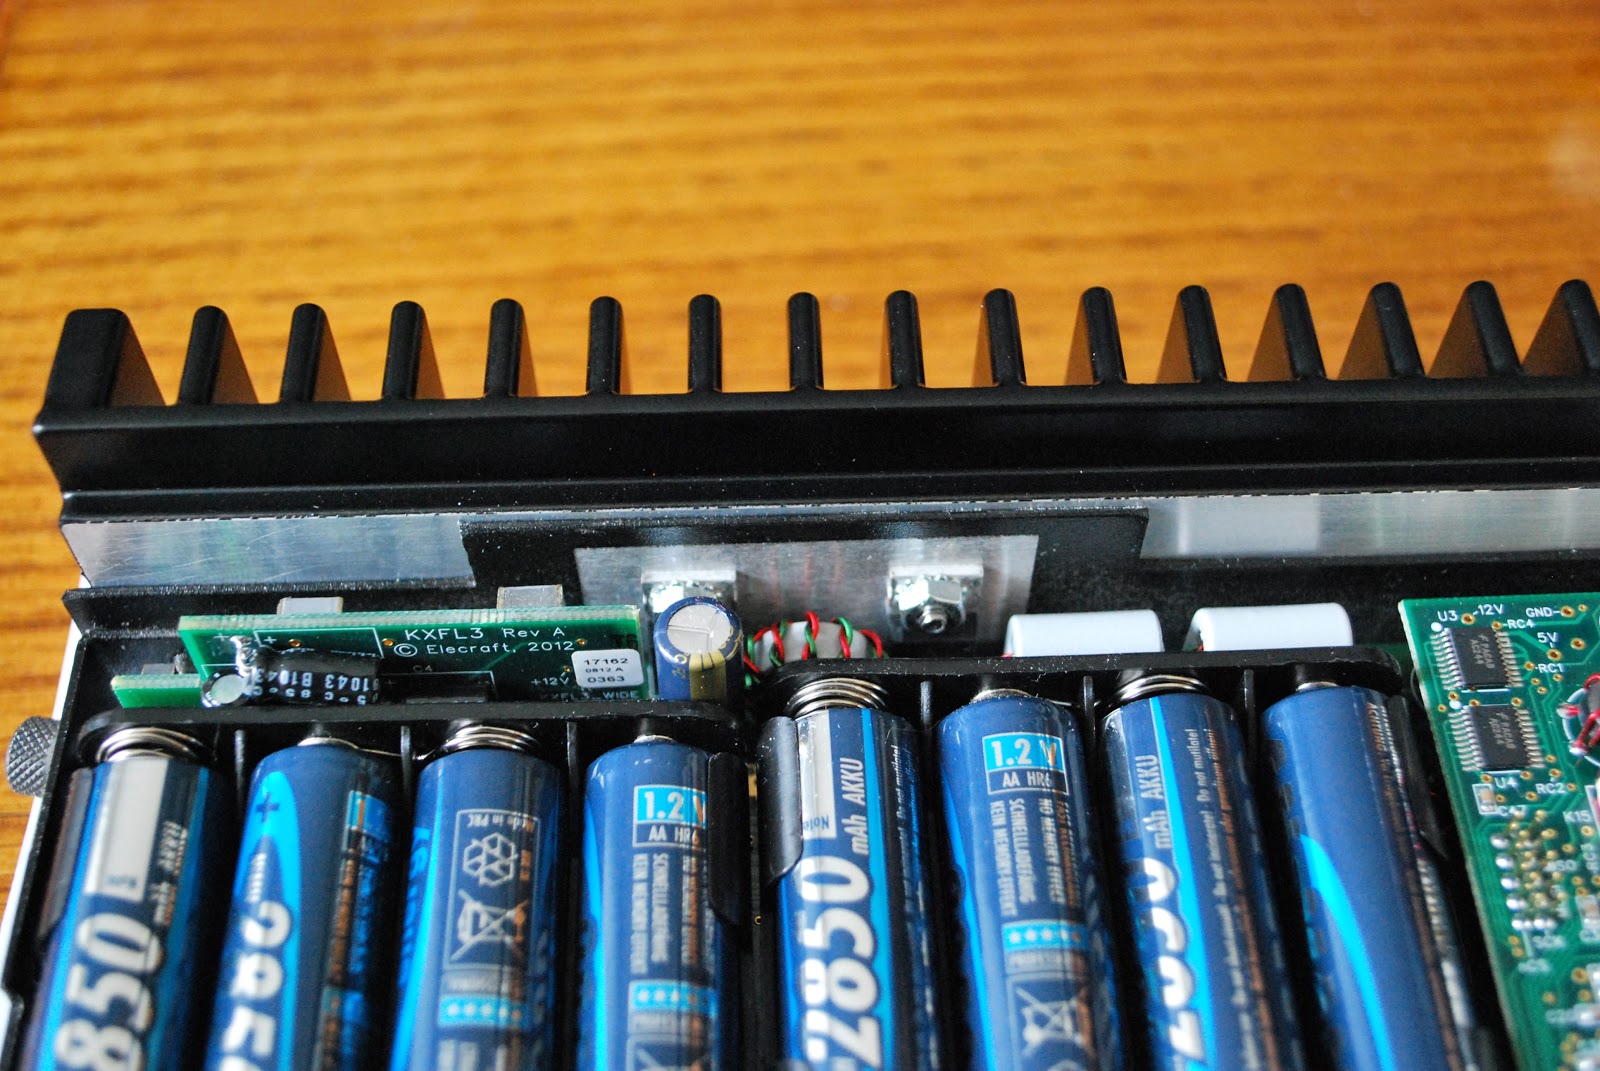 |
| Two PA's fastened to heat sink |
In the market for an external battery
The Yaesu FT-897 is coming to it’s end