Posts Tagged ‘Elecraft’
 Elecraft K1
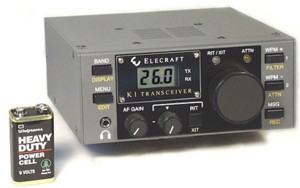
One of my least used rigs (it has still to be used at this QTH!) is my 4-band Elecraft K1 CW transceiver. This covers 40m, 30m, 20m and 15m CW at up to about 7W. It has the auto-ATU built in so just needs a 12-13.8V supply, CW key and end-fed antenna to be on the air.
At my old QTH it has worked lots including the USA on all bands with a simple end-fed wire antenna down the garden. I really should consider selling it or trading it in as it is not being used.
Where can I get APF and DIV stickers for my K3?
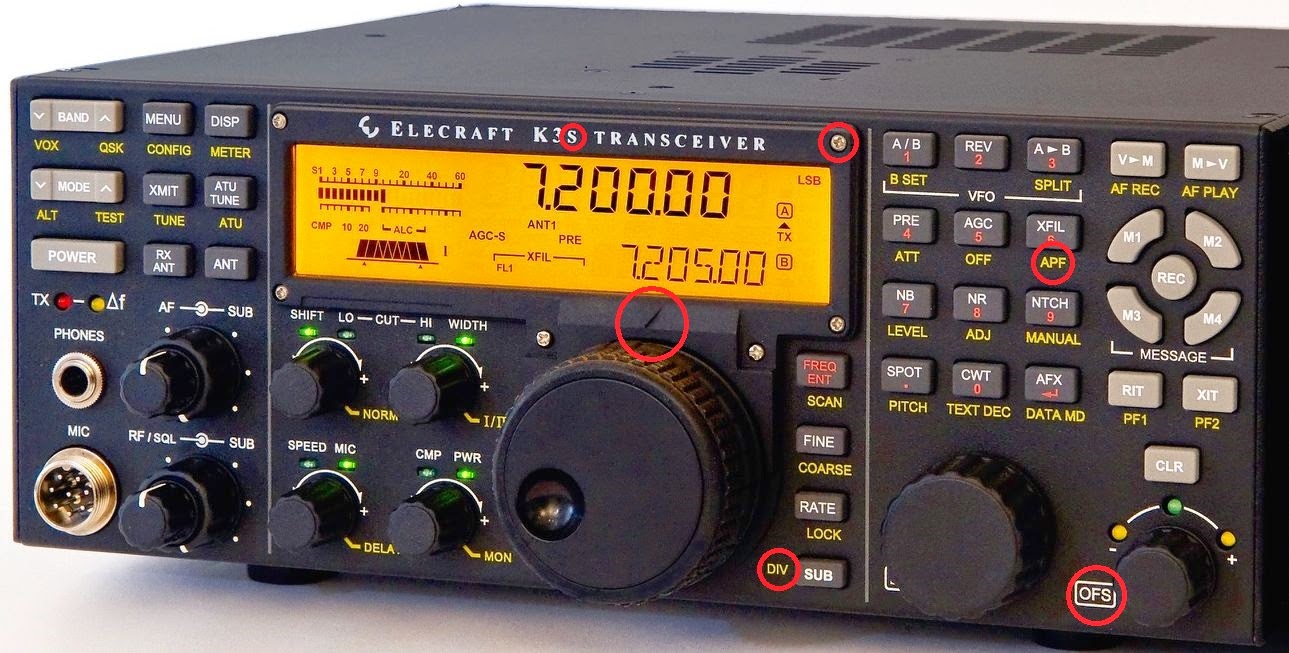
The updated Elecraft K3, the K3S has some nice improvements that would be nice to have, but which I also can live fine without. But even an old K3 can be updated to some of these improvements They are detailed on the Elecraft K3S FAQ.
I studied the front panel for differences and put red rings around them. The three to the upper left have to do with the new display bezel with silver instead of black screws, the S in K3S, a built-in marker for the VFO A knob, and a soft-touch VFO A knob.
In addition to the marking with OFS (offset) to the left of the RIT/XIT control, there are two markings that also reflect what my present K3 with the latest firmware does:
- APF instead of DUAL PB (Audio Peaking Filter – Dual Passband) – upper right
- New marker for DIV – Diversity reception – to the left of VFO A
Where can I get APF and DIV stickers for my K3?
The updated Elecraft K3, the K3S, has some nice improvements that would be nice to have, but which I also can live fine without. But even an old K3 can be updated to some of these improvements. They are detailed on the Elecraft K3S FAQ.
I studied the front panel for differences and put red rings around them. The three to the upper left have to do with the new display bezel with silver instead of black screws, the S in K3S, a built-in marker for the VFO A knob, and a soft-touch VFO A knob.
In addition to the marking with OFS (offset) to the left of the RIT/XIT control, there are two markings that also reflect what my present K3 with the latest firmware does:
- APF instead of DUAL PB (Audio Peaking Filter – Dual Passband) – upper right
- New marker for DIV – Diversity reception – to the left of VFO A
Elecraft K3S
I see Elecraft has launched a deluxe version of its K3 transceiver. The K3 was already a pretty good rig and the S version will be even better, but sadly far too expensive. I guess Elecraft is right that this will be many times less expensive than similarly spec’d transceivers, but to me this is still far too much for an amateur radio rig. Don’t forget that lots of the features cost more – like the mic and 2m!
At half the price maybe, but certainly out of the question here in the UK when shipping, import duty and VAT have to be added. I am able to get lots of fun from our hobby spending just a small fraction of the cost. There will always be people who will pay these prices and buy a tower and a big beam. Sorry, but this is not for me. I wish Elecraft well but feel they will need to slash prices soon to compete with the Chinese. An alternative is for Elecraft kits to be shipped from China. Sorry, but this may be the only way they will be able to compete in the future.
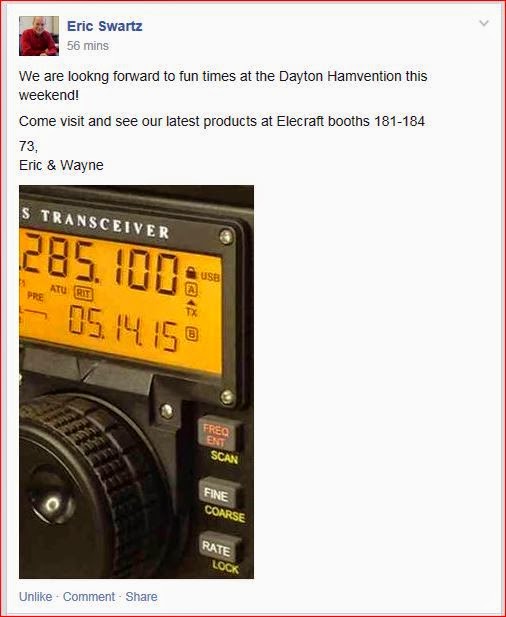
The scoop from Elecraft at FDIM
The new product is an enhanced K3 with many new features - here's a link to a .pdf which explains them all in detail. And here's a link to a FAQ.
It appears the new K3S will be approximately $500 more than the old version, and the original K3 has been "discontinued" or "replaced" - whichever you prefer. In addition, it appears most, but not all the enhancements will be retro-fittable to make a K3 a K3S. The new bezel and the attenuator, for instance, will not.

I wonder - how does the guy feel who took delivery on a brandy new K3, in the very recent past? Are they happy because they squeaked under the wire and got their K3 at the lower price? Or are they feeling a bit miffed because they ordered and received something that is no longer "the latest and the greatest"? Except for the cosmetics, it appears that you can pretty much turn your existing K3 almost into a K3S - and you do have a "system" that is continually upgradable. So if you're an Elecraft owner, you can take comfort in the fact that when you buy something, the company does its best to stand behind their product and you.
I for one, am quite happy with my KX3's. They're all the radio I need, and should Elecraft come out with a KX3S tomorrow, I would not be bothered in the least.
The morning UStream feed from FDIM was disappointing. If you attempted to watch it, you saw that only a portion of the video picture appeared and none of the audio. Basically, you missed the entire Elecraft K3S presentation. Things got straightened out during Rev. Dobb's presentation and we were able to hear that the good Reverend was inaugurated as QRP-ARCI's very first Lifetime Member.
The silver lining is that hopefully the feed will be up and running normally for the remaining sessions.
72 de Larry W2LJ
QRP - When you care to send the very least!
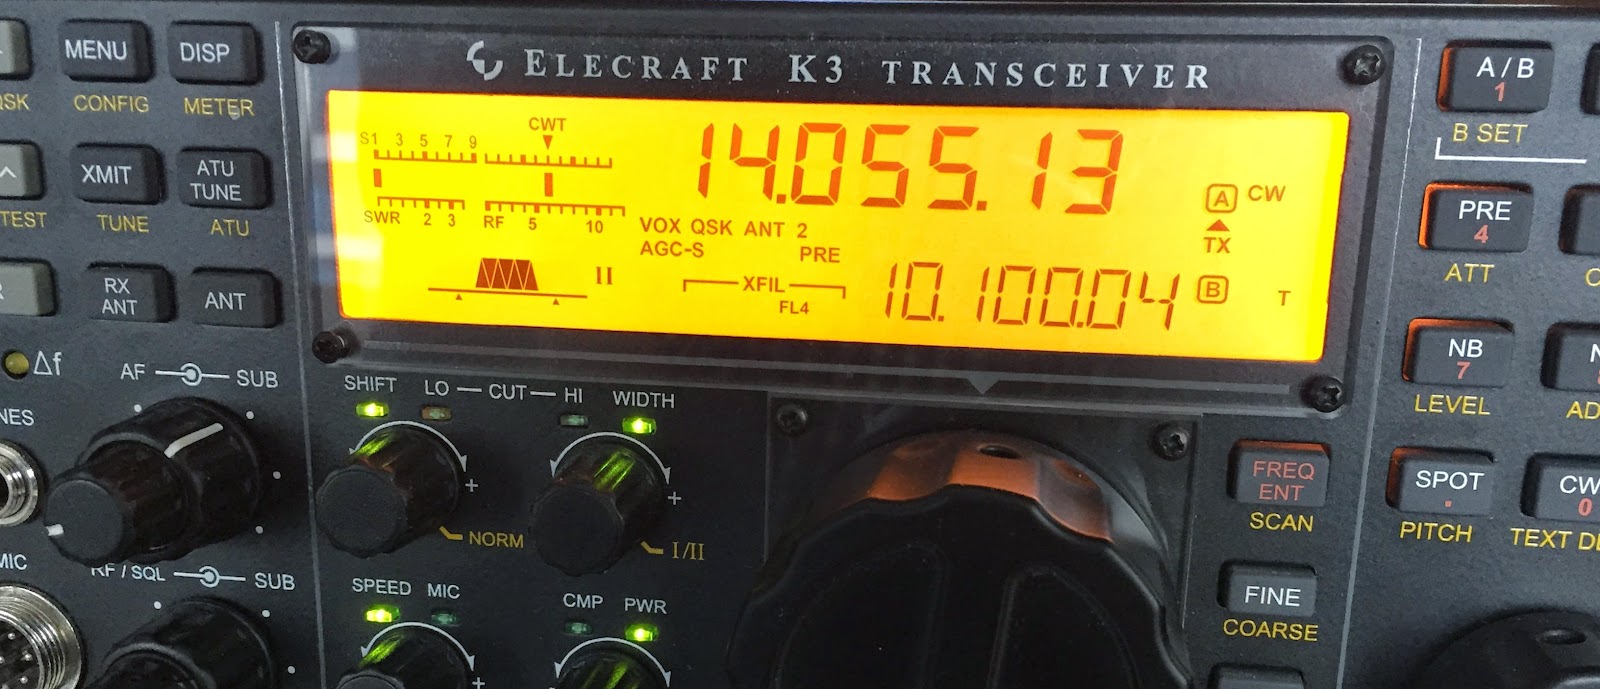
Something new from Elecraft?
Notice the use of tomorrow's date in the display. Also - the current black chassis radios in the Elecraft line are the K3 and the KX3. Both use black screws on the bezel - not silver. AND the last character before the word "Transceiver" on both radios is a "3" ...... not an "s". Lastly, there's no current radio in the Elecraft line (that I'm aware of) that has that little "down arrow" above the VFO knob.
Seems to me that a major announcement is in the offing for tomorrow. I guess time will tell!
72 de Larry W2LJ
QRP - When you care to send the very least!
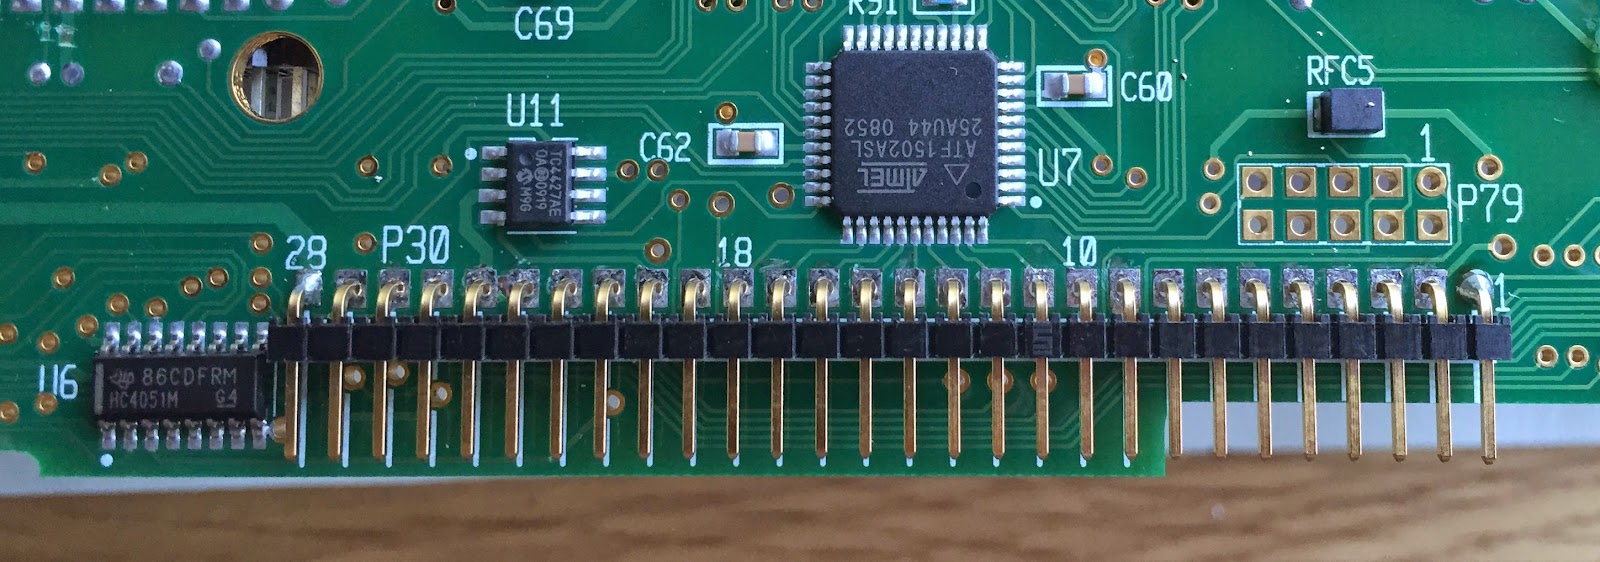
Elecraft surgery part 3 of 3
 |
| Back to life again |
 |
| Soldering end pins |
 |
| Imports of checking both sides of board |
 |
| Flossing tool used to clean board |
 |
| New header lines up with front board. |


