Author Archive
 What’s been going on around here for the past 2 weeks!!
 August 24th, 2013 |
  Author:
  |
| Interference caused my AOC monitor |
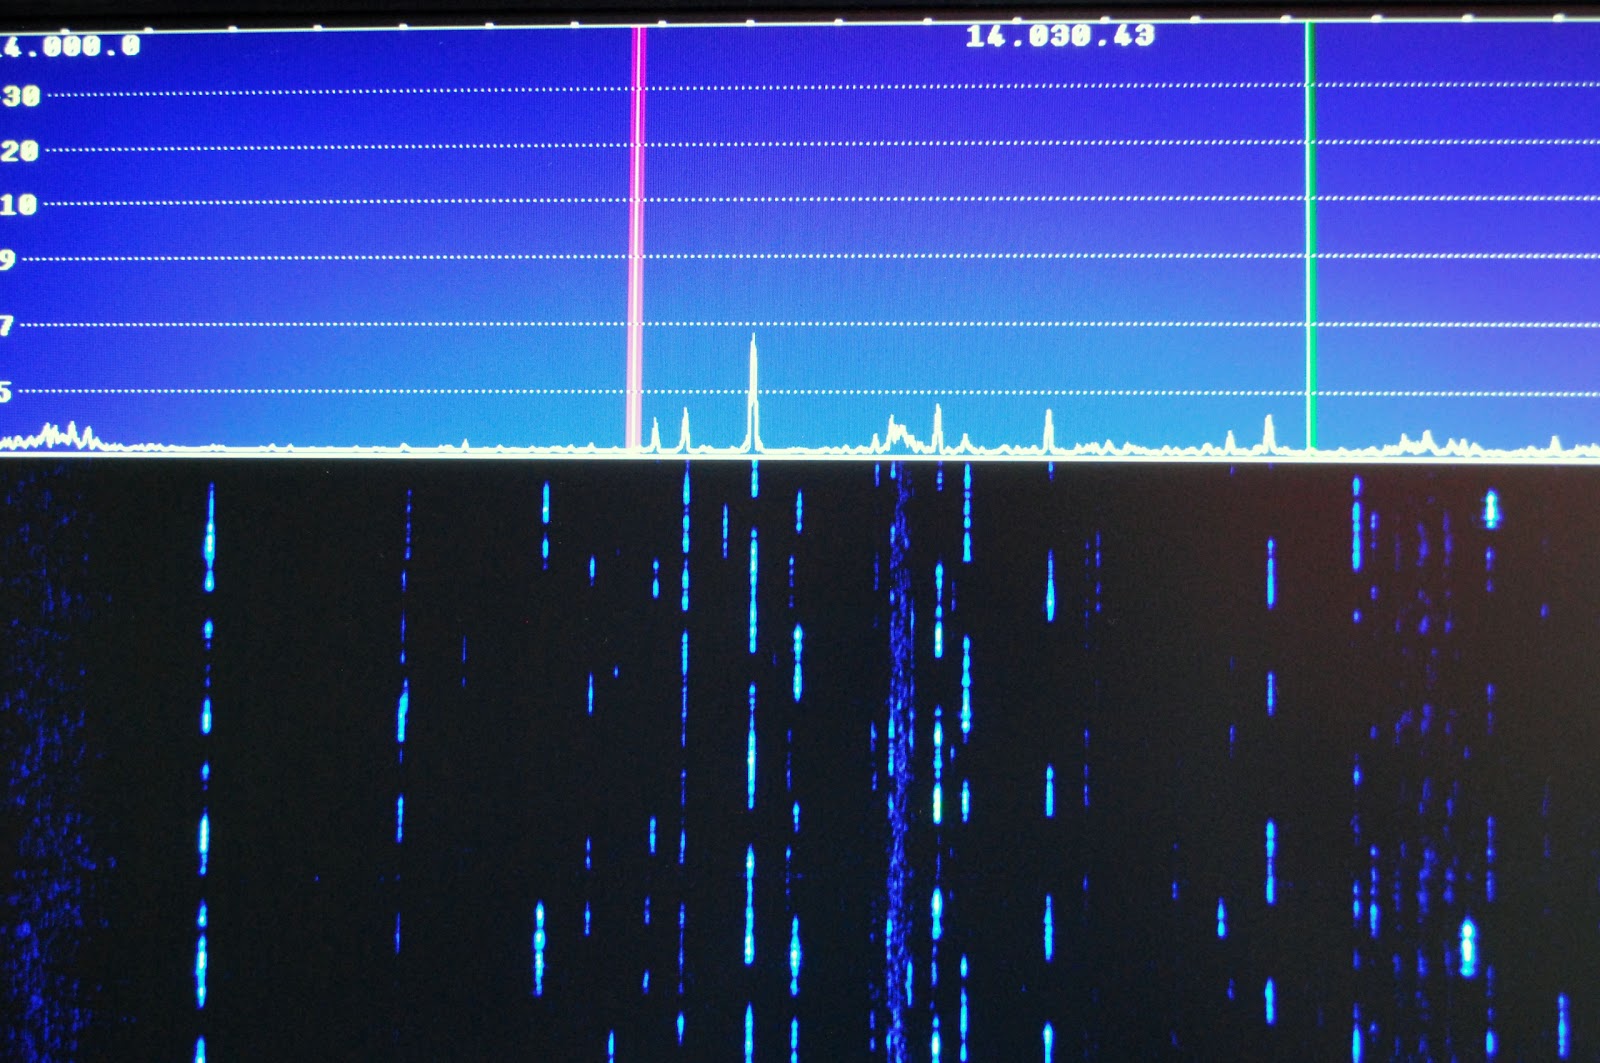 |
| Nothing from the LG monitor. |
At one time but sold the LP Pan and the Creative Labs E MU 0202 USB external sound card. This combo worked great and gave me a super pan-adapter. I was able to with the click of a mouse (using PowerSDR software) control my K3 and also click on signals on the bands scope and the rig would go there. Well I
purchased a used LP Pan and E MU 0202 device. I have not as of yet hooked it up I have gotten as far as
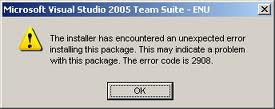
to download the software I am going to use with it which is NaP3 software. At this point when I tried to install the software (or any other SDR software) I get an error message entitled 2908. This error message and what I have tried to cure it is a whole blog post on it's own. This is still a work in progress and I hope I don't have to resort to reformatting my hard drive!
 The final happenings here have been....working on my Elecraft K2 kit and the accompanying blog where the progress is being shown.
 2nd annual Skeeter hunt contest
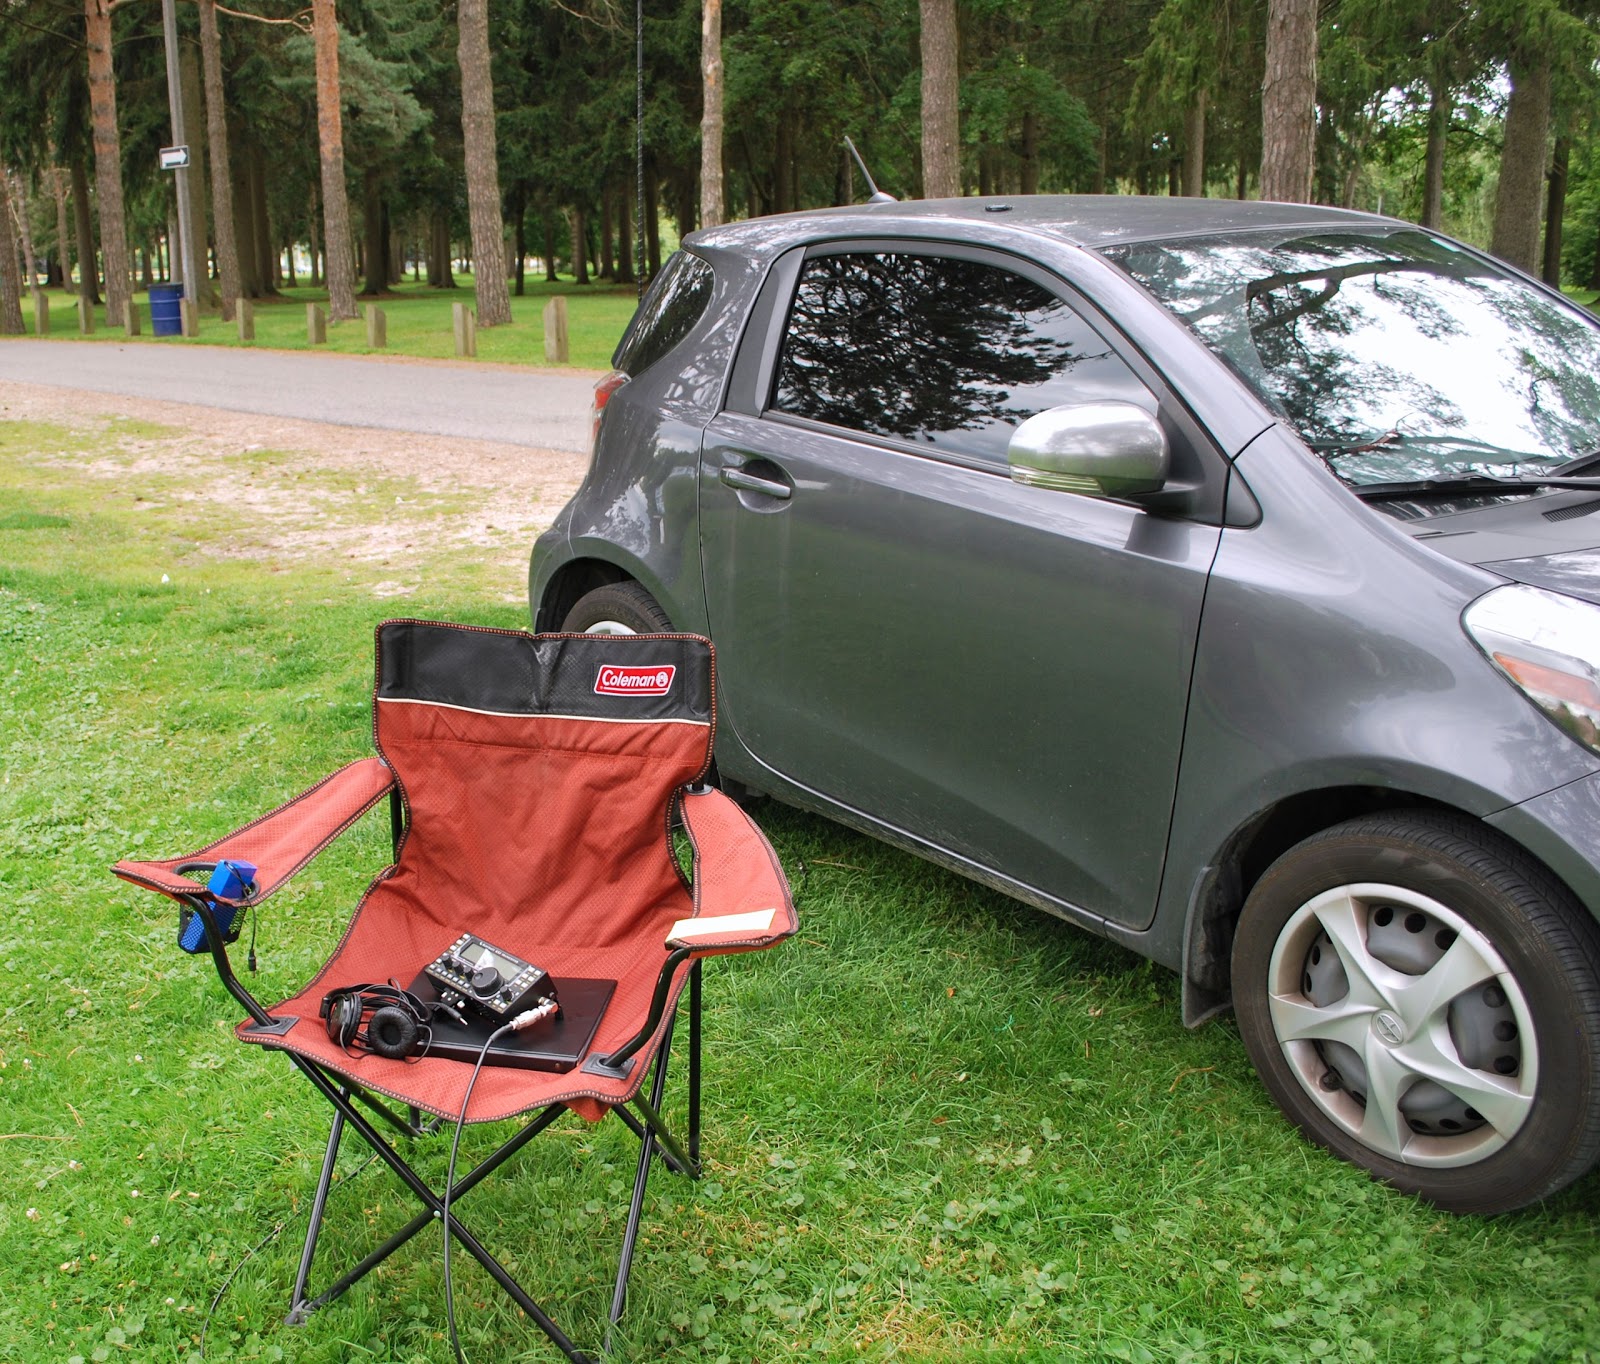 |
| The operating chair |
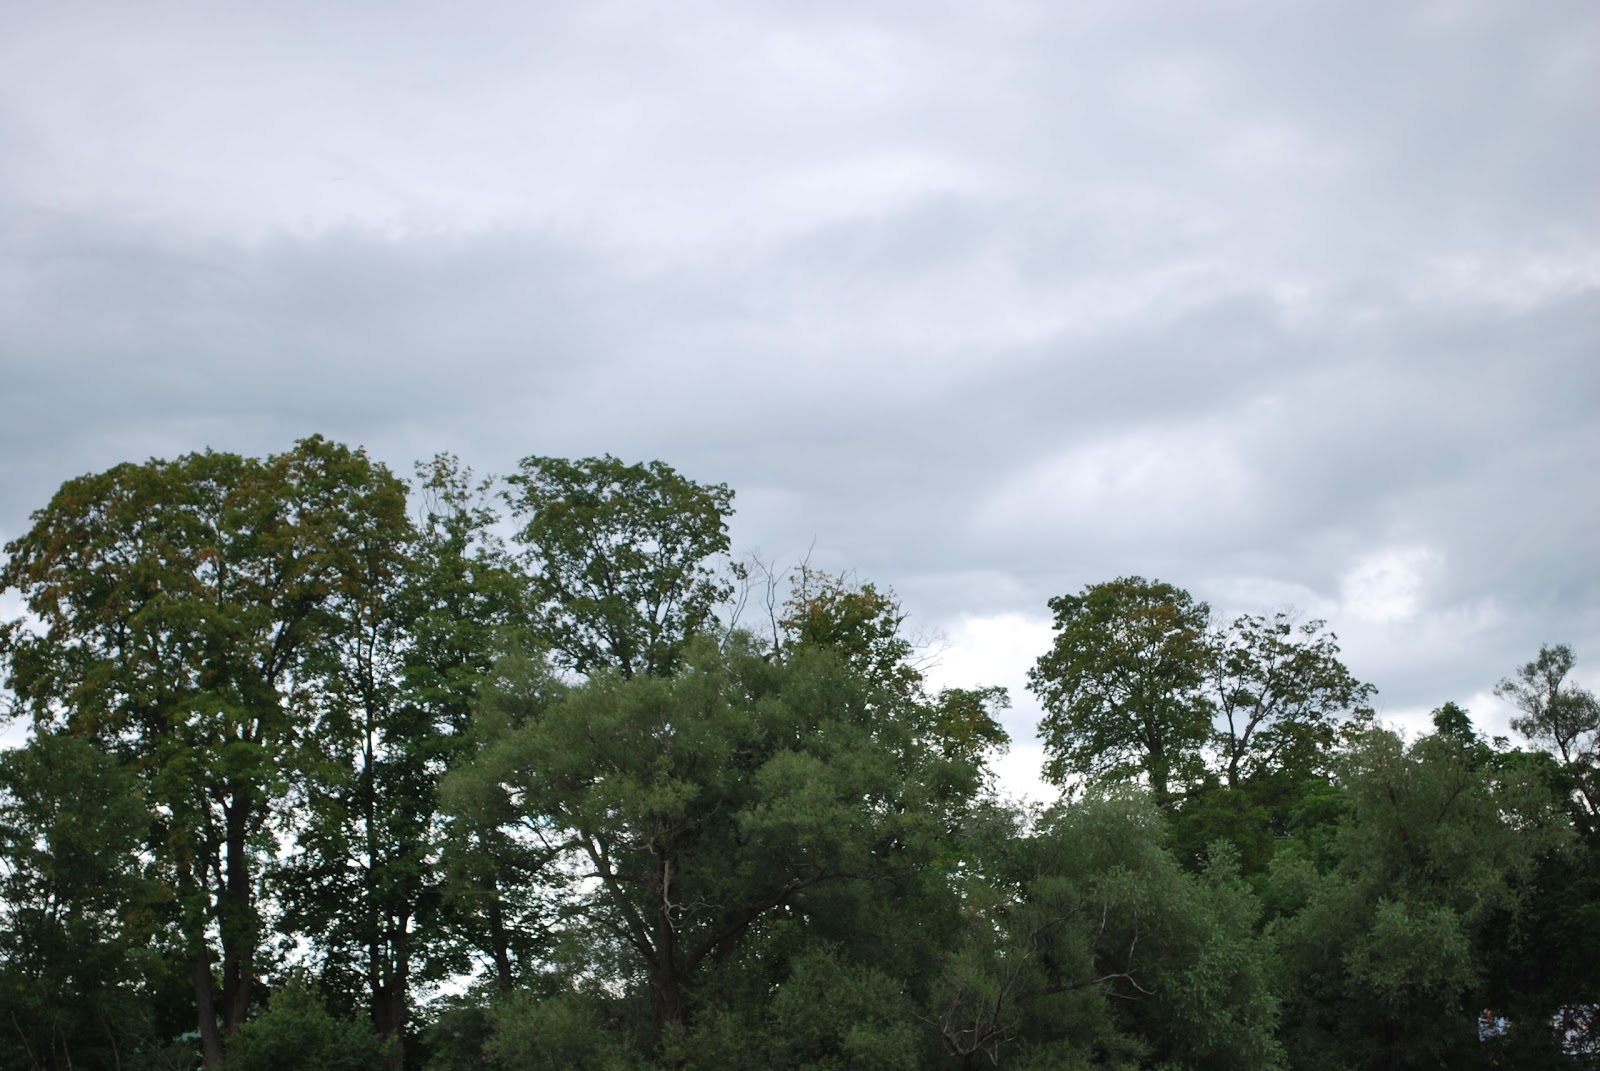 |
| Storm clouds |
The weather turned out to be great it did not rain but the storm clouds over head kept it cool and the sun off me. I operated from Riverside park which is a great park about 5 minutes from my QTH. Funny thing I never had anyone come up to me wondering what I was doing! In the past this has happened and it gave me a chance to explain ham radio. Something new in the contest this year is operating SSB, I did not take advantage of this and stayed CW and just single band.
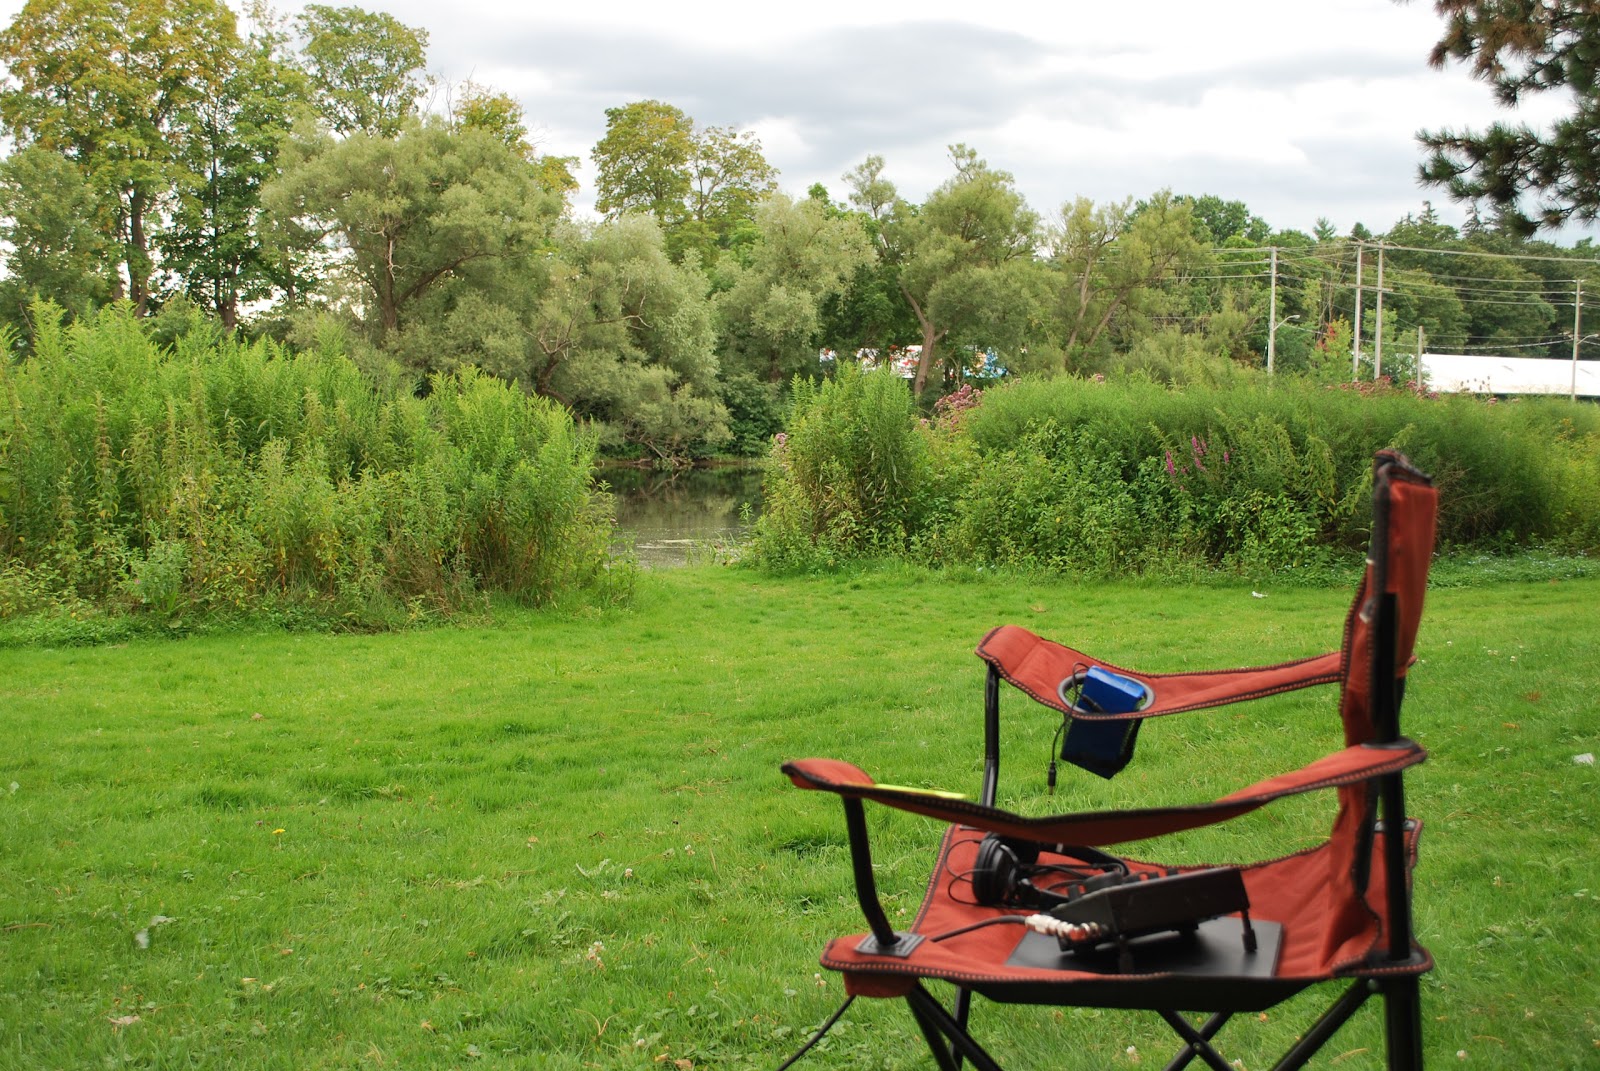 |
| A look towards the river |
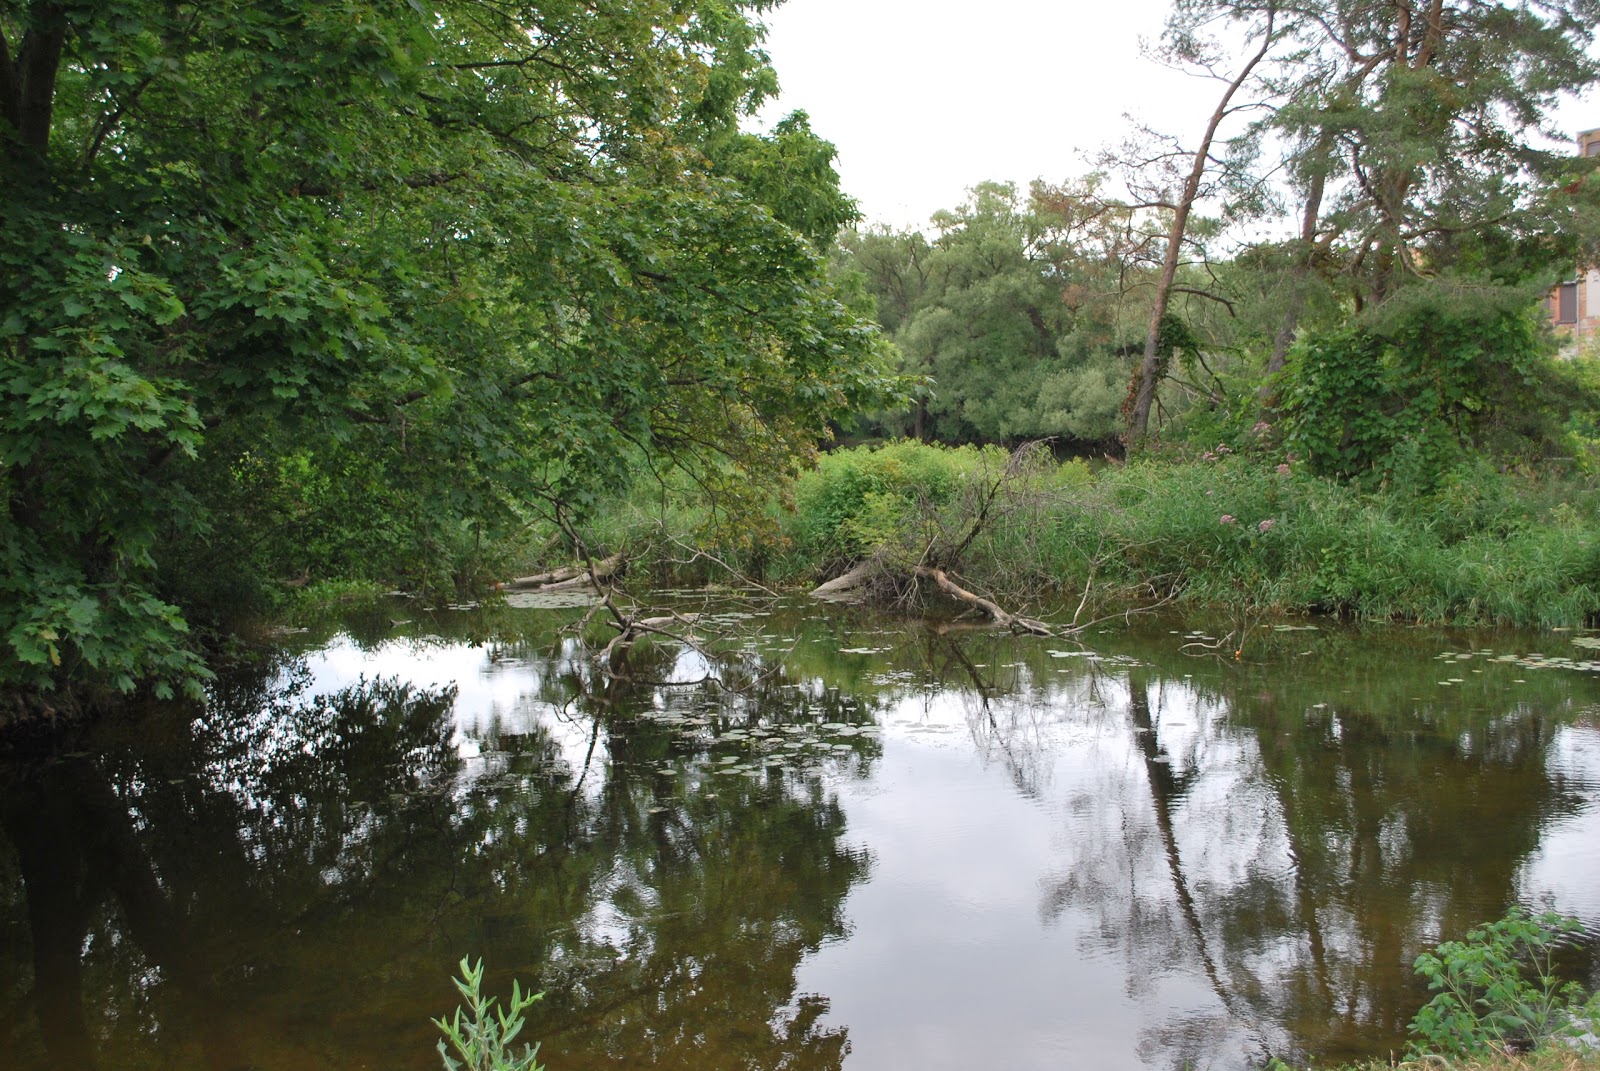 |
| Another shot of the river. |
Toroid winding can be fun…..well almost.
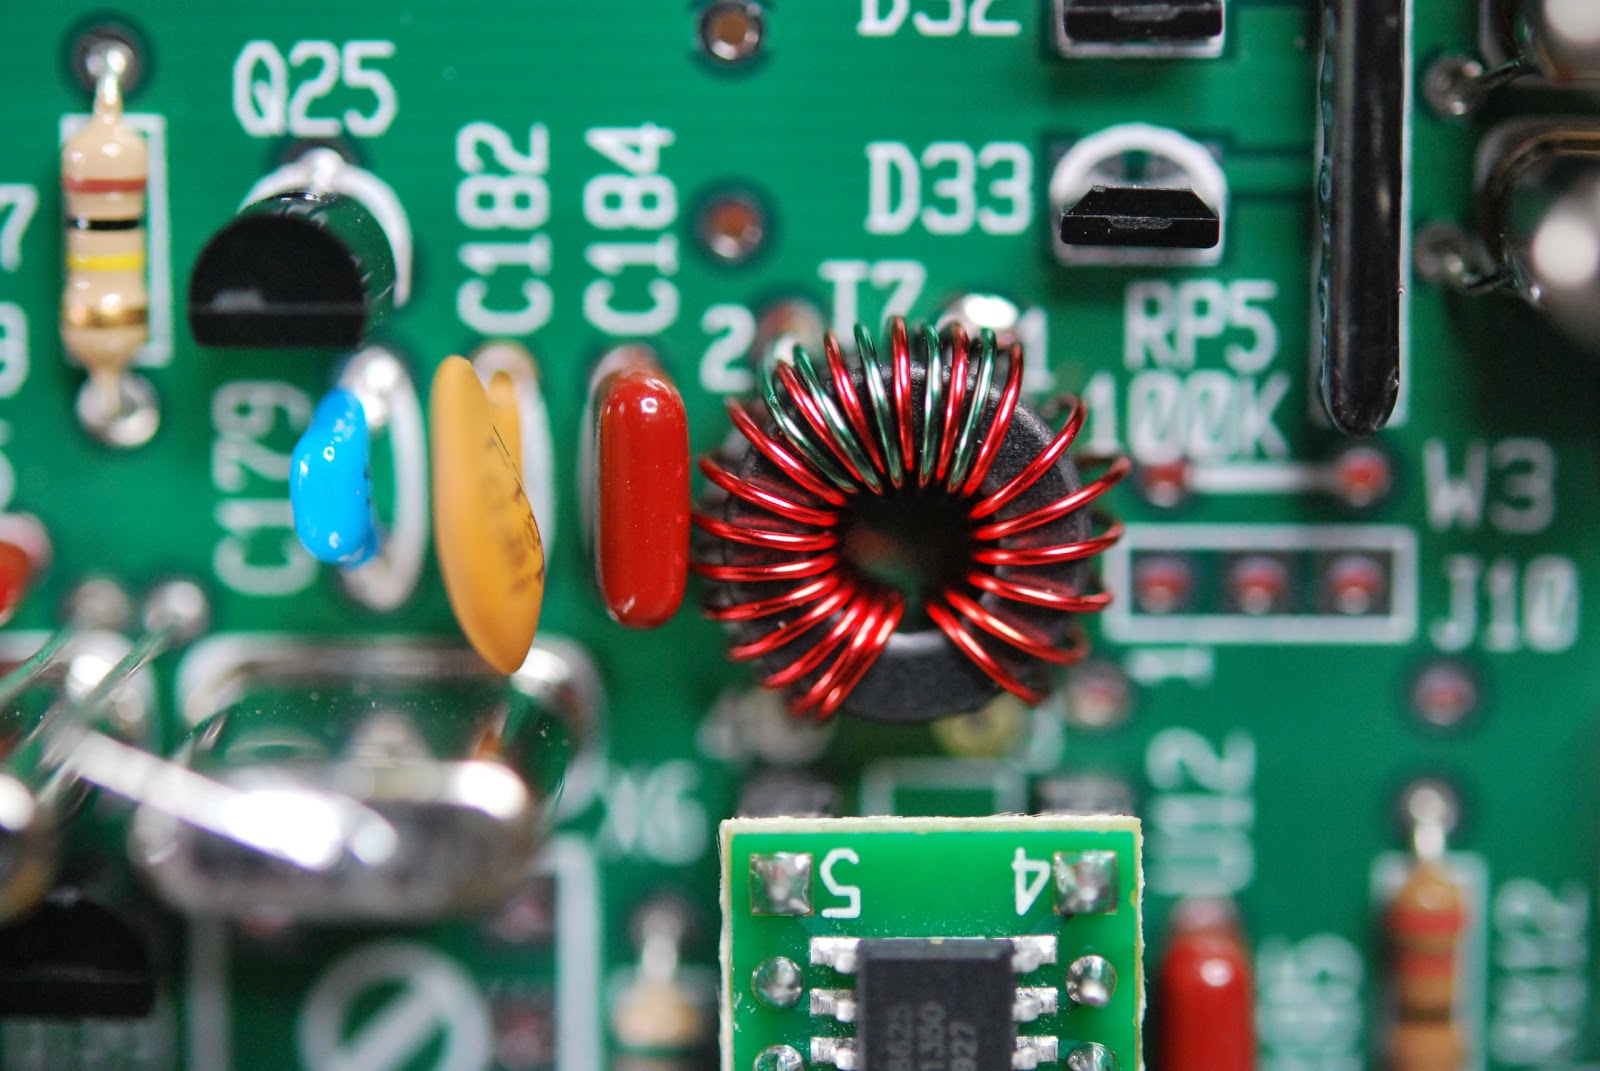 |
| The dreaded toroid... |
When I first started kit building some years ago it was the dreaded toroid winding that I never looked forward too. After winding and rewinding over time it has not become a dark task, it has taken some time to get the hang of it but I can say that I no longer get uptight about the process. I have learned some tricks and some never ever skip steps when it comes to toroids.
I am in the process of building my second K2 rig from Elecraft and there are lots of toroids to be wound. Now having said that if you want you can order per-wound toroids from the toroid guy. If you do order toroids that are per-wound I would encourage you to try to wind your own as well. What I have found is it's only practice that is needed to get the hang of the winding thing. In the past I have built many Elecraft kits were toroids have been involved, I have learned as I said some tricks, some must do stuff and things to stay away from when it comes to this art.
My advice when winding single conductor toroid....
1. Most if not all the time you have more wire than you need so when told to cut a conductor to lets say 12 inches I give myself around 13-14 inches. A wise person told me "it's better to have and not need than to need and not have"
2. If you are winding a toroid that has lets say 20 turns when you hit 19 I stop and count the turns just to make sure I am not at 20 or that I lost count and am only at 18! I have had both happen.... it's better to check rather than cutting the excess wire and finding out you need to somehow add 2 more turns.
3.Once the toroid is wound check the turns to see if they are more or less equally spaced. Take your time and move the windings around the core. Use a plastic tool or wooden tool for this a metal tool (screw driver) may remove the paint on the wire and cause a potential short.
4. Take the new toroid and see how it fits on the board. Sometimes you may have to squeeze the turns or open them up a bit for the toroid to fit properly.
5. Once the turns are good and the fit is good you can trim off the extra wire. When I do this I always make on leg shorter than the other. I find you can place the toroid on the board with less effort by having the lead staggered in lenght. This is very evedent when you have a toroid with more than one winding..
6. Now that the toroid has the right amount of turns, it is spaced correctly, fits nicely and the leads are cut one longer than the other....its time to remove the enamel coating off the wire. There are some various
ways to to this........
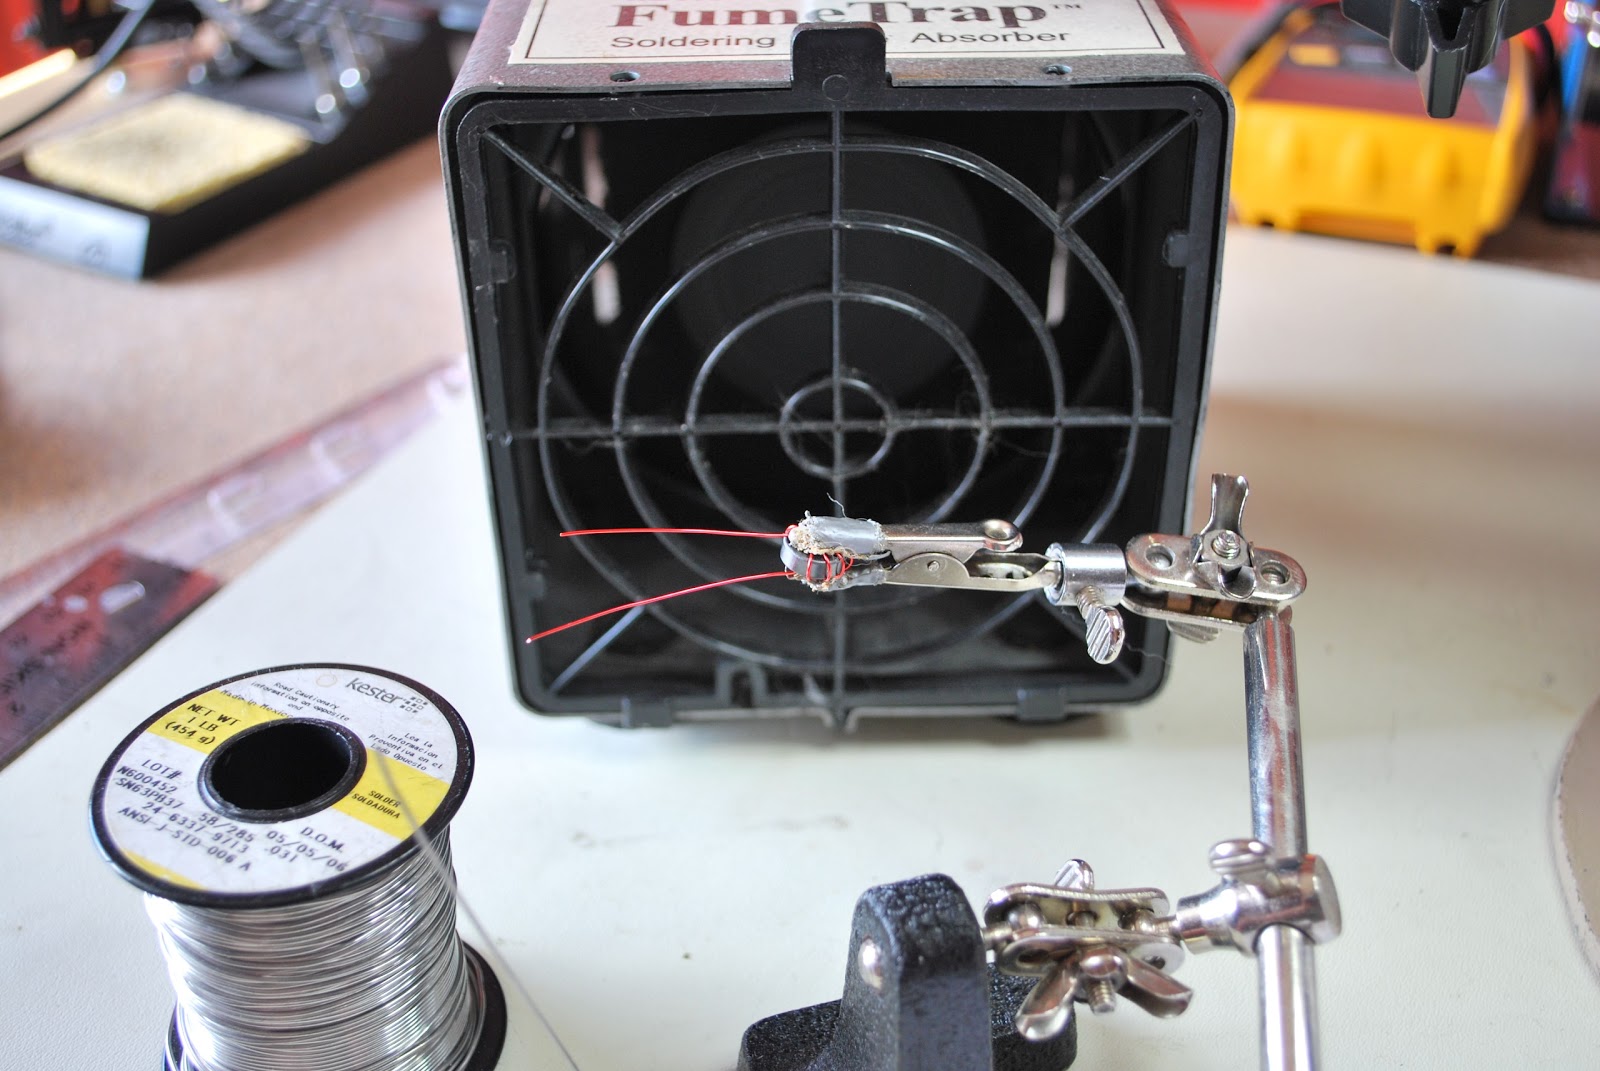 |
| Getting ready for solder blob |
B. Use sand paper.
C. The solder blob method.
D. Use a razor knife to scape the coating off.
E. I have heard some dipping the wire in var-sol....would not recommend it.
I use the solder blob method and I have tried the sandpaper (find it just to rough for the delicate work that is needed) I have tried the lighter method but found on the smaller toroids I am not able to control the heat and end up burning off to much insulation. The razor blade scraping I have not tried and really don't want a razor knife that close to my fingers. SO....it's the solder blob for me!! I find if I put the toroid in an alligator clip to hold it I can in a very controlled fashion remove the right amount of enamel from the toroid.
I change the tip on my Weller soldering iron to a larger tip and use a .030 diameter solder. Most of my board work is done with a .020 diameter solder.
DO NOT SKIP STEP 7.....
7. Once the toroid wire has been stripped I use my DMM to check to make sure the coating has been removed and there is good continuity. Oh and for toroids that have more that one winding I check to make sure there is not shorts between the windings as well.
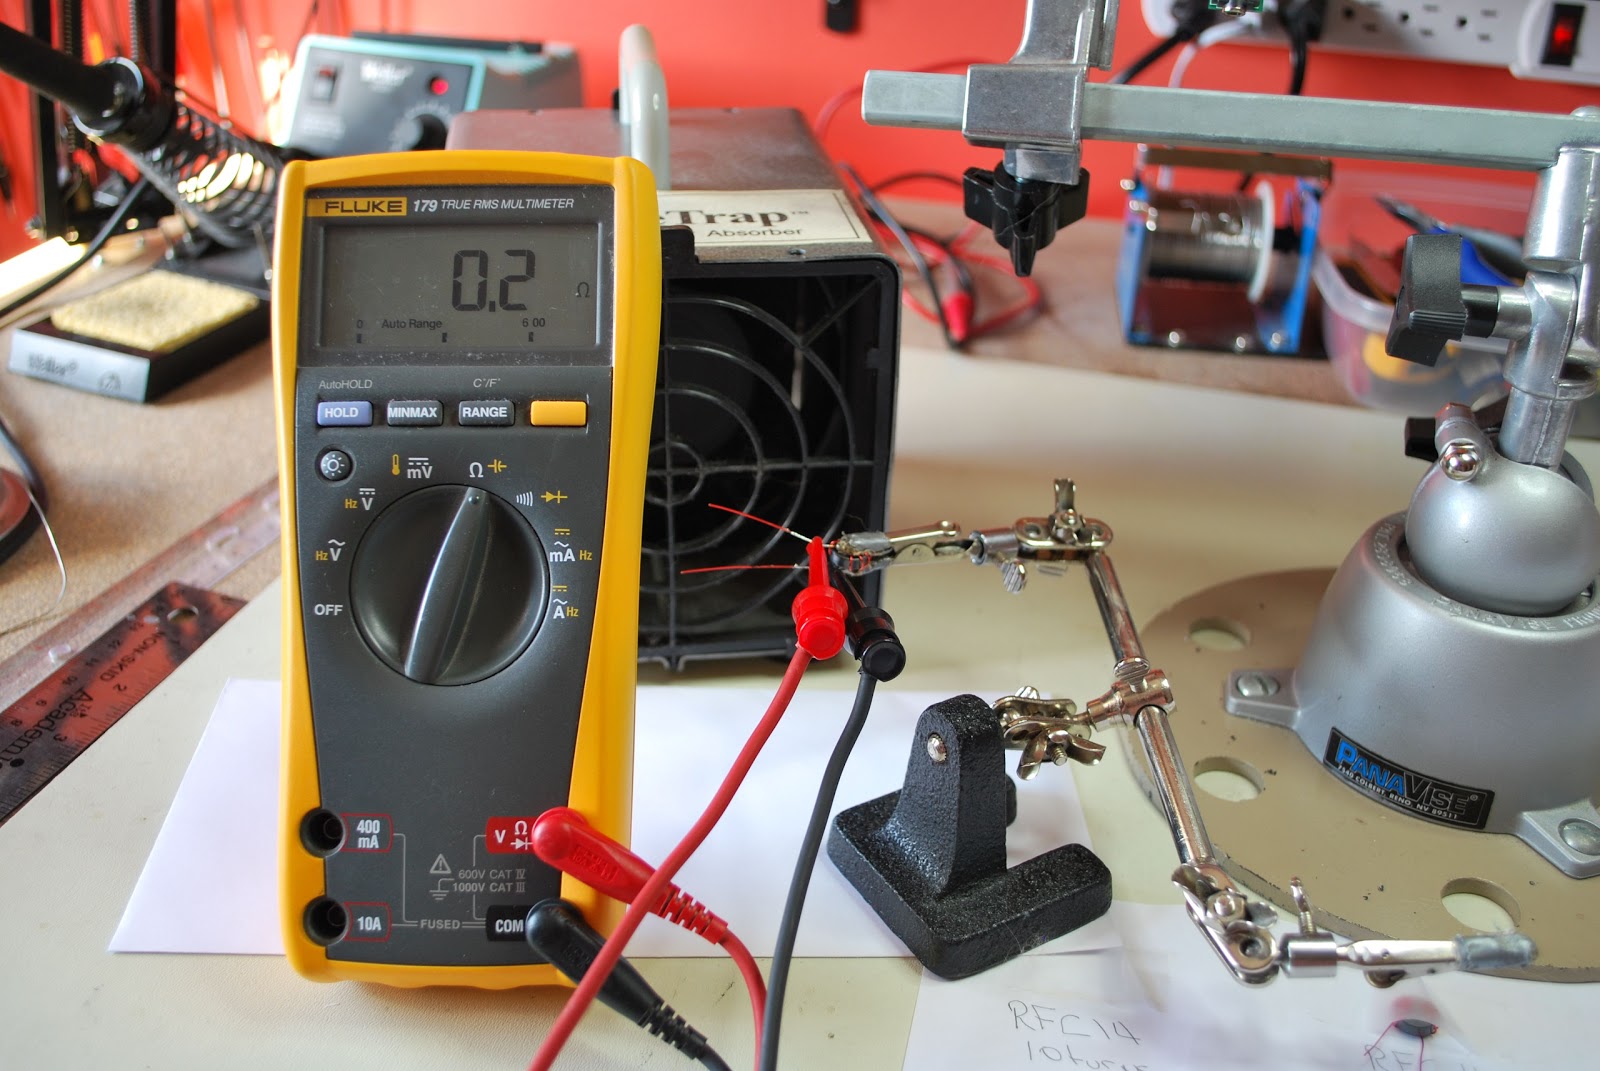
8. It's now time to solder the toroid in place and I find once the toroid is soldered in place before the leads are trimmed you can heat each solder blob up again and give each lead a LIGHT pull with a pair of pliers. This will allow the toroid to sit firmly on the board.
Some tips
1. Practice practice practice......it's like CW it's an art and over time you will get the idea and look forward to it.
2. Some toroids have nice rounded edges but be aware of those with sharp 90 degrees edges. These toroids can if your not careful remove the insulating coating from your wire and potentiality cause a short.
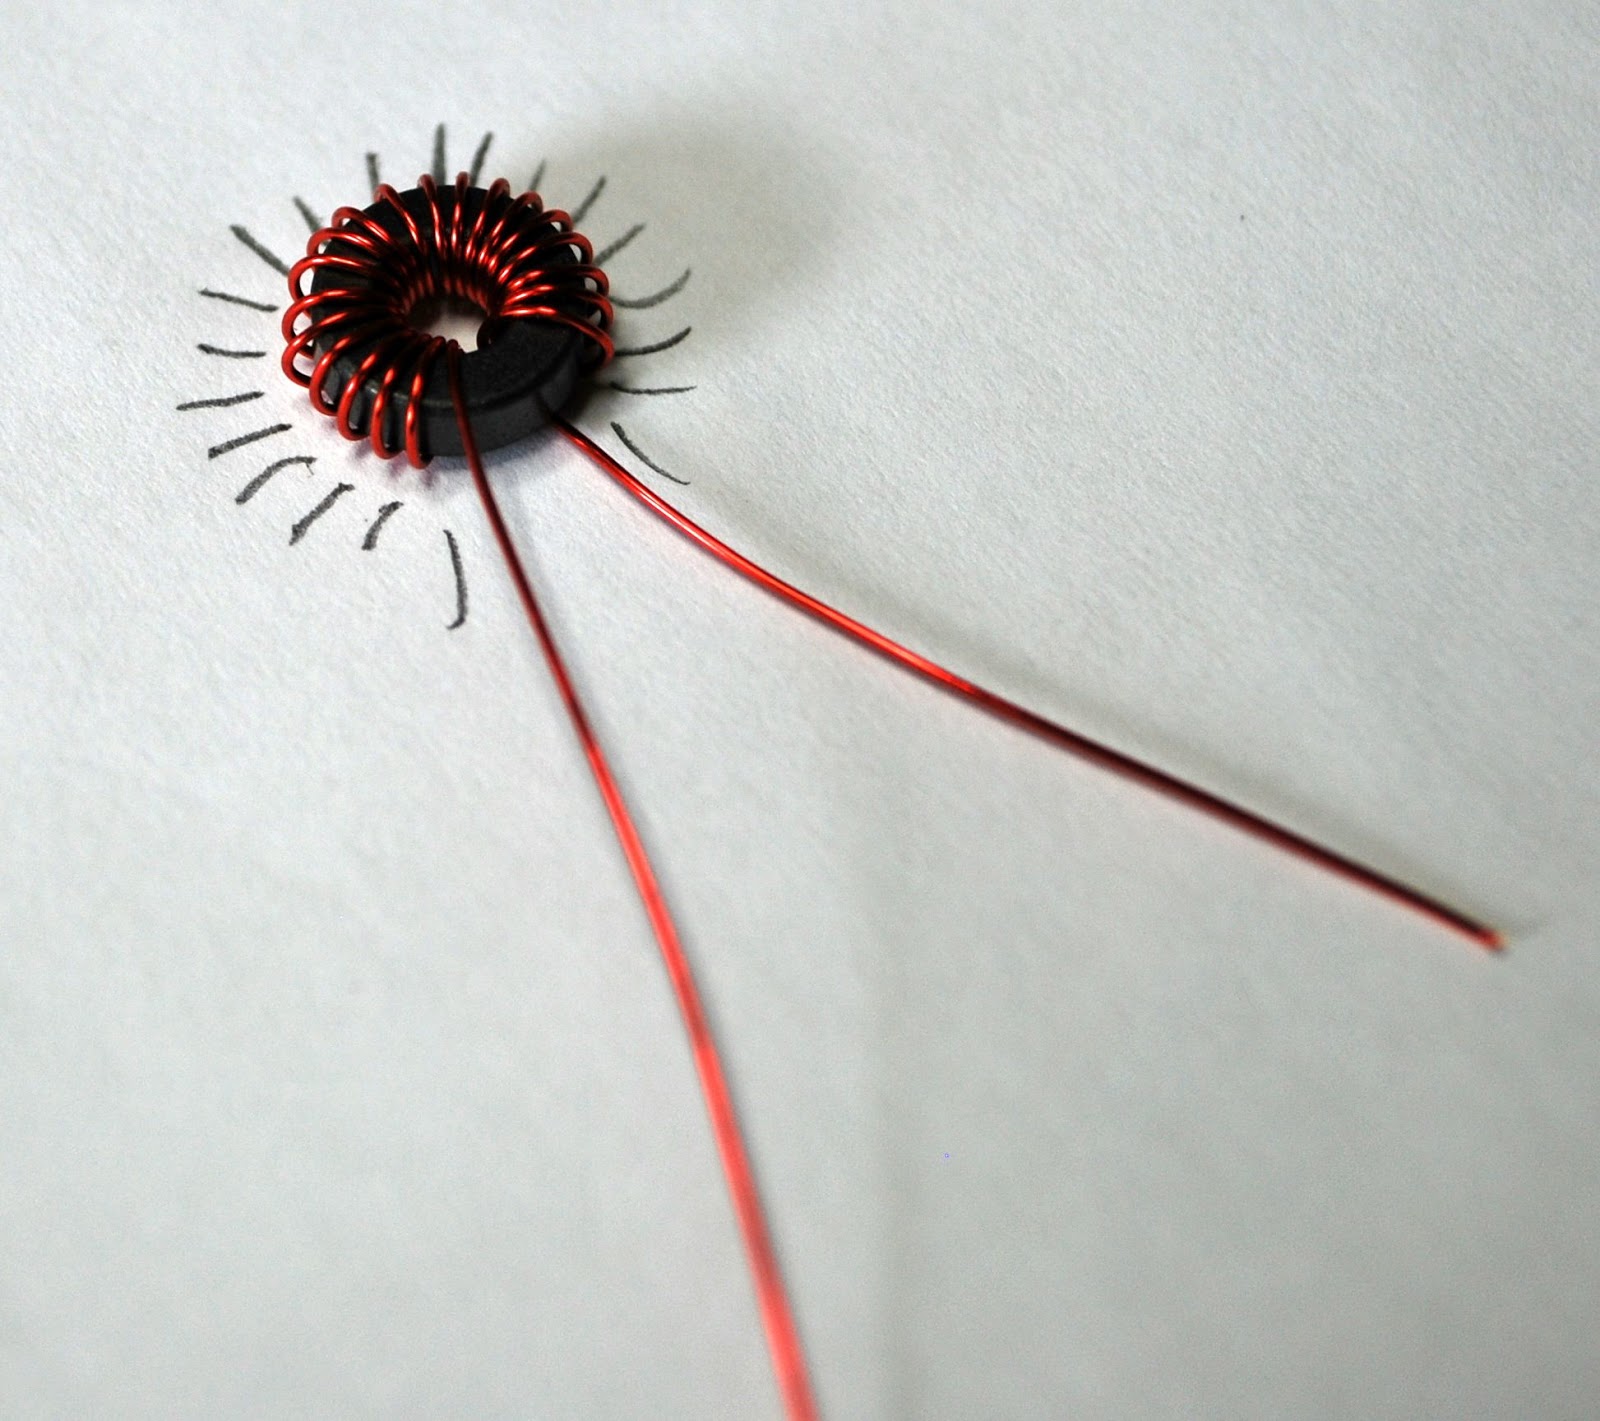 |
| Using a paper and pencil to count |
4. Use two sizes of soldering tip's one (I use the Weller ETC 1/8 tip) for the solder blob used to melt the insulation off the wire. Then a thinner tip (I use the Weller ETR 1/16 tip) for soldering the toroid to the board.
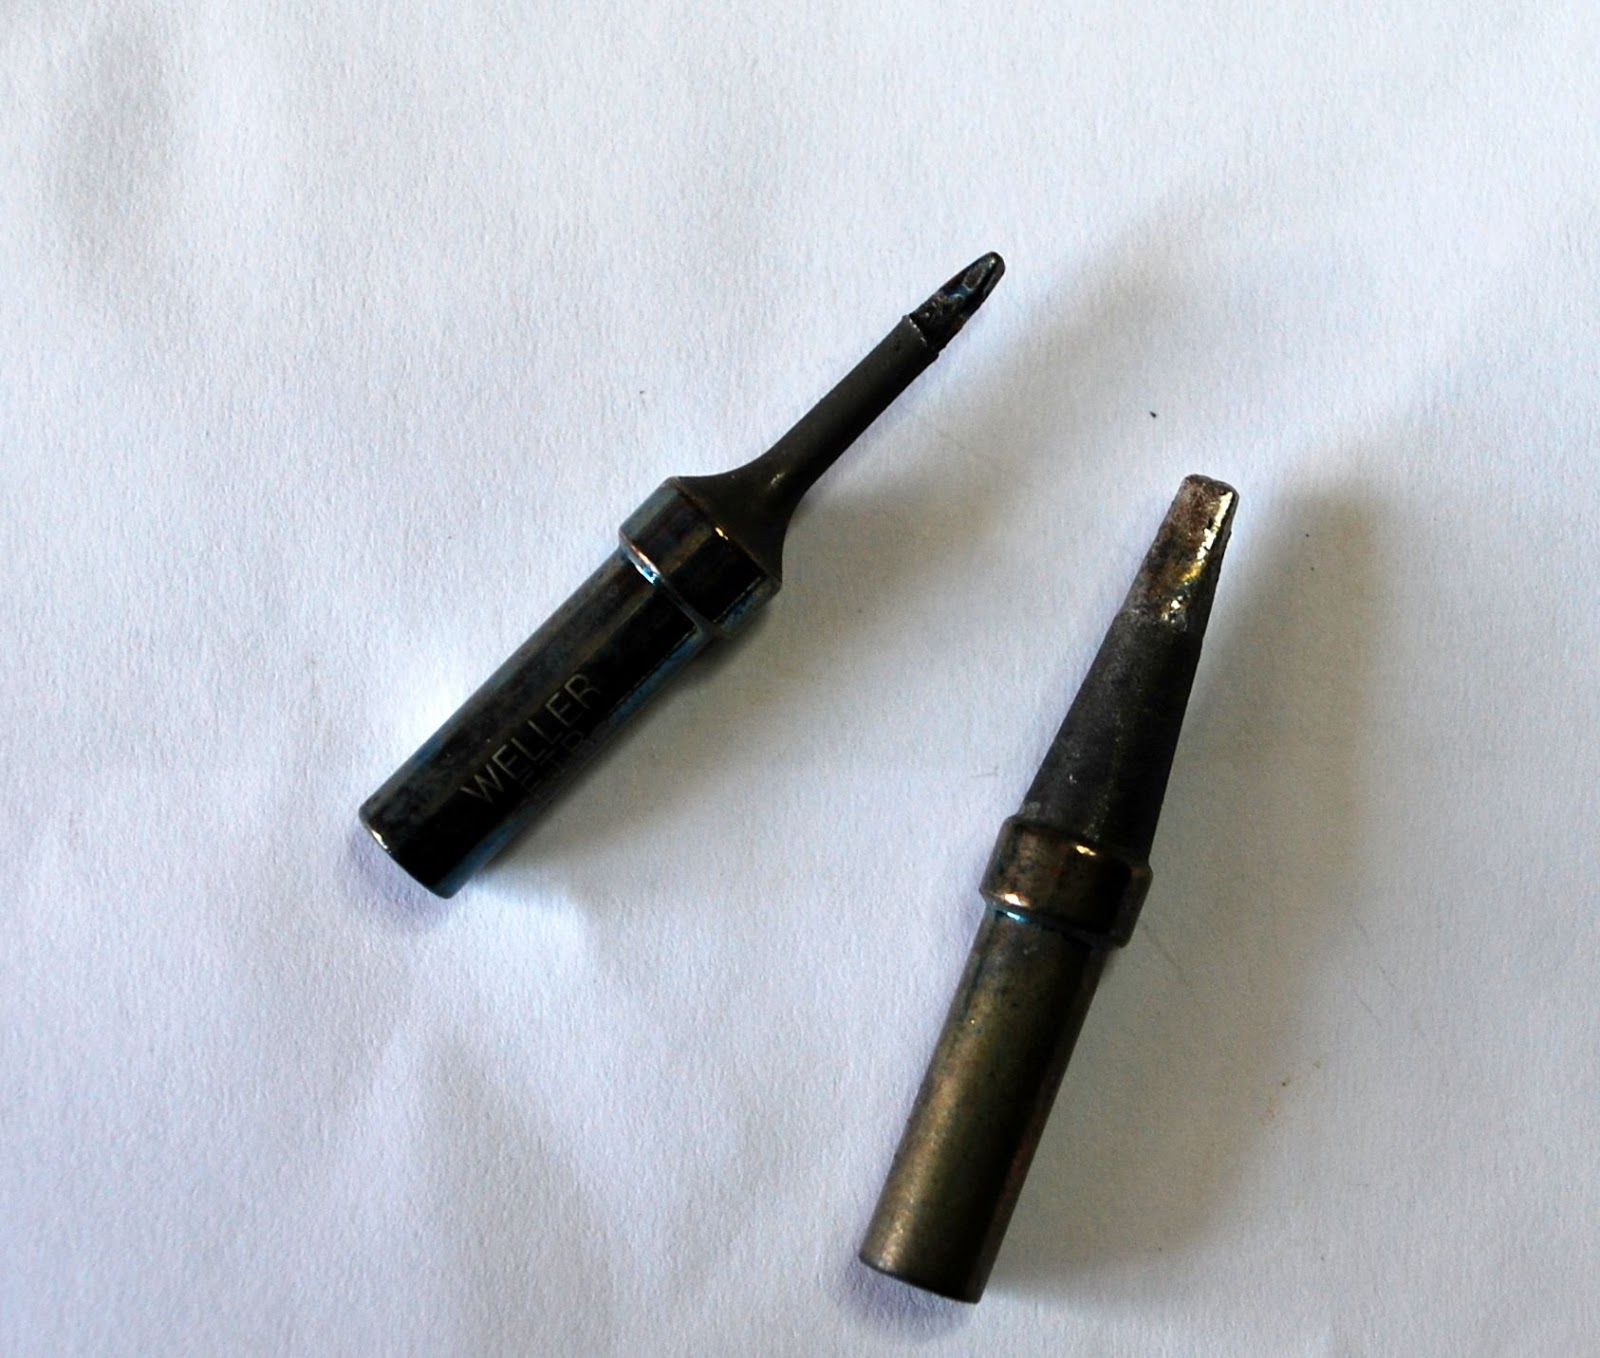 | |||
| ETR and ETC tips |
Coming soon how to wind the bi-filar toroid and transformer toroid.
Great weather and contesting.
This past weekend was a long weekend up this way with Monday being the holiday. My plans were to get involved in the North American QSO party contest on Saturday. This is a short 10 hour CW contest and when conditions are not that great a North American contest can be very attractive. To make a long story short I started and ended the contest on 15m. It was rough going and I found the bands really not be all that busy. The other contest problem was it was a gorgeous day outside!!! For some reason this year I just was not getting into the contest mode.
One observation I made before surrendering to the great weather outside was in Ontario our section is no longer ON. This changed a short time ago when the province was divided into 4 sections Ontario North (ONN), Ontario East (ONE), Ontario south (ONS) and finally greater Toronto area (GTA) In the contest I would attempt to send ONS but most of the time I could only get to ON....my "S" was interrupted with TU.
This is really was not the fault of the contester as I found N1MM auto filled my section as ON and not ONS. Not sure if my N1MM is up to date and that change has been made but it was tough getting the ONS across during the contest. My contest effort stopped about an hour into the it. I made 17 contacts but the weather was calling my name. I figured the good weather days are going to become limited and soon the snow and cold weather will be here.....then lots of time to spend on the radio.
This coming weekend is the Skeeter hunt contest. This is the second running of the contest. I found it was a nice way to spend 4 hours of your Sunday afternoon. You are encouraged to get out into the out of doors for this contest. This year if you can operate beside a body of water you get bonus points!! I have scouted out two locations close to home were water (river) is....have to make my mind up as to where I will be heading. I had a look at the long range forecast today and Sunday is looking great!
One observation I made before surrendering to the great weather outside was in Ontario our section is no longer ON. This changed a short time ago when the province was divided into 4 sections Ontario North (ONN), Ontario East (ONE), Ontario south (ONS) and finally greater Toronto area (GTA) In the contest I would attempt to send ONS but most of the time I could only get to ON....my "S" was interrupted with TU.
This is really was not the fault of the contester as I found N1MM auto filled my section as ON and not ONS. Not sure if my N1MM is up to date and that change has been made but it was tough getting the ONS across during the contest. My contest effort stopped about an hour into the it. I made 17 contacts but the weather was calling my name. I figured the good weather days are going to become limited and soon the snow and cold weather will be here.....then lots of time to spend on the radio.
This coming weekend is the Skeeter hunt contest. This is the second running of the contest. I found it was a nice way to spend 4 hours of your Sunday afternoon. You are encouraged to get out into the out of doors for this contest. This year if you can operate beside a body of water you get bonus points!! I have scouted out two locations close to home were water (river) is....have to make my mind up as to where I will be heading. I had a look at the long range forecast today and Sunday is looking great!
Contest wall paper…….
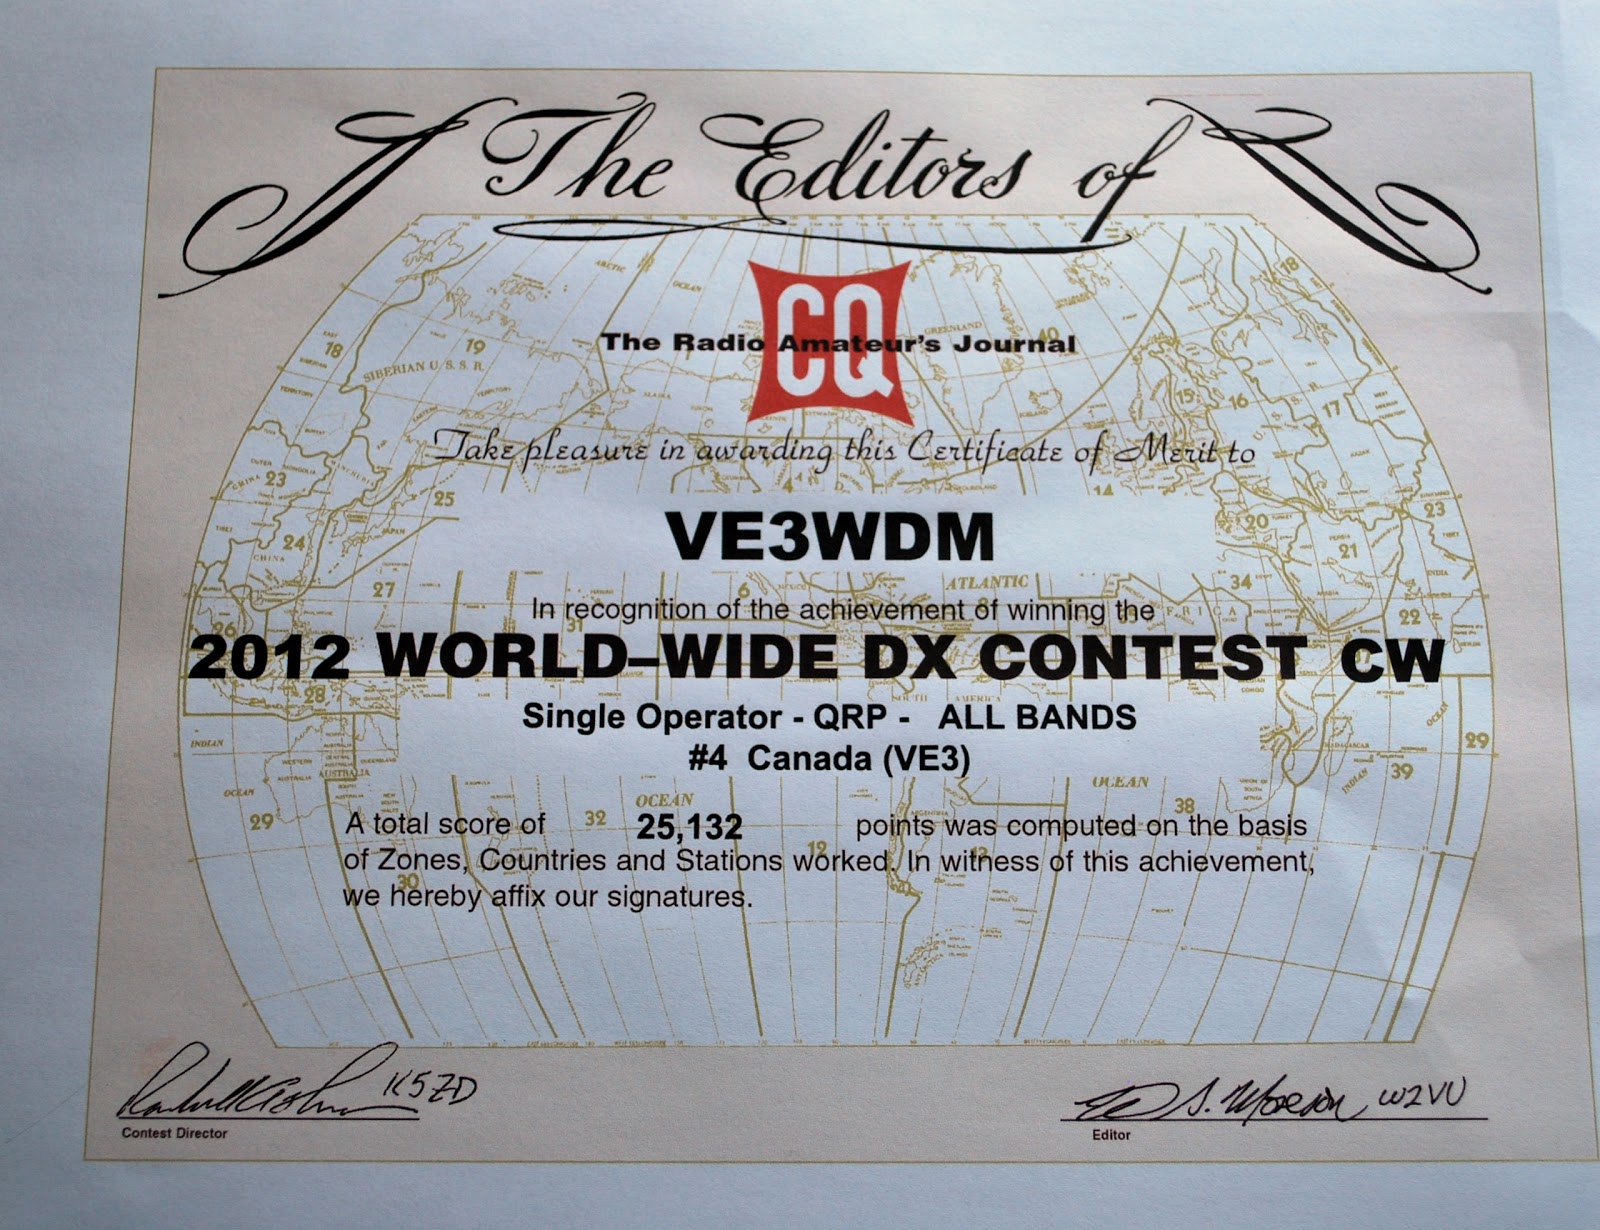
Just a short time on the radio
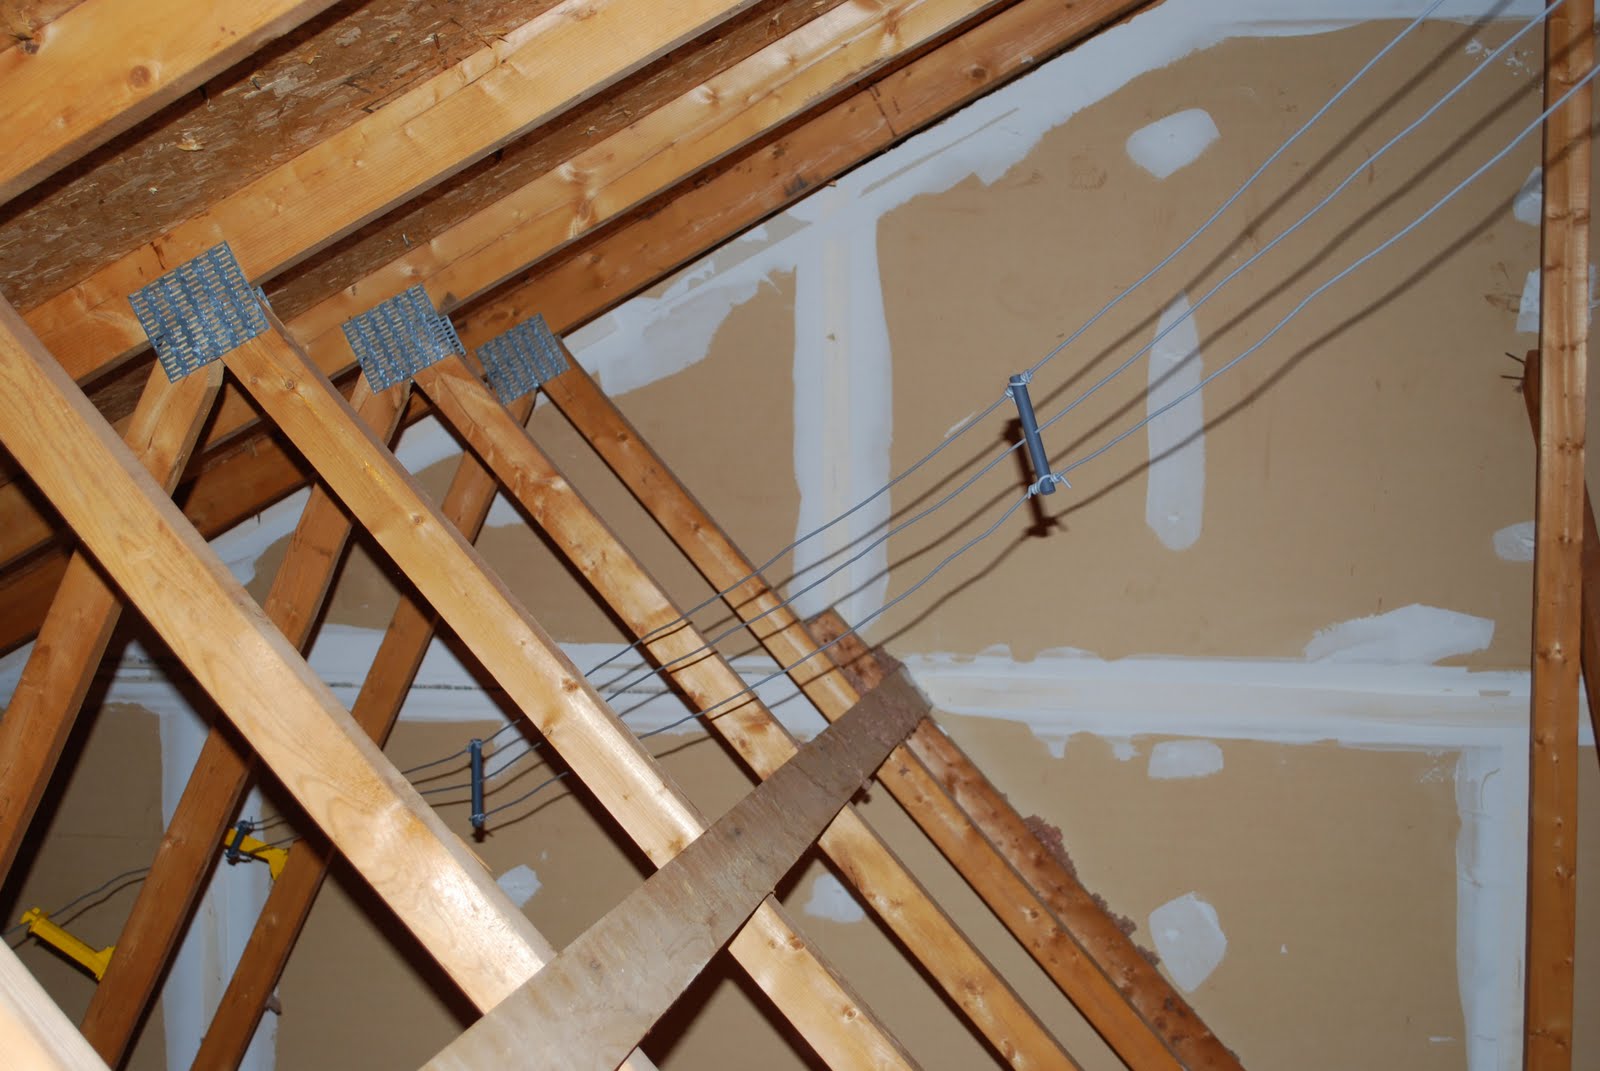 |
| The attic dipole is working it's magic agian! |
Have a good week everyone
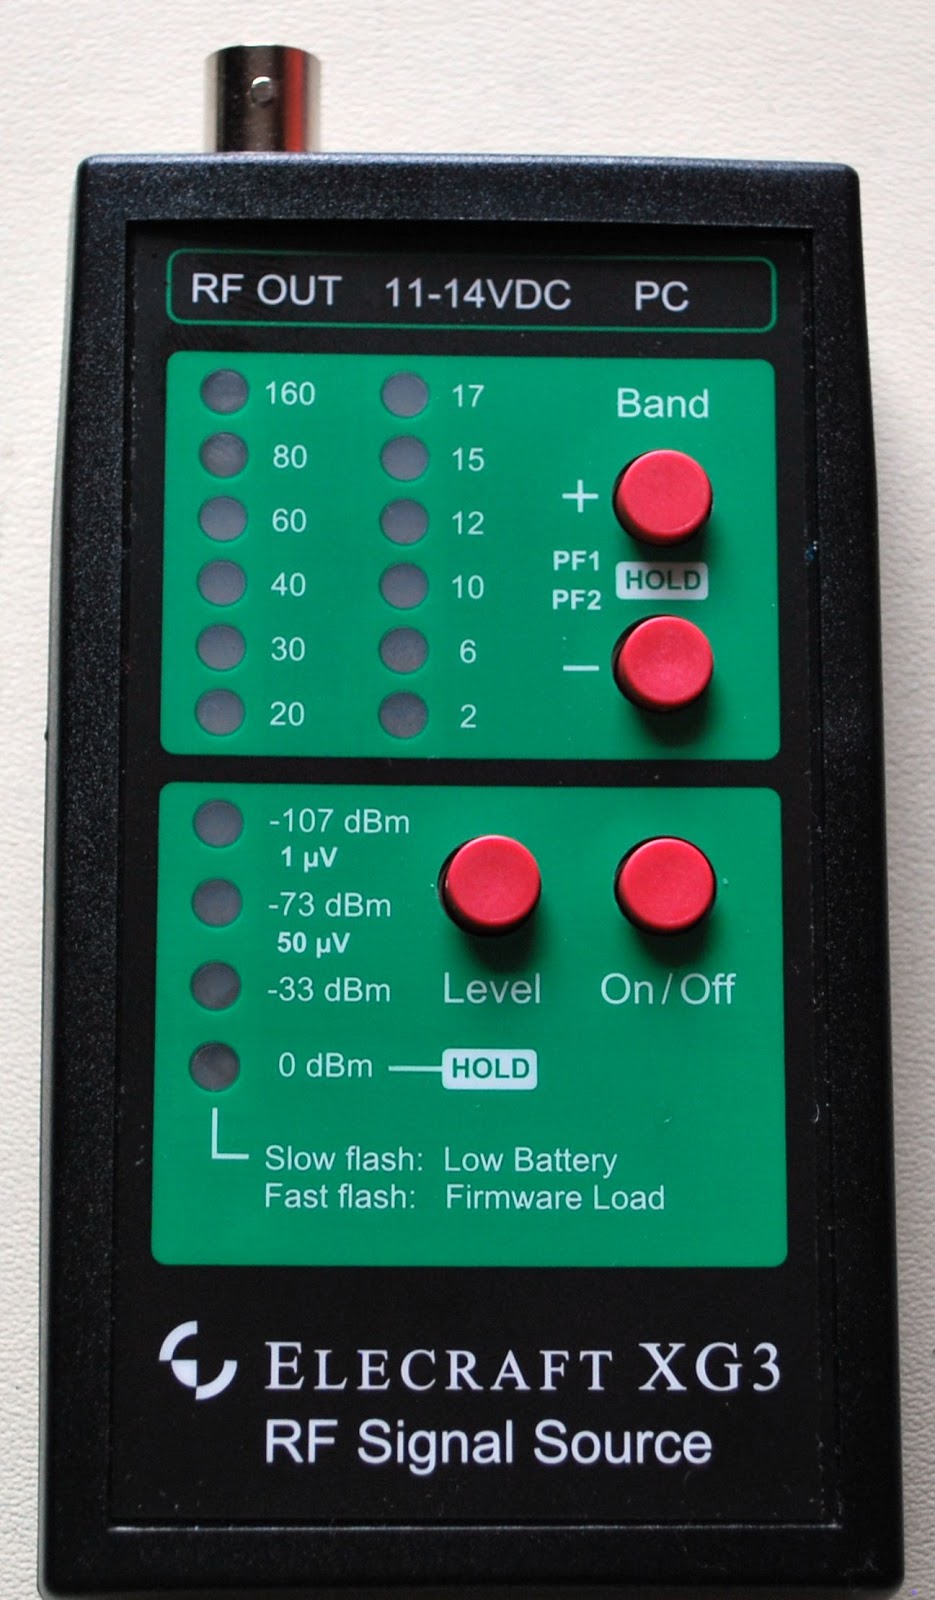
When simple turns to exhausting
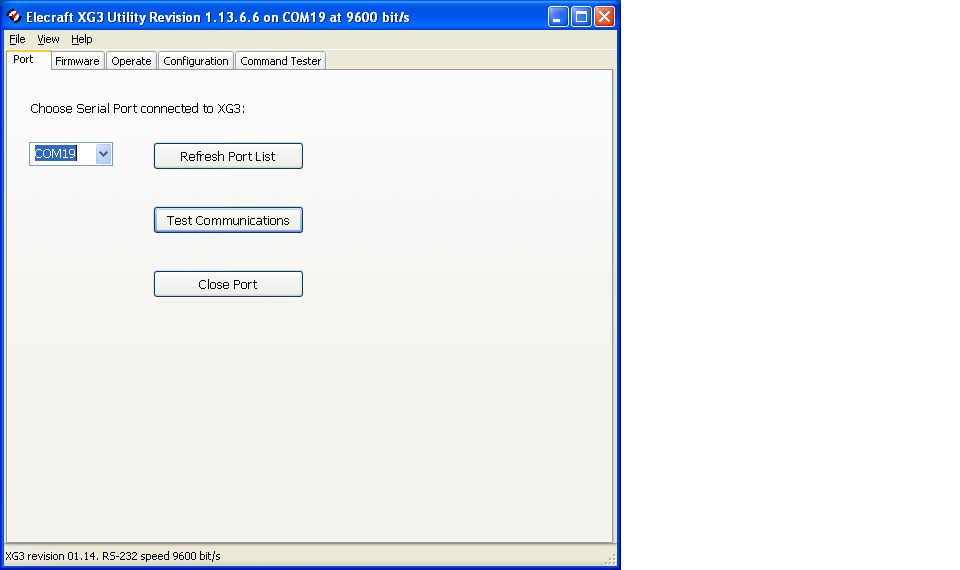 |
| So far so good but Murphy shows up! |
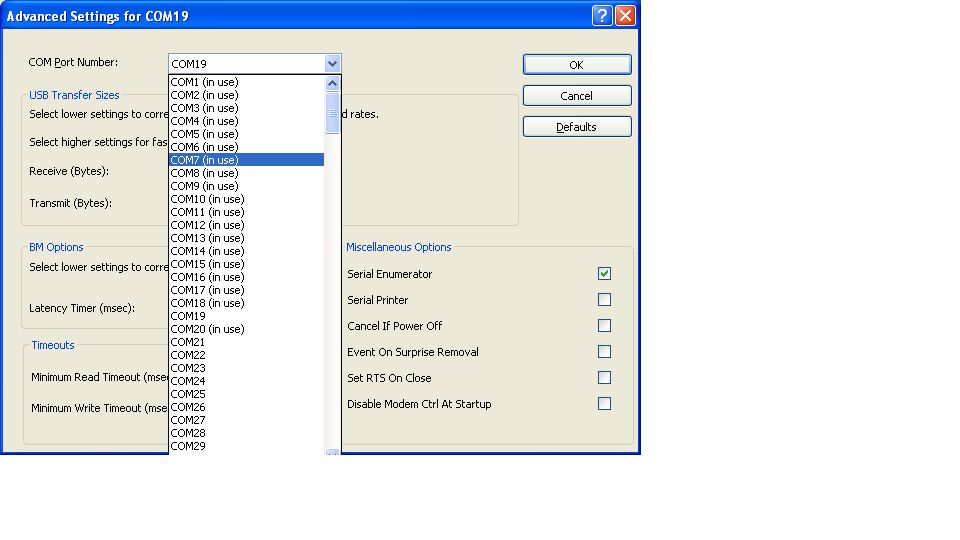 |
| Not able to use available com ports |