Author Archive
 Happenings over the last few weeks
Over the past few weeks I have been able to get on the air during the evenings for about an hour and this has paid off with some new DXCC's. I have been finding a spot on one of the clusters (a DXCC I am in need of) from either DX Watch or the data base in DXLabs spotcollector software. Tuning to that frequency but in the past if I heard nothing I just moved on to another spot. Now I have been sitting on the frequency listening whilst doing other things on the computer....like this post. I have found that as conditions change the static breaks and the new country comes into focus!! At times I have had to use my Audio Peak filtering (APF) which works great to bring the new contact up from just above the noise level. There have been times when I should had acted faster, like the time Somalia broke through the static. By the time I "filtered up" it was only static and no Somalia!!!
D3AA from Angola: I had seen for many evenings D3AA on the spotting networks, I found either there was a huge pileup trying to contact him OR he just was not there even after laying in wait on the frequency for 15 minutes or so. Then one evening as I was looking at my Elecraft P3 pan-adapter, I noticed a signal to one side of the frequency I was monitoring. I spun the VFO and to my surprise it was D3AA calling CQ!!! He was just above the noise and I could copy him fine so I called and he came back to me first call with a 559 and he is in the log.

Below is a YouTube By PY1FR showing the APF on the K3 in action.
Below are some of the contacts I had made along side a little background
D3AA from Angola: I had seen for many evenings D3AA on the spotting networks, I found either there was a huge pileup trying to contact him OR he just was not there even after laying in wait on the frequency for 15 minutes or so. Then one evening as I was looking at my Elecraft P3 pan-adapter, I noticed a signal to one side of the frequency I was monitoring. I spun the VFO and to my surprise it was D3AA calling CQ!!! He was just above the noise and I could copy him fine so I called and he came back to me first call with a 559 and he is in the log.
FP/VE2XB St.Pierre& Miquelon: These are French islands off the coast of New Newfoundland...Here in Ontario that is like next door when it comes to ham radio. It surely would be an easy catch and one for the DXCC books.....WRONG......The propagation gods were not smiling down on me at all. Most of the time I could hear the pileup trying to work FP/VE2XB but that was it. Every night he was on and the spotting network had him being spotted from all over but could he be heard here at VE3WDM...NO!! It was with this contact I found my new strategy, to just sit on frequency and wait and see. One evening in came FP/VE2XB and after a few calls I got him in the log book.
UPDATE....I UPLOADED THE WRONG SOUND FILE....ALL IS GOOD NOW.
Here is an audio sample from my K3 of a DX-pedition operating split ( calling on one frequency and listening on another frequency) using the main and sub-receiver. You can very clearly hear the pileup in one ear and the DX in the other ear...you have to have some headphones on to hear this. There is a point were a station is calling on the DX's calling frequency.
This is just but another feature of the k3 that allows me to snag DX-peditions and add them to my DXCC count.
5N7M Nigeria: This contact was booming in and I called and he came back to me with 599 and that was it. Each night I have seen 5N7M spotted he has been booming, I wish all the DX was like this...oh well it would take the fun and challenge out of it.
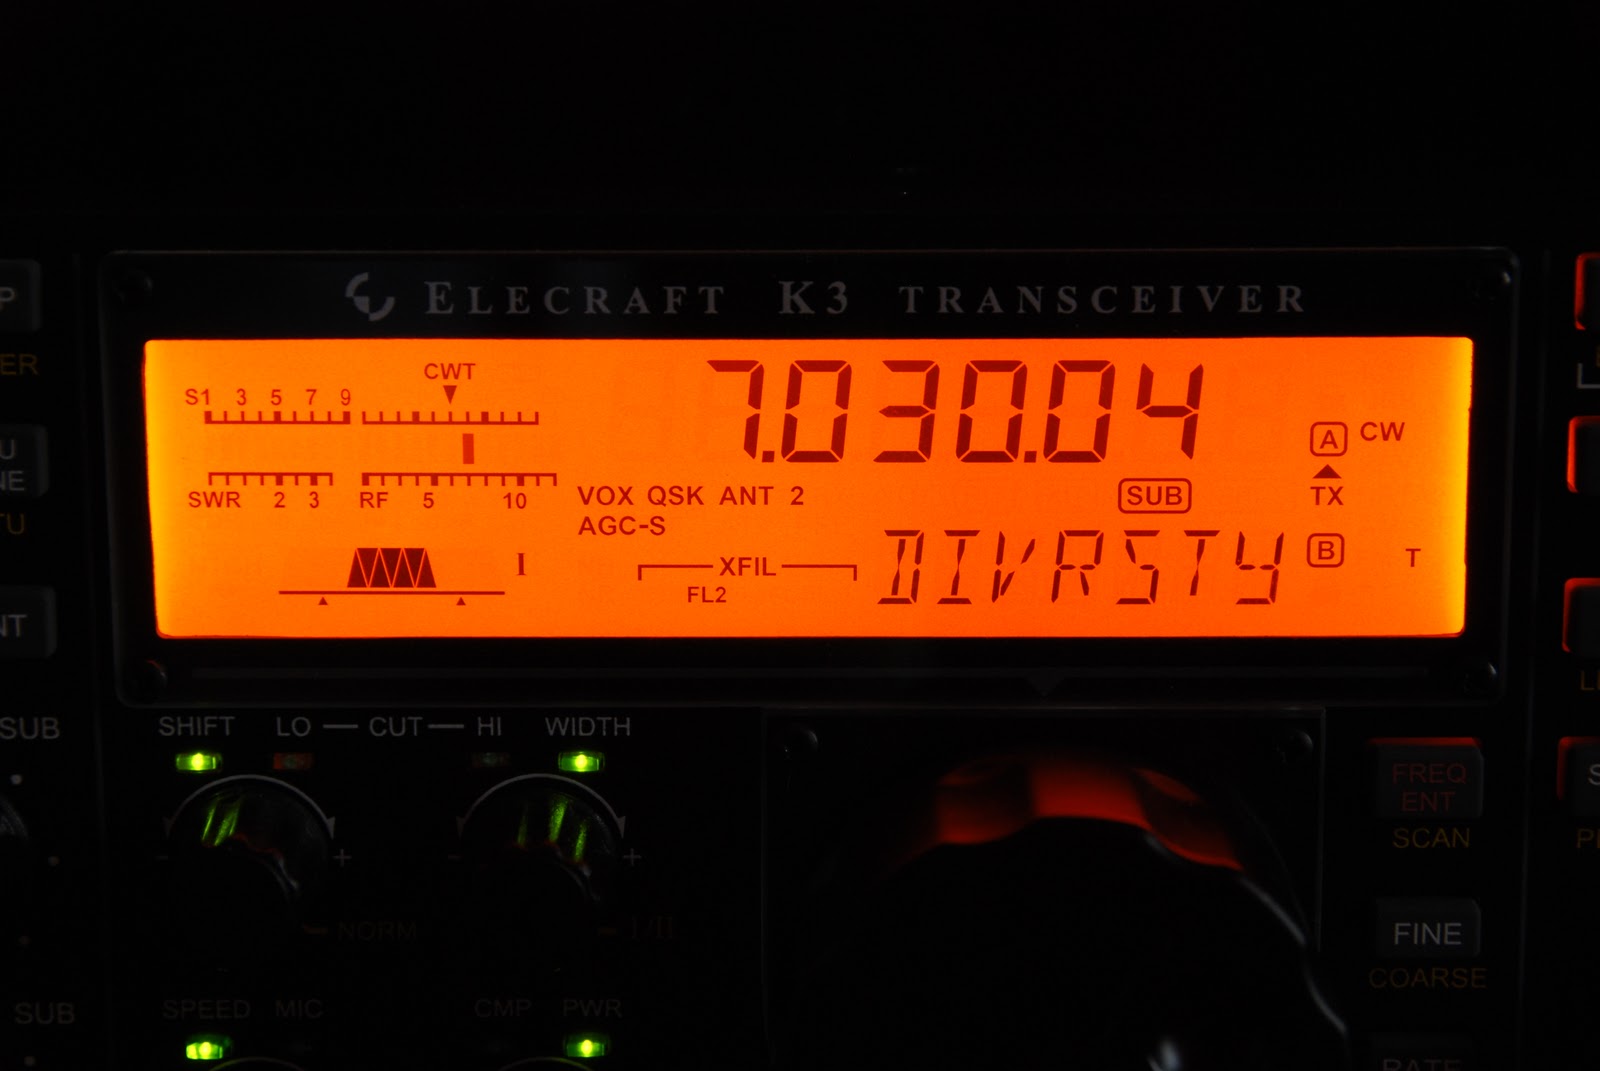
OY1CT Faroe islands: This group of islands is just above England and are Danish. To get this call into the log I had to pull out all the stops. He was fading in and out but when his signal was good it was about an S8 and then moments later just above an S2 noise level. I ended up making the contact when he was in around S3. I found I was watching my monitor that was displaying the feed from the Elecraft P3 pan-adapter. I could see his signal in the waterfall and it was then time to try the Audio Peak filtering along with Diversity receive. That did the trick here at the receive end but was my signal going to make it to him?? I gave him a call and he came back to me........well so I thought.....have you ever have this happen....You want to make the contact so bad that you "think" you hear your call but in fact it's just background noise?? This was what I thought was happening until he gave my call out again and this time he was S7 so the contact then was completed at my end.
Two years of blogging…………


Once again it is the readers time to give me some input......
What they would like to see more (or less) in the blog?How is the flow of the blog?
Are there topics you enjoy more than others in the blog?
How is the setup of the blog sit with you?
Finally any other input you would like to add don't hold back let me know!
A VERY SMART charger
 |
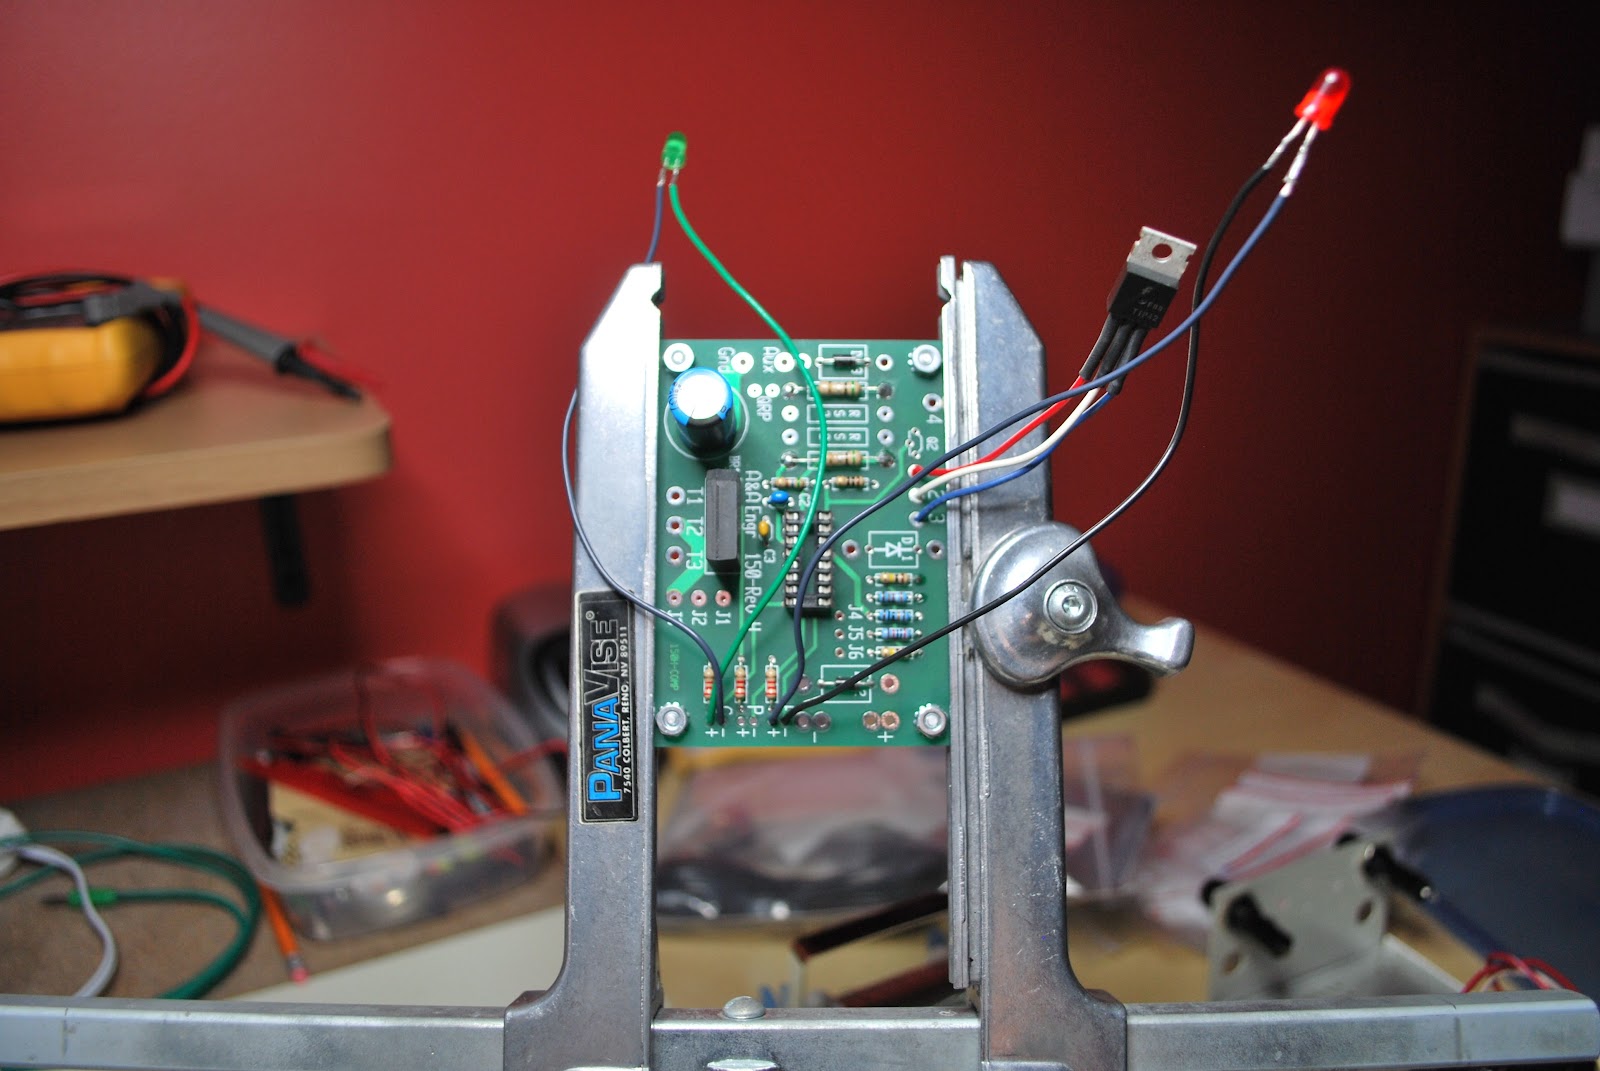
| Charger ready for testing |
1. The charger can be connected to the battery indefinitely and no harm will come to the battery. Once the battery is fully charged the Smart charger will remain in maintenance mode delivering a float charge. Therefore the battery cannot be over charged.
2. The charger can stay hooked up to the battery while operating the radio if you so choose to do so. The charger will enter the bulk mode to help with the load of the radio operating.
3. When the charger is connected it automatically determines the type of charge the battery needs.
 |
| Close to done but no heat shrink on LED |
 |
| Top view with no jumpers or D1 ops |
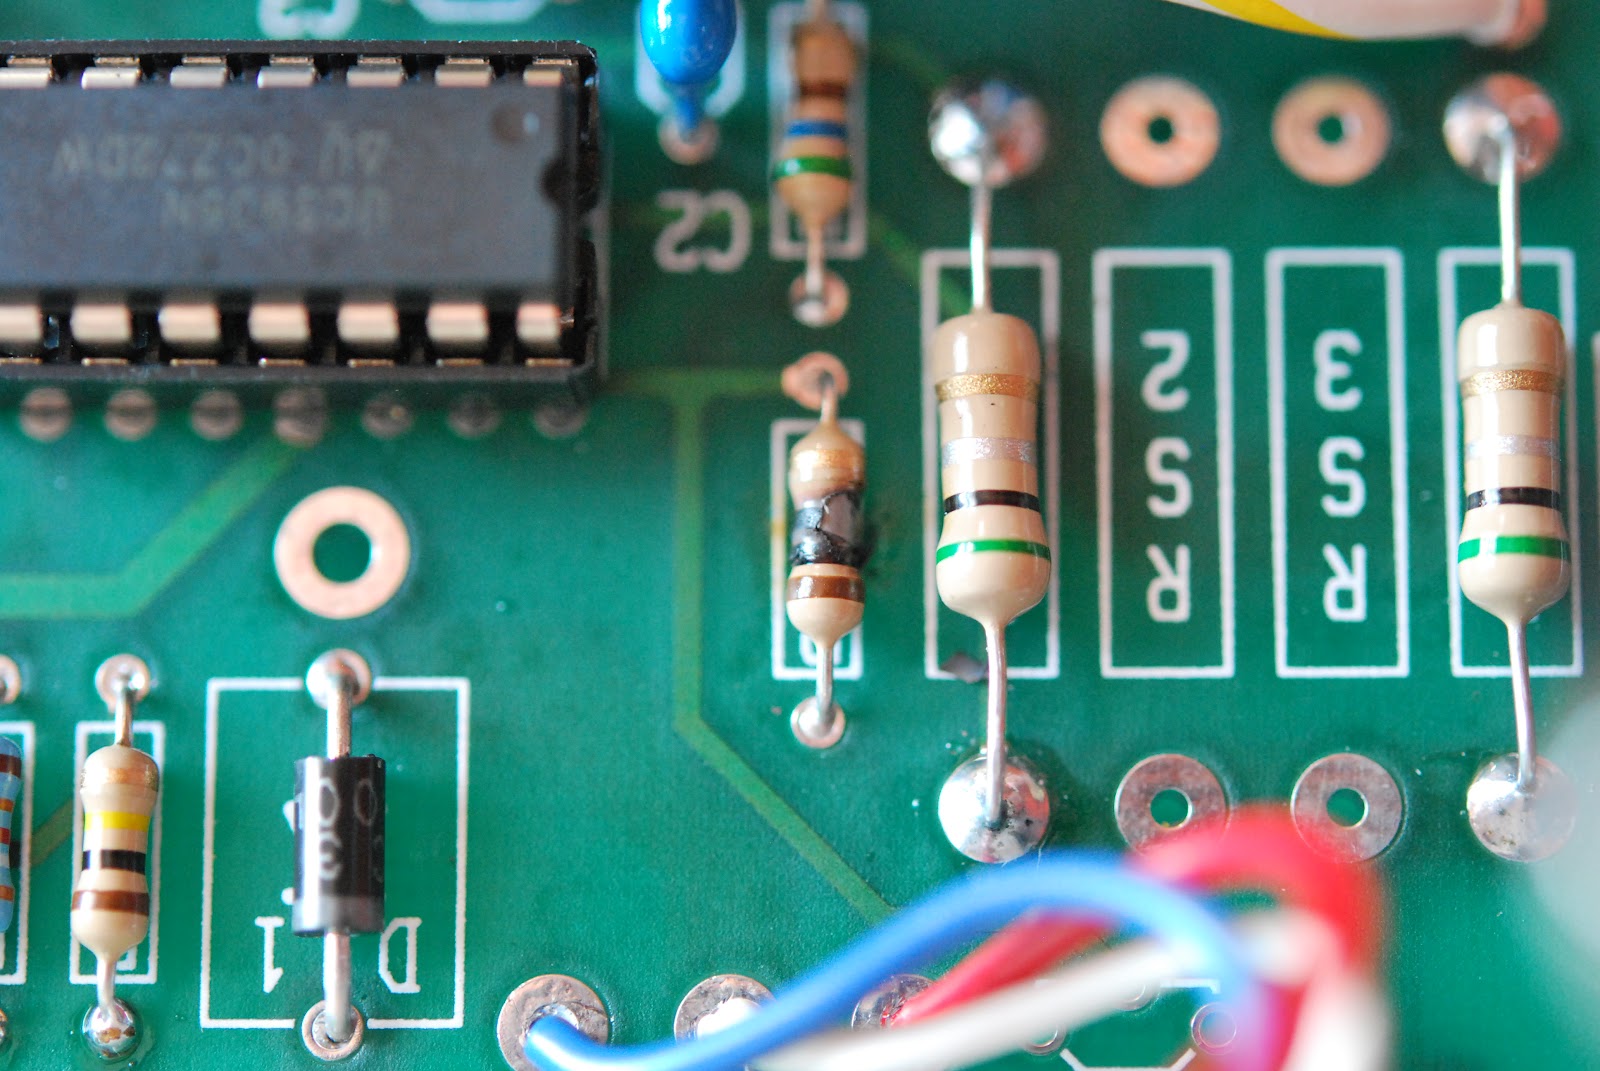 |
| Fried resistor |
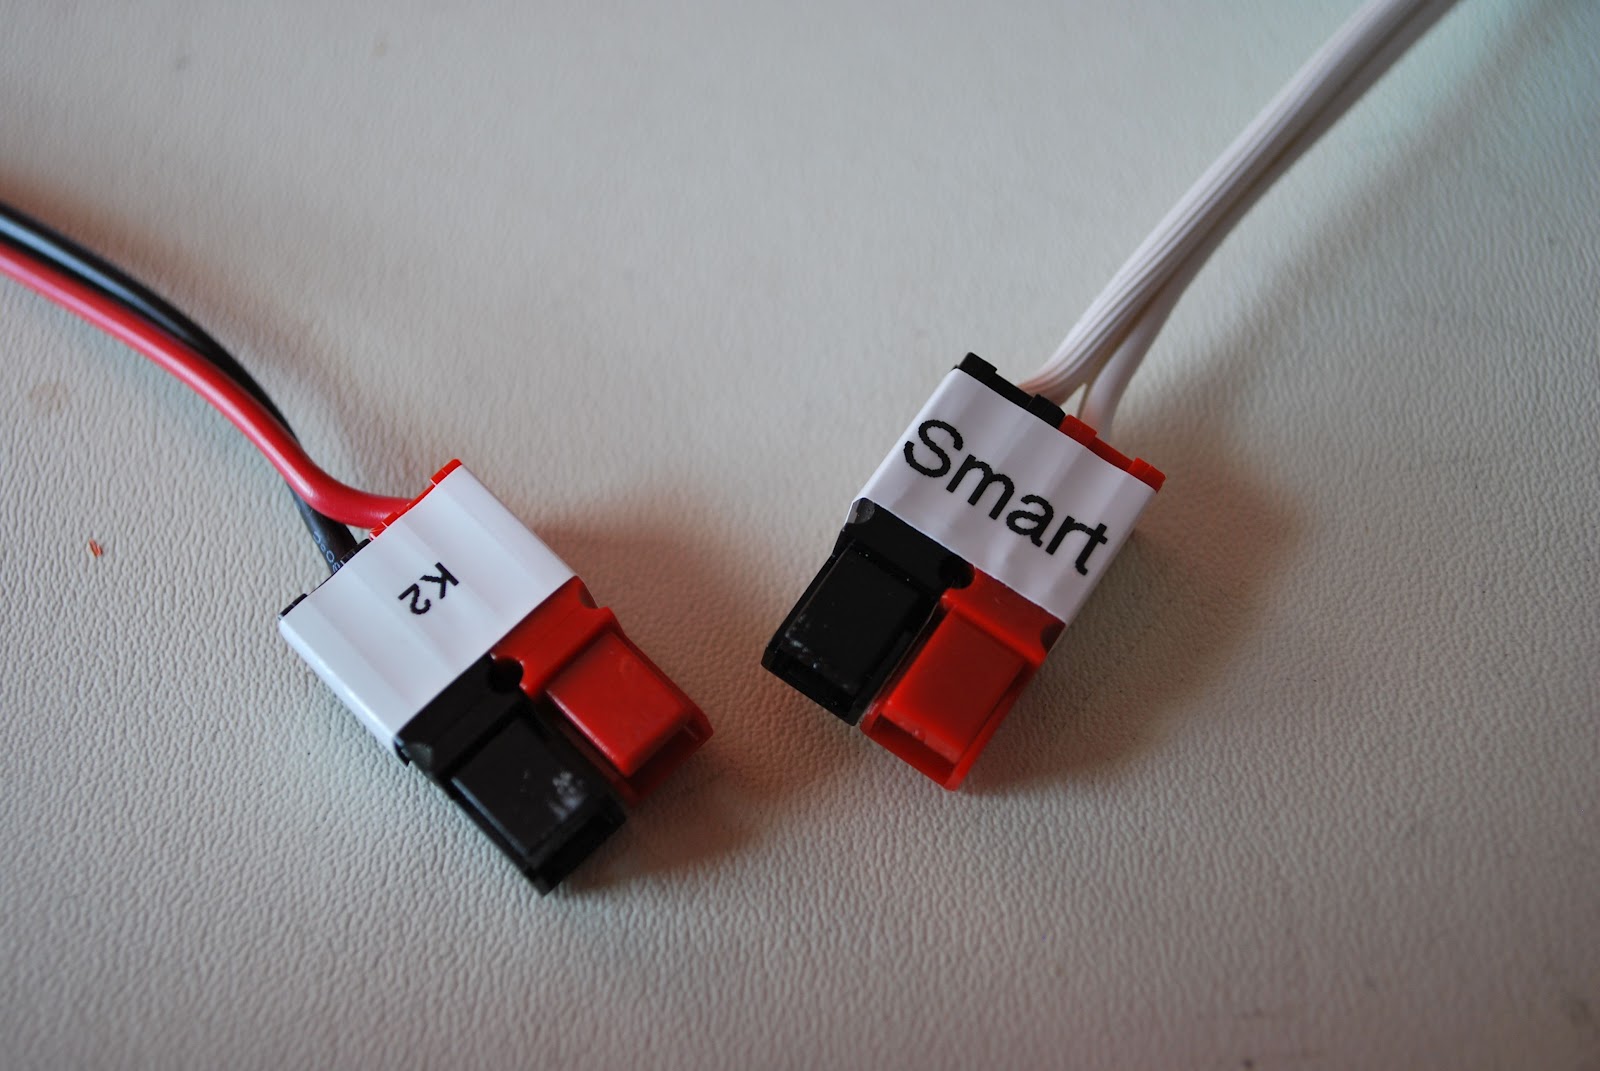 |
| Decided to use Anderson conn's |
either:
1. You are in measuring in the wrong place.
2. You have made a mistake in the assembly.
In either case nothing has been toasted
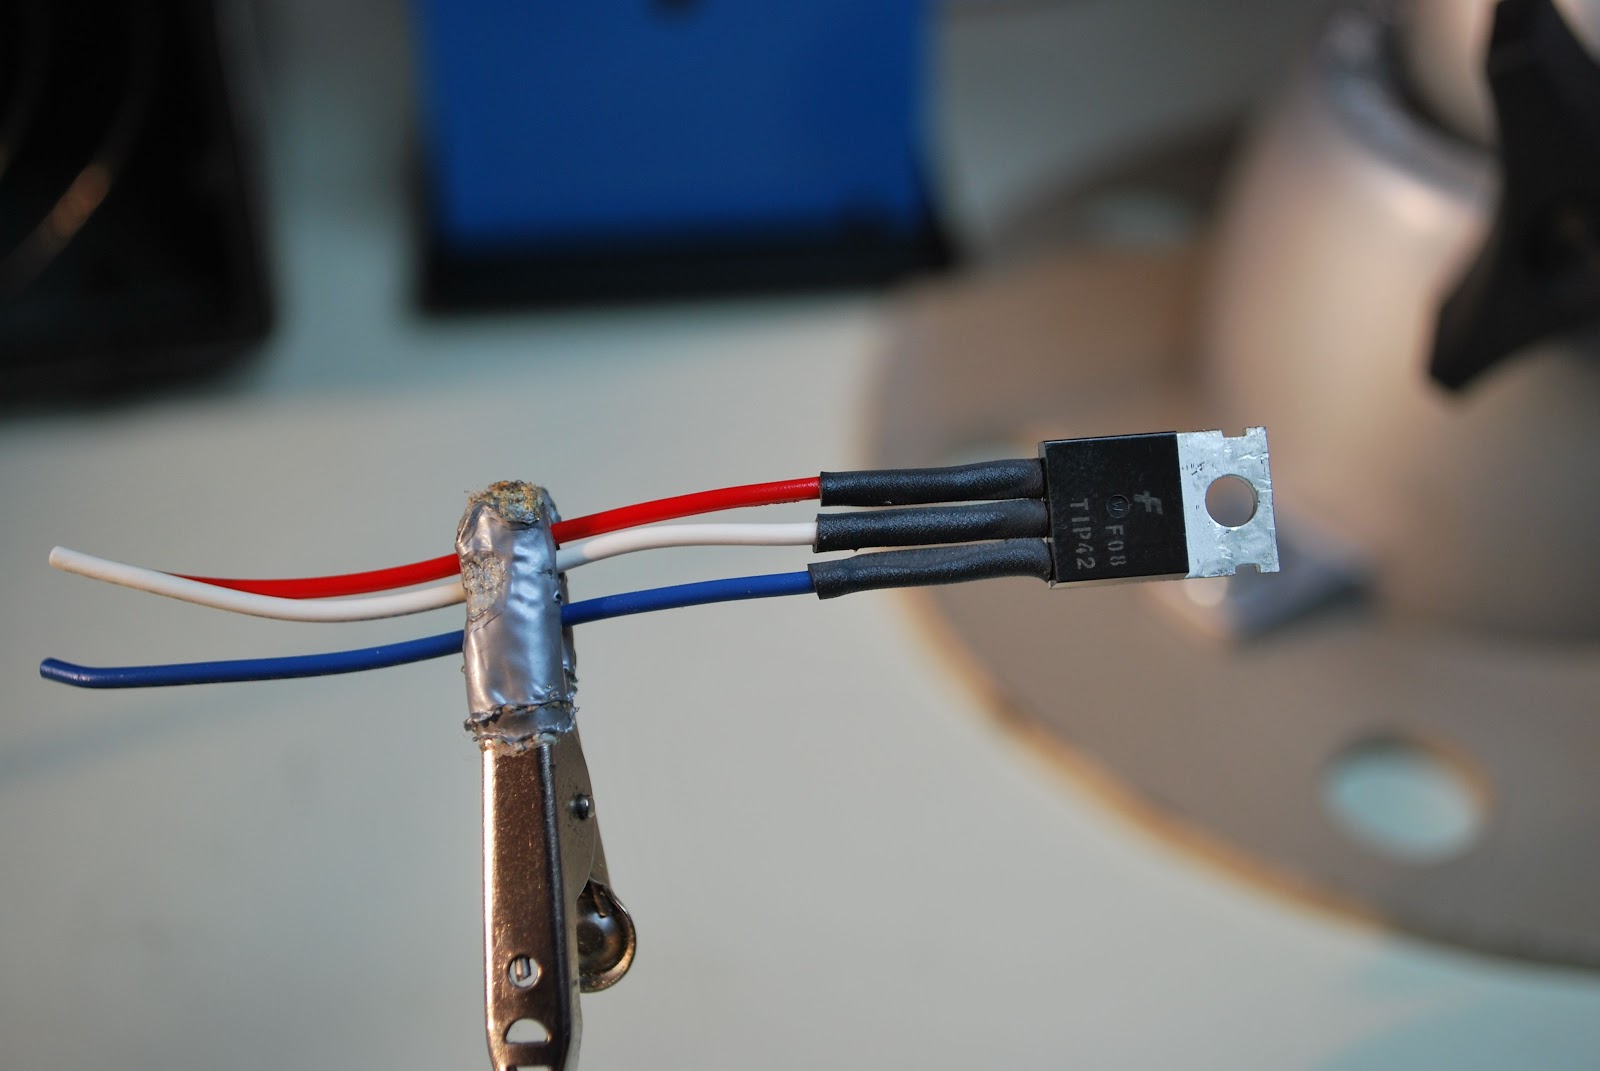 |
| Some heat shrink fun |
1. The heat shrink tubing is very clearly stated to go on the transistor but it also should go on the leads of the LED's...that was not so clear and I have redo the LED's.
2. Make sure you add the jumper J1 to J2 in my case it is mentioned but off to the side of the instructions
3. There is no diode to be installed in D3 position, instructions just say install parts and there are is D1, D2 and D3. Just install the diodes (both are the same diode) one in D1 the other D2.
 |
| D1 needs to have the diode not D3 |
4. If you ordered the QRP version of the charger as I did you will get a separate kit that allows the charger to switch between two charging currents. Read those instructions and install the resistors they tell you too or you will end up removing resistors if you follow the main instructions then move to the add on kit instructions as I did.
5. When done remember the output leads will SHOW NO VOLTAGE UNLESS A LOAD IS APPLIED.
6. The document required to test the unit can be found at the link above under "test procedure". BUT when you do it be very careful!!!
Last weekend was a contest in the park.
 |
| The setup at the park |
It has been a Captchas morning!!!
 |
| Its been one of those days |
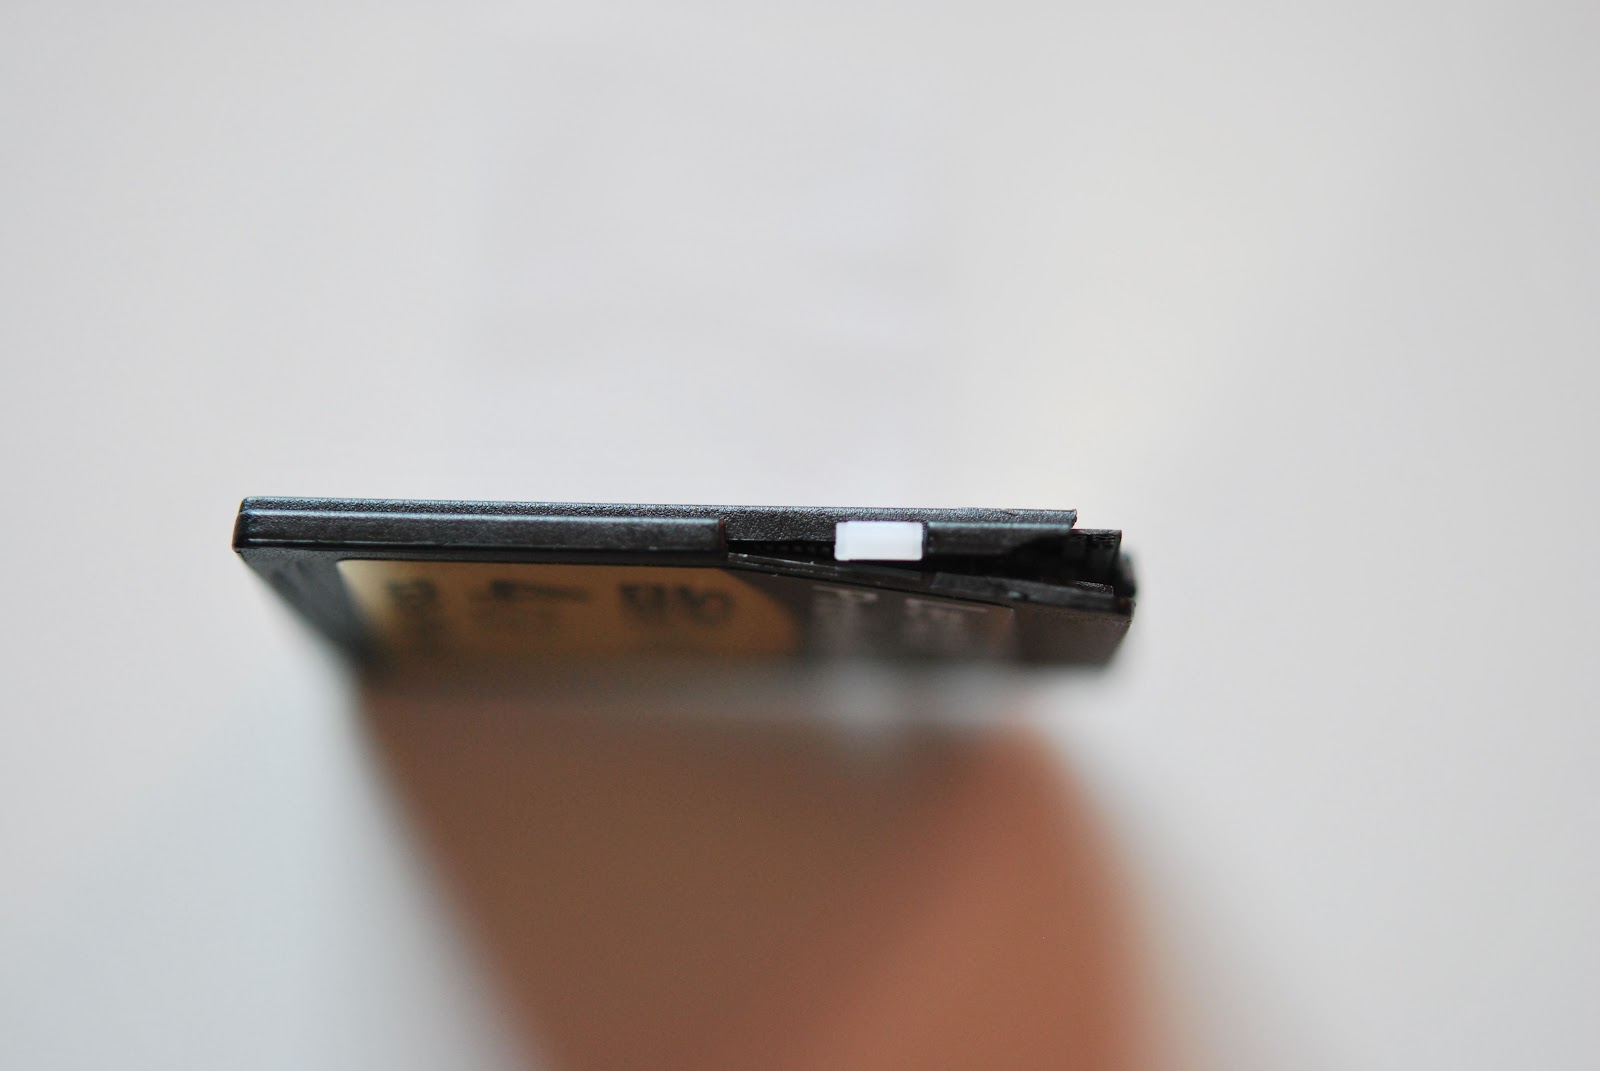
SD memory cards…great when they work!!!
 |
| Missing fingers on SD card |
Just like a sore tooth that gets better just before the dentist visit....the camera would work just fine at the camera store. Today the camera worked great and when I go home I wanted to email a contacts I had that turned into a very nice QSO.
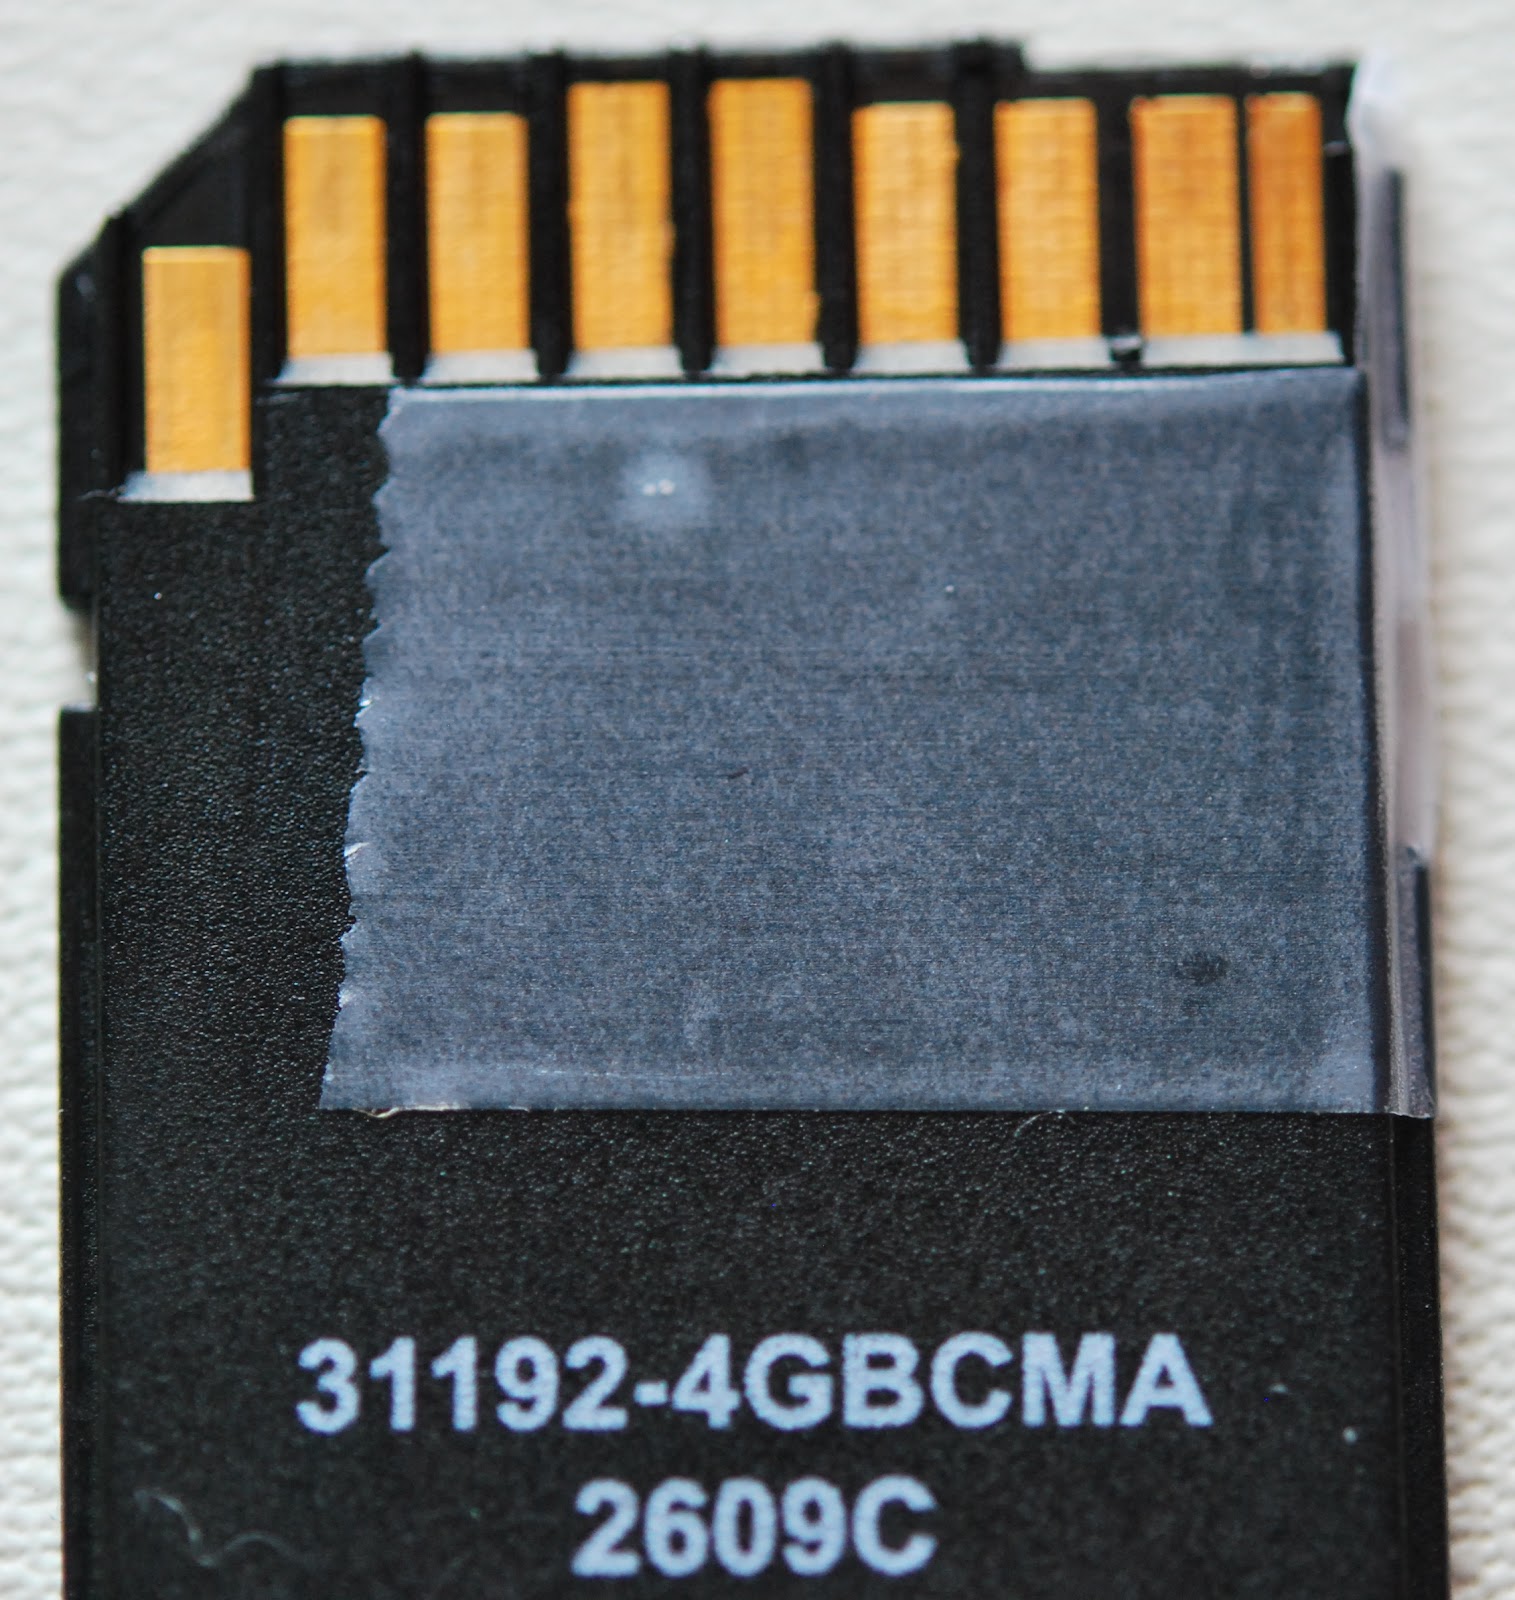
 |
| Seam problem |
Seemed the SD card knew I was in a hurry and wanted pictures to add to an email. The computer told me it could not recognize the memory card. The card was then put back in the Nikon D60 but now it too would not recognize the card either. GREAT here we go again I thought but after close examination I found the card to have some damaged fingers at the far right!!! I went on the internet and downloaded some programs that claimed they could recover pictures from damaged SD cards. I didn't have any luck with these programs other than them taking up space on my hard drive. I still was getting a
 |
| The fix until all was downloaded |
QRPometer case….
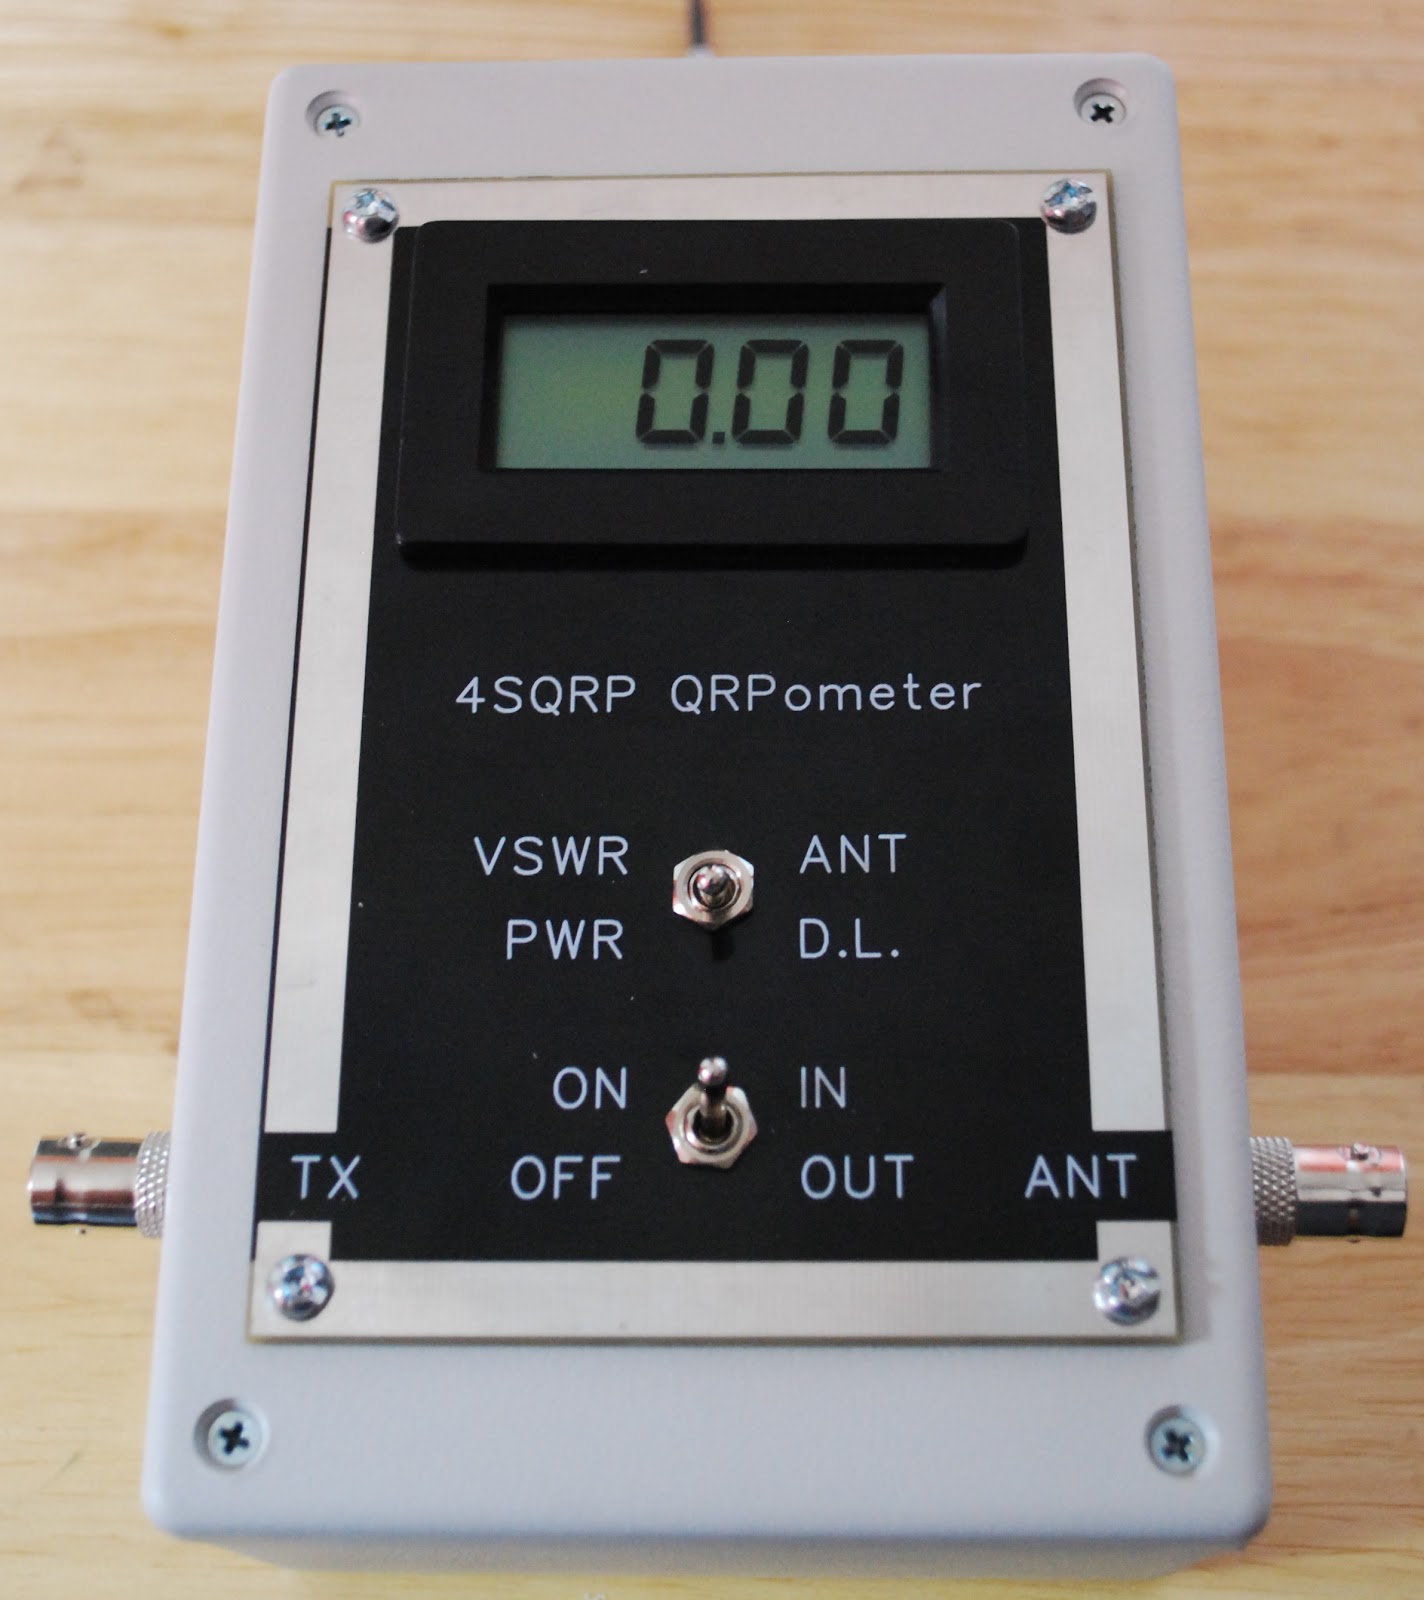 |
| Finished product |
A few months ago I built and blogged about my QRPometer build from the 4 state qrp club its a great kit. In the post there was only 2 con's that I could think of regarding the kit.
1.The TX and Antenna connections were RCA and not BNC, the kit now ships with the RCA to BNC adapters.
2. The meter did not come with a case and the rear of the meter had an exposed circuit board. I felt this left the meter vulnerable to damage.
My solution to problem number 2
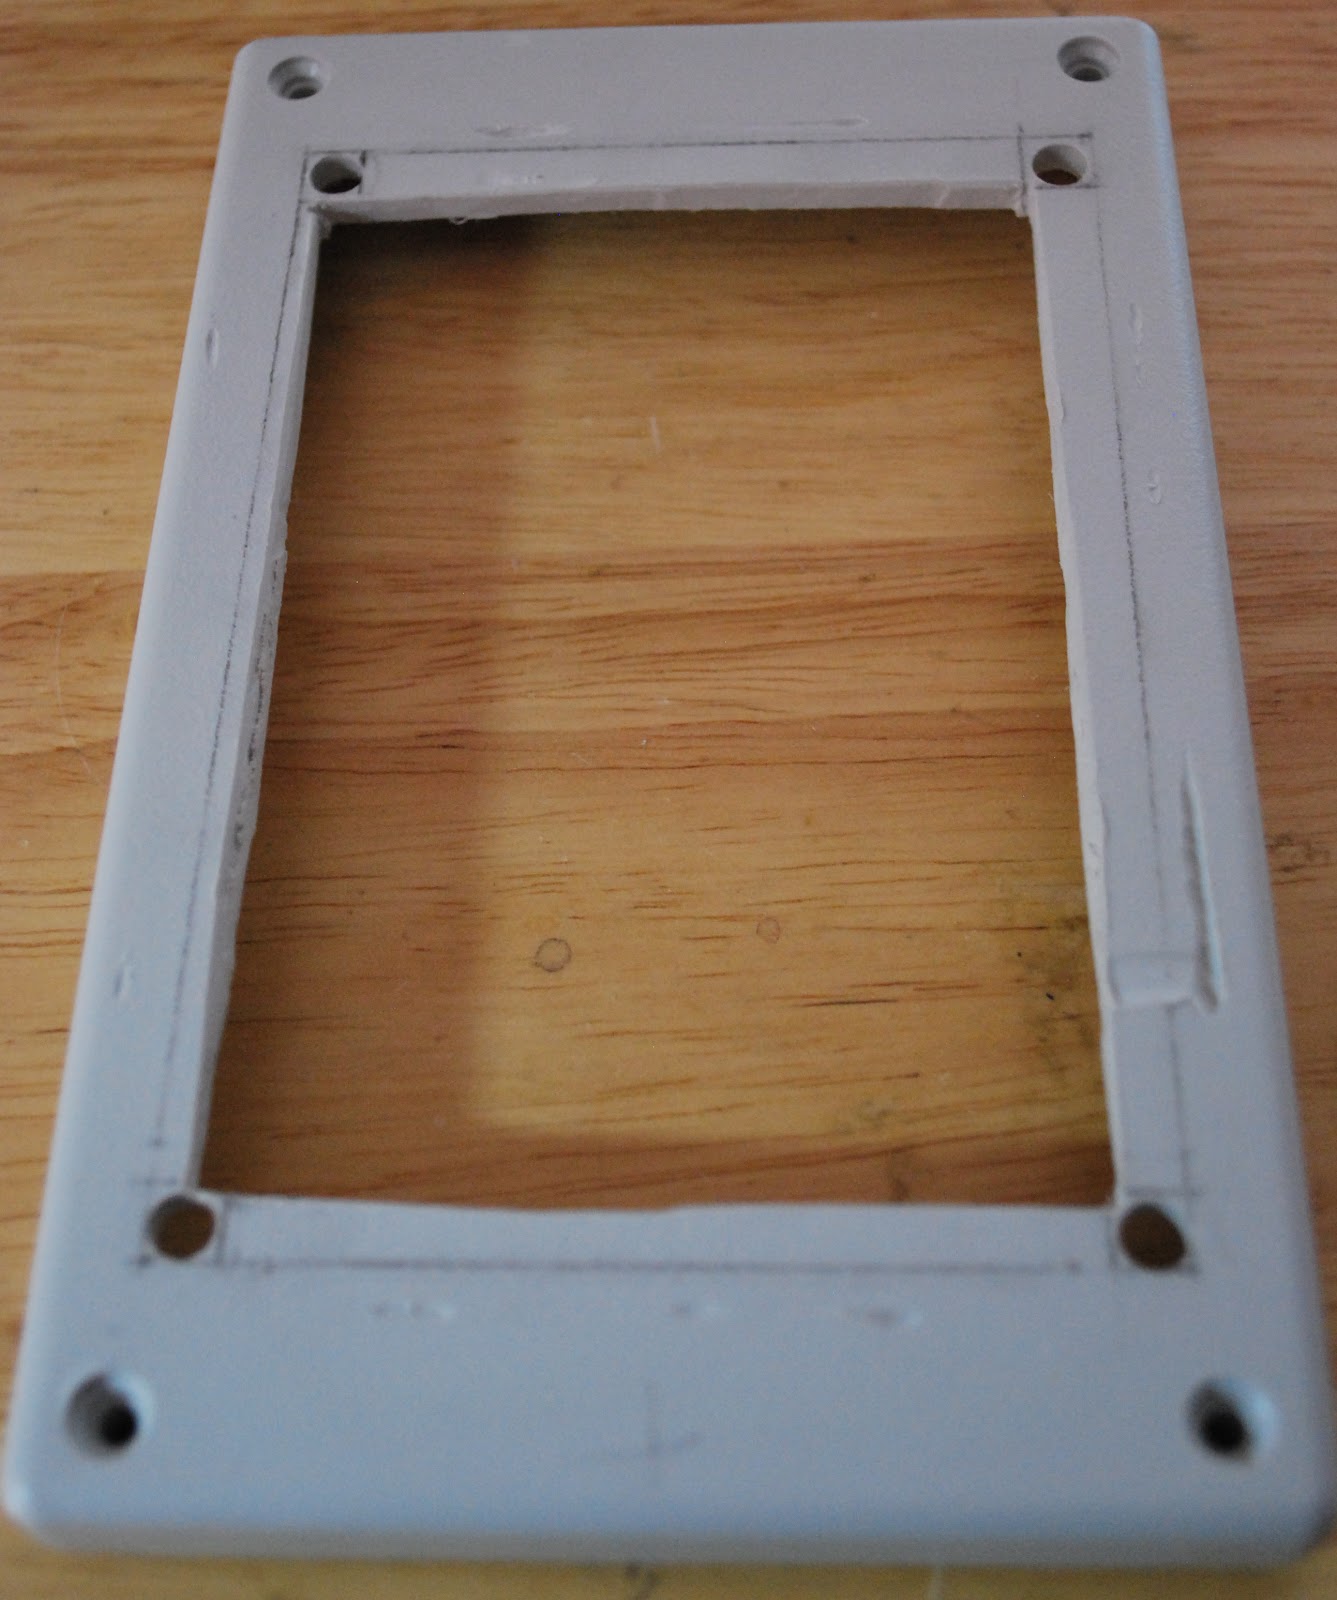 |
| first attempt....not good |
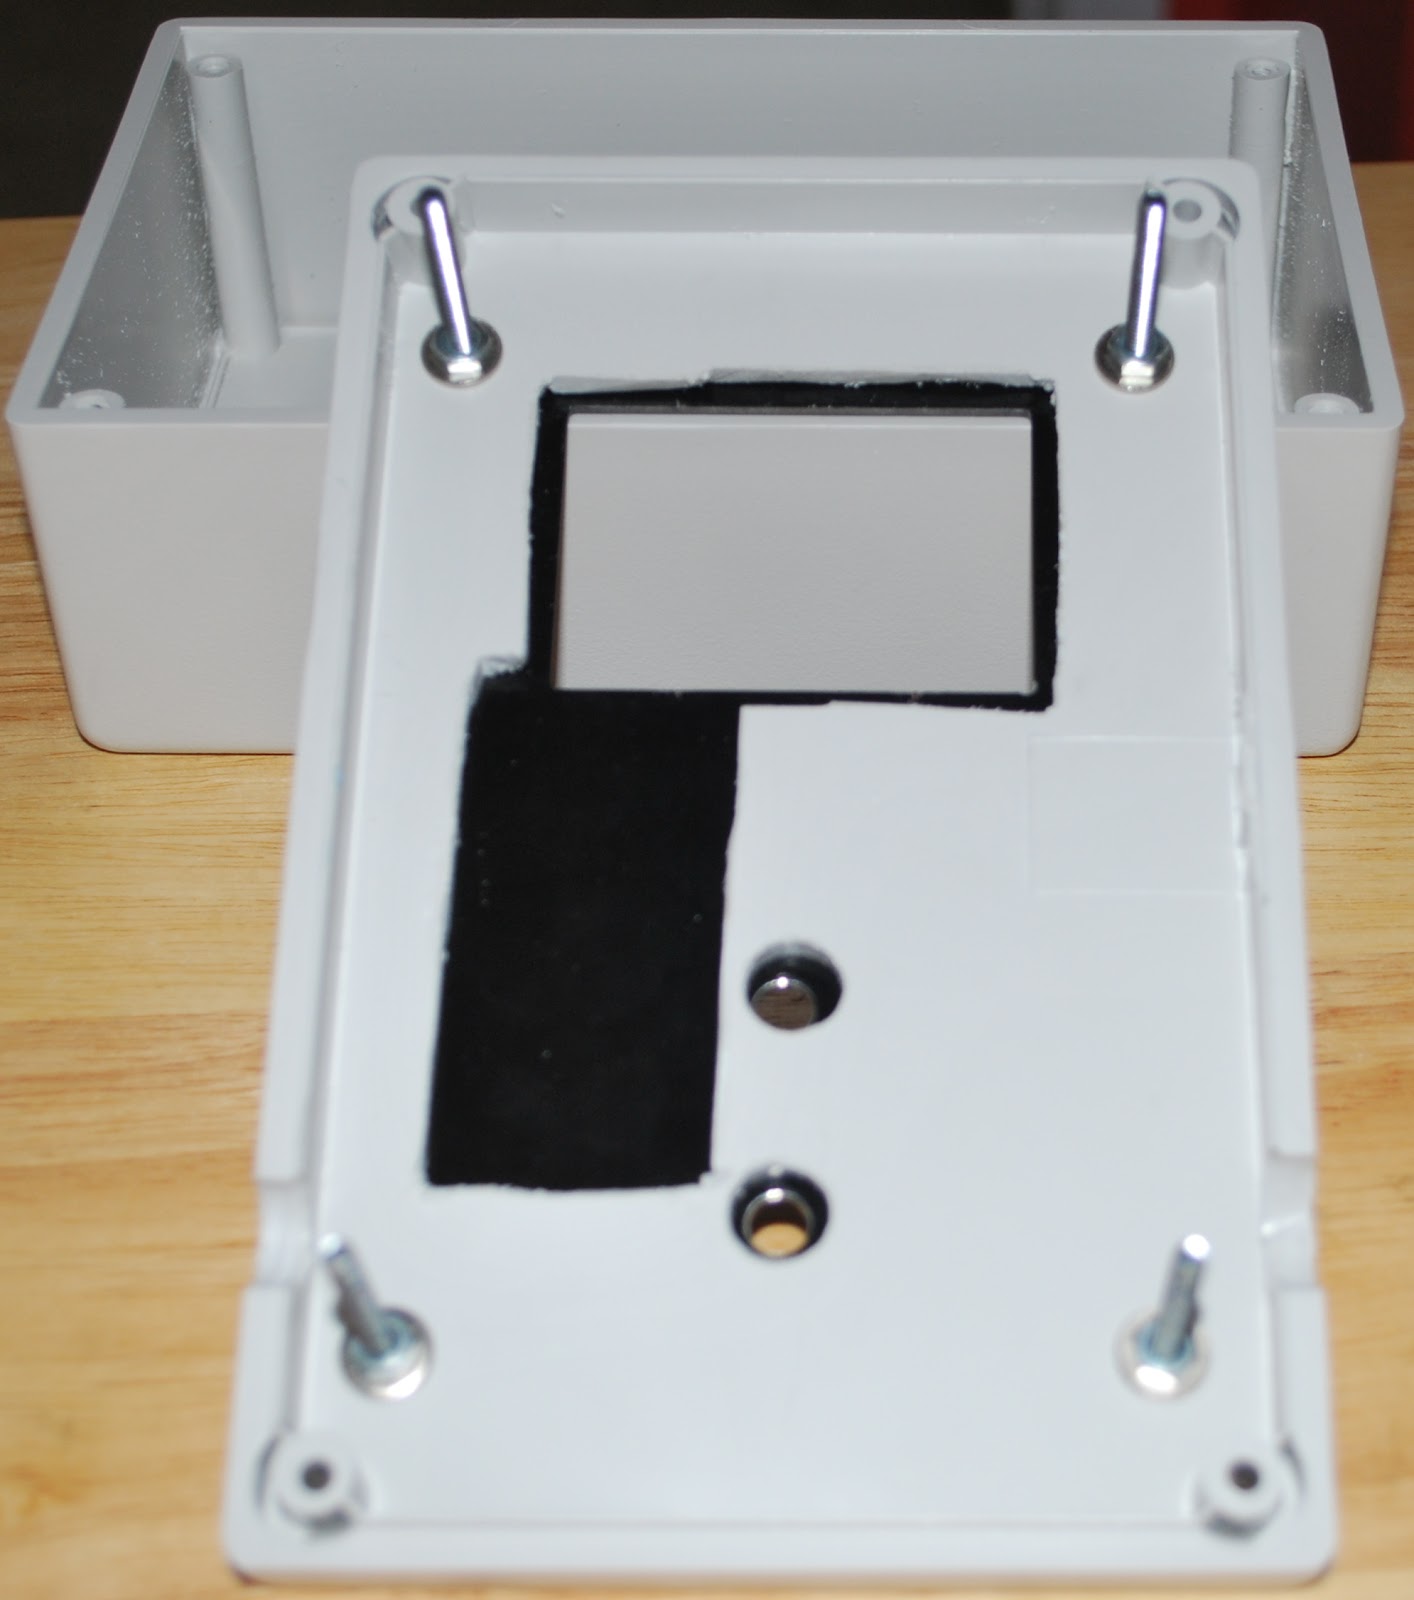 |
| New opening and front plate on |
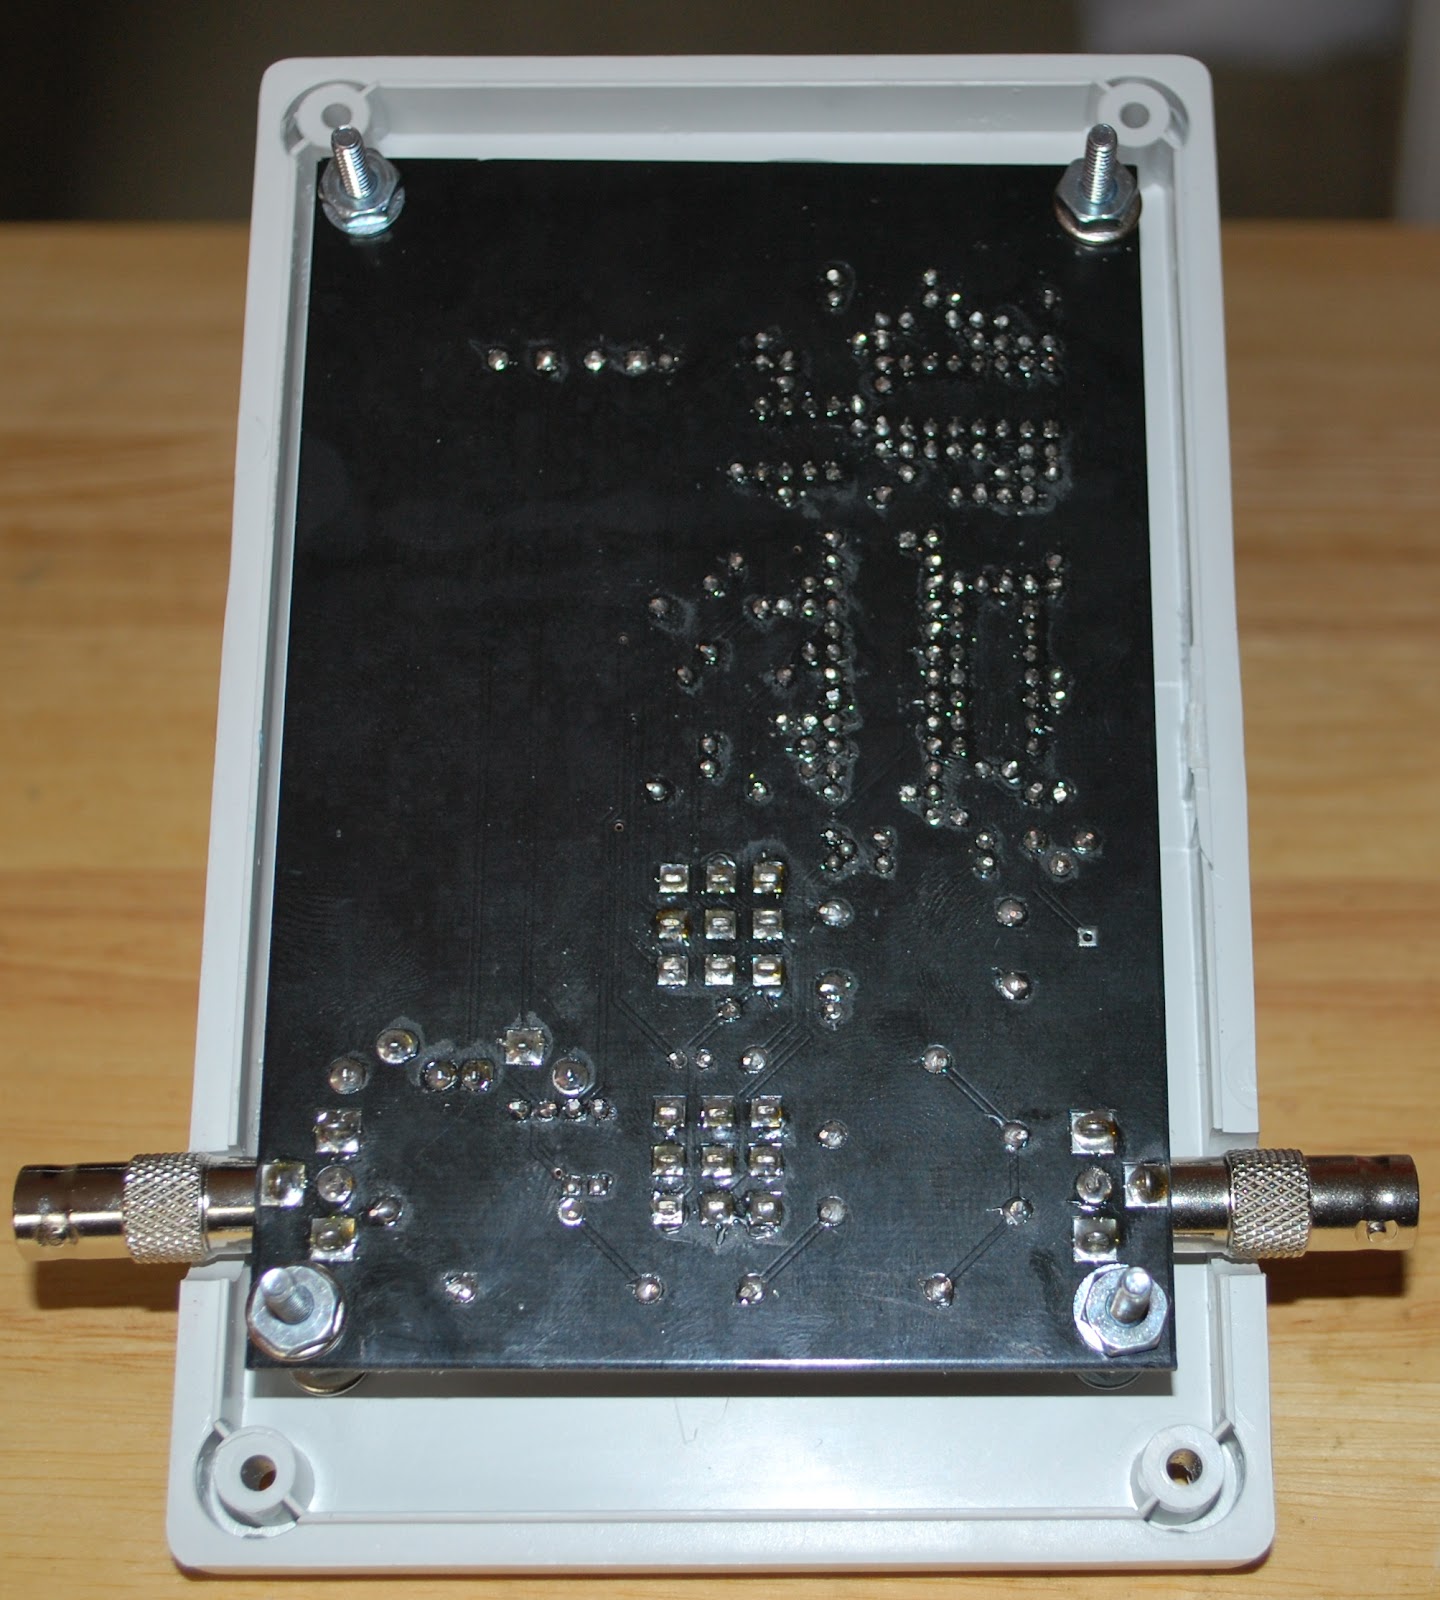 |
| Meter in the new case |
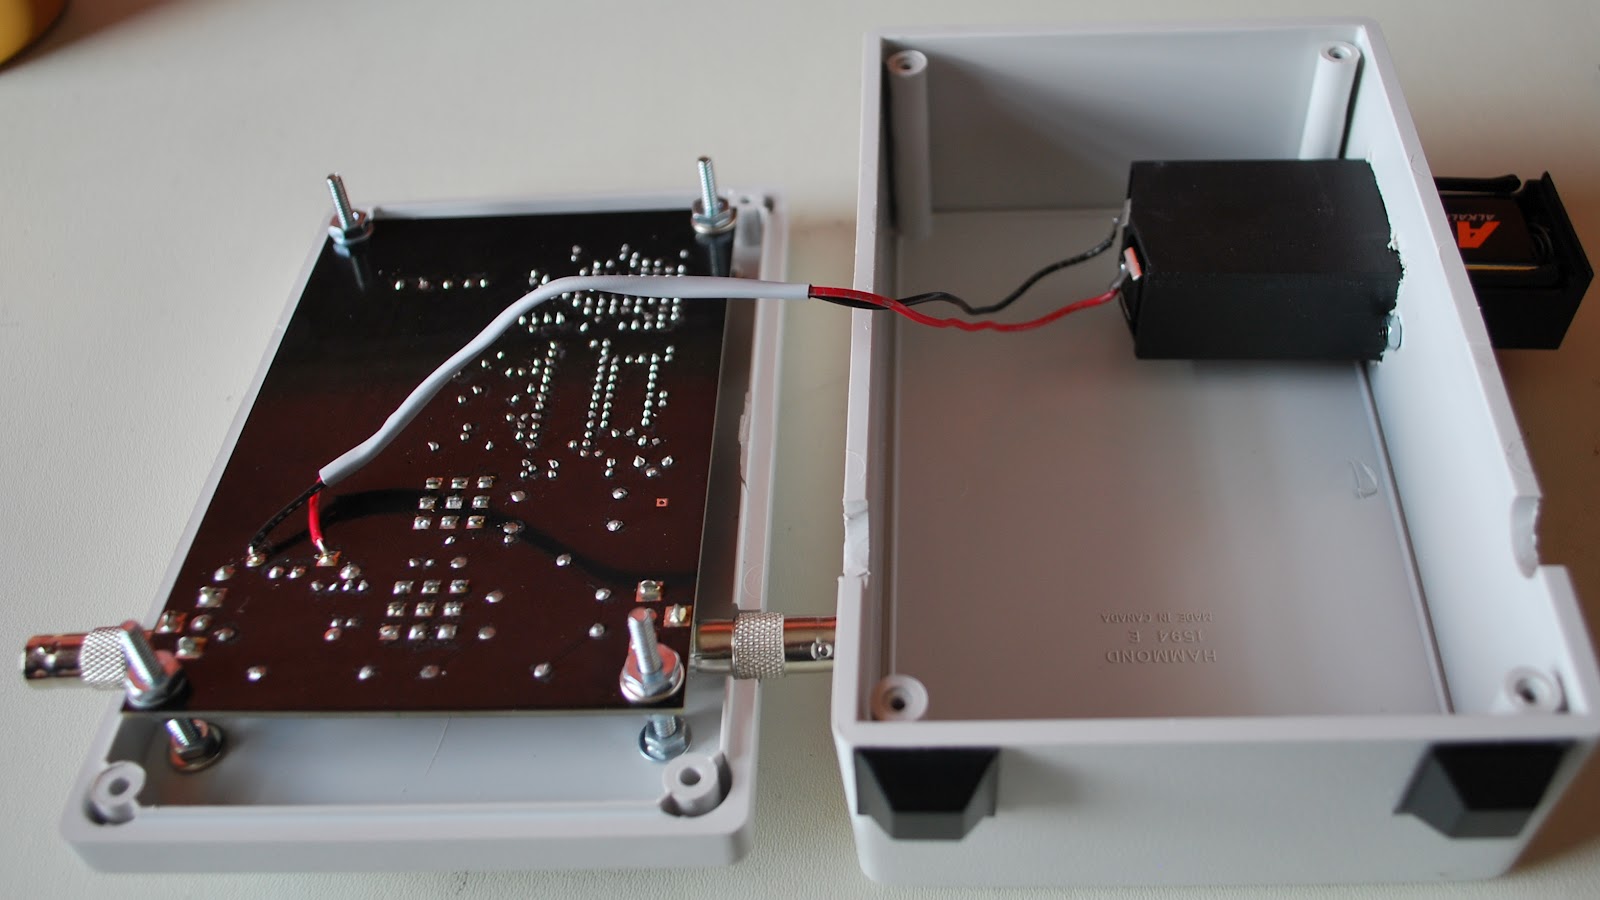 |
| 9 volt battery mod |
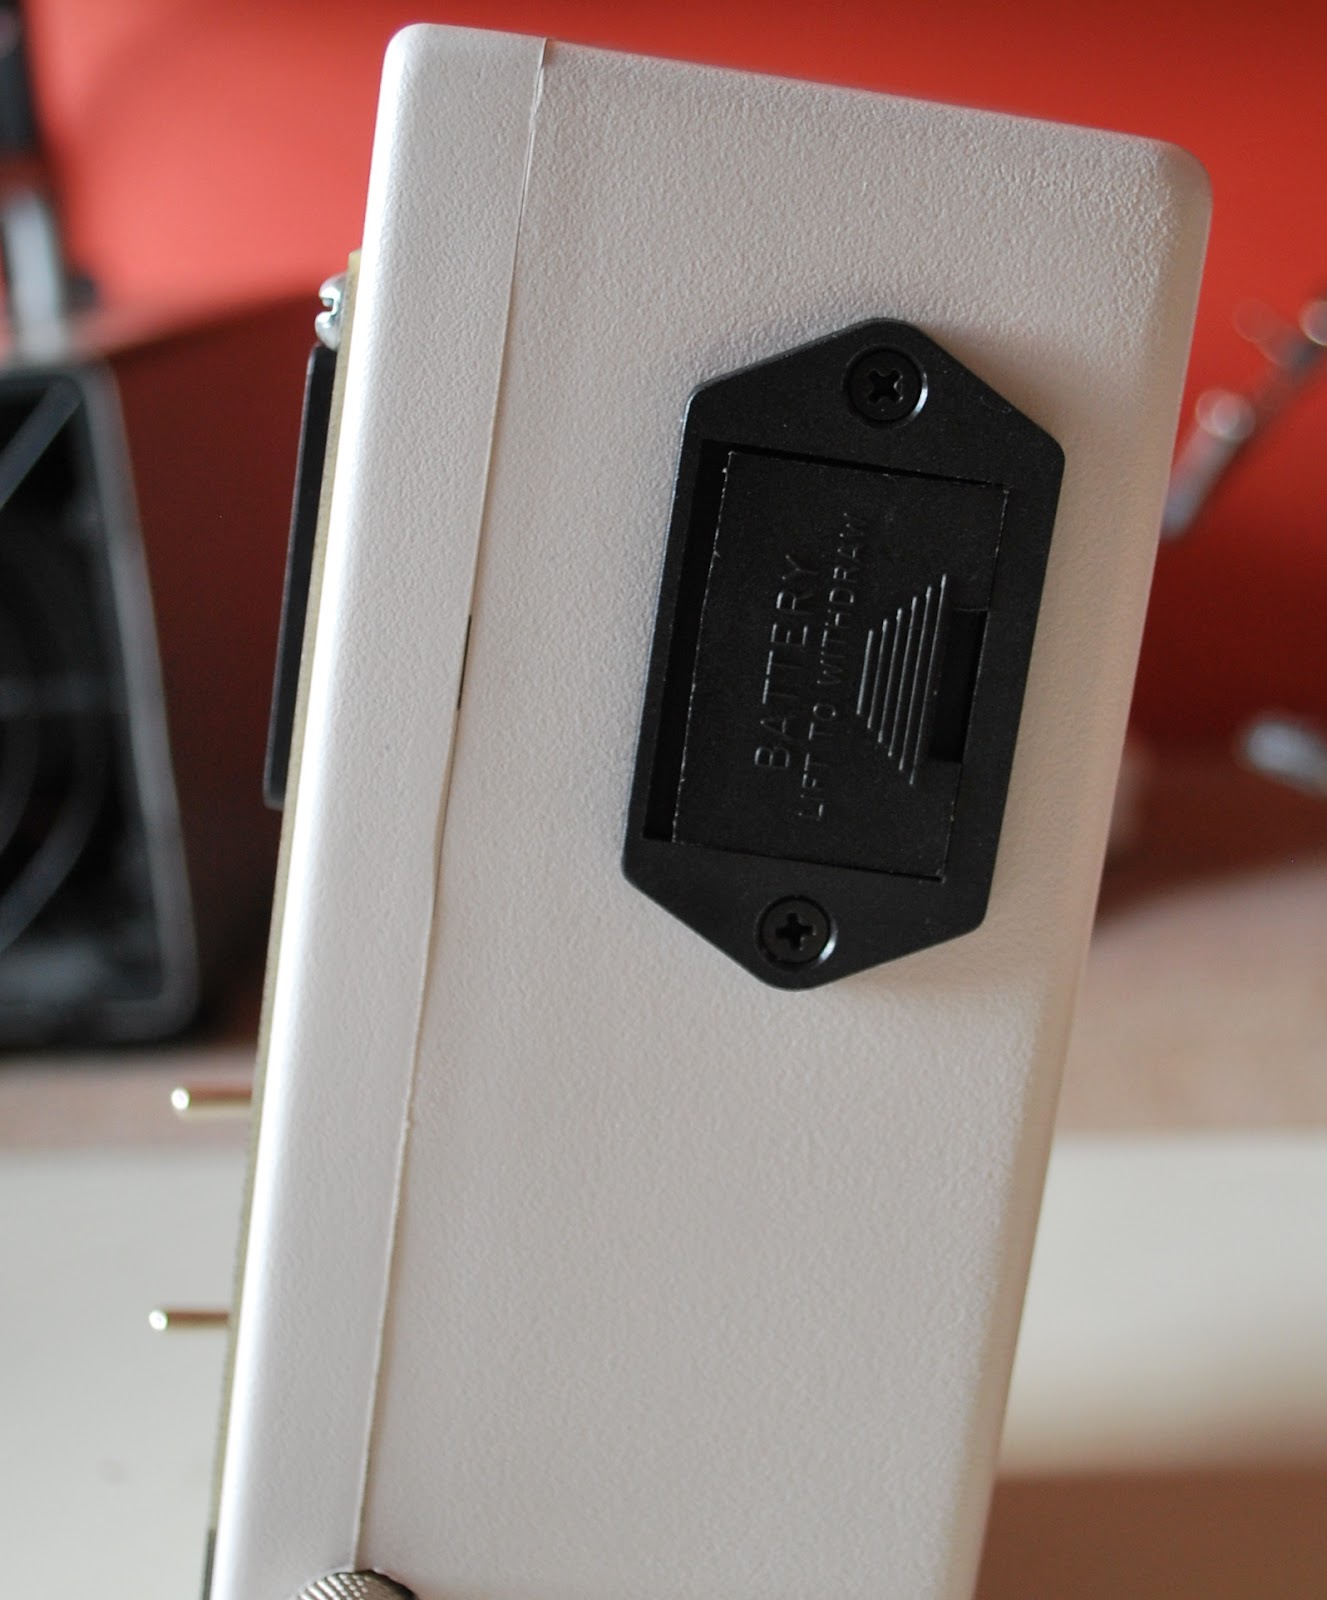 |
| Side view of 9v holder |


