 |
| Finished product |
A few months ago I built and blogged about my
QRPometer build from the
4 state qrp club its a great kit. In the post there was only 2 con's that I could think of regarding the kit.
1.The TX and Antenna connections were RCA and not BNC, the kit now ships with the RCA to BNC adapters.
2. The meter did not come with a case and the rear of the meter had an exposed circuit board. I felt this left the meter vulnerable to damage.
My solution to problem number 2
 |
| first attempt....not good |
We have in town a great electronics parts store it's been here for just a few years now but it's fantastic I don't have to travel for about 40 minutes to the next closest store. I ventured off to the store for a case, it was a plastic case I had in mind. The metal and or aluminum cases I felt were just not as easy to work with for the needs I had. I brought the QRPometer with me to assure I got the right depth and width. I found a case that was deeper than I was wanting but it was all they had....so I purchased one.....that later turned out to be a mistake!!
 |
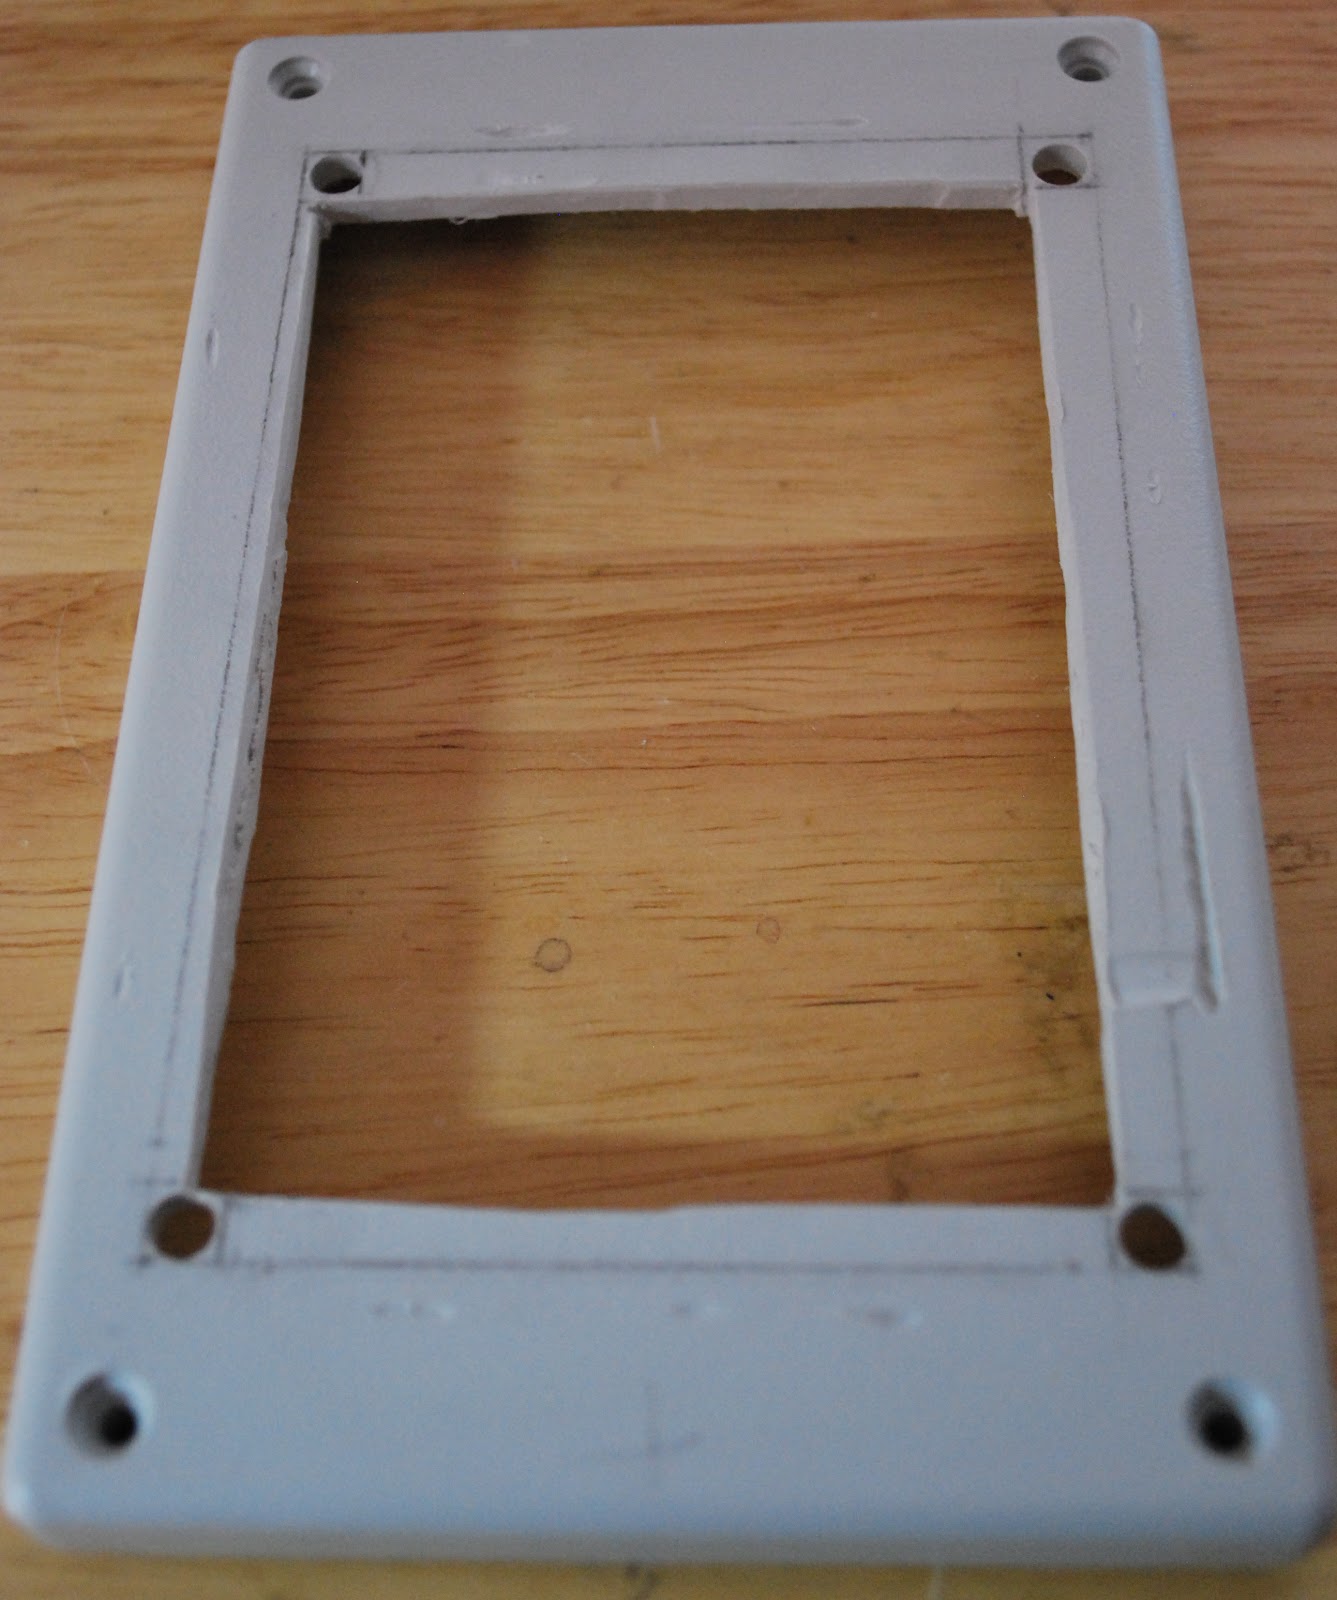
| New opening and front plate on |
With the chosen
Hammond 1594E box at home using my machinist ruler I traced the cutout on the box that was needed to house the meter. The best tool to cut the case I felt was the
Dremel hand held rotary tool that I had....so I thought!! With my pencil lines all in place the Dremel was used to make the hole, I found I was so consumed with the cutting line that I did not notice the spinning chuck that held the cutting blade was destroying my plastic box. As
Murphy's law would have it this problem was only noticed after all the cutting was done. The top cover was a mess and since I am a VERY fussy person this just would not due. So it was off to the electronics store for another box and to rethink the opening for the QRPometer. It was not until I got home the idea came to me to use my
coping saw. There is more control with the coping saw and a neater cut would be the end result. I also came to the conclusion that a smaller opening would be smarter as well, less cutting and less chance for a mistake. With the revised hole cut with
 |
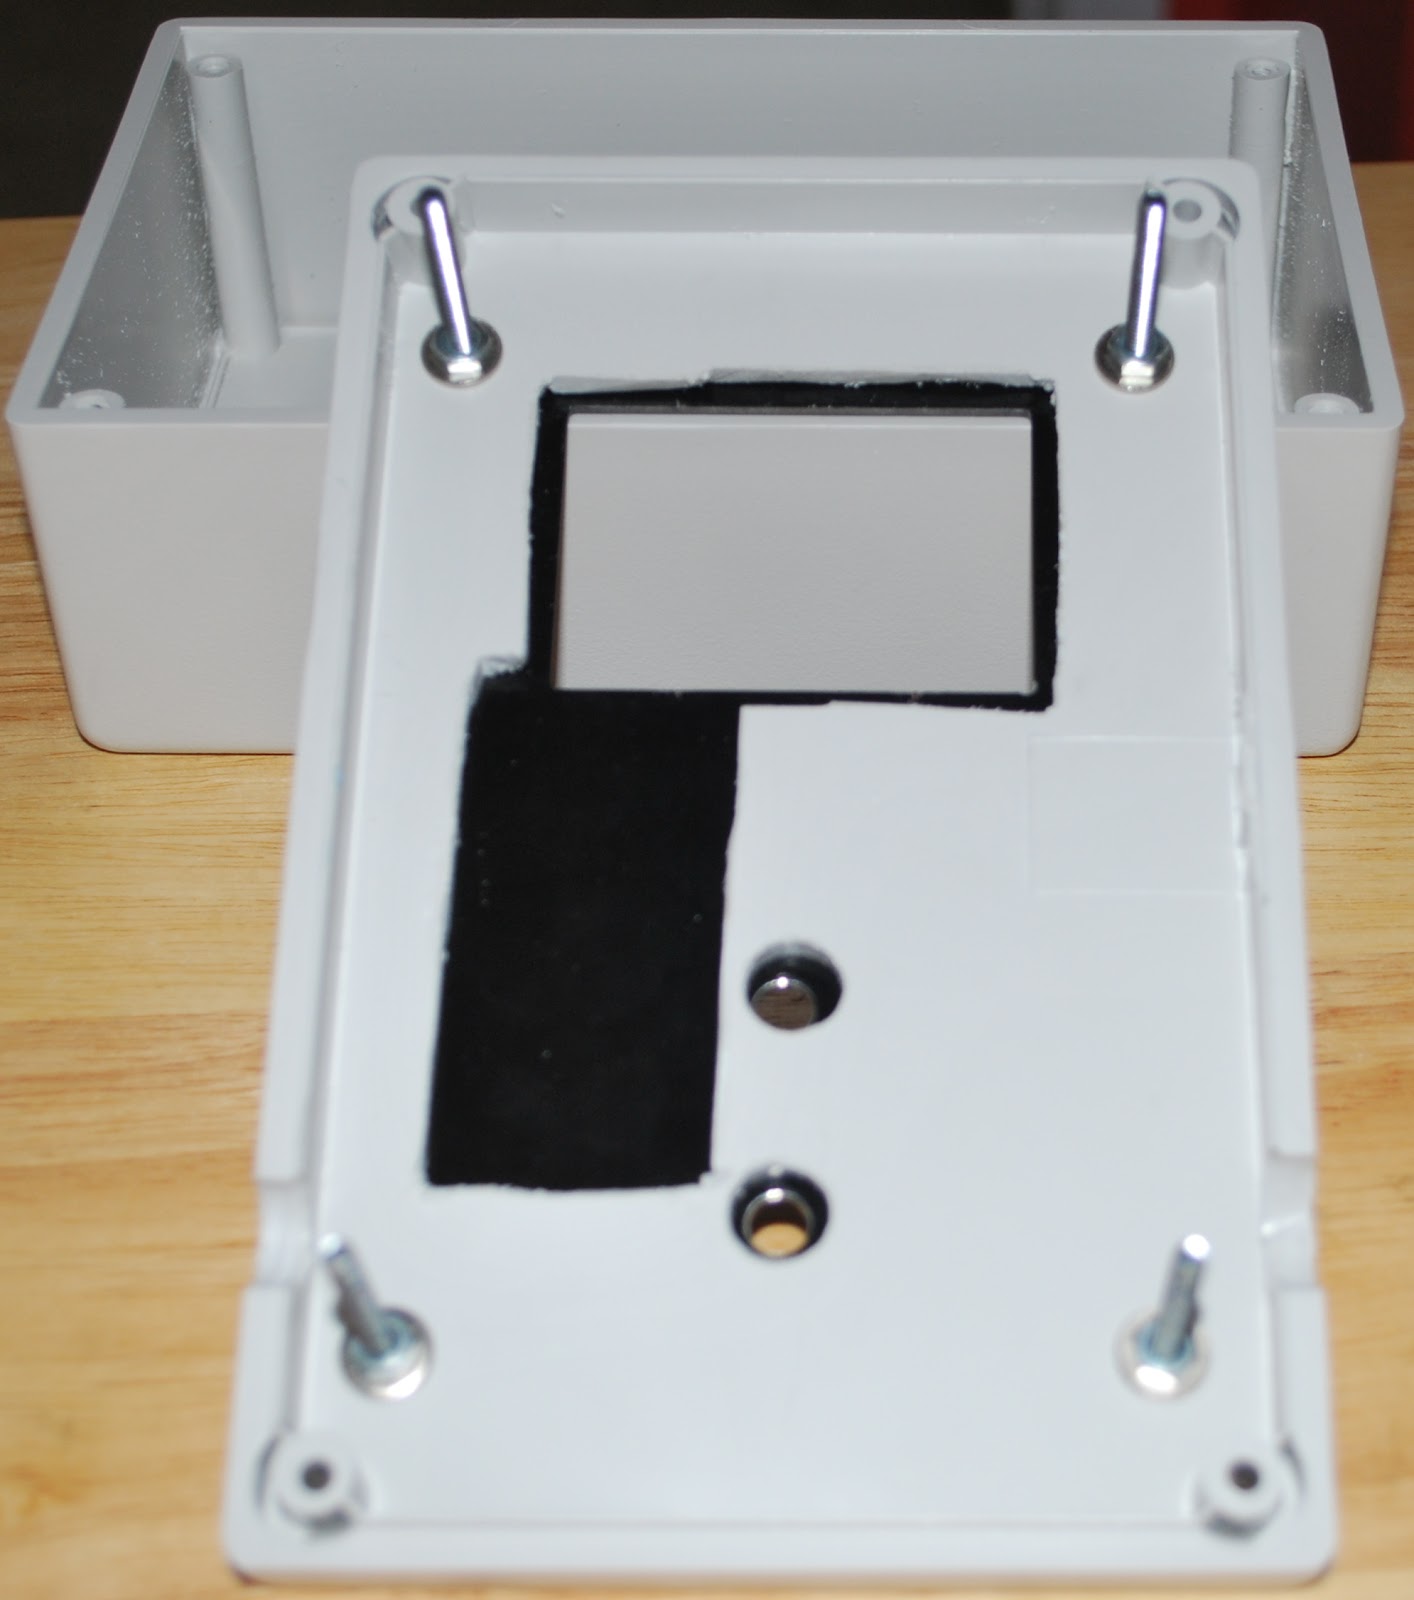
| Meter in the new case |
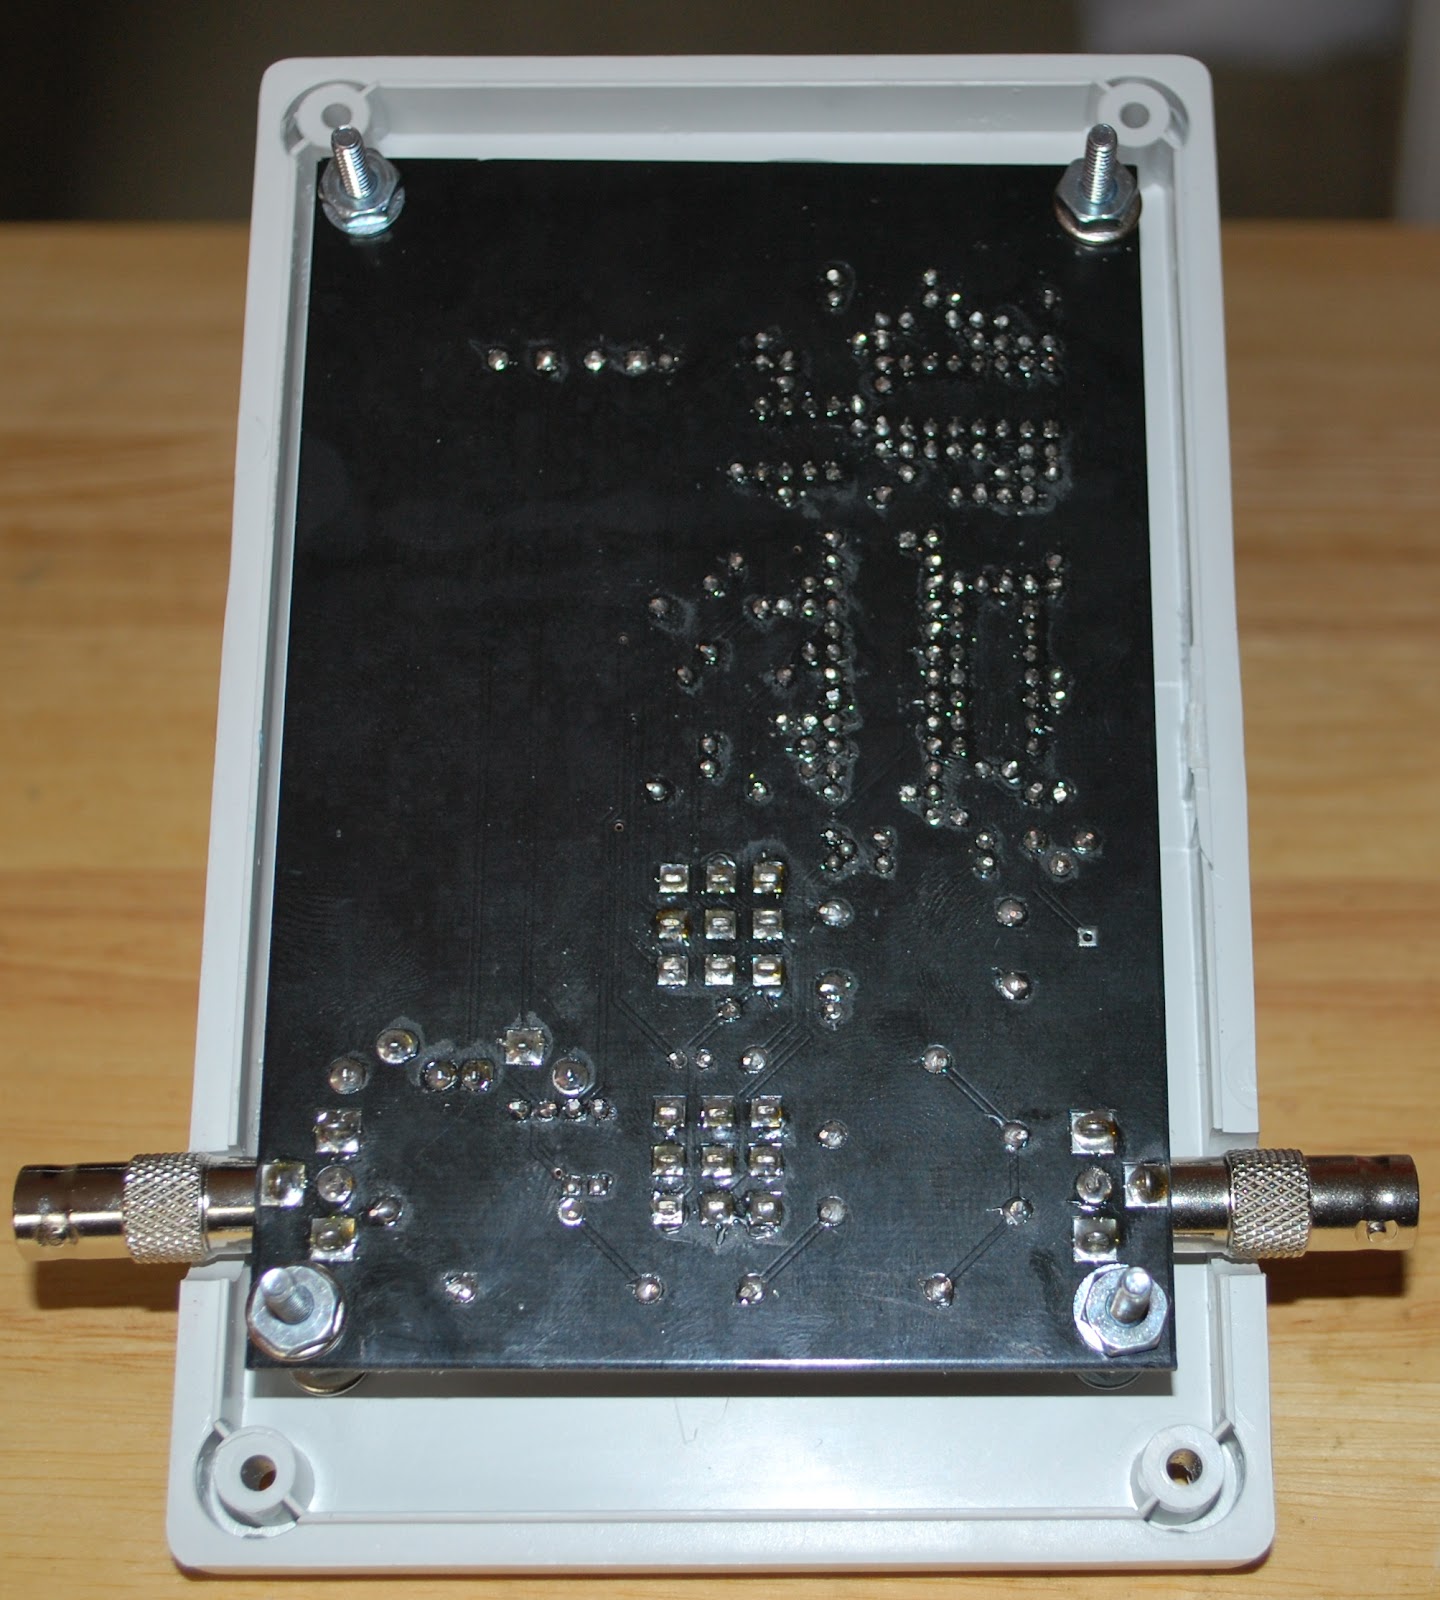
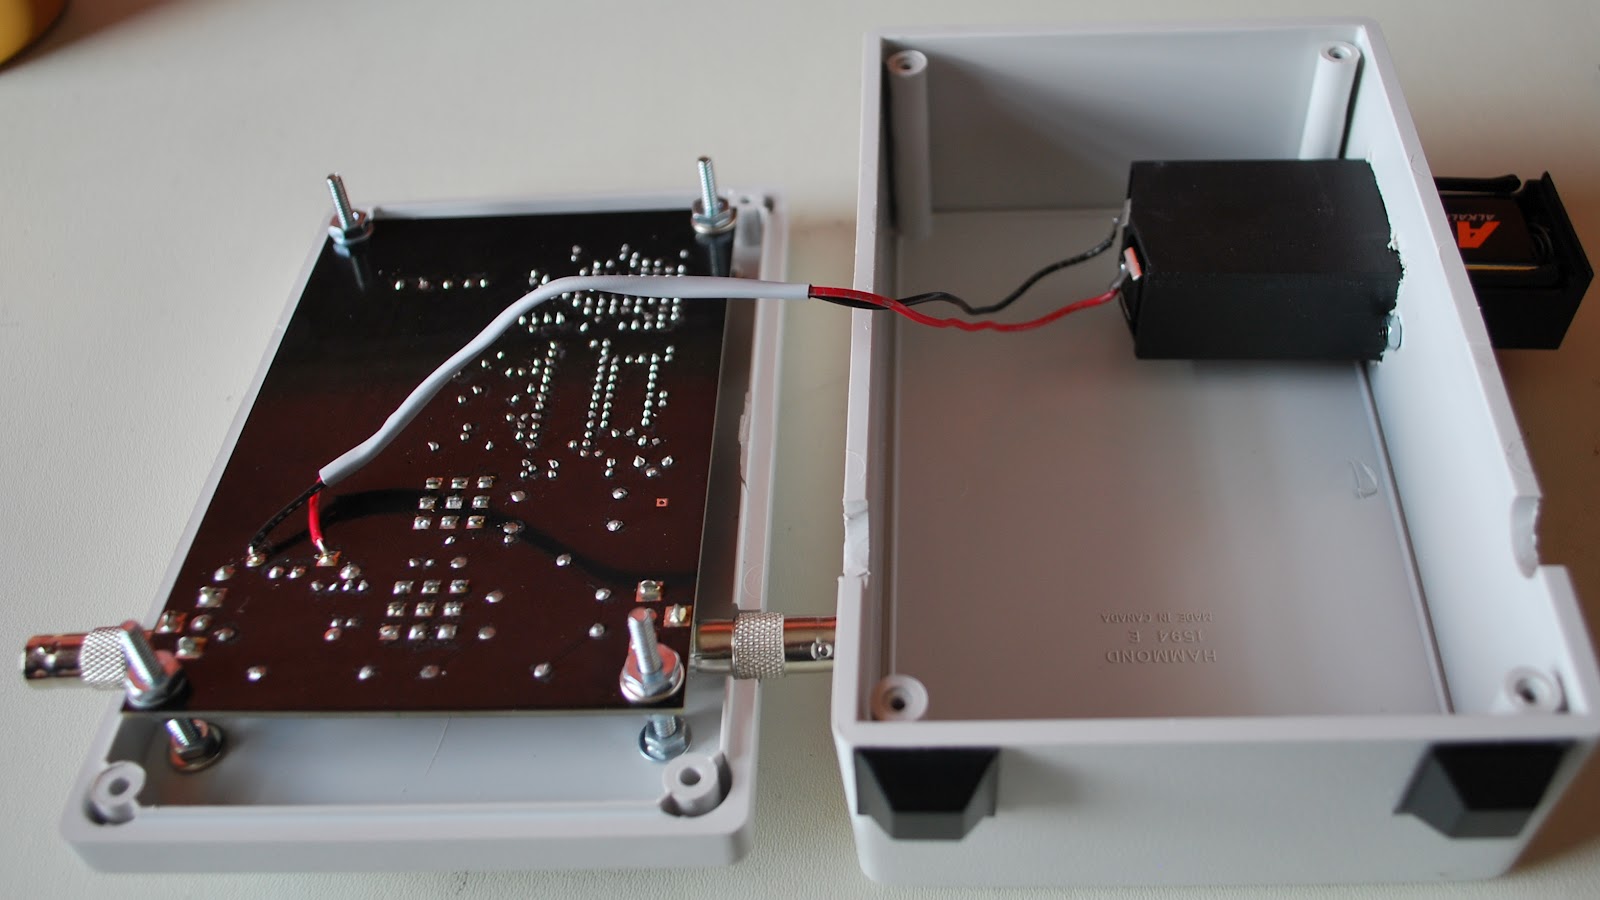
the coping saw the QRPometer with some tweaking of the hole fit just right. As always another thought came to mind........the meters power comes from a 9 volt battery that is sandwiched between the QRPometer circuit boards. In the future this battery is going to have to be changed. I am not going to want to take 20 minutes of dis-assembly and assembly to change a battery!!!! As you all know batteries go dead at the most inopportune times. It was off AGAIN to the electronics store for a 9 volt battery holder. I found the perfect flush mount holder and to instal it meant to just extend some battery leads off the QRPometer board and cut but
another hole in the plastic box. This was a very fast addition to the
QRPometer box and the coping saw again made short work of adding an
opening to the side of the plastic box.
 |
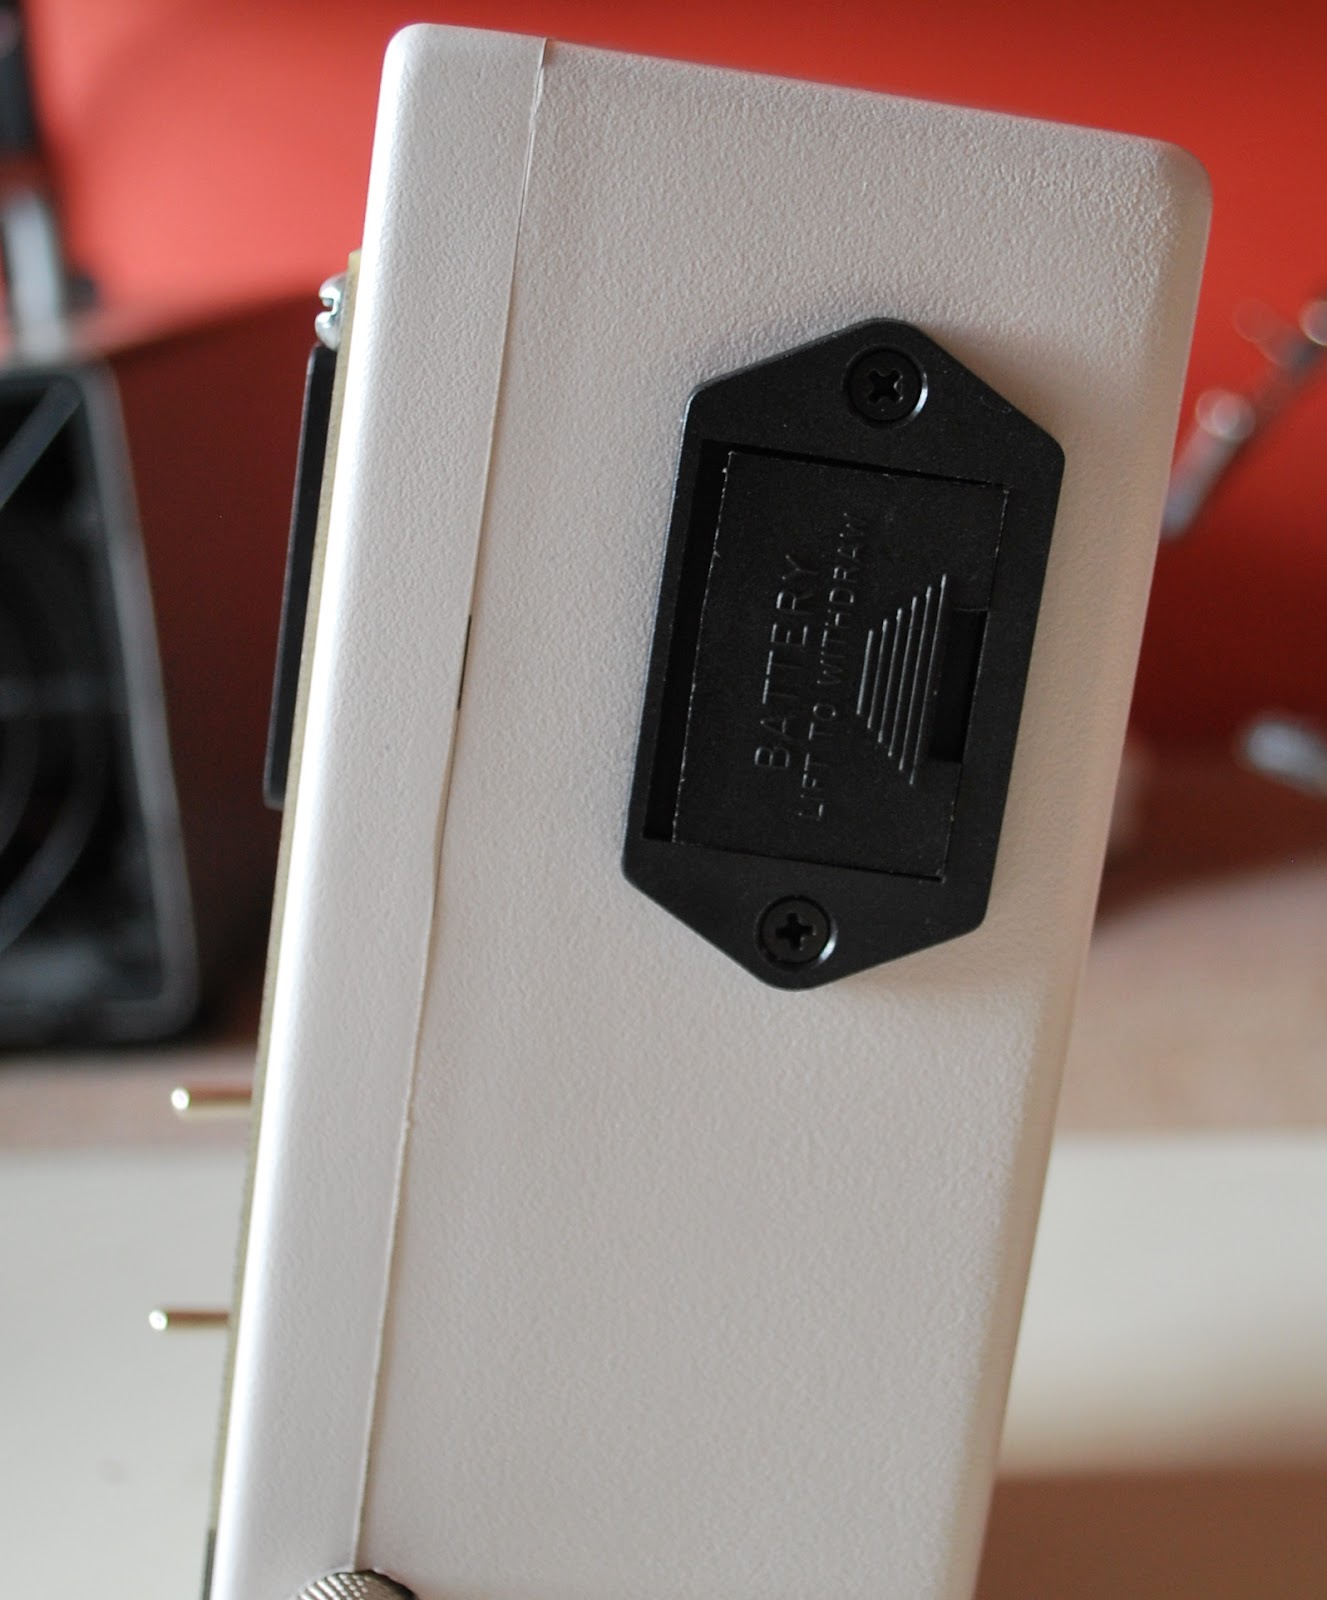
| 9 volt battery mod |
 |
| Side view of 9v holder |

 QRPometer case….
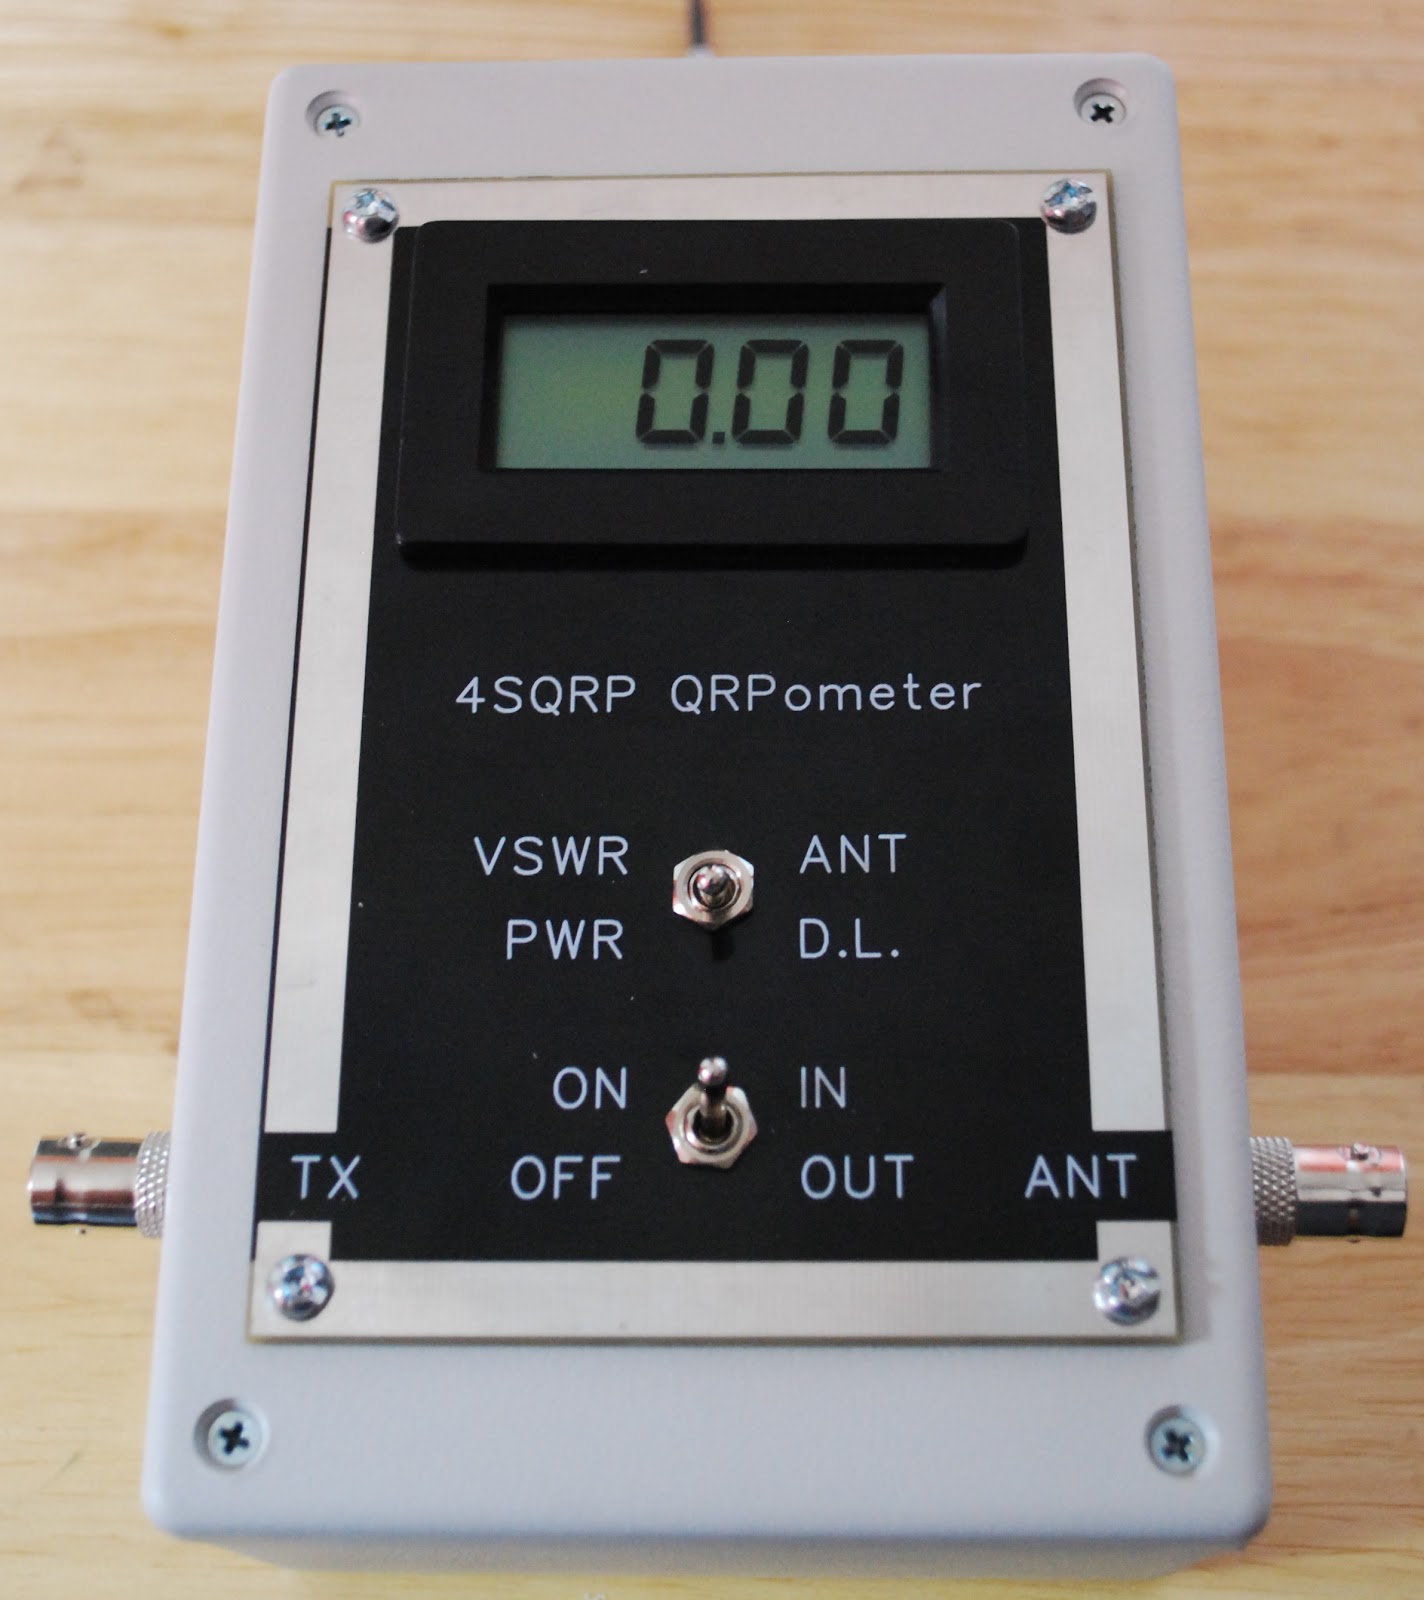


 HamRadioAuctions
 Reliance Antennas
 Enigma Shop

 R&L Electronics
 antennas.us
 QRV
QRV
Great Job Mike!
Very well done and looks professional! I wish, we had such a store here in
Northwest Michigan. You are very lucky.
73 and Good Health, Jeff – K9JP
Good afternoon Kelly, yes I live in a medium size town and it’s great there is such a good store here. Thanks for the complement on the case. When I do a project I never want it to look “homemade” if you know what I mean?
Have a good weekend Kelly.