Posts Tagged ‘Hustler 4BTV’
 Improving the Hustler 4BTV antenna
My Hustler 4BTV antenna has been working great for me and I have no complaints about it at all. With being close to the ocean we often get windy days. The wind gusts can reach 80km per hour and during that time I would take the 4 BTV down and store it in the shed. A company called DX Engineering sells some custom-made add-on kits for the Hustler vertical antennas. DX Engineering offers a reinforced lower section for the antenna. I have noticed even during 60 km winds the antenna sure does sway a lot. I bit the bullet and ordered the heavy-duty lower section. It was shipped the next day and the order status was sent from start to finish. To replace the lower section is very straight forward and the only step that needs to be done is a measurement from the 10m trap section down to where the lower section starts. If you match this distance up then there should be no need to return the antenna.
The measure distance was 2 inches and I marked it with a sharpie pen. I then loosened the screw clamp and removed the lower section. I then cleaned the 10m trap tubing and reapplied some anti-seize, I then move the new lower section up to the mark and secured the screw clamp. Once the antenna was placed back on the lower base section it was time to check out the SWR. It was a pleasure to see the antenna's SWR characteristics had not changed.
We have had some windy days since then and the new lower section sure has made a difference with stability of the antenna. I am very pleased with the purchase. Unless we have winds over 80Km will I take the antenna down.

Measure and mark

Old lower section removed
 |
| Anti-seize applied |
 |
| All back together and ready to go. |
Inspection of the Hustler 4BTV antenna
 |
| A loose spider arm not seated in bracket. |
 |
| Top view of securing screw. |
 |
| Nuts on bottom of spider arm. |
Hustler 4BTV base cover.
 |
| Lower section before balun install. |
Autumn is here along with the leaves all over the lawn, once or twice a week I take the lawn mower out with the grass catcher on and vacuum the lawn of leaves. Doing this got me thinking of winter and my Hustler 4BTV antenna regarding the snow. I did some internet searches and some left the base alone while others covered it. The conscience was that snow does not bother the vertical with regards to performance but I was concerned about the connections and isolation balun.
I decided to make a box to cover the base section of the antenna but one that could easily come off in case of a storm and I had to lower the antenna. I wanted something simple, that would stand up to the weather and remove without issue. I came up with a cover made of wood and only 4 deck screws had to be removed to remove the box cover from the antenna for storage. The top also has 4 deck screws it can be removed for access to the antenna if it has to be taken down due to high winter winds.
I also made the box with room on the side as I knew I would be adding the choke balun to the mix. It's going to be painted white to mix in with the snow when it comes and I will keep on top of shovelling the snow on and around it just in case the antenna has to come down due to windy weather.
As said before to remove the box ultimately all that has to be done is 4 deck screws removed and the side cover and half of the top cover comes off and the box can be removed and stored for the summer. In case of poor winter weather, 2 deck screws are removed and half of the top cover is removed and the antenna base is exposed.
 |
| Room for the Balun |
 |
| Completed box to be painted |
The final picture shows 1/2 of the top cover removed and the lower screw clamp is exposed and can be loosened for the antenna to be removed. The cover goes back in place.

Read the rest of this entry »
Time to add a balun.

When I moved to the East coast from Ontario at the new QTH I purchased and installed an EndFed antenna and it worked great for me. It was a huge step up from the condo balcony mag loop antenna. The EndFed is a compromise-type antenna and does come with some issues. The main issue is (if you don't use a counterpoise) the coax shield is used as the counterpoise. This can cause some issues and an isolation balun is needed in the shack. I purchased a quality isolation balun from balun designs to take care of the feed line issues. In time I did install a counterpoise but it's not that effective when your Endfed goes from 10m-80m.
I still had some RFI issues in the shack that ferrites did an excellent job in looking after. I still had some off-and-on issues with our electronic washing machine, the motion sensor light on the shed and some Google home devices. I then moved from the EndFed to a vertical antenna the Hustler 4BTV antenna. In the manual for the 4BTV, it is advised if you have any RFI issues due to the coax radiating RF place an isolation balun at the antenna. It seemed as time passed I was issue free. 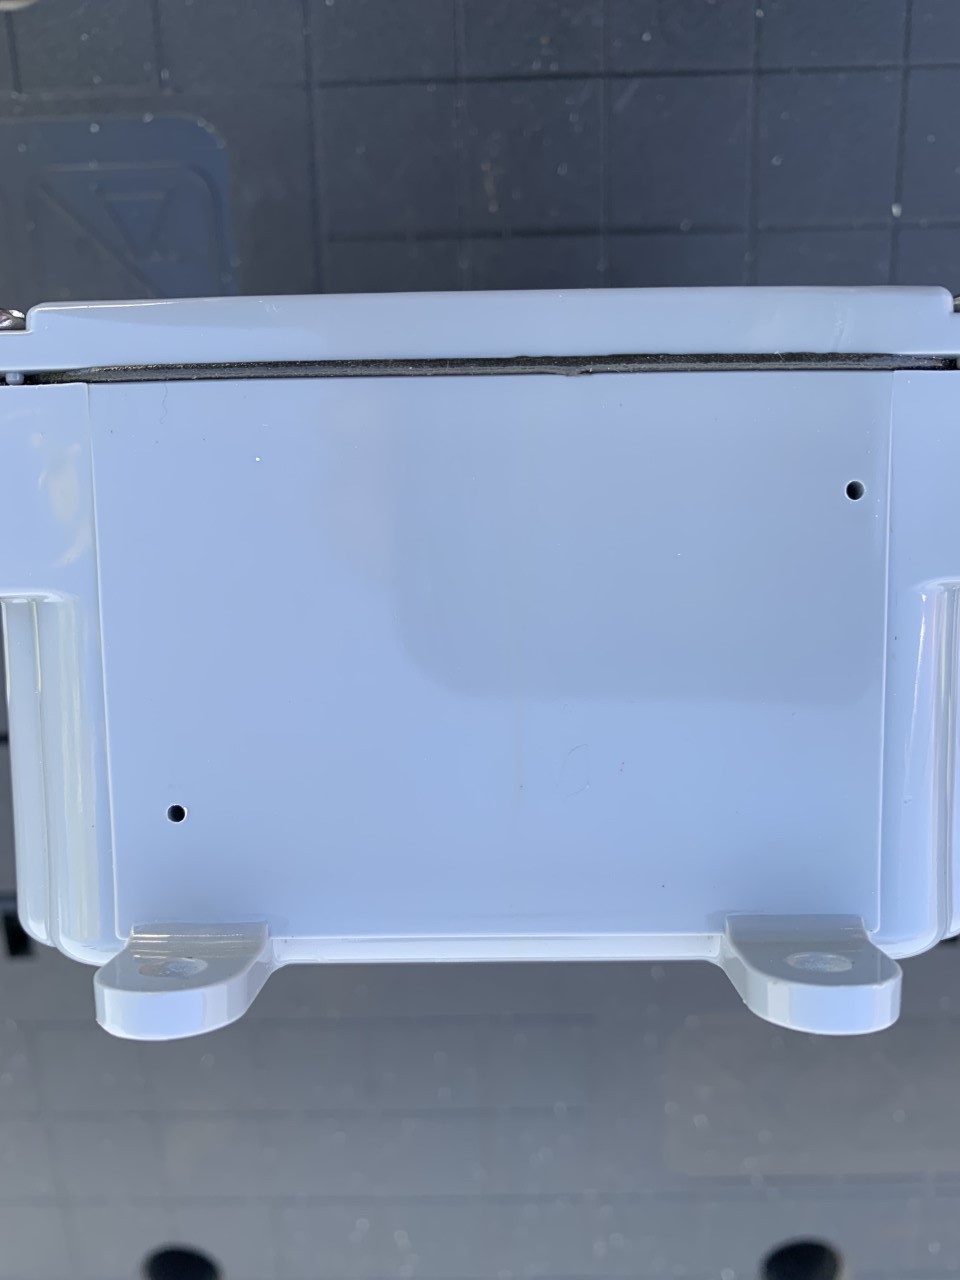
Drainage holes 1/16th
Now and then I started to notice while operating my Icom 7610 in CW mode I would have my N1MM contest program lock up. There was no rhyme or reason as to when this happened, what power level and what band I was on. I could make it through a CWops mini-test of an hour with no issues. The next CWops mini contest I had nothing but issues. I also noticed when using my VPN on the PC I would have the VPN disconnect and then reconnect messages coming up as I transmitted. I was reading online when coax radiates RF it can be very hit-and-miss as to when it happens and what is affected each time. This sounded like the issue I was having and I decided to place the isolation balun at the base of the 4BTV vertical.
Once the isolation balun was installed I am RF free and have been for over a month now. My electronic washing machine, N1MM logger and VPN connection have no problems. 
Waterproof connections
I had to take into consideration some precautions when putting the isolation balun outdoors. It was recommended to drill 2 1/16 holes in the bottom so any condensation would not build up inside. Also around all PL-259 connections, I waterproofed them with self-amalgamating tape.
Java in the morning with a splash of radio.

Once again tucked some radio time in early this morning, 40m seemed to be coming to life a bit more than yesterday. Have not checked the space weather yet but sometimes it's better that way. I have provided a snap shot from the Reverse Beacon Network on 40m this morning calling CQ. No takers but the new Hustler 4BTV seems to be doing well.

It’s crunch time for the Hustler 4BTV……checking SWR!
Once the Hustler 4BTV was up it was time to see if laying the radials, burying the coax and putting the antenna mount in concrete was all worth it. The SWR checks are next, kinda the "where the rubber meets the road" In the Hustler manual as well as the DX Engineering manual basic setup measurements are given to get you started with the antenna. In the DX Engineering manual, you are informed that these measurements are based on a no radial setup. For this reason, don't be alarmed at the resonant frequency most likely will be where you don't want it.
This is not an issue as you can adjust the traps to remedy this situation. The Hustler manual informs owners that trap adjustment voids the warranty with Hustler, BUT if you purchase your Hustler vertical from DX Engineering they will still honour the warranty. I purchased my antenna in Canada and I decided to adjust the traps and take my chances. I did read the manual very carefully regarding trap adjustment and it's no big deal to do.
One BIG advantage in regards to checking and adjusting the SWR is to have an antenna analyzer. It will save you time and frustration. I have the MFJ 259B an older unit but it works great, it does not give me a sweep graphical view but I can easily plot the SWR by checking the SWR at certain frequencies. I do have the Funk Amateur FA-VA4 but for the life of me I just can't figure out how to work it.
With the antenna analyzer connected I was pleased with the rough results, below are the rough readings:
10 meters
28.000 1.1 to 28.900 SWR 1.2
For this reason, 10m was not touched.
15 meters
21.897 SWR 2.0
21.426 SWR 1:3
21.116 SWR 2.0
From the above SWR numbers, the 15m trap has to be lengthened.
20 meter
13.711 SWR 2.0
13.997 SWR 1.3
14.222 SWR 2.0
From the above SWR, the 20m trap also has to be lengthened. Before this is done the manual advises that first double check the 20m SWR after adjusting the 15m trap.
40 meters
6.982 SWR 2.0
7.050 SWR 1.8
7.168 SWR 2.0
With the 4BTV there is no 40m trap to adjust but I can in this case make the final section of the antenna longer. Again I have to recheck this SWR when the 15m trap is adjusted and if the 20m trap still needs adjusting I have to check 40m again before any section adjustment is made.
Before any adjustments are made to any trap it is advised to mark on the tubing the factor position of the trap just in case you have to start all over again. With each of the 3 traps marked to the factor position, I proceeded to adjust the 15meter trap and make it longer. Longer meaning between 1/16 to 1/8 longer (or shorter if needed) I had to make 2 adjustments to the 15m trap to get my desired results. I mainly use CW and and now and again FT8, therefore I wanted my best SWR results between 21.000-21.100.
Below is the final results.
21.000 SWR1.4
21.060 SWR 1.3
21.100 SWR 1.4
I then looked at 10 meters and it had not changed at all.
28.000 1.1 SWR
28.150 1.1 SWR
28.190 1.1 SWR
I then checked the 20m section of the band with the antenna analyzer and was very pleased to see that now no trap adjustment was needed. Below are the final results for 20 meters.
14.000 SWR 1.1
14.030 SWR 1.3
14.100 SWR 1.4
I was not as fortunate with 40 meters the new SWR after adjusting the 15m trap was:
6.976 SWR 2.0
7.013 SWR 1.8
7.219 SWR 2.0
The final section of the mast has to be made longer and one of my concerns was, is this going to mess around with the 10,15 and 20m SWR? I did not have too much extra length to play with in the final section. I ended up stopping when I had about 1.5 inches of tubing inside the lower mast section. I did not want to take any more out. Below are my final results for 40 meters.
7.000 SWR 2.0
7.025 SWR 1.9
7.073 SWR 1.8
7.106 SWR 1.9
After the final 40m mast adjustment I was pleased to see the SWR for 10,15 and 20m was unchanged. Now 40m is not the best result but the Icom 7610 tuner handles the SWR without issues. My property is small and the longest radial I could put out was 20 feet. I could have put out some longer ones but it would have zig-zagged all over the place. There are a total of 30 radials and about 8 are 20 feet.
Coming up in the next post...how does the Hustler 4 BTV stack up against the EndFed antenna?
The Hustler 4BTV is up and running!
This past weekend the IARU world contest was in action and I planned to enter the CW category. The contest morning started just fine for me BUT in the corner of my radio room, a boxed Hustler 4BTV was calling my name. The weather outside was great, the mounting base was installed and the ground radials (all 30 of them) were also installed. As I was making CW contacts my mind at the same time was spinning. The weather here has been sunny and clear for very few days and the upcoming week looked once again rainy. The same little voice in my head was telling me " Mike a contest situation is great for testing a new antenna"
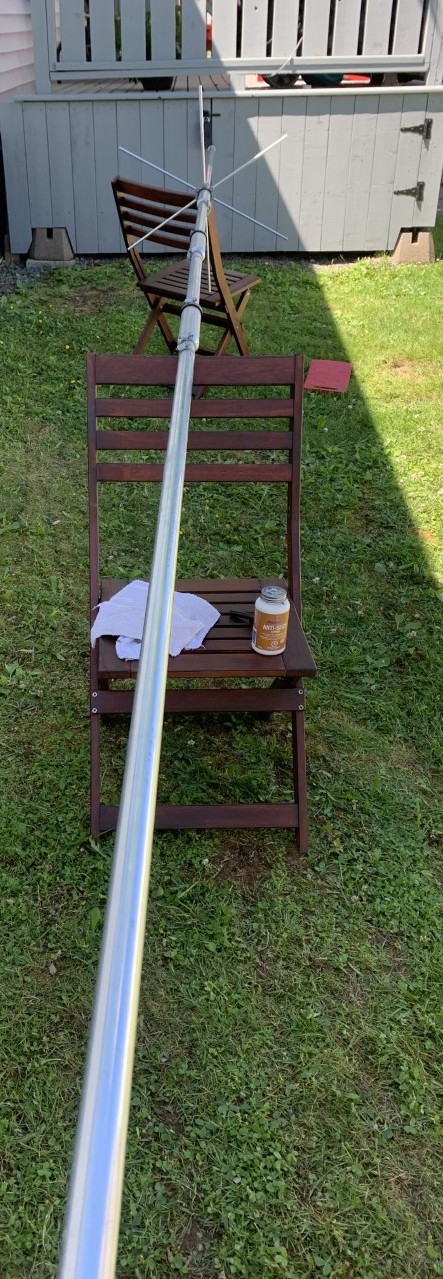
Well, a few hours into the contest I jumped off the operating chair and decided it was time to finish the 4BTV install! The little voice in my head had won out. Just the day before I had marked the antenna tubing with the rough measurements for length setup between sections. The only thing left was to put the section together and tighten things down with the provided screw clamps or as I call them hose clamps.
 |
| Copper paste |
I did purchase copper paste to use on the pipe-to-pipe connection for good connectivity and help stop corrosion. In no time the antenna was together and ready to be mounted on the ground pipe. I was delighted with how light this antenna is, making it easy to lift and install.
The initial SWR was somewhat close to what was written in the DX Engineering manual, there was just some fine-tuning that needed to be done. I wanted my configuration to be in the CW area of the bands. Thank goodness I have an antenna analyzer, this made very short work of fine-tuning the antenna. I will make another post regarding the details of the SWR and adjustments.
Once the antenna was set up SWR-wise in the area of the bands it was
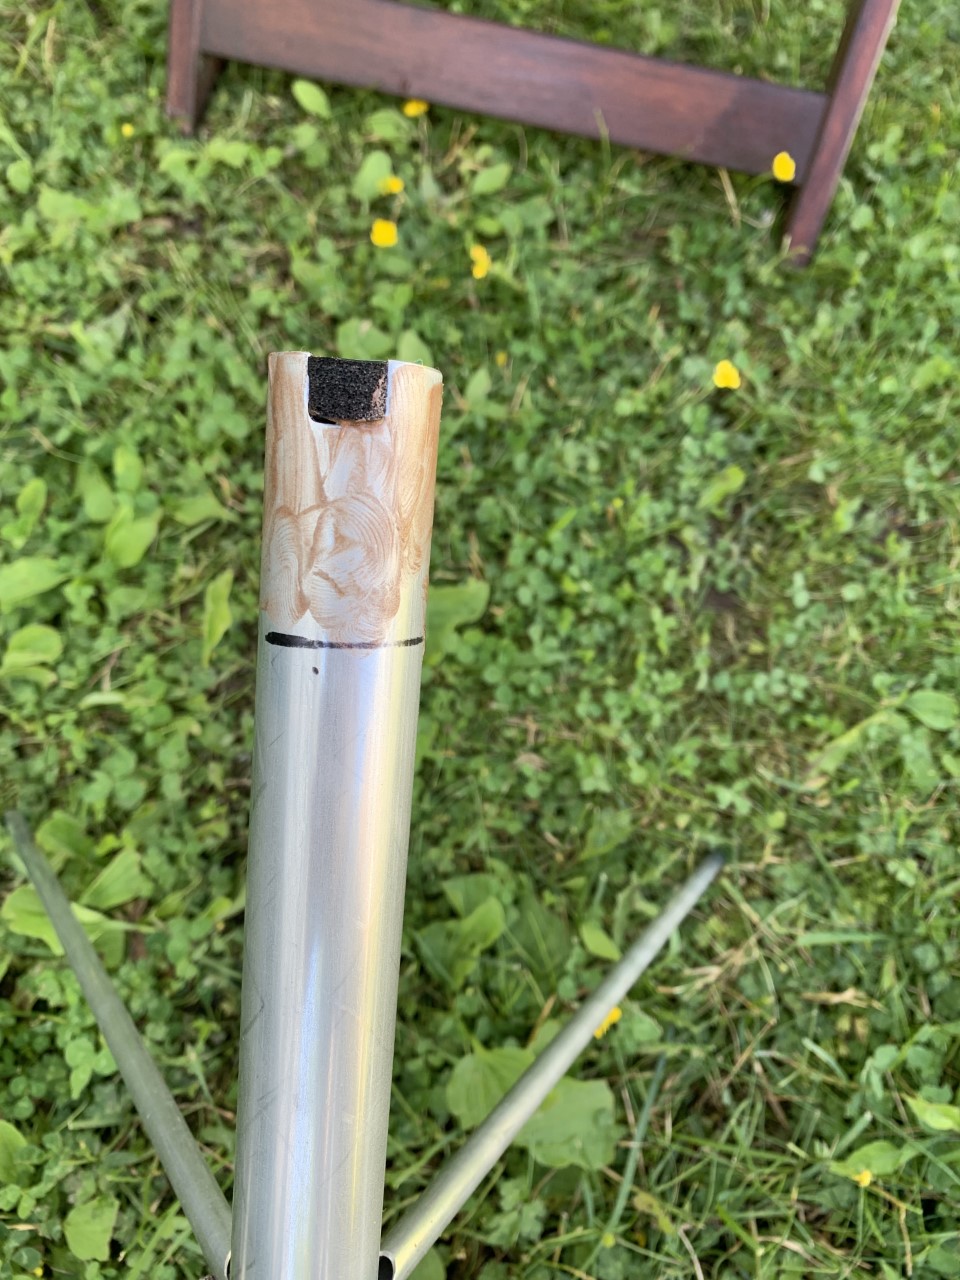 |
| Marking the antenna sections |
off to the contest again to see how it stacks up to the Endfed antenna I have been using for 2 1/2 years. Using the new antenna I started calling (CWing) "CQ CONTEST" and I was pleasantly surprised with the results. Now having said that this was the first time using the antenna so a fair comparison would be over the course of a month or so with varying propagation conditions.
More to come regarding tuning, assembly and results.


