Posts Tagged ‘Condo ham radio’
 ARRL DX CW 2019 in the books
 |
| The setup |
As for the contest I was running 60 watts (not sure of reason for the 60 watt number) and my antenna is the MFJ 1788 mag loop. I am in a condo so it’s a balcony antenna about 180 feet up facing south east. The software was N1MM+ and MRP40 CW decoder for the super fast fisted contesters. On Sunday the winds for some reason really picked up and my MFJ loop was moving around the balcony. I shut the radio down and took it in I would rather save the antenna from damage than taking a chance on getting more contacts.
I made only 25 contact and a score of 1575 BUT my intention was not to blow the doors off with a great score. Instead after I made contact with a station I would look them up on QRZ.COM and read about either the individual or the contest station. Over all the limited time I was in the contest I had a blast and was very please with the Icom 7610 and the ability of my balcony mounted Mag loop antenna.
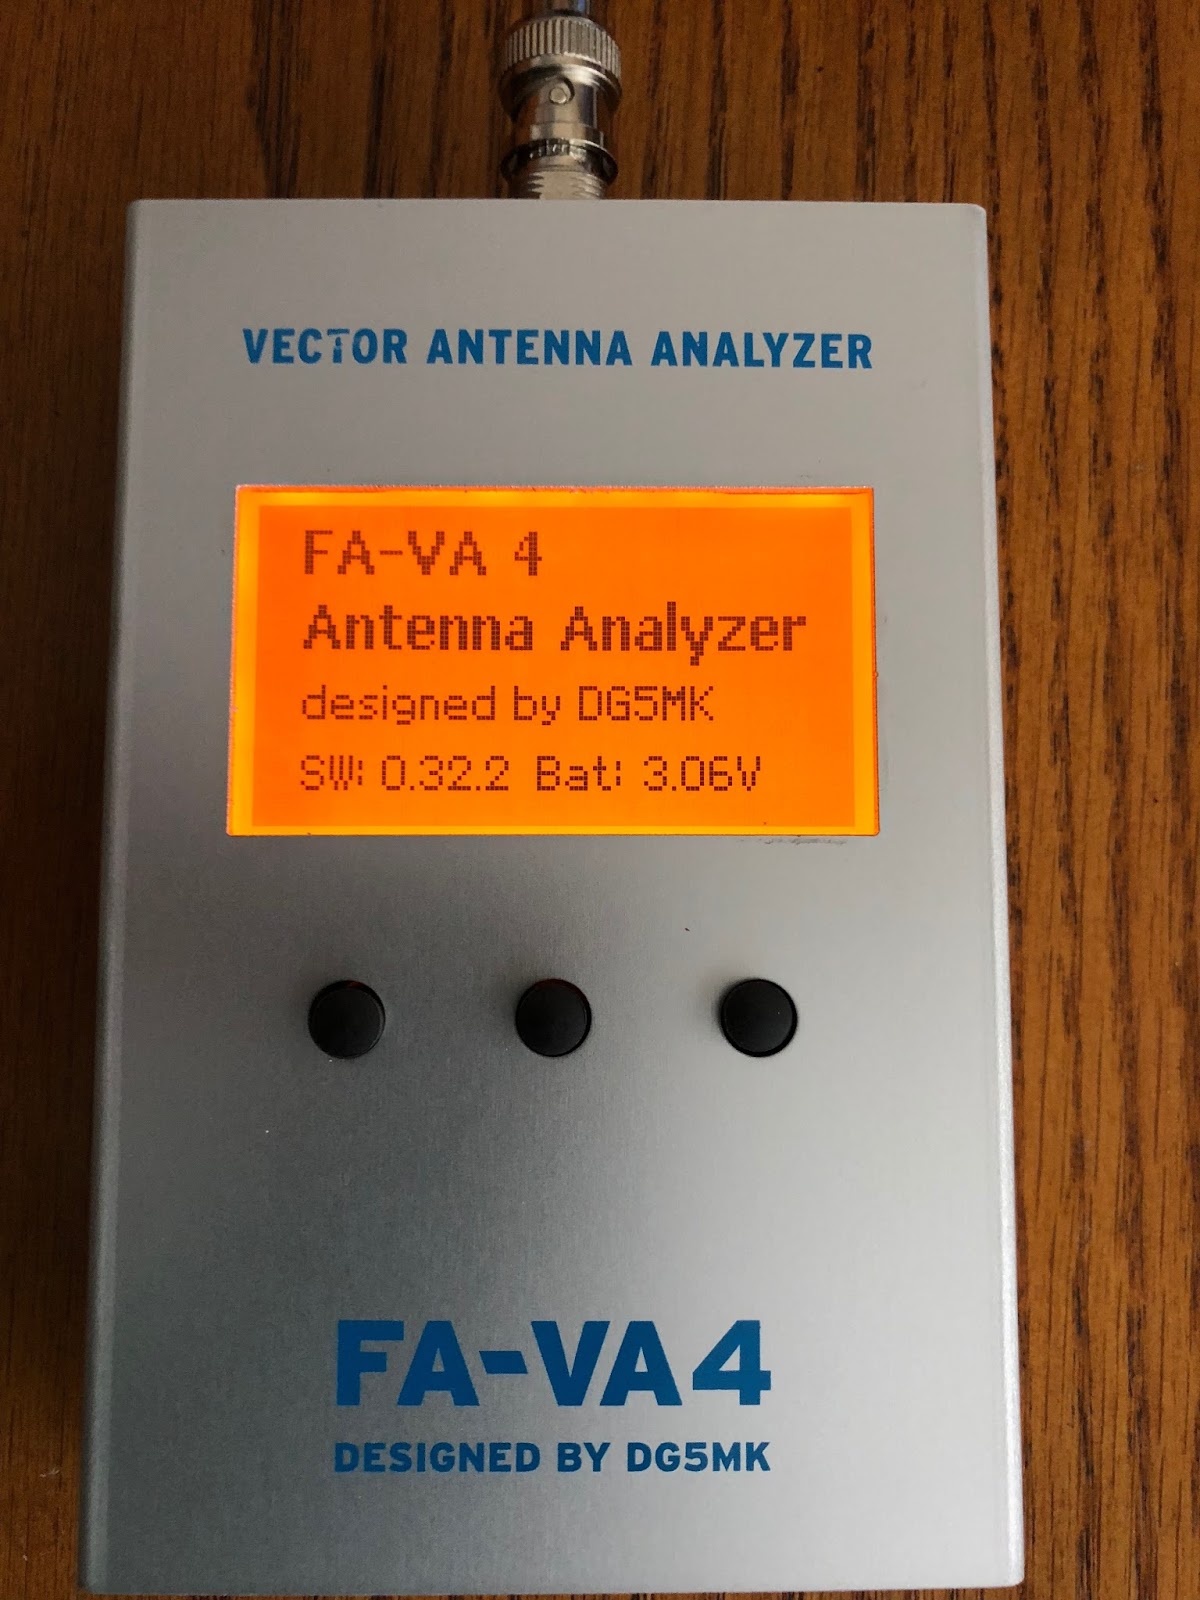
FA- VA4 antenna analyzer kit.
 |
| The condo kit corner. |
This kit does have SMD parts that I said are factory installed BUT some of the items that the builder needs to install are very close to some SMD parts. This brings me to another important part of kit building....spend the money to get the right tools for the job. In this case my Weller WES51 has a large variety of soldering tips. I find the fine chisel tip (Weller ETM) worked great for soldering the LCD terminals, the larger tip for the BNC connector (Weller ETD) and finally the intermediate tip for the components beside SMD parts( Weller ETB).
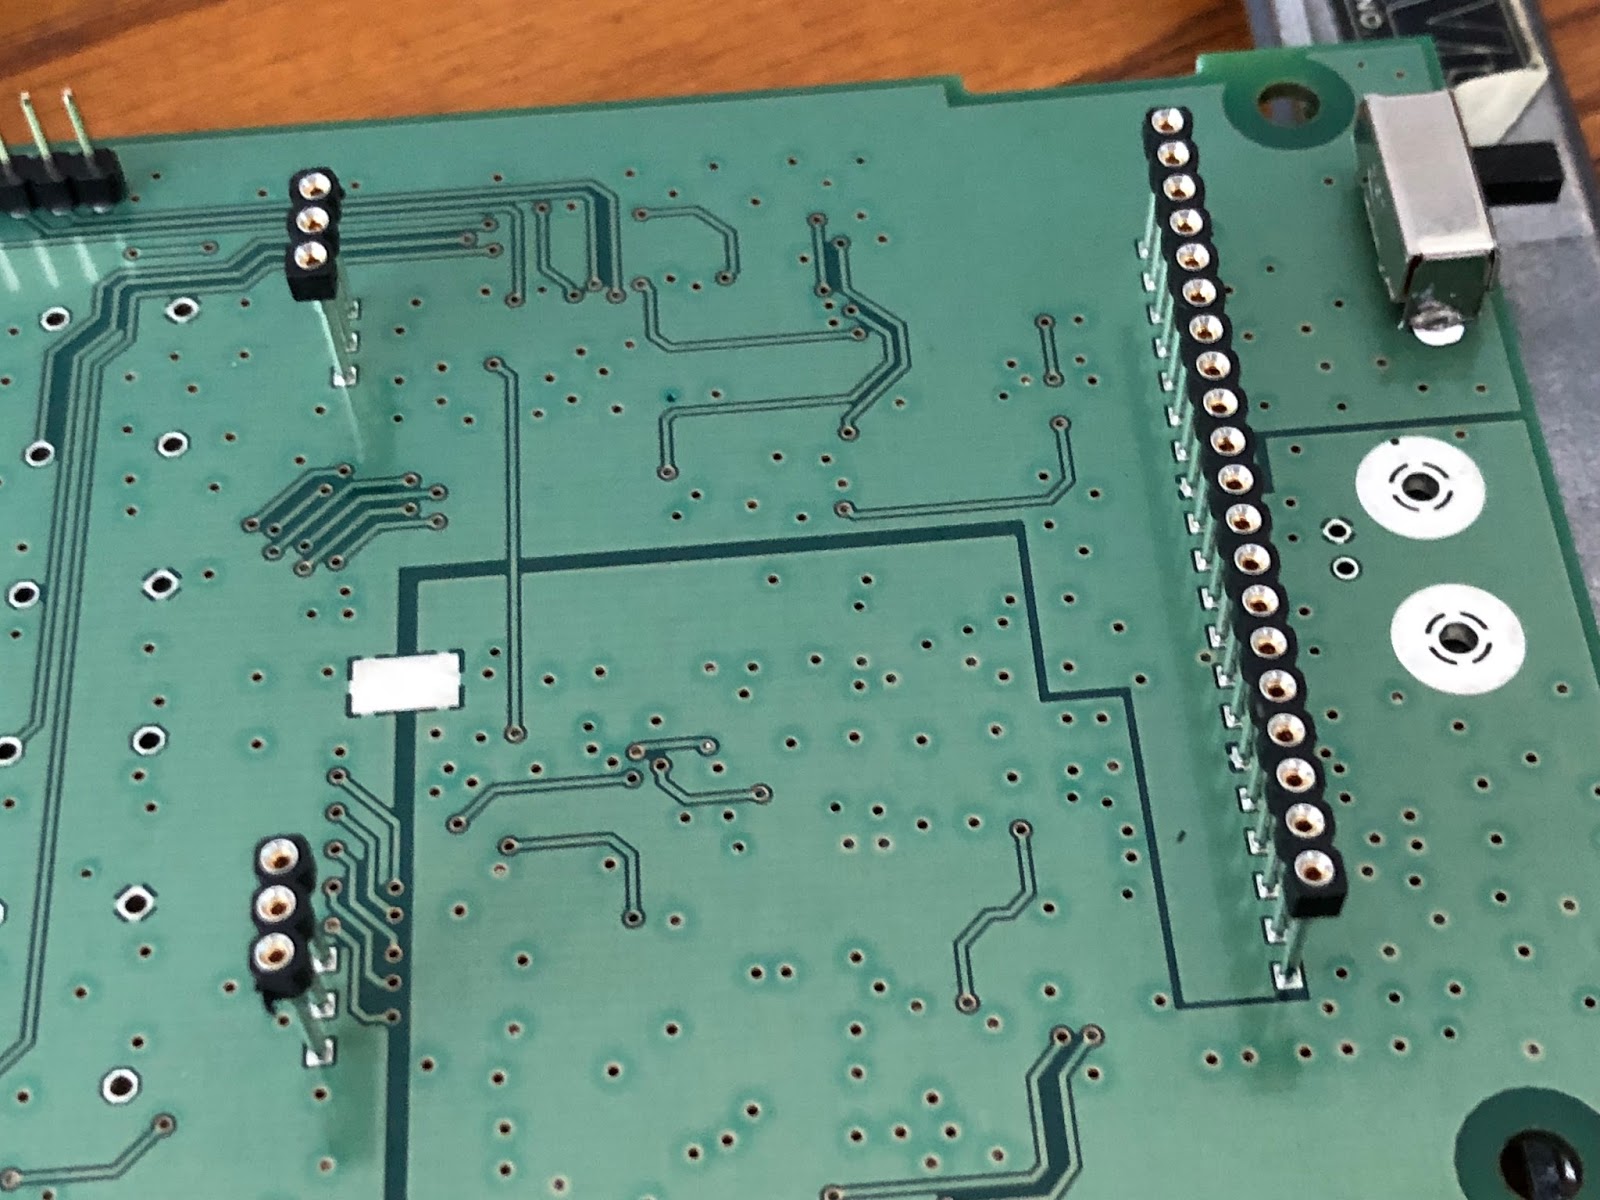
The instructions had me installing the ON/OFF slider switch first and this was a great start for this old rusty kit builder. I then moved onto the 3 rails in which the LCD would eventually plug into. You will notice from the picture these are raised up on the board. Each pin has a "collar" so the rail will be at the proper hight but the builder has to be cautious and make sure the rail is firmly seated and upright and straight. One rail is 20 pins and once it's in....it's in! In the past I have had to remove these types of components due to my own lack of attention. IT IS NOT FUN and I have a Hakko desoldering tool which make desoldering a pleasure but even with that tool removing a 20 pin rail is not fun at all. Take the time to set these parts up for first time correct soldering. My method was taping the rail in place, solder the 2 opposite end pins, check for upright correctness and firm seating on the board. If all is good solder the remaining pins. The other components were easy to solder in place when using the proper tips. I have a magnifier head set and use it to make sure all connections are soldered properly and that all were done. You would be surprised how many times when multiple pins are involved how easy it is to miss a pin. The LCD needed to be soldered to the backlight, it involved a 20 pin connection on one side. The instructions said I only "had" to solder the 2 outside pins. I chose to solder all 20 and then on the opposite side of the LCD there were 2 sets of 3 pin connections that need all pins soldered. To make sure the LCD was firmly against the backlight I used some tape. Once the LCD was ready to go again I took time to inspect the pins that were going to plug into the 20 pin and two 3 pin rails. I did find one of the 3 pin setups ups on the LCD was bent! I corrected this but if I failed to see this could had resulted in broken or bent pins.
There is two AA battery holders that need to be soldered in and all I can say is check and double check this. Mixing this up polarity can bring smoke to the smoke test. Believe me it can happen. One of the Elecraft K2 kits I put together almost ended in disaster when I was not paying attention and soldered up a power cable with Anderson pole connectors. I soldered red wire to Anderson black connector and black wire to Anderson red connector. It gets better.....I then plunged it into the K2 and powered the K2 on!! The Astron power supply made a noise and both the inline fuses on the main Astron power supply blew. I was very luck and now double check everything.
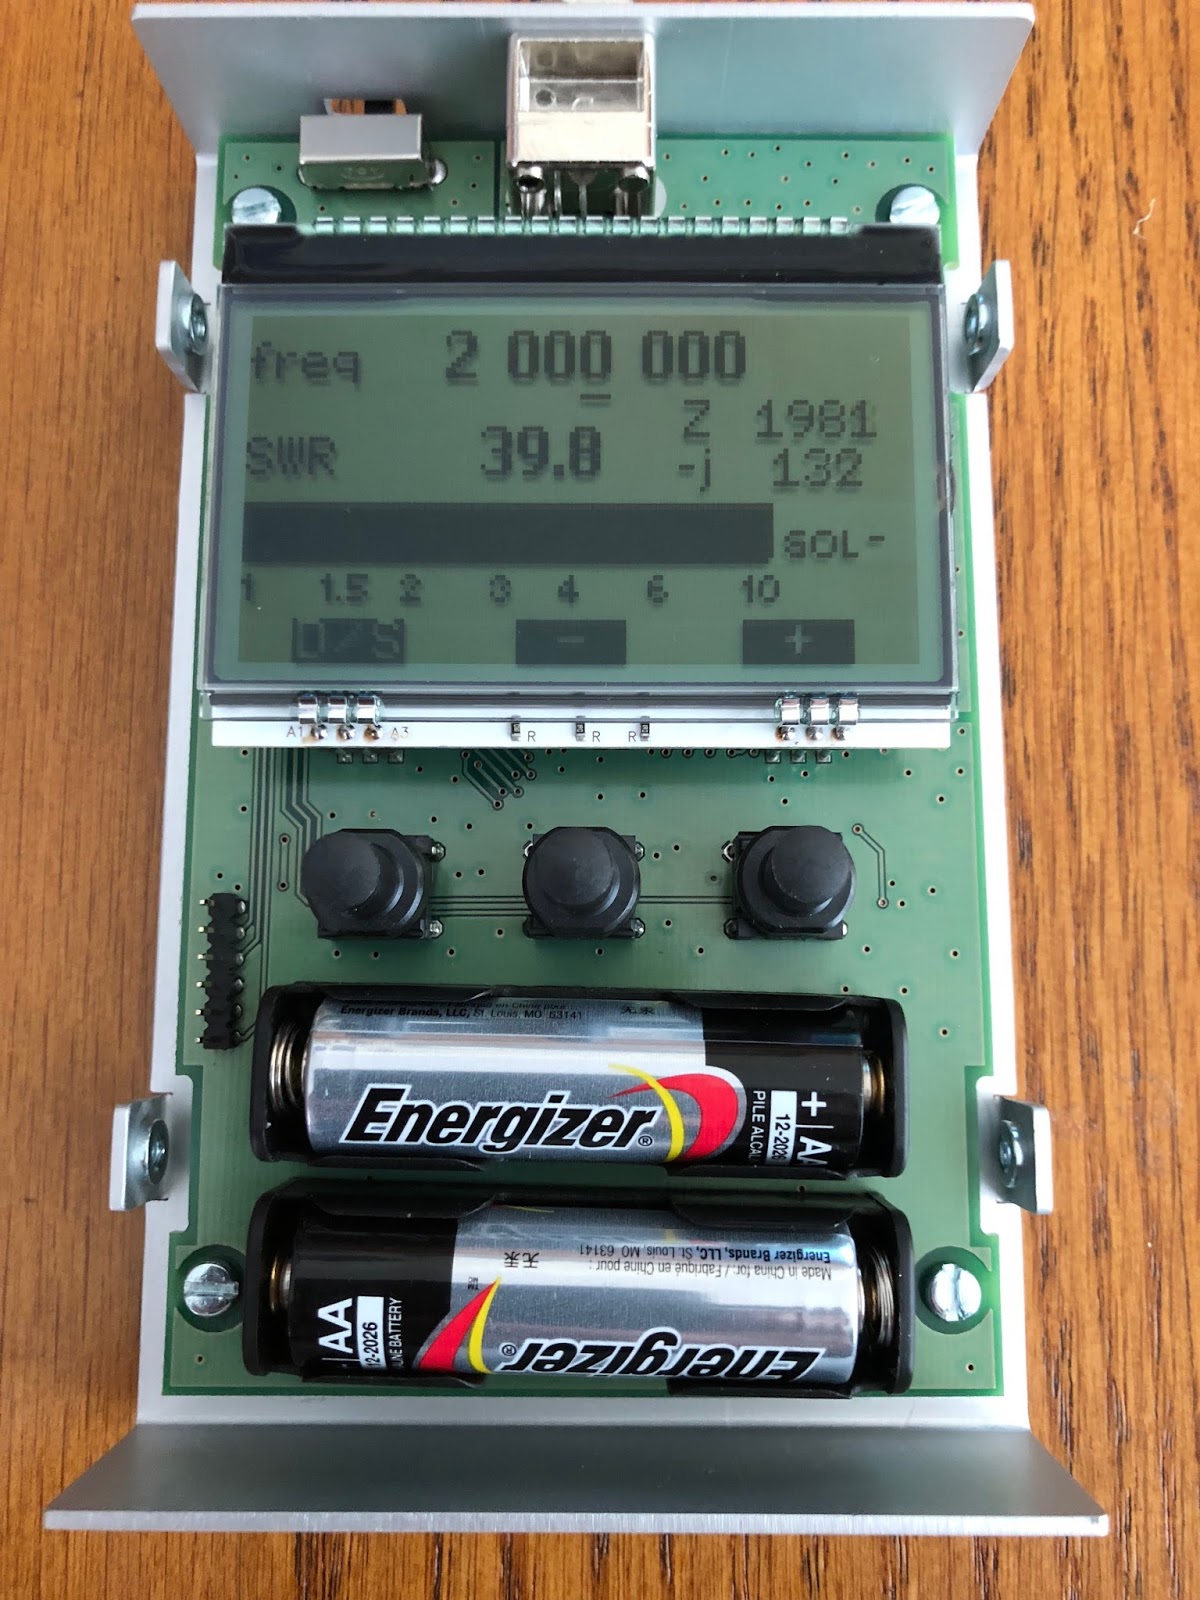
It was now time for the "smoke test" and I was so proud of my first kit in over 4 years I had my dear wife Julie come over for the ceremony.......I flipped the switch and........yup you guessed it...NOTHING!!!!! Yup nothing.....but no smoke and that is a good sign. Julie giggled and moved on to other tasks. I made a mental note to always solo a smoke test and avoid the embarrassment. The problem was one of the AA batteries was not firmly in place. Once looked after the power on test was a success. I called Julie over for her to check out the kit but it just did not have the same excitement. That was it for the kit building for the day I still have to preform the calibration. Over all the kit was a joy to put together and by way of some side notes. The case is a brushed aluminum with attention to detail such as counter sunk screws for securing case, the LCD and buttons lined up perfectly and a nice touch was not having stick on rubber feet (that always over time seem to come off and get lost) This kit came with pull through rubber feet. I still have to calibrate the unit and actually use it but that will be another day.
 |
| Completed kit |
 |
| Smoke test |
 |
| Bent LCD pins |
 |
| Supporting the 20 pin connector. |
 |
| Completed LCD pins |
Some DX contacts today.
I had some spare time today and was able to get on the radio! Over the past month or so it has been lots of work and no time to play radio. Today while on 20m CW I was able to snag HA7GN from Hungary, IQ0PG from Italy I was given special report number of UN90ARI1. According to their site this qualifies me for there ARI 90 years award. The last contact of the day was IO0MDC again from Italy and this call was in celebration of 20 years for the Mediterraneo DX club. I was thrilled with
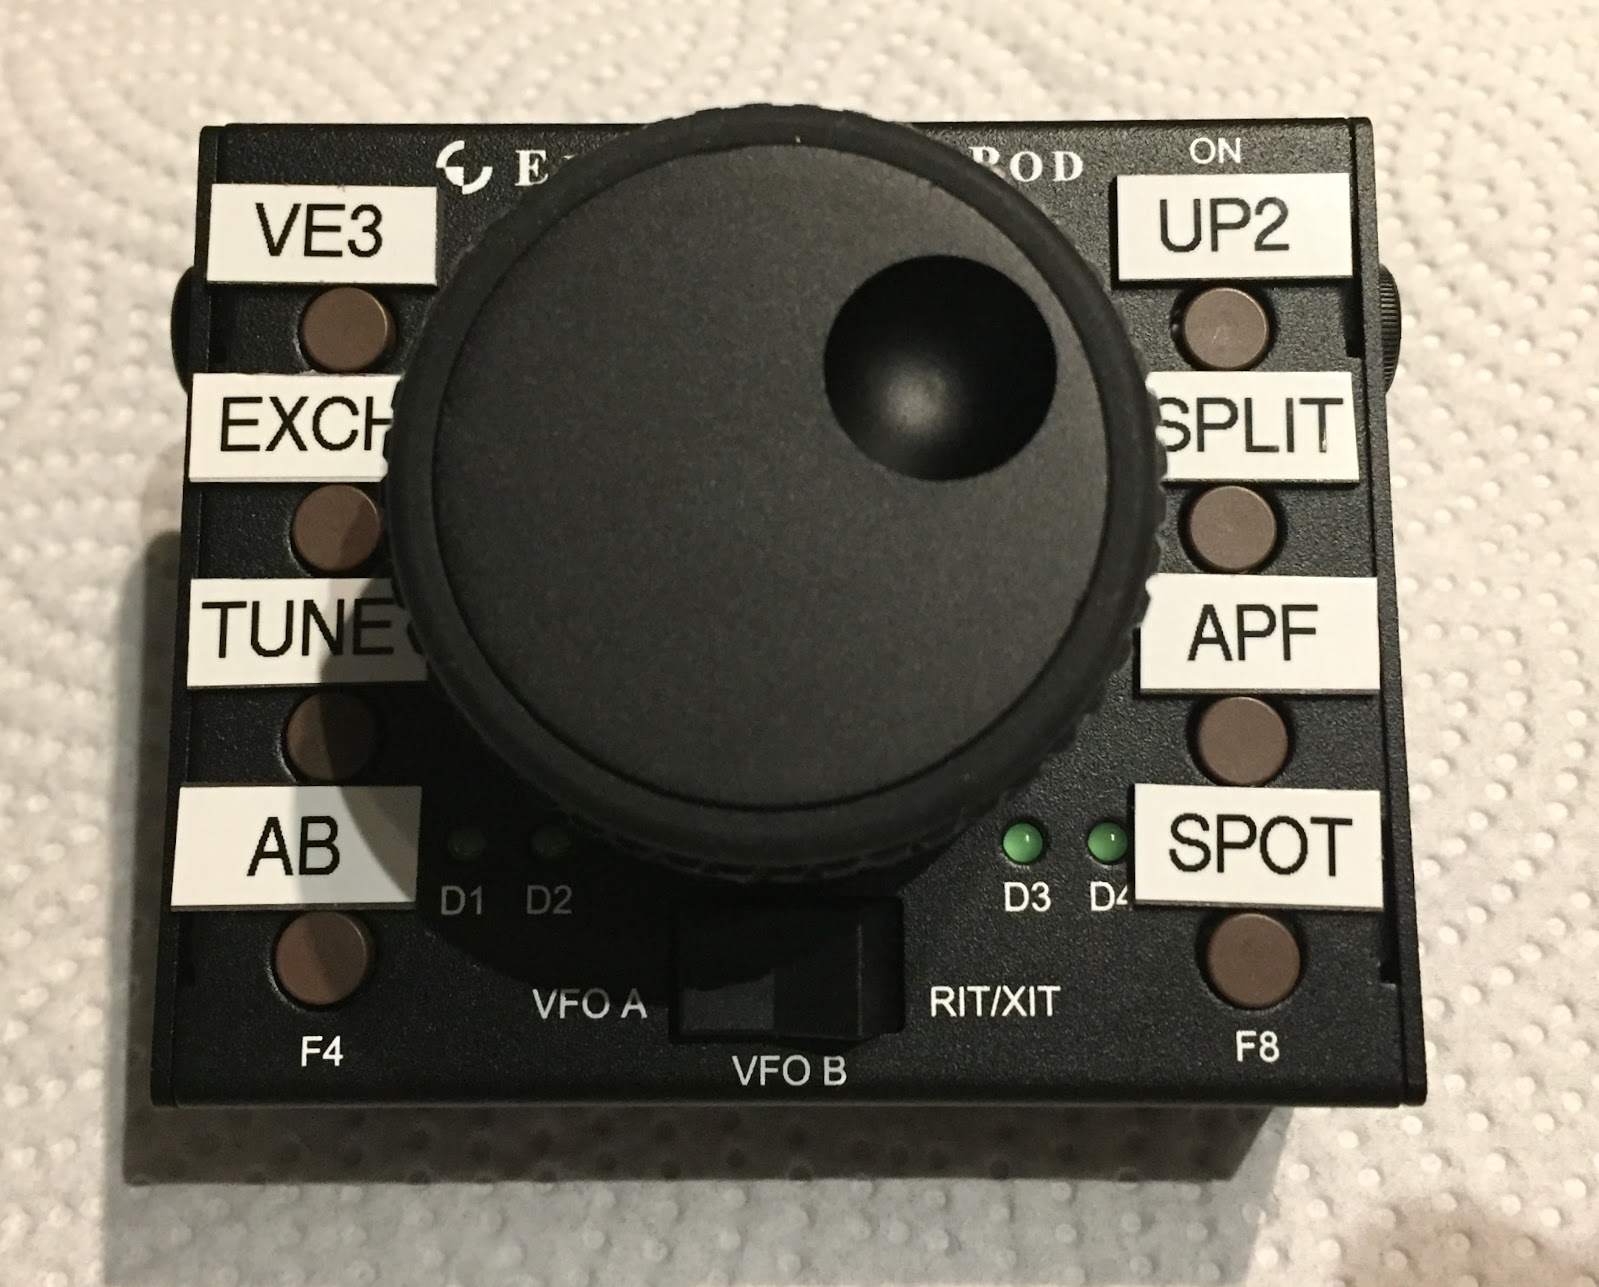
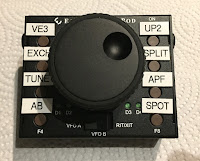 these short contacts and I really was only on for about 20 min's. On a side note.........I have posted in the past that I am the proud owner of an Elecraft K-pod. This thing works great and is a great asset to the shack. It has 8 programmable push buttons, at my age I loose track of what is on what button! I came up with an idea of adding some magnetic strips with the naming of each of the buttons. Since they are magnetic I can remove them when the button macro has been changed or rearrange them if need be.
Some DX contacts today.
I had some spare time today and was able to get on the radio! Over the past month or so it has been lots of work and no time to play radio. Today while on 20m CW I was able to snag HA7GN from Hungary, IQ0PG from Italy I was given special report number of UN90ARI1. According to their site this qualifies me for there ARI 90 years award. The last contact of the day was IO0MDC again from Italy and this call was in celebration of 20 years for the Mediterraneo DX club. I was thrilled with
these short contacts and I really was only on for about 20 min's. On a side note.........I have posted in the past that I am the proud owner of an Elecraft K-pod. This thing works great and is a great asset to the shack. It has 8 programmable push buttons, at my age I loose track of what is on what button! I came up with an idea of adding some magnetic strips with the naming of each of the buttons. Since they are magnetic I can remove them when the button macro has been changed or rearrange them if need be.
DX contact out of the blue!

While setting things up I did have the K3 on and the P3 waterfall viewing the 20m band. I did notice TL8AO and the HUGE pileup that was "UP" 2 KHz on the band. Funny thing as I was listening I did find an op more often than not calling on TL8AO's calling freq and not splitting "UP" On the waterfall of the P3 I did notice a new strong CW signal appear so I pointed and clicked over to it. It was HI3Y in the Dominican calling CQ and "UP". I listened as I setup the split and he seemed to be calling without a pileup. I threw my call out there and he came back to me with a report. He was in the books just that easy...now only if my 5 watts could break the pileup with TL8AO that fast! Time to start dinner now.......Tenderloin steak on the BBQ, mini potatoes on the BBQ with butter and rosemary and finally butternut squash........yum!
DX contact out of the blue!
While setting things up I did have the K3 on and the P3 waterfall viewing the 20m band. I did notice TL8AO and the HUGE pileup that was "UP" 2 KHz on the band. Funny thing as I was listening I did find an op more often than not calling on TL8AO's calling freq and not splitting "UP" On the waterfall of the P3 I did notice a new strong CW signal appear so I pointed and clicked over to it. It was HI3Y in the Dominican calling CQ and "UP". I listened as I setup the split and he seemed to be calling without a pileup. I threw my call out there and he came back to me with a report. He was in the books just that easy...now only if my 5 watts could break the pileup with TL8AO that fast! Time to start dinner now.......Tenderloin steak on the BBQ, mini potatoes on the BBQ with butter and rosemary and finally butternut squash........yum!
A CW contest surprise!