Author Archive
 My memory is good just short!
 |
| DSP board version |
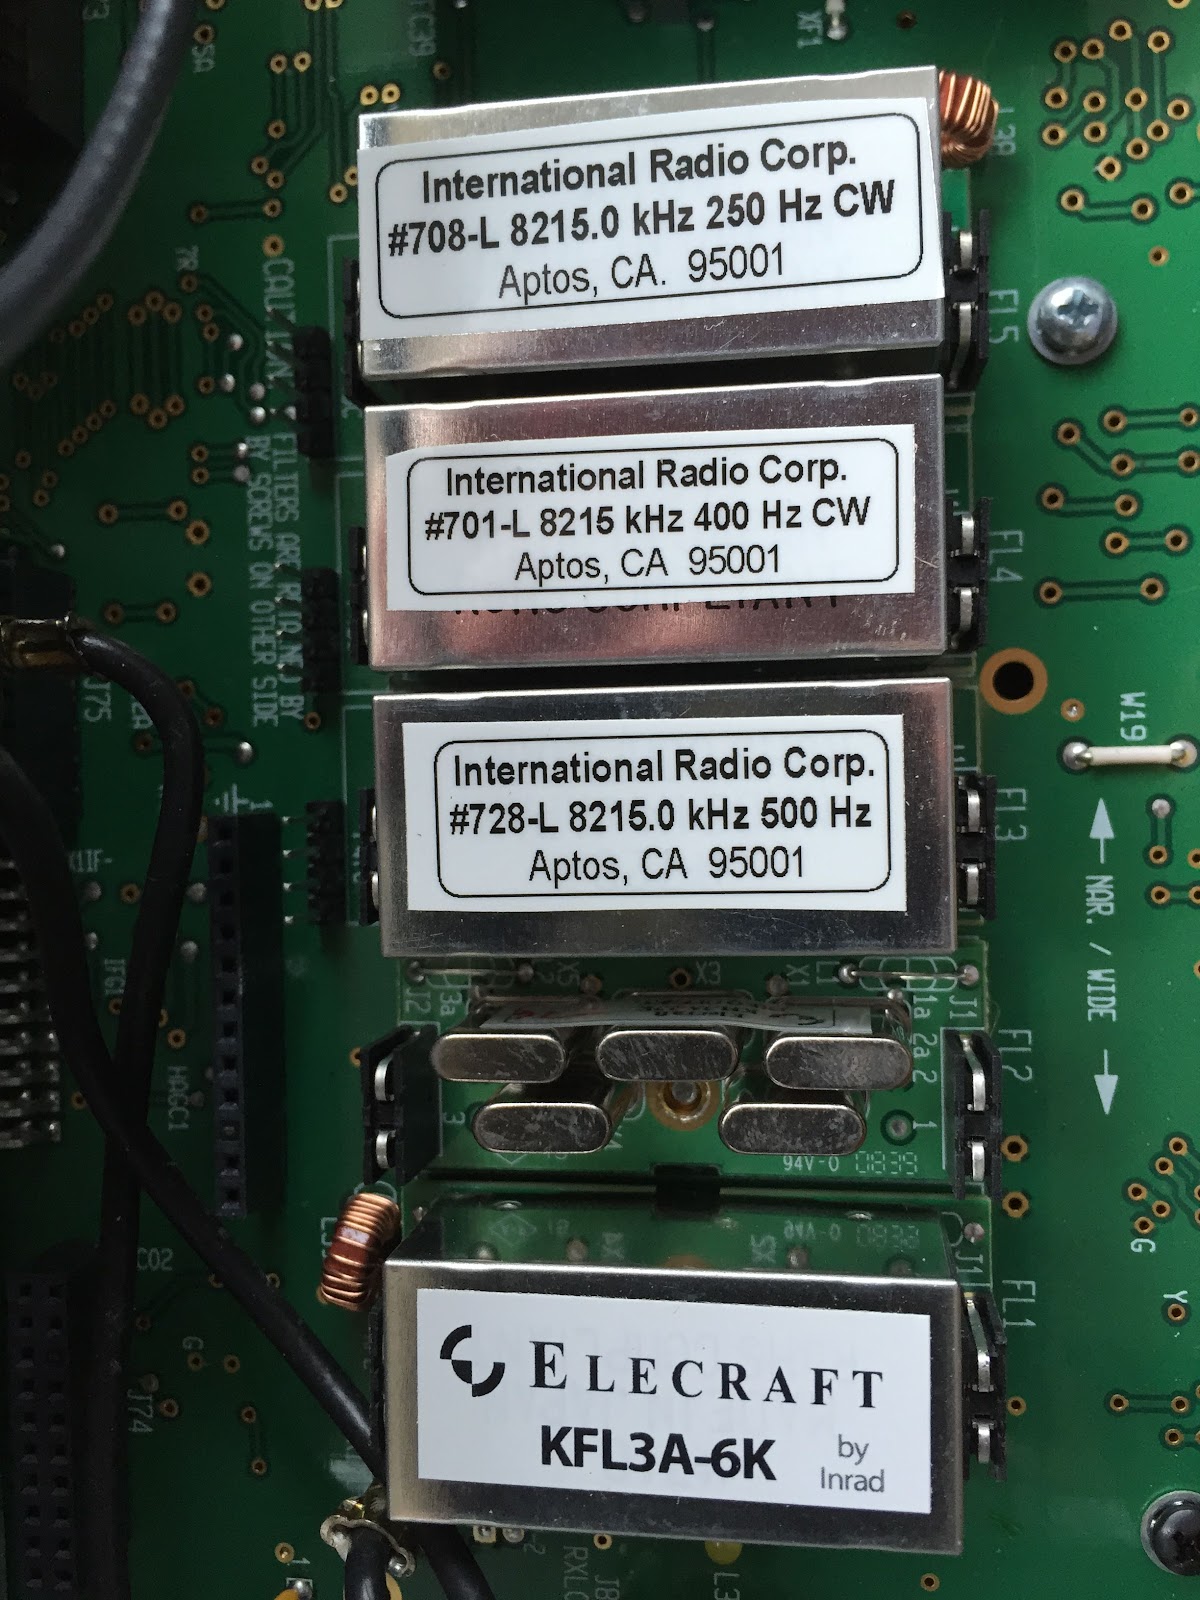 |
| Filters that are in the K3 |
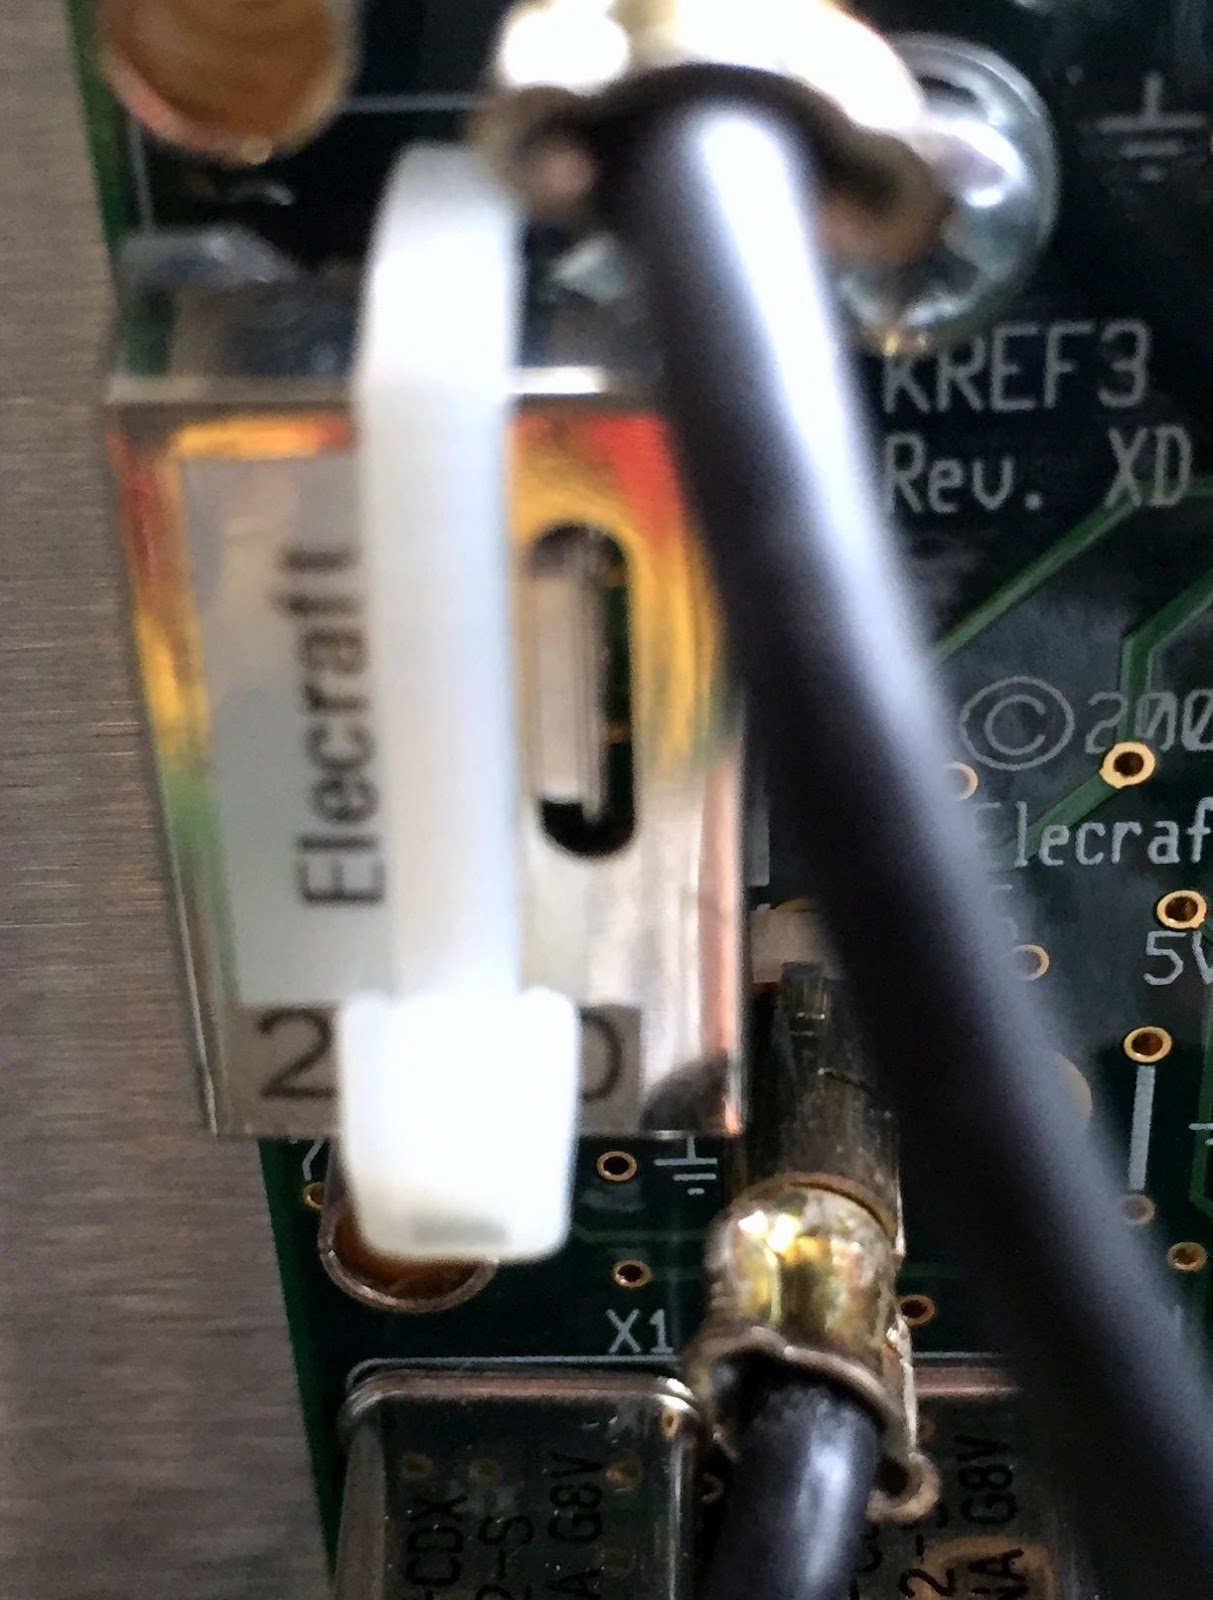 |
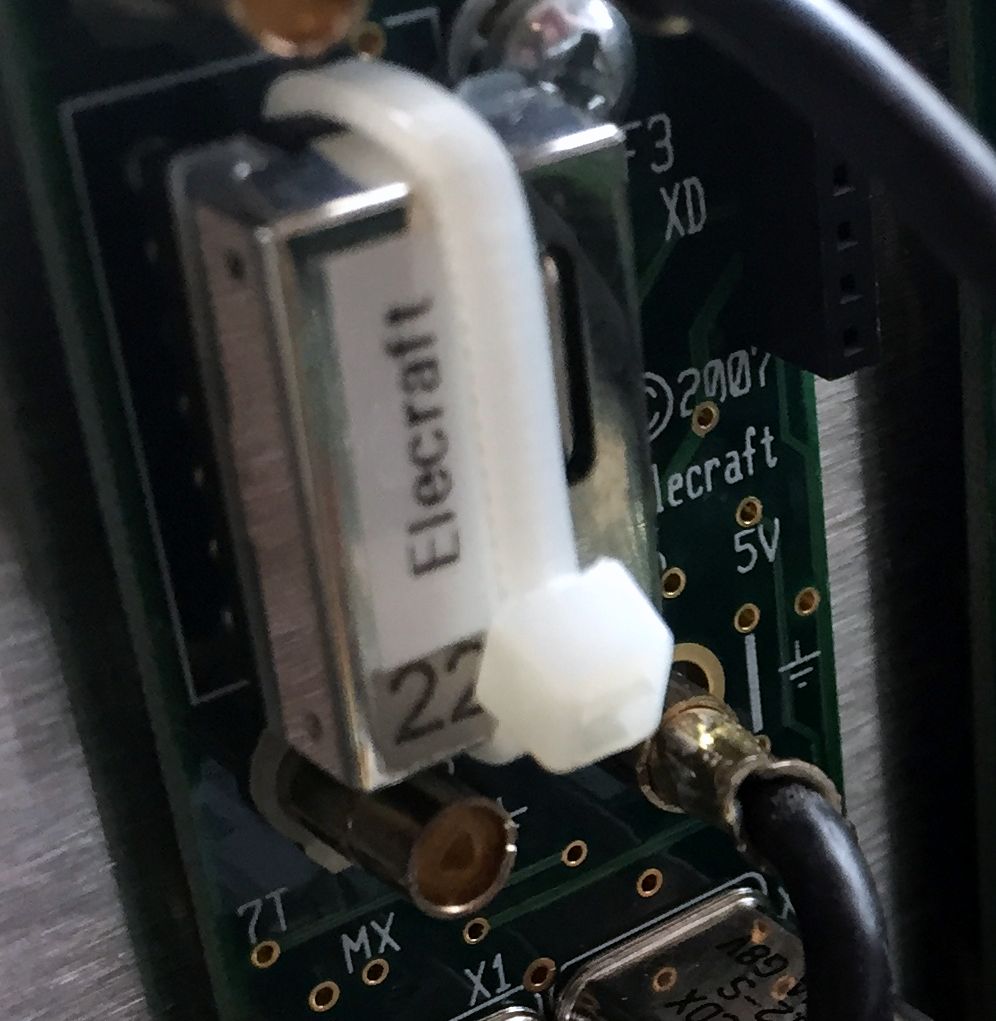
| The mystery TCXO |
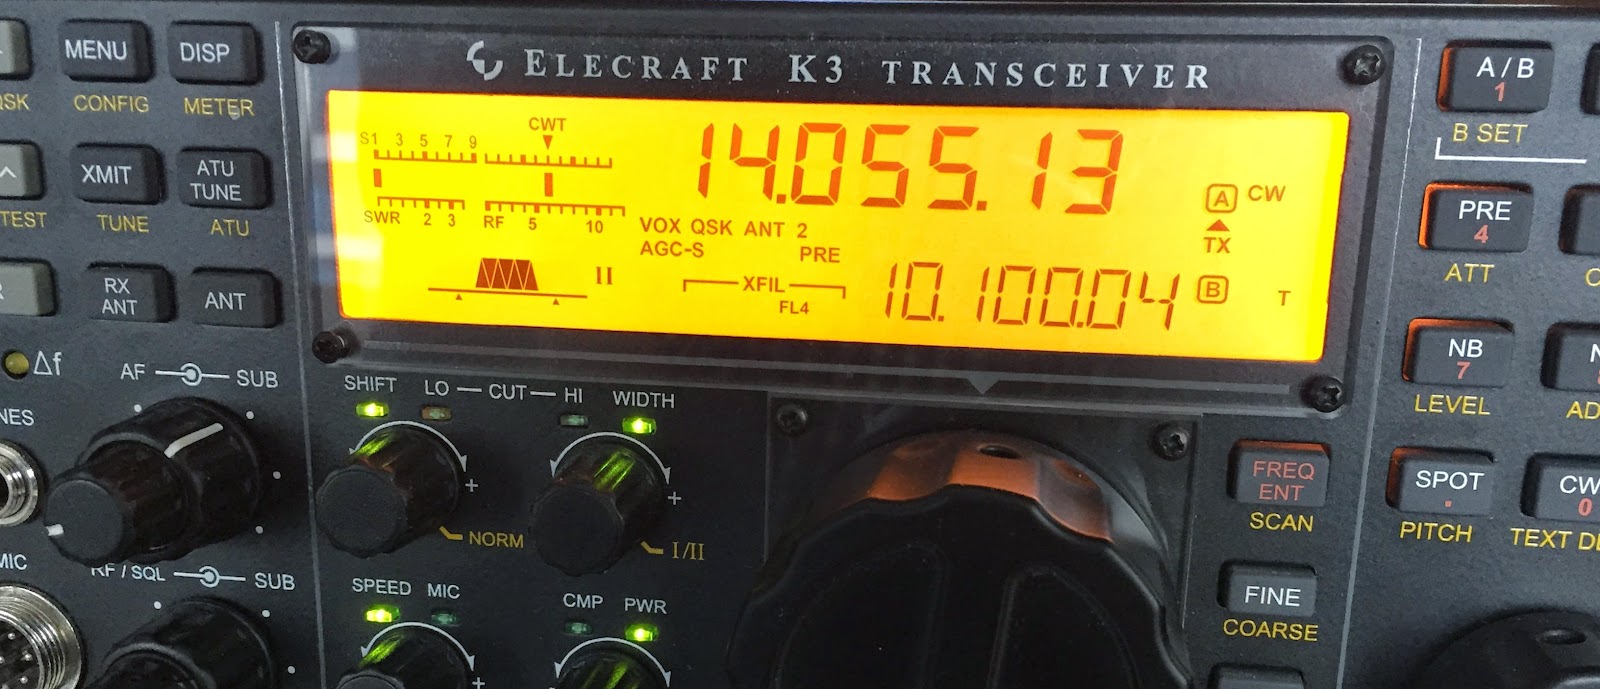
It’s been just too long since my last post!
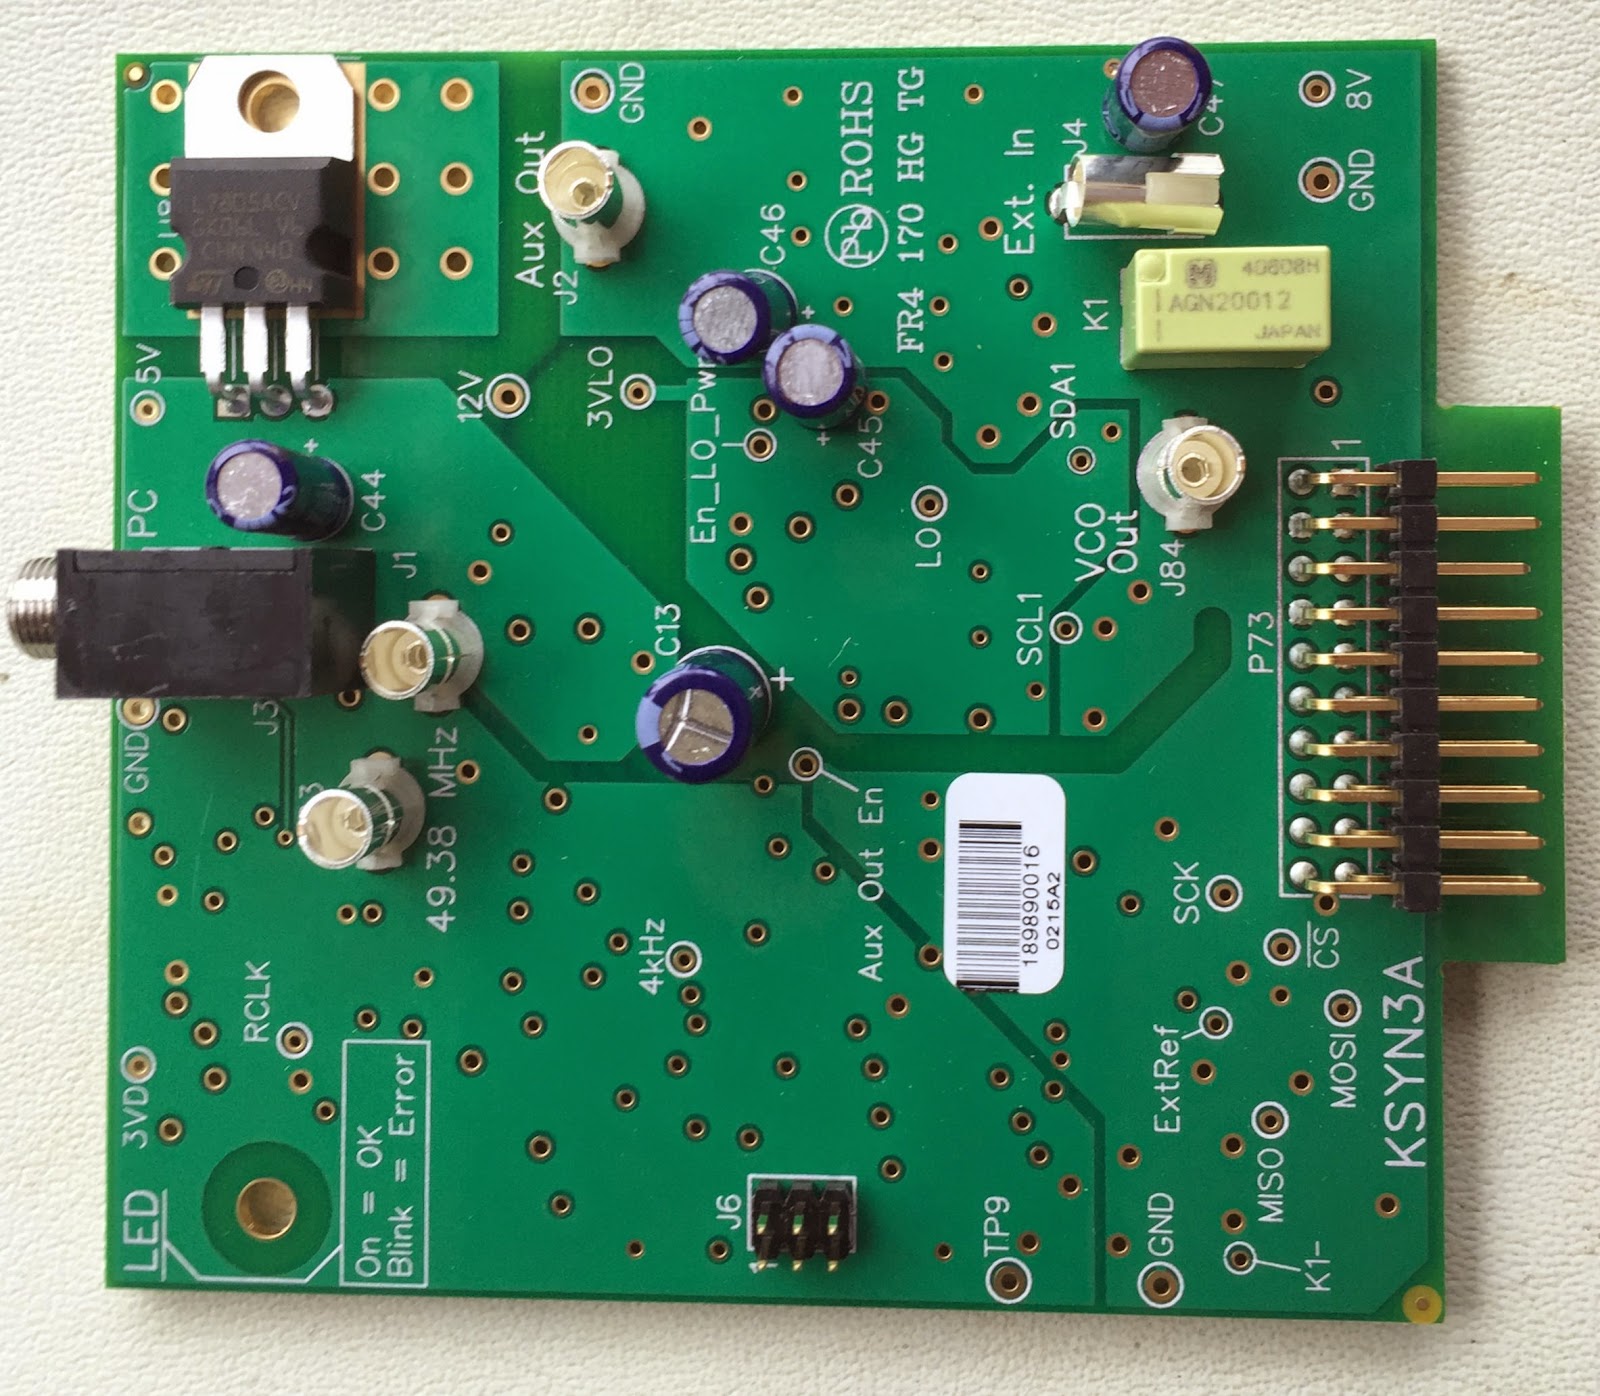 |
| New Elecraft synthesizer |
 |
| Old synthesizer board |
 |
| The board installed in the K3 |
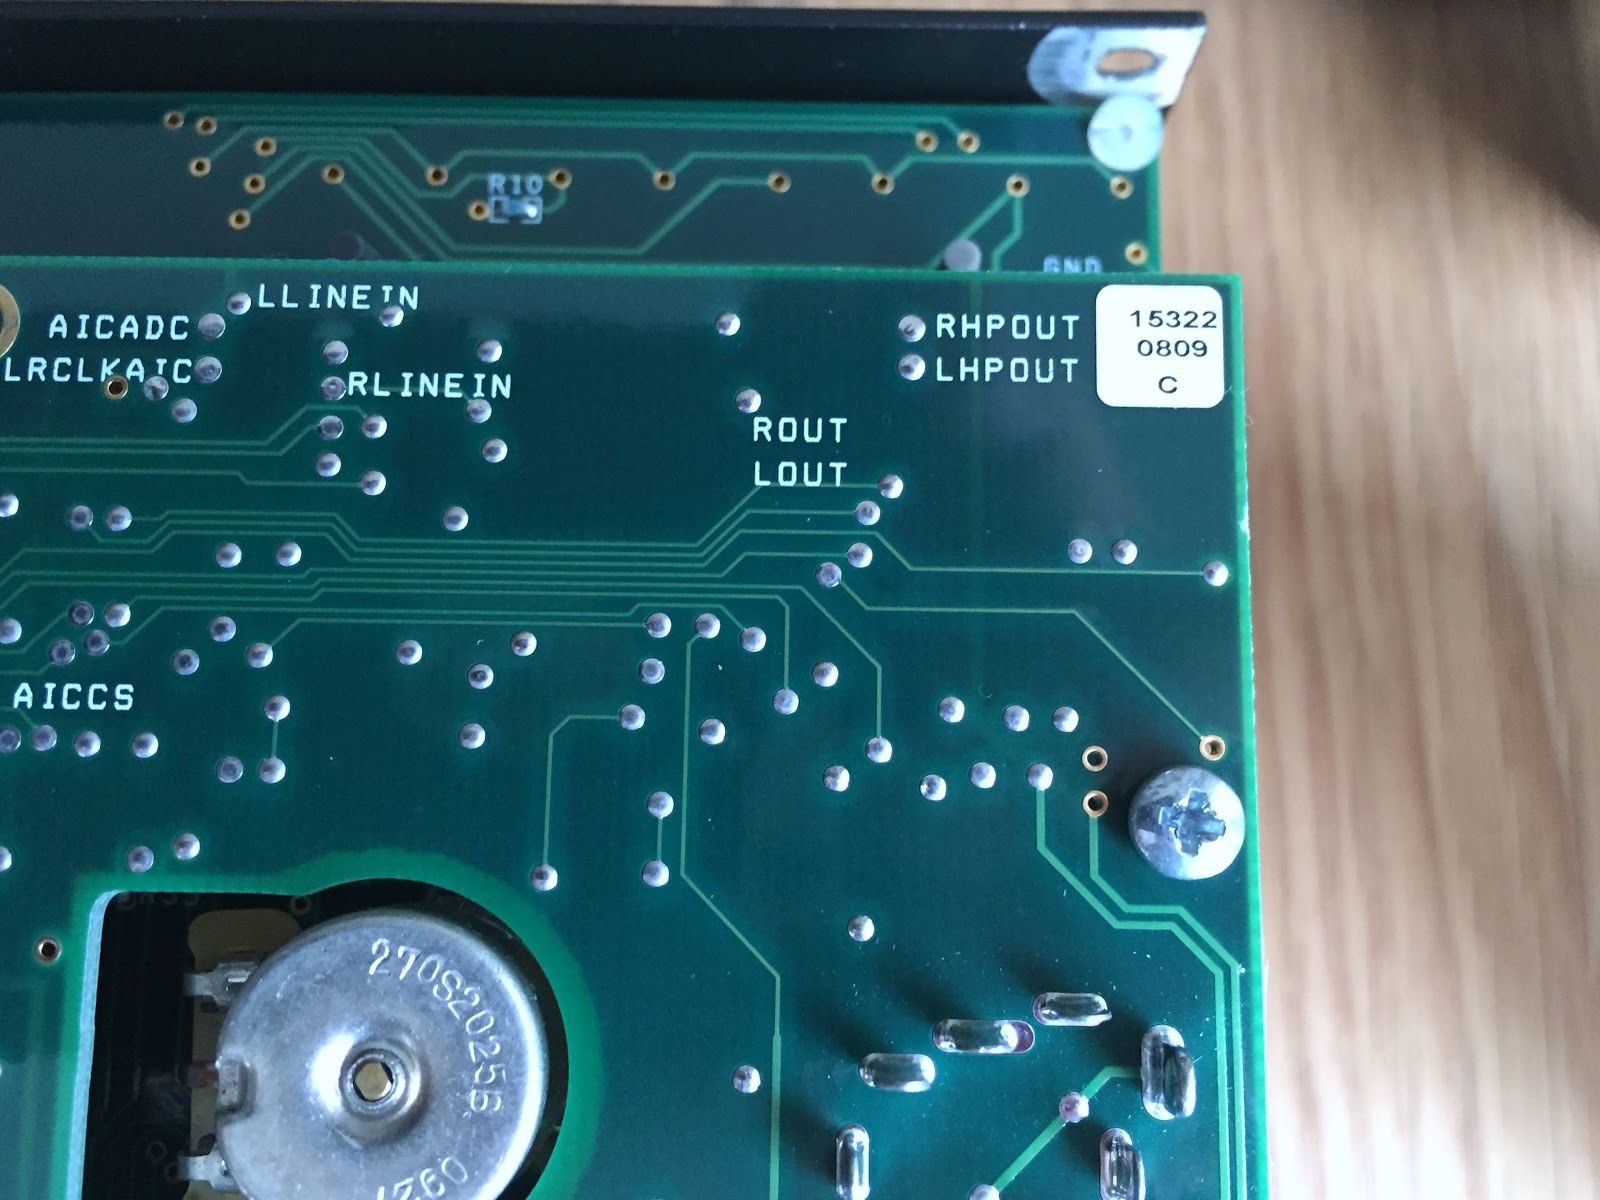
Elecraft surgery part 3 of 3
 |
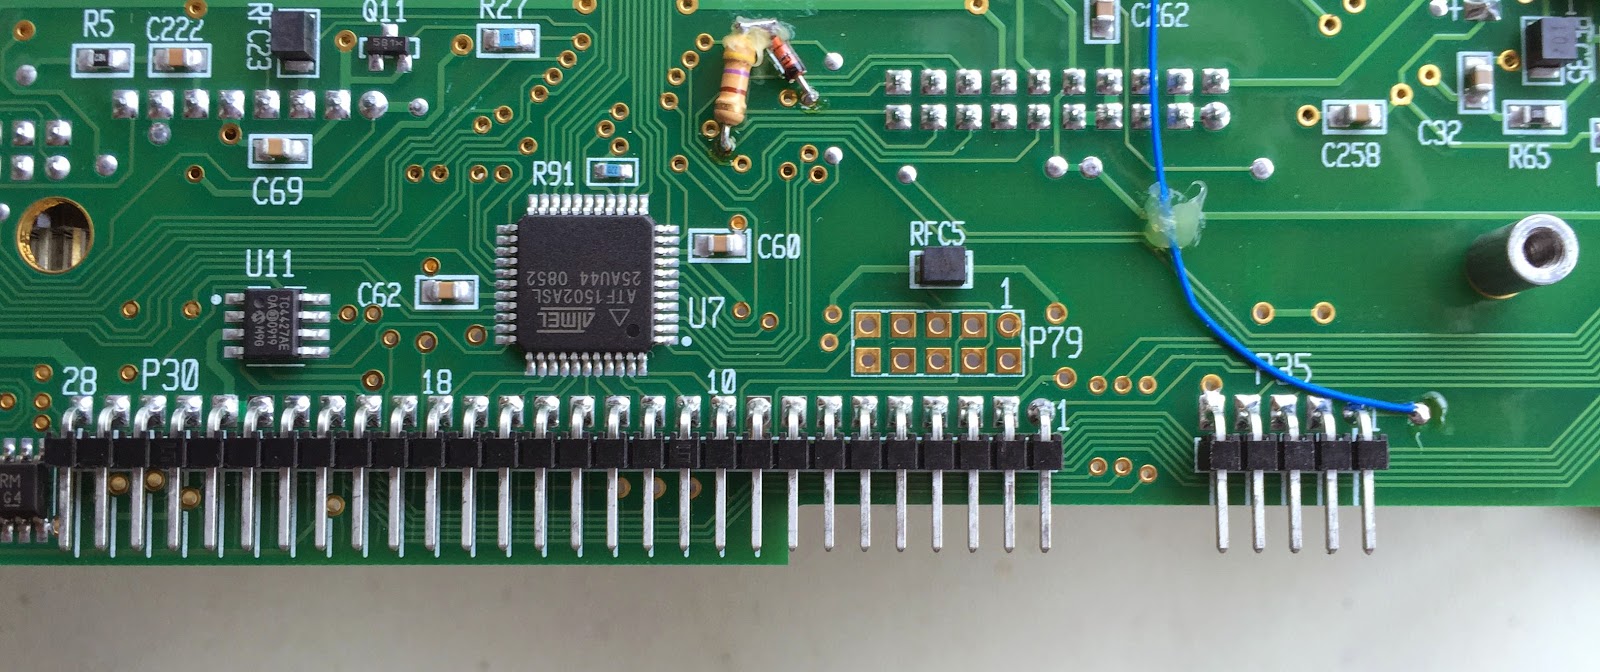
| Back to life again |
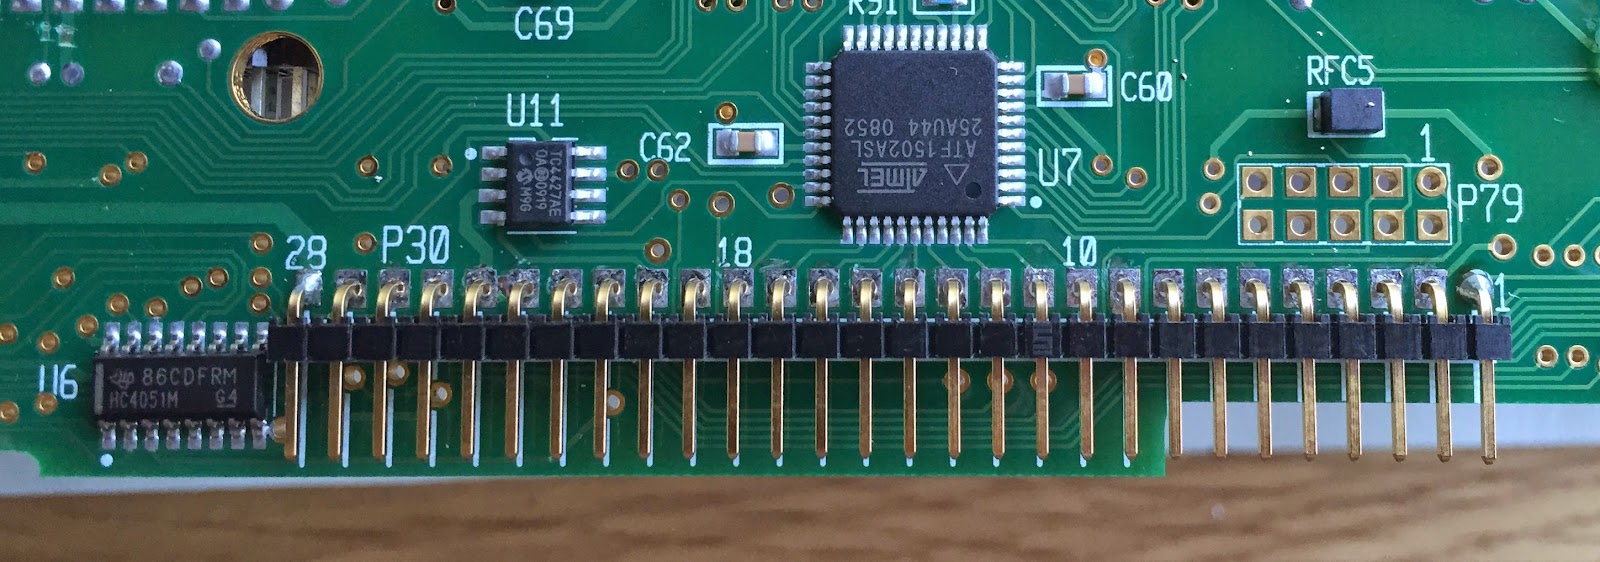 |
| Soldering end pins |
 |
| Imports of checking both sides of board |
 |
| Flossing tool used to clean board |
 |
| New header lines up with front board. |
Part 2 of the K3 surgery.
 |
| It's time for the surgery |
 |
| Beware of other components |
 |
| Front control head removed |
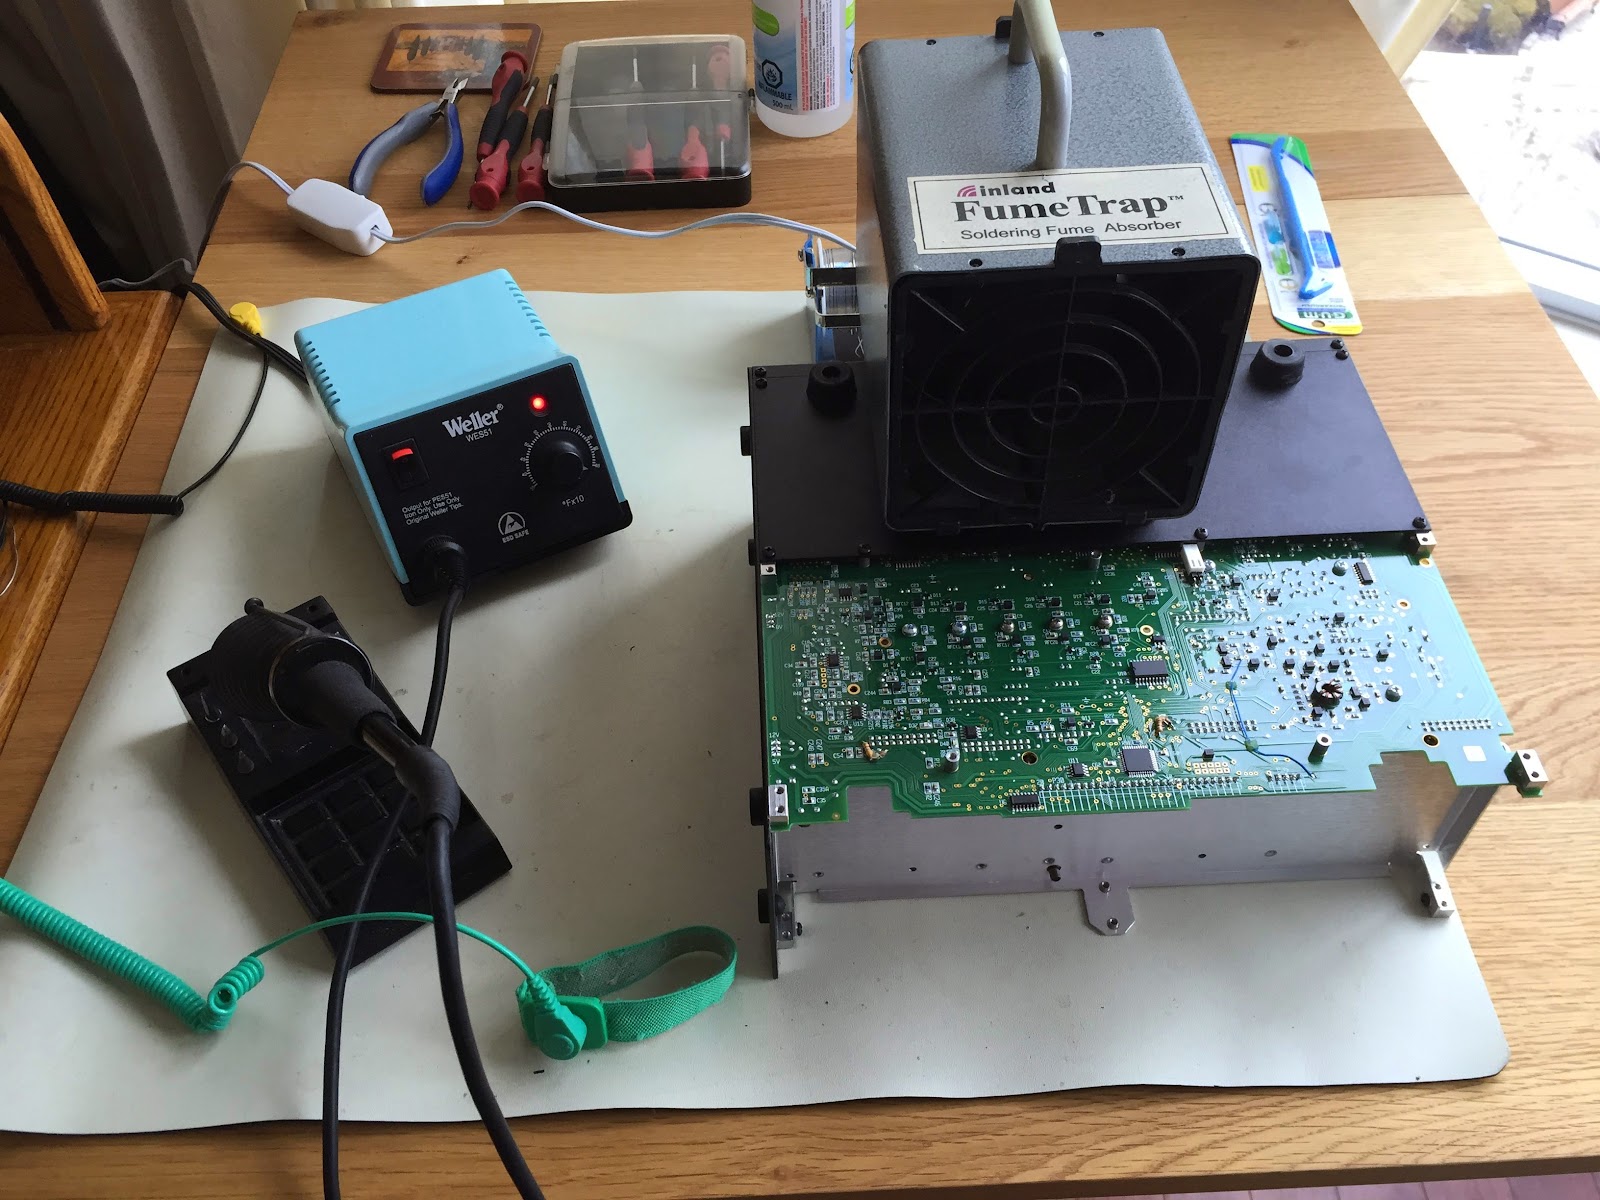 |
| Fume trap and soldering iron ready |
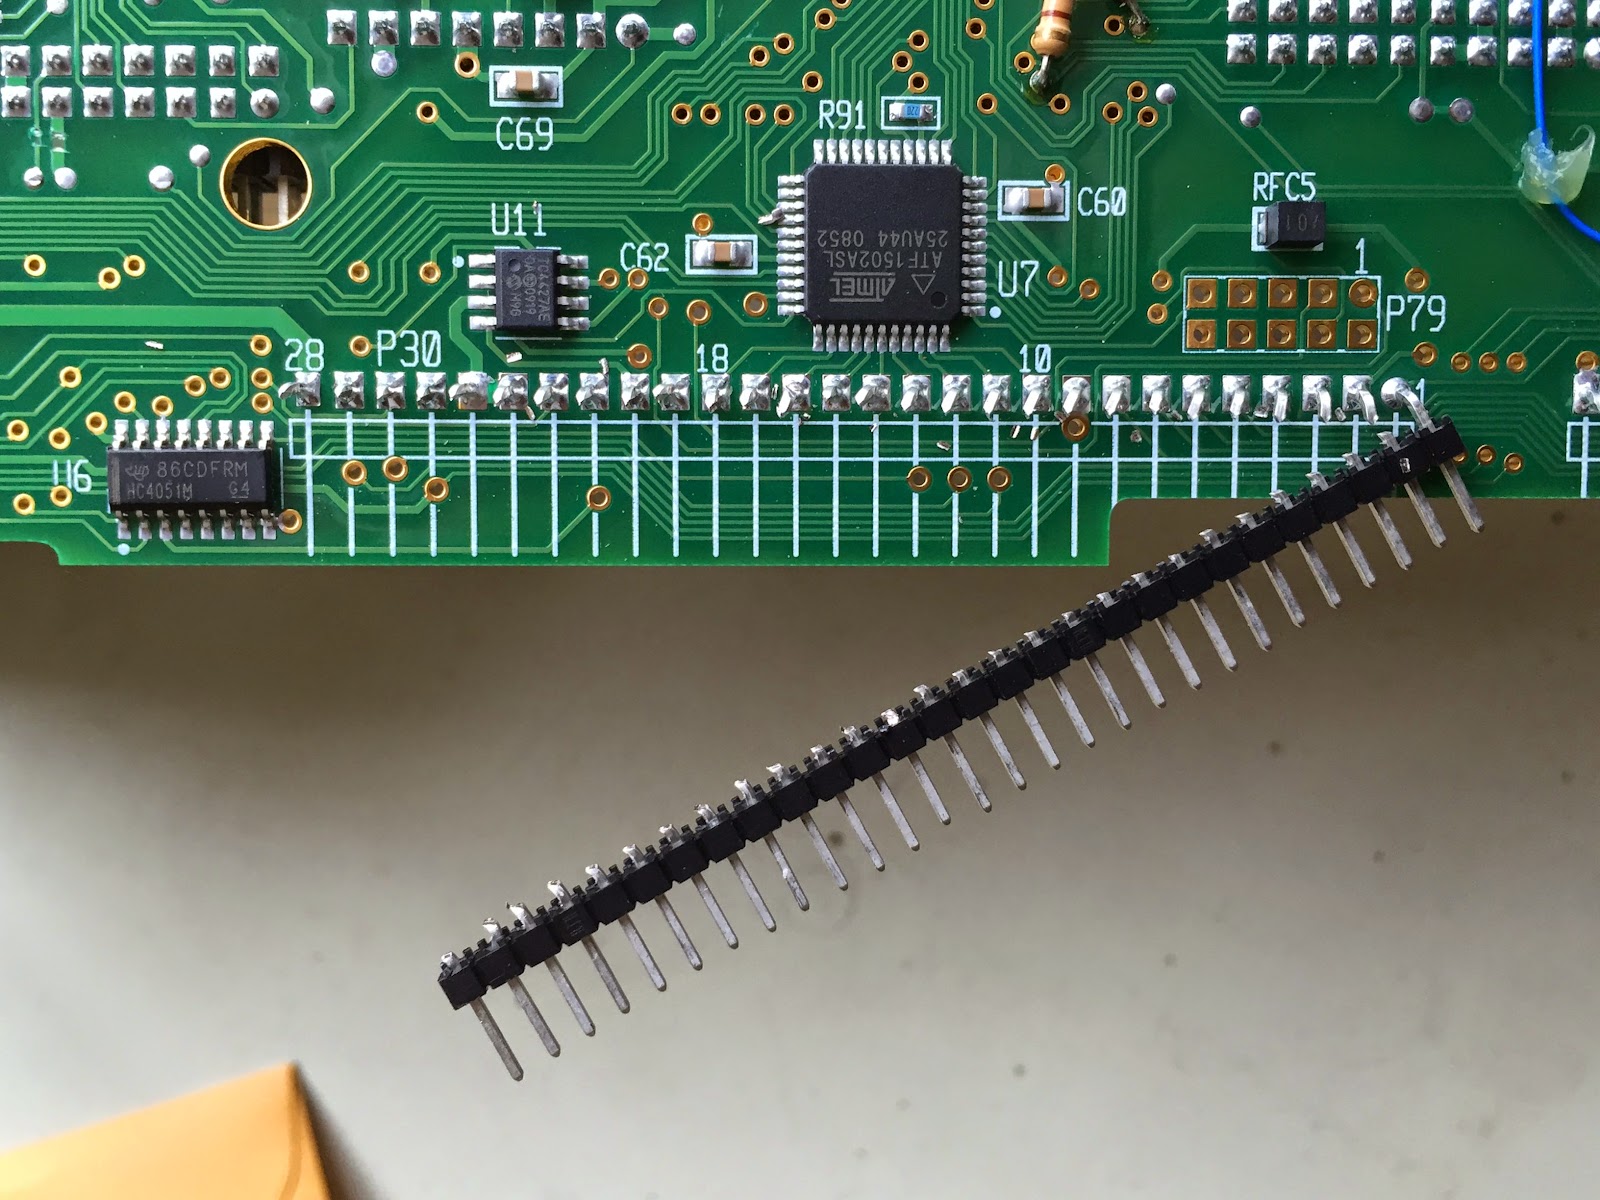 |
| Trimming the header pins |
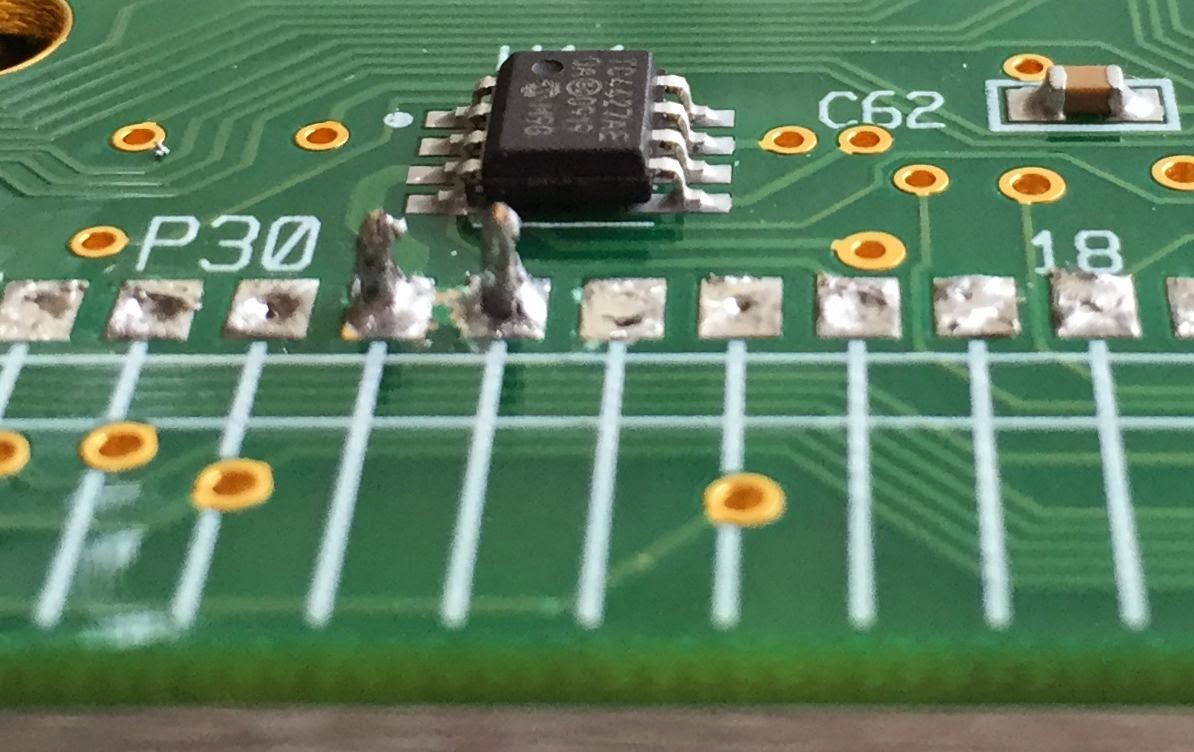 |
| The two stubborn pins |
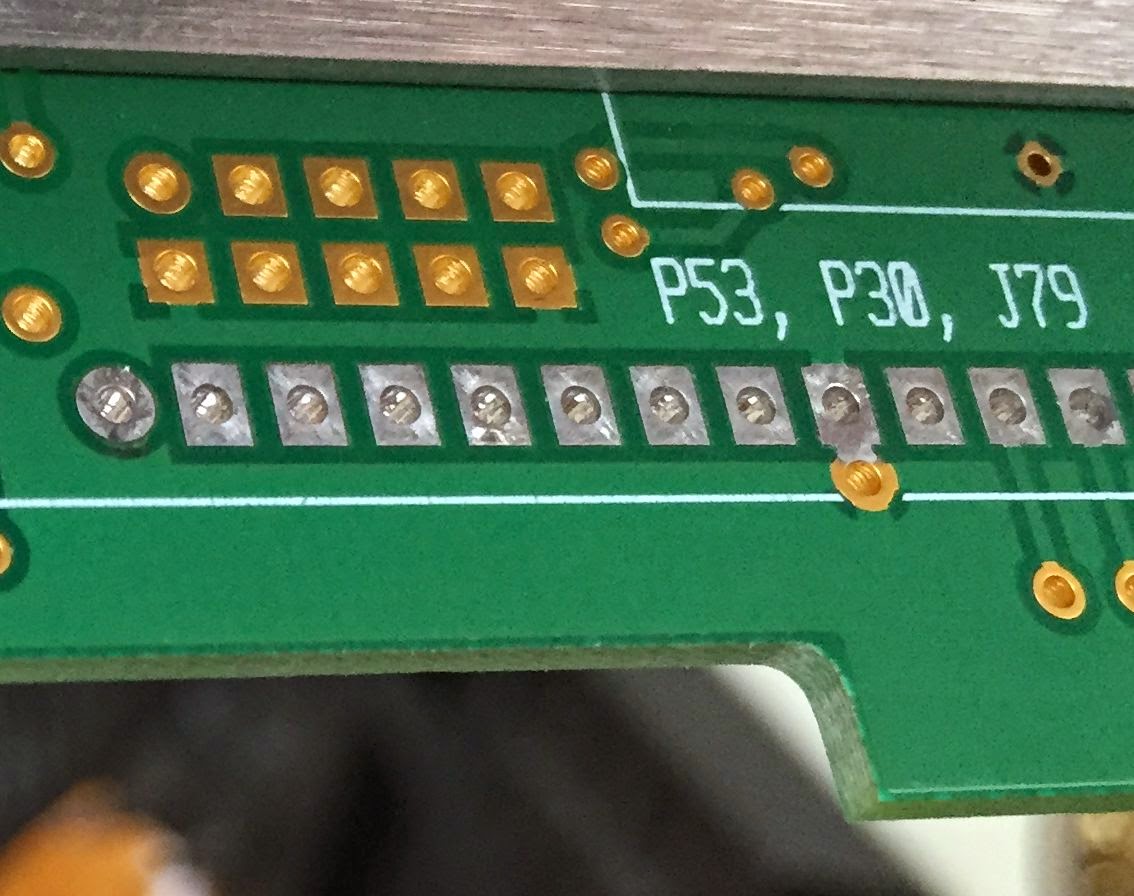 |
| After using Hakko 808 |
 |
| Old out and new ready |
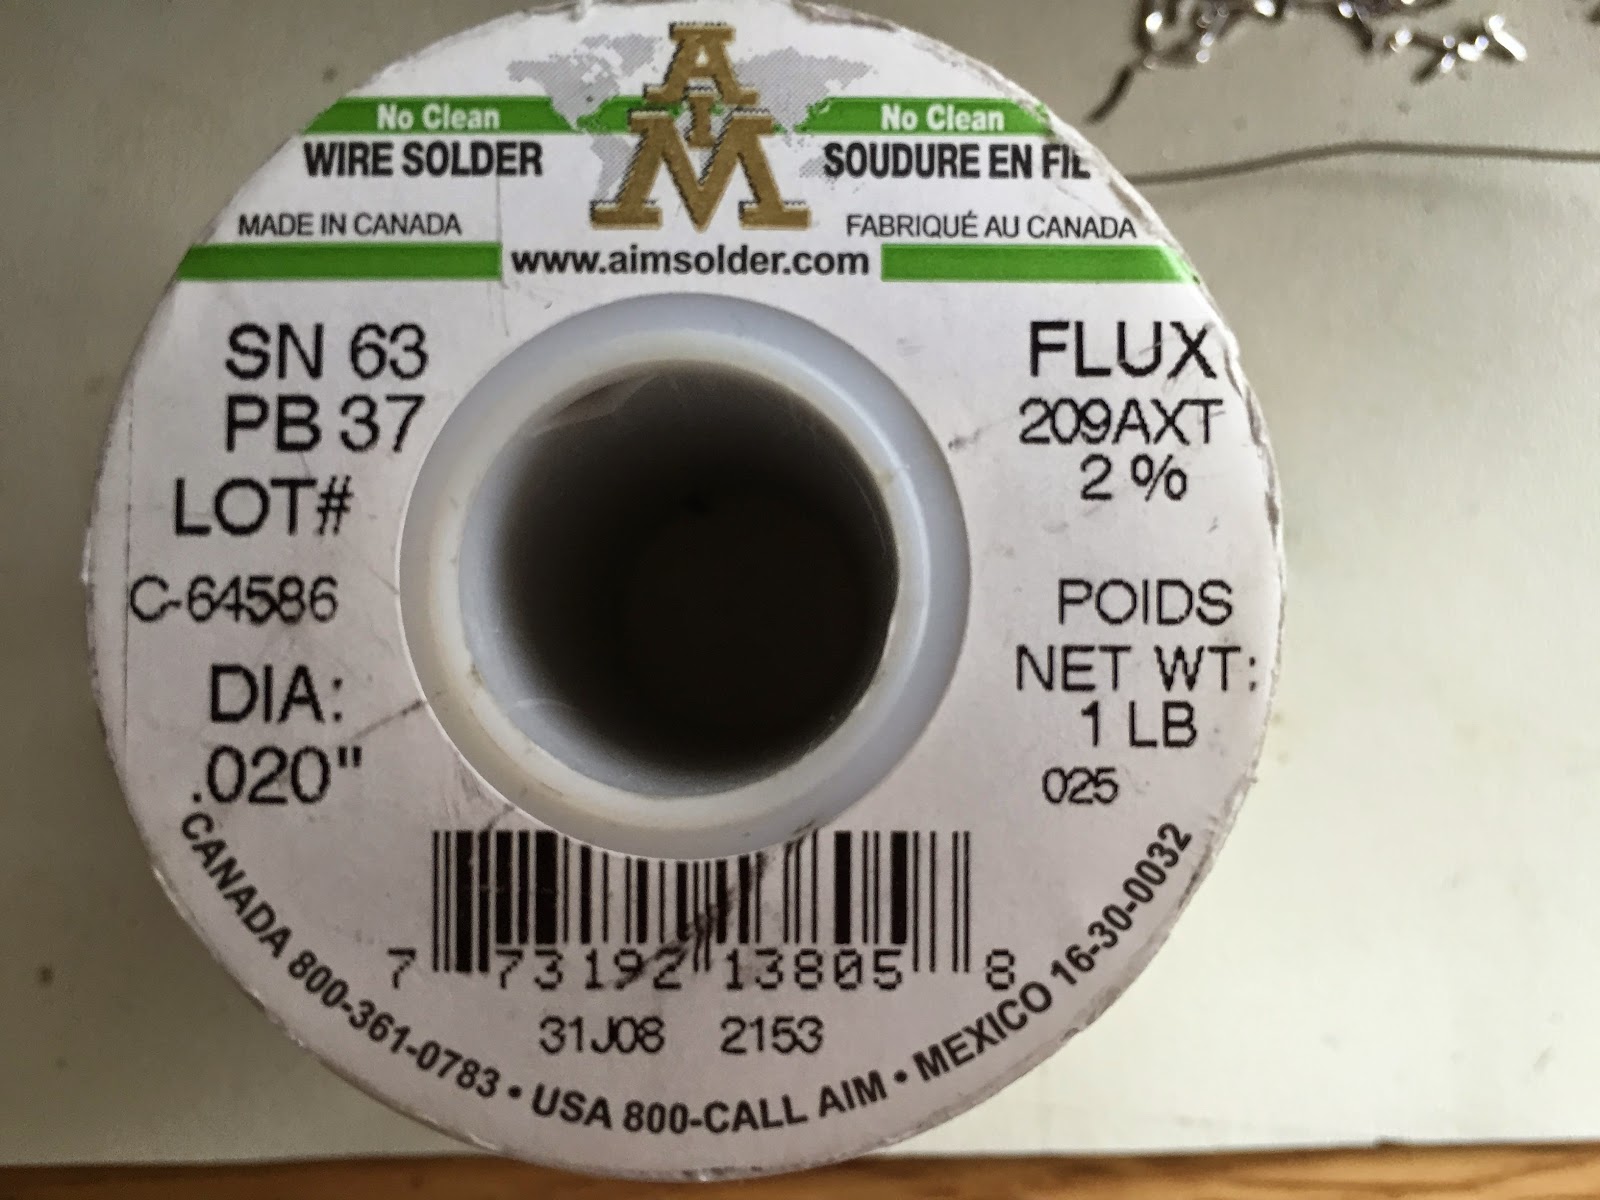
.
Doing surgery on the Elecraft K3 part 1
 |
| It's time for some surgery. |
First off an anti static mat with a wrist strap, when dealing with state of the art radios this is a must! A medium quality soldering station makes your soldering jobs a pleasure. I have the WellerWES51, this is a nice temperature controled unit. The tips can be changed out for varied soldering jobs and what's nice with this grade of soldering stations the tips heat up very fast and stay hot.


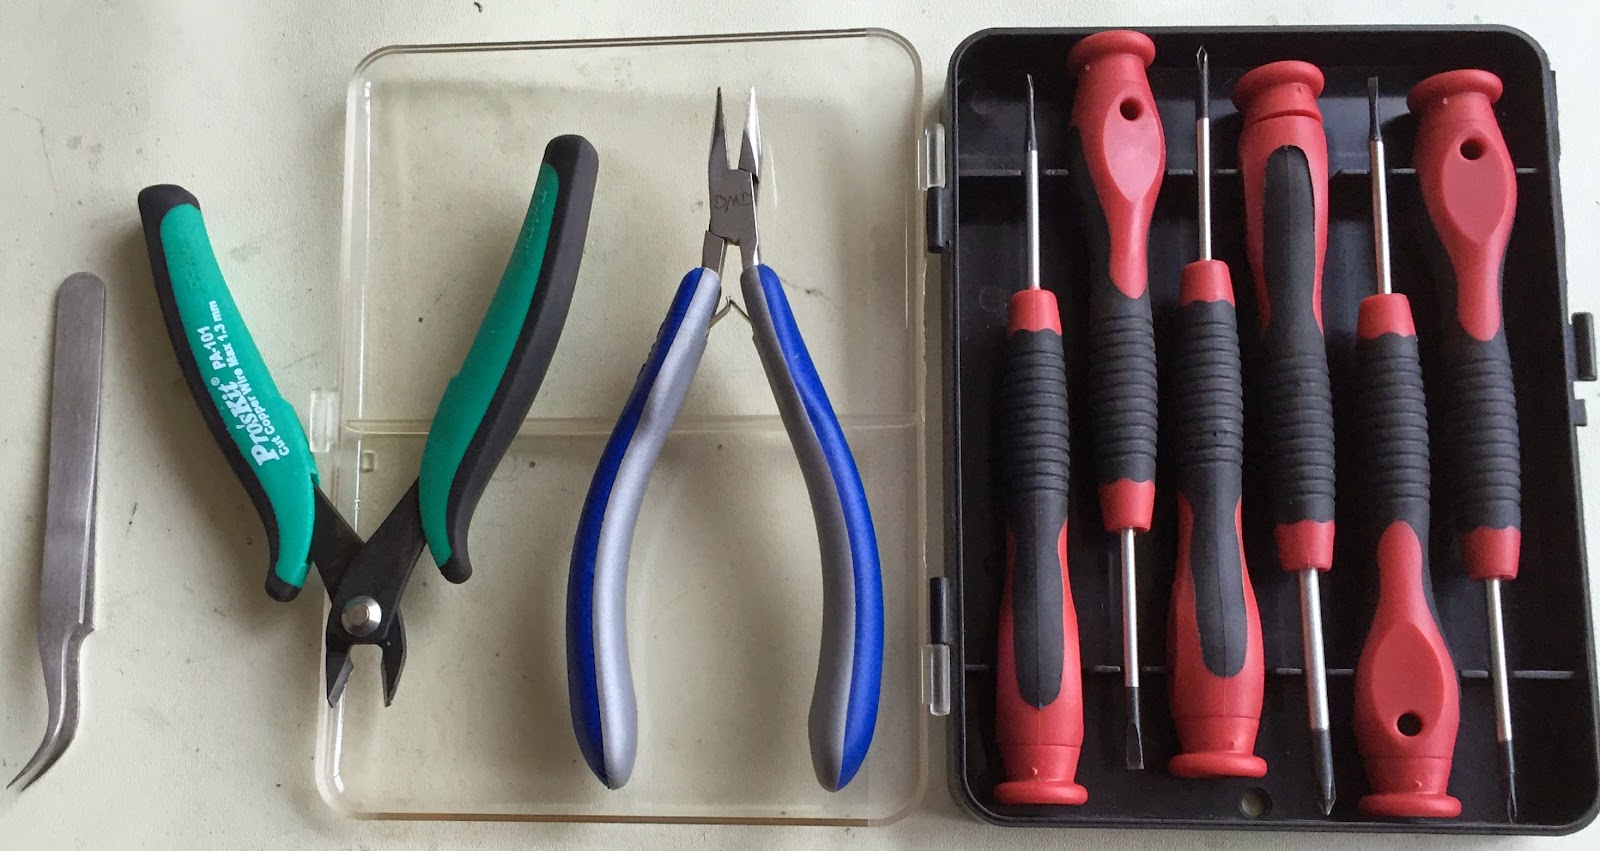 rolling off the desk. When you solder there is smoke and it's a good idea to pickup a fume fan of some type. I purchased the Fume trap brand of fans. It works great and keeps the fumes away from you breathing them in. You then have the hand tools that again have to be chosen and purchased wisely. You don't have to break the bank but don't go for super cheap. For this job I will be using my screw drivers, tweezers and diagonal cutters. Finally with this project I have to remove old solder from the pads that are on the K3's PC board. This is a part of the project if things go bad they can go really bad! In the past I have used the hand held spring loaded desoldering pump. They are ok but not great, I took the plunge and purchased the Hakko 808 desoldering tool. This has been one my best investments! This are most of the tools that I am going to be using and for this post that's about all I'm going to talk about. My next post (part 2) I am going to get into the steps I used to change P30 and P35 headers.
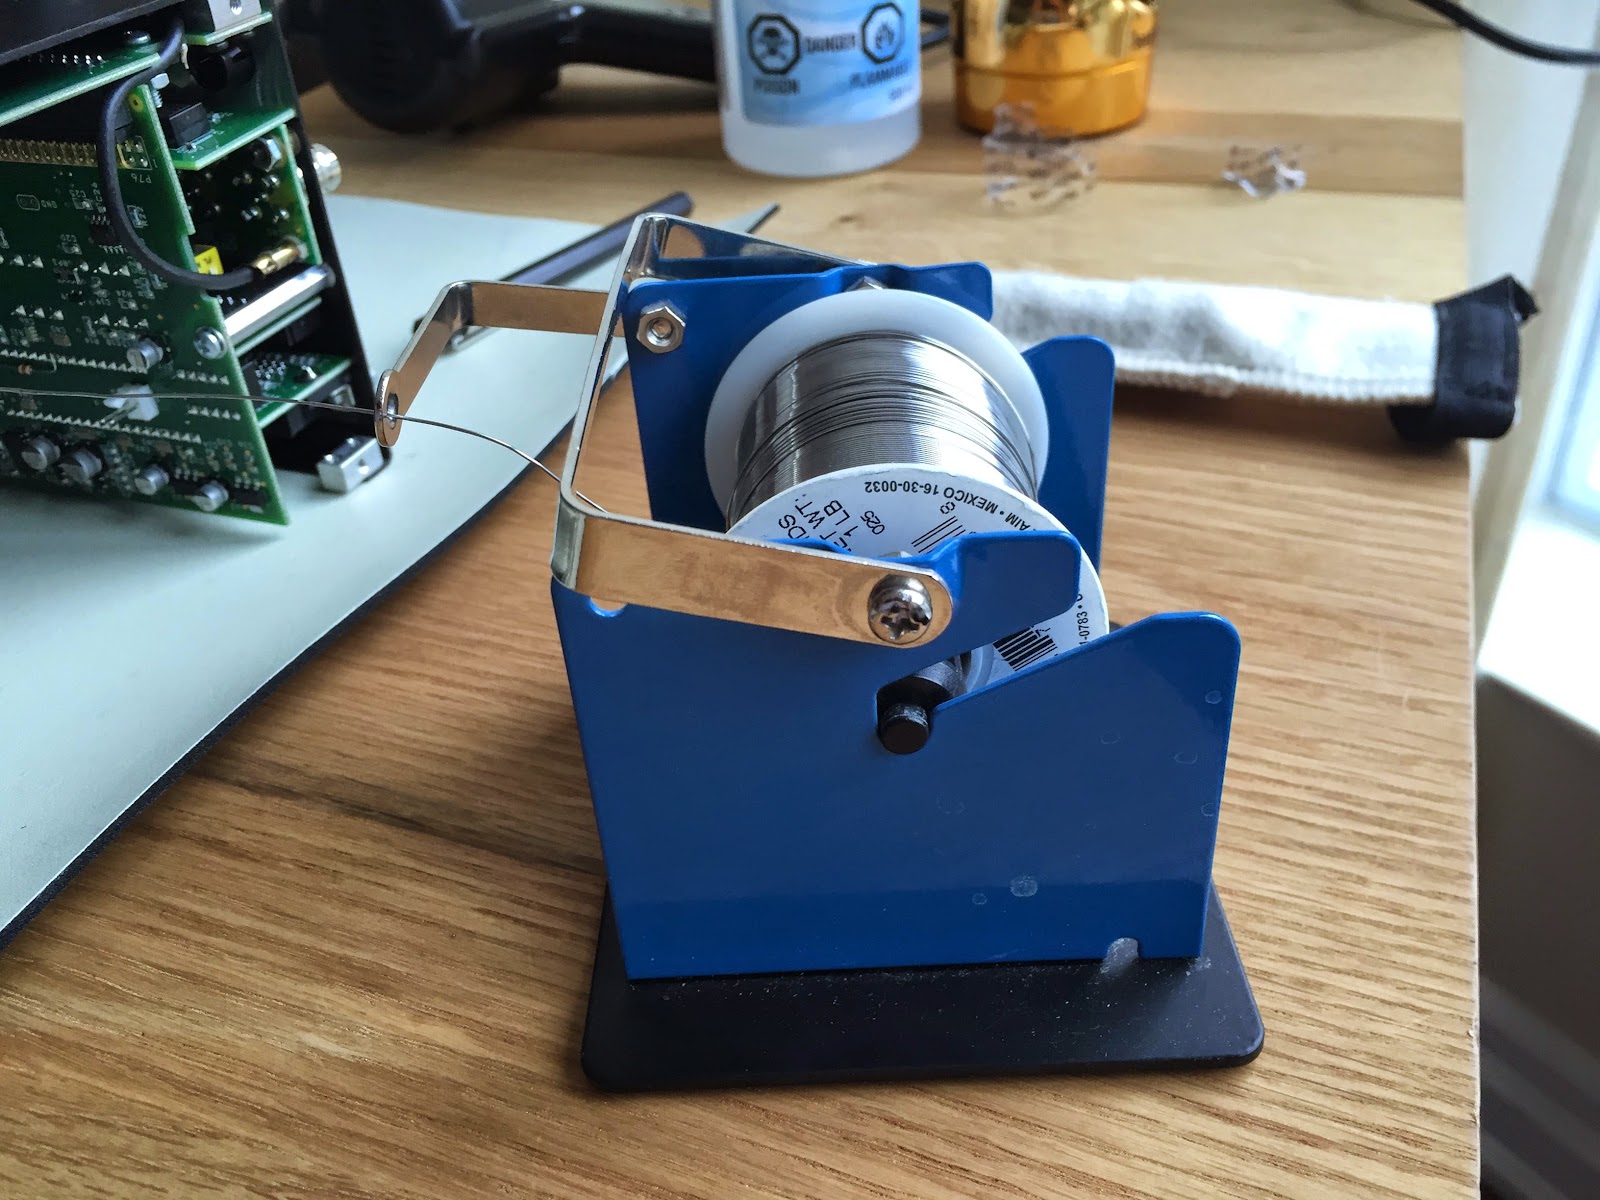
Out and about with my KX3 radio
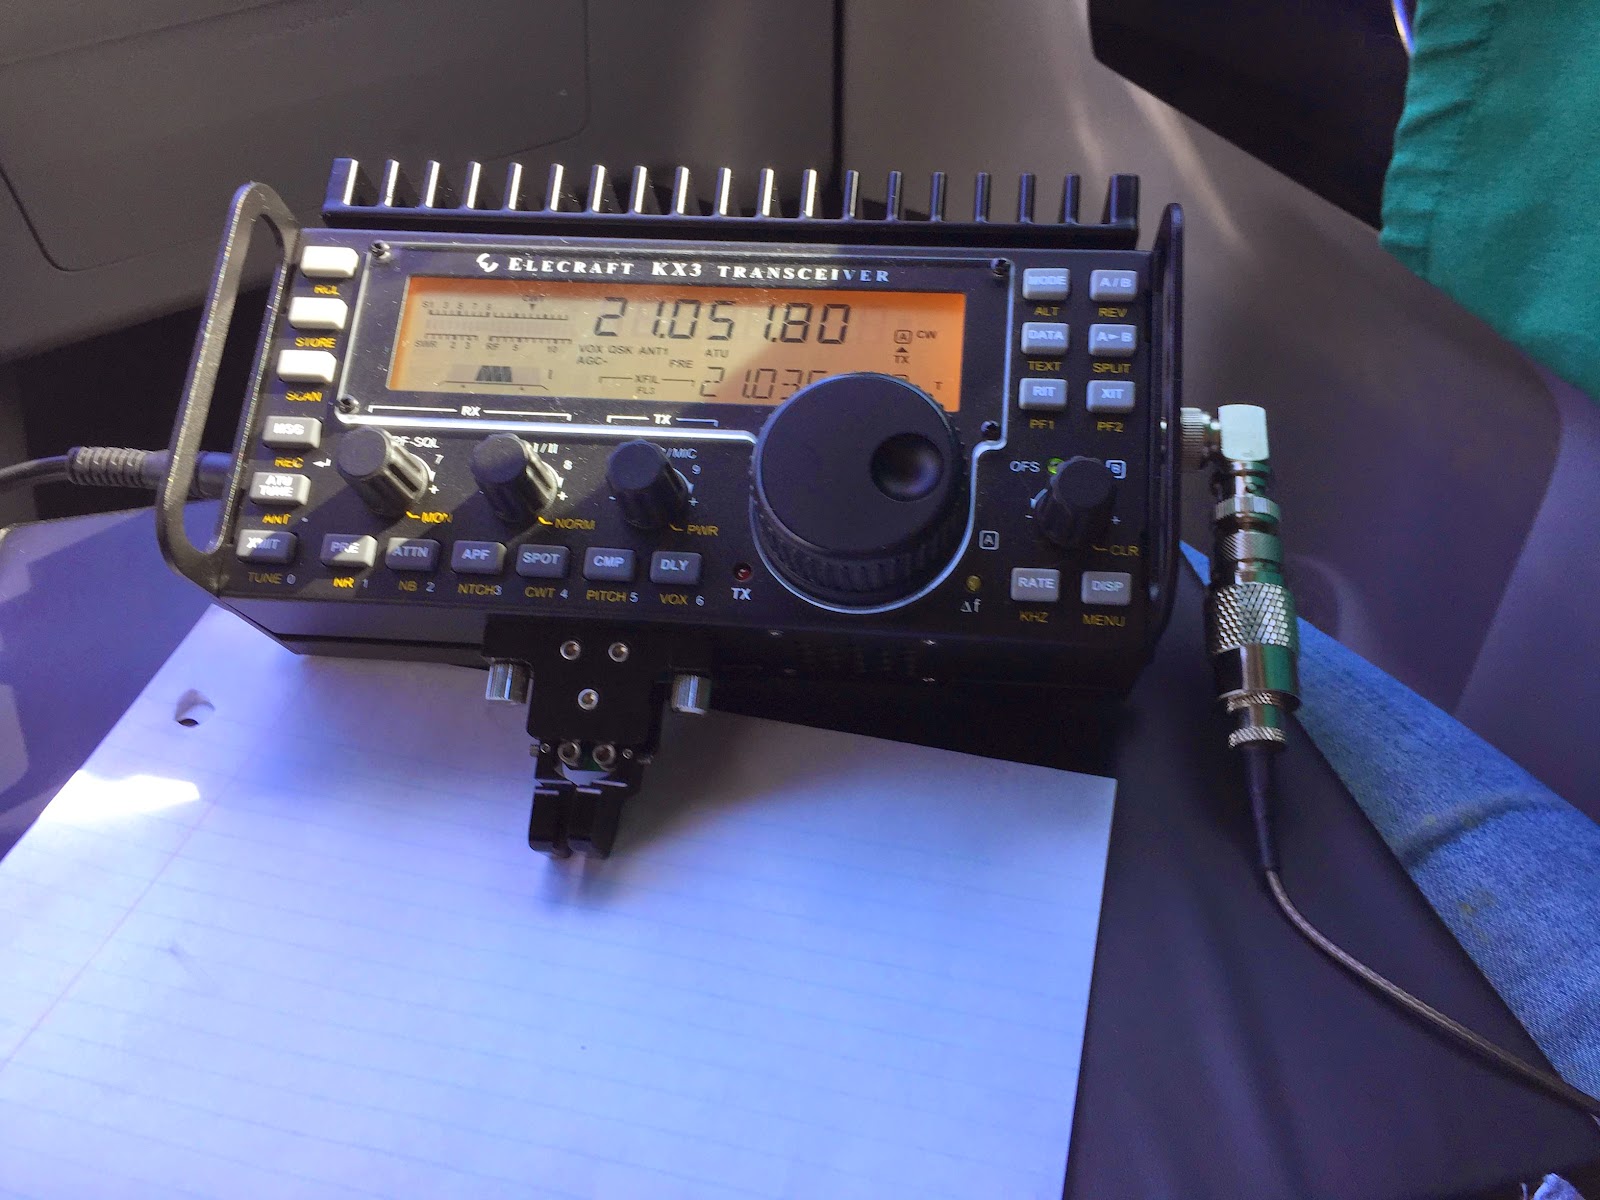 |
| The KX3 being used in my lap. |
1. I1YRL from Italy and Luc was very strong and no fading what so ever. While talking to him I found out that in the summer of 2014 he and his wife visited Toronto. Luc gave my 5 watt QRP signal a report of 579. Luc was very surprised I was QRP 5 watts using a mobile whip from my car.
2. EG90IARU/5 this was a special event again they were booming in and I was able to make the contact on my first call. This was a very fast contact with the usual 599 report.
3. IT9NJE and Gene again from Italy gave me a 549 signal report.
Over all I was very pleased with my hour on the radio from the car out in the park. I was happy I did not have any Murphy moments but I did have an "old age" moment..................I installed the 15m mono band whip antenna on the car. For some reason (old age) I set the KX3 to 20m and could not understand why the antenna tuner was needed everywhere on the band! Then in occurred to me I was on 20m using my 15m antenna. Once that was sorted out the morning went very well.
VE3WDM is back into QRPp very low power contacts!
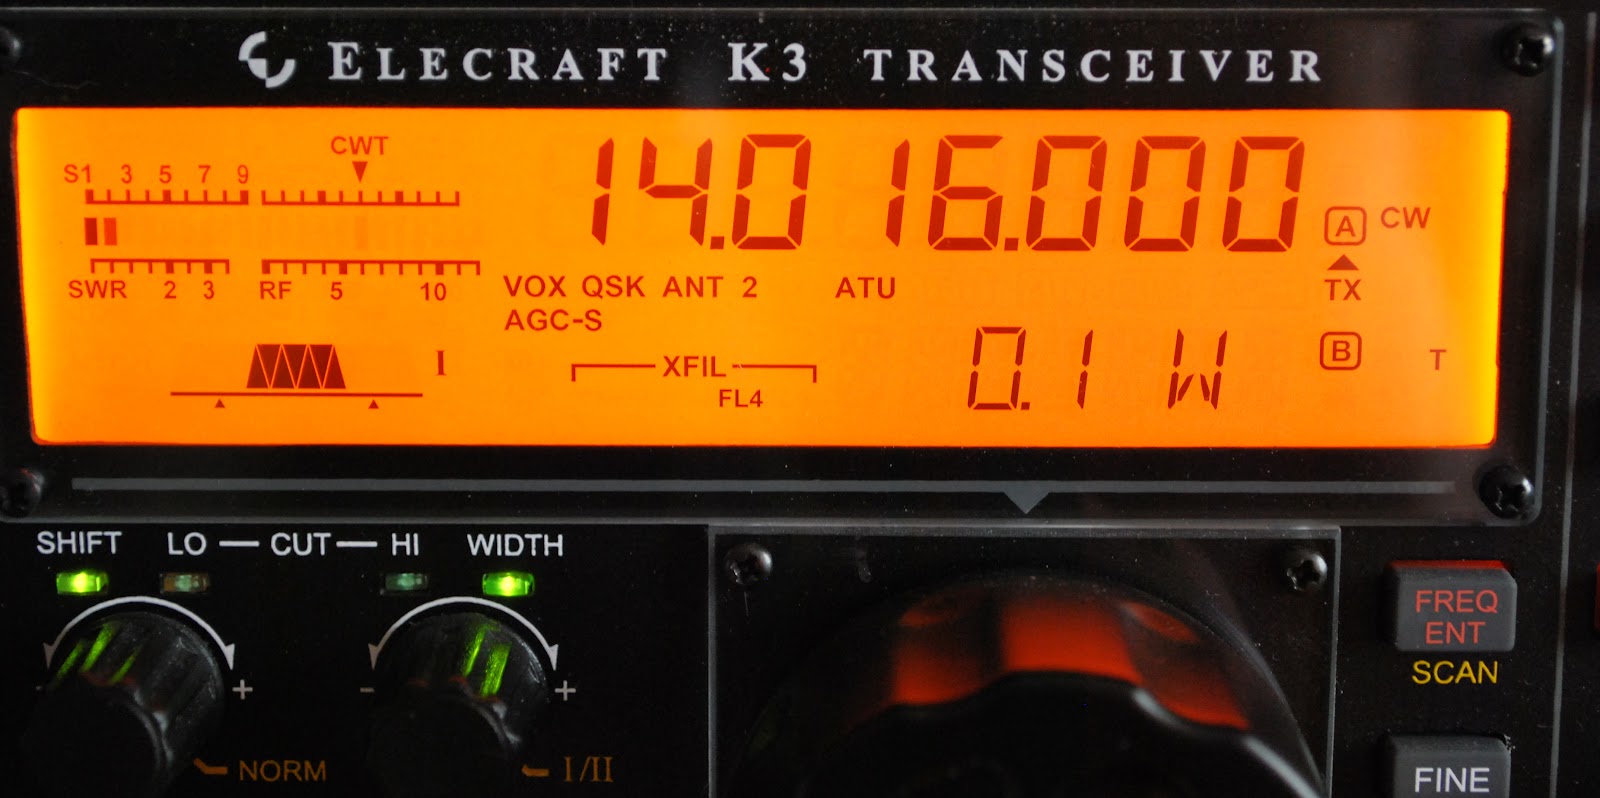
The 7 contacts break down as follows
1. F5IN 500mW 7,500 miles per watt
2. K5WA 100mW 13,213 miles per watt
3. EA5CX 100mW 39,956 miles per watt
4. DK3QZ 1 watt 3,818 miles per watt
5. DL0AO 1 watt 3,818 miles per watt
6. HC2SL 3 watts
7. ZF2DX 5 watts


