How do you sell an Elecraft K2

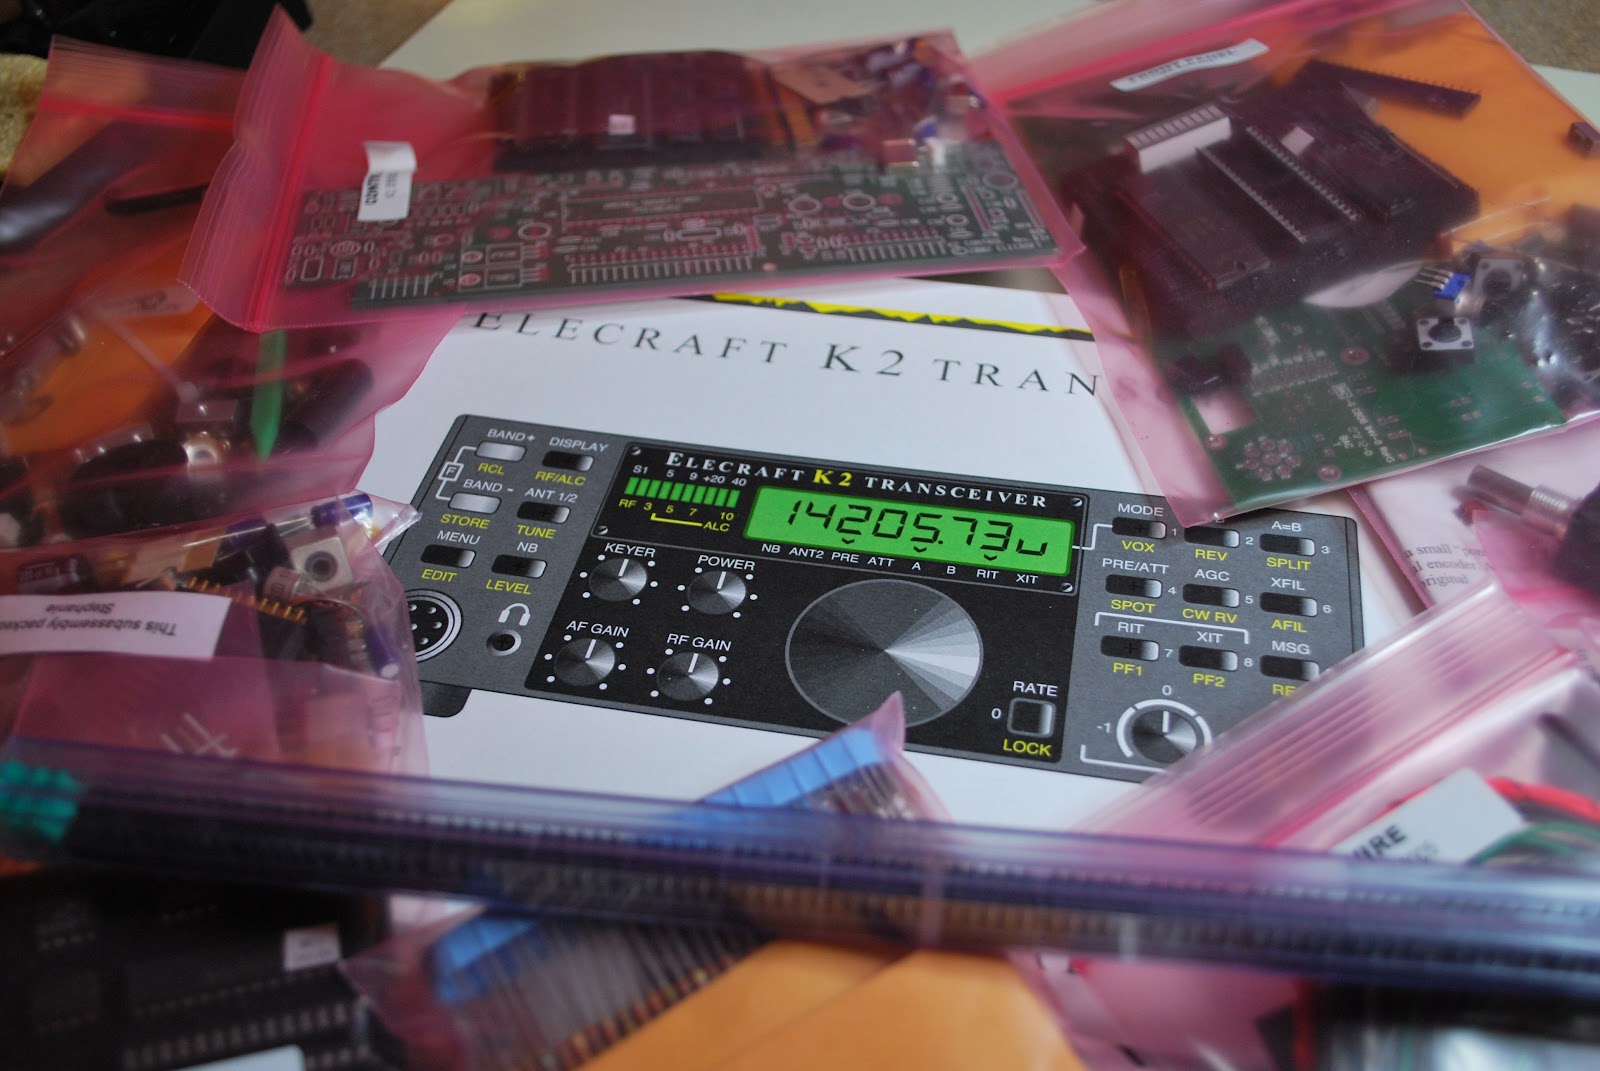
My first K2 serial 6613
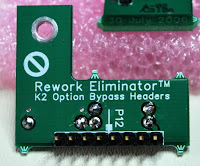
This week I posted a question on the Elecraft reflector "I'm building a bare bones Elecraft K2 radio and later will be putting it up for sale what kind of options would a buyer be looking for?" I had received many replies and all were very good but also got me thinking. I had always thought of the K2 as a CW radio (selfish me as I am a CW op) but one of the first suggestions was to make the radio both CW and SSB friendly by adding the SSB option. To me that should had a been a no brainier as that opens the market much wider to more potential buyers. I was then also reminded of the invaluable add on that I put in my K2 radio (which is still in my shack and goes out on park and car expeditions) the rework eliminators by unpcbs. These folks have
developed a kit that allows the K2 to be setup and ready for any add on you want to put in the K2. Let me clear the waters a bit......if you build a bare bones K2 with no options but later you want to add some options,  it my require you to  remove some components from the K2 in order to add the option.
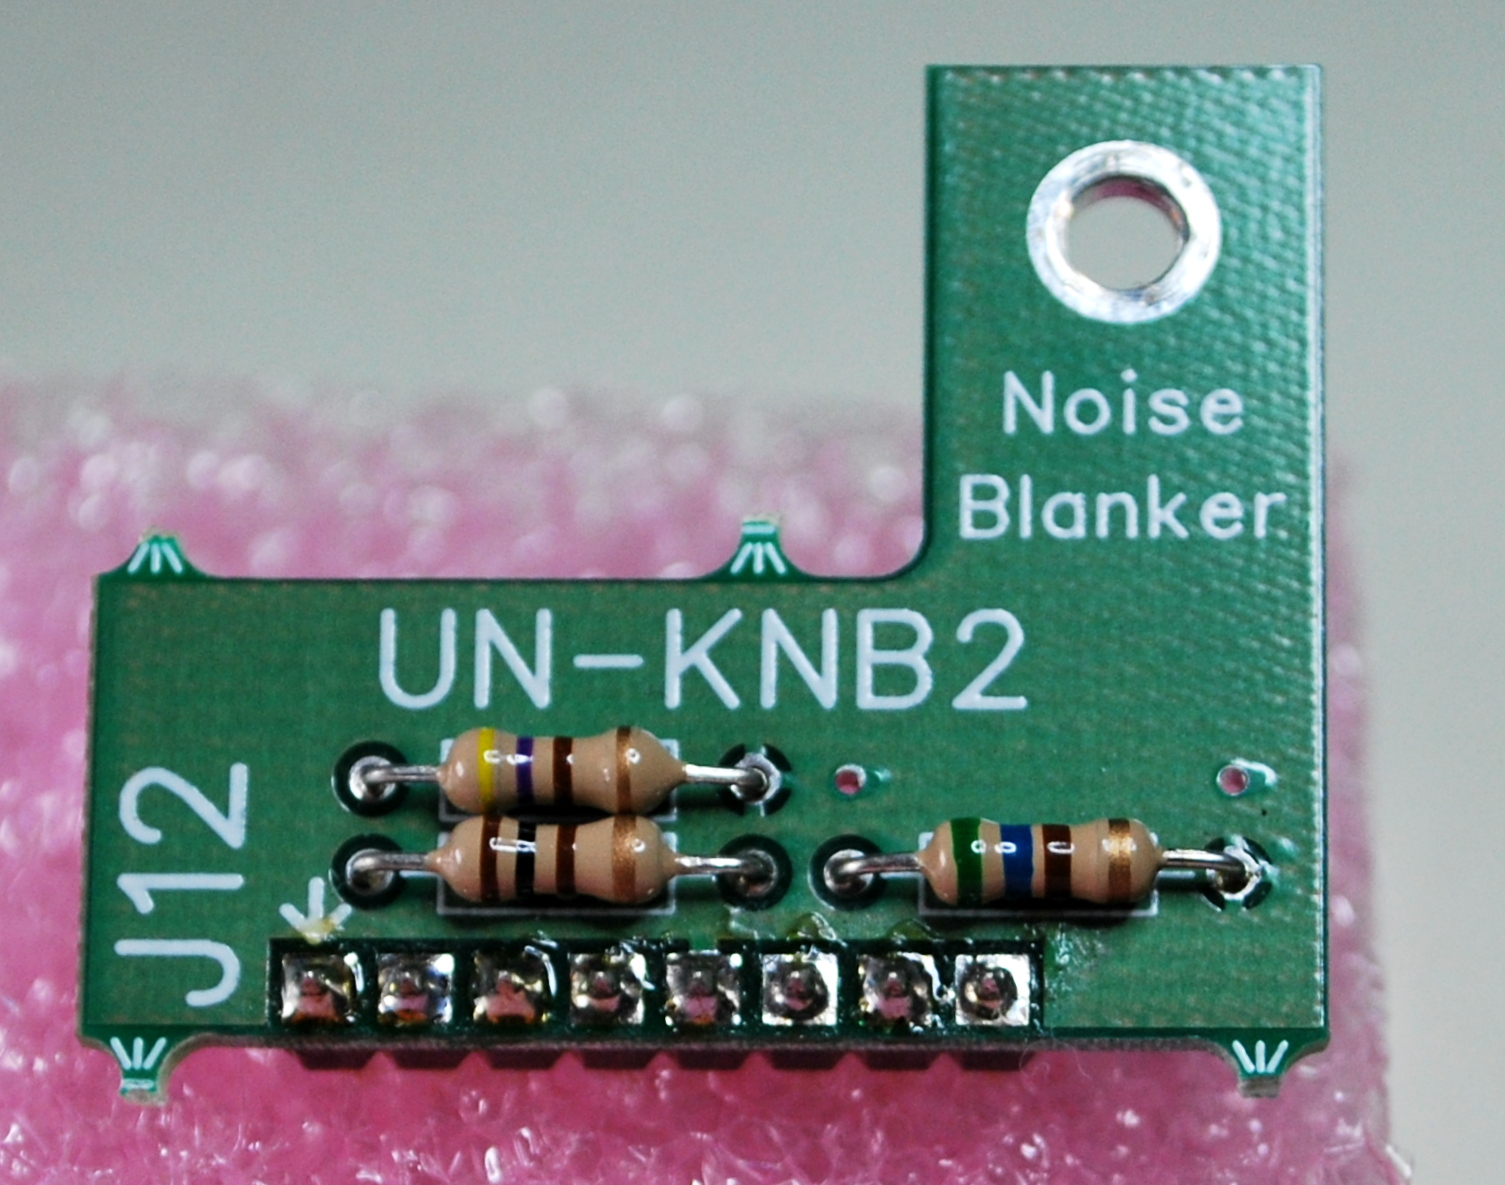
NB rework board top view
With the unpcb kit  there is no de-soldering on the K2. In a nut shell you unplug the unpcb board and plug in the K2 option. There is another great advantage to this, if you think you have a defective DSP filter (or any other option) board you simply unplug the DSP filter and plug in the unpcb board and see if the problem is fixed. Its time for me get off my soapbox for the unpcbs folks.......but if you ever are thinking about an Elecraft K2 build this add-on is well than worth the money!!! I just have to jump on the soap box  for a short time again.....On the top of the noise blanker rework board you see some resistors. These resistor (or other components) would normally be on the K2 board and have to be de-soldered to instal the NB board option from Elecraft. With the rework board you unplug the rework board and plug in the NB board. If there ever is a problem with the noise blanker (or any other option the rework kit looks after) you unplug it and plug in the rework board. You K2 will now work but without the NB option. Without the rework board you would have to re-solder in the components you removed for the rig to function properly.

From the post I received great suggestions on options that should be added while building the kit. The one idea I am leaning toward is to just leave the radio "option free" and
NB rework bottom view showing header
when the kit is done ask potential buyers what they want in the rig. So it becomes a radio that is "made to order" The buyer will pay for the options they want and a small fee for assembly, setup and installation but in the end they will have a radio that is customized to their radio needs. It's the way I have always wanted a car purchase to be!! At this point the kit is going through the parts inventory. 

Winter project line ups

Now that fall is in full swing and most.....typo alert remove  "and most" (thanks to Gary at rework eliminator for Elecraft K2)and soon all the leaves will have dropped from the trees. The temps  already are starting to drop not yet to freezing but soon. So outdoor activities will be more limited as winter gets her firm grip on this QTH. 
Serial 7372 soon in the works
I find that radio conditions do improve in the winter months and there are some major CW contest to keep me busy on some of the weekends....but.....I don't know about my readers but I also like to have a few winter radio projects on the go. This winter's project is an ambitious one that satisfies my kit building hunger. I purchased another Eelecraft K2 kit, my first K2 kit was a blast to build. With this kit I want to take my time and very much enjoy the build. Another decision I made was to sell the rig once built and run through it's paces. I then can use those funds to put toward my next winters project. I try to keep what I call my well rounded approach to ham radio. This includes on air operating time for sure, reading my monthly ham radio
K6XX's kit for the K2
magazines, blogging and blog reading, interfacing computers with the hobby and of coarse kit building. I also wanted to add a CW tuning aid to my original Elecraft K2 and it just so happens that K6XX has a kit to add a CW tuning  indicator to the rig.  This kit has the dreaded SMD parts!!!! Now having said that I used to say that about kits that came with winding toroid's and that is not a big deal anymore. Below is a video of how the tuning light works.


Two new pages added to blog

By way of a short announcement........I have added the KX3 page and KX3 video page to the blog.
WOW this is the shortest blog post I have ever done......enjoy them and do comment on them as I would like the feed back.....always room to improve you know!!

Fourth and final KX3 video………

Up and running
I have decided to add an additional page to my blog giving access to the KX3 videos. This way they are available for anyone who is interested. This way you do not have to go and search all through the blog to find them. For that reason the 4th video is not on the front page of my blog but rather on the KX3 video page and you will find the tab at the top of the blog if you wish to go there for a look.

Elecraft KX3 part 3 youtube assembly video

Well the KX3 is almost completed and this is the 3rd of a 4 part assembly video of the radio. In this YouTube video I go over the problems I had with the ATU installation, the roofing filter board issue and the battery holder oops I had and needed to correct before there was damage. The build is almost complete but have a look and either get excited about purchasing one or pick up some pointers before you do  your build.


Part two of the KX3 video………

Part two of the KX3 build is up on YouTube, in this video I go over some of the troubles I encountered and how they were solved. The radio begins to take shape and looks more and more like a KX3.

My KX3 assembly video part one

This is my first time using Imovie  with my Mac computer to edit a video. There are many great things that can be done using this program, things that over time I am going to have to learn. This is part ONE of a four part series. I am working on the editing of part two now and hope to add more flavor the the movie. Part ONE is a little long but now I have the hang of how to edit and shorten them.


Subscribe FREE to AmateurRadio.com's
Amateur Radio Newsletter

 
We never share your e-mail address.


Do you like to write?
Interesting project to share?
Helpful tips and ideas for other hams?

Submit an article and we will review it for publication on AmateurRadio.com!

Have a ham radio product or service?
Consider advertising on our site.

Are you a reporter covering ham radio?
Find ham radio experts for your story.

How to Set Up a Ham Radio Blog
Get started in less than 15 minutes!


  • Matt W1MST, Managing Editor