Posts Tagged ‘Projects’
 Doing surgery on the Elecraft K3 part 1
 |
| It's time for some surgery. |
First off an anti static mat with a wrist strap, when dealing with state of the art radios this is a must! A medium quality soldering station makes your soldering jobs a pleasure. I have the WellerWES51, this is a nice temperature controled unit. The tips can be changed out for varied soldering jobs and what's nice with this grade of soldering stations the tips heat up very fast and stay hot.


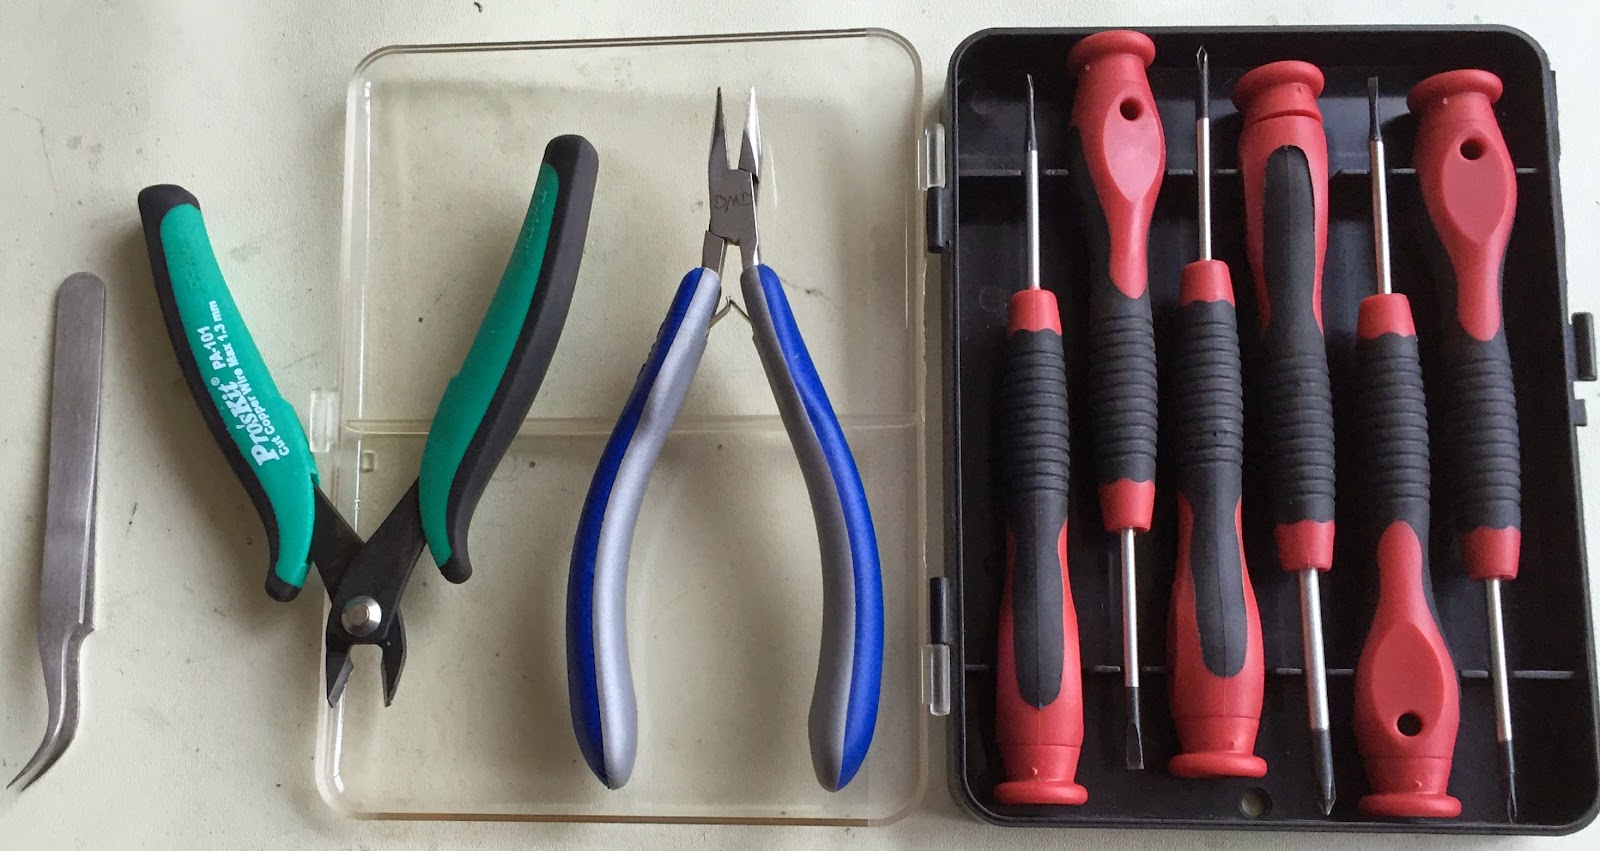 rolling off the desk. When you solder there is smoke and it's a good idea to pickup a fume fan of some type. I purchased the Fume trap brand of fans. It works great and keeps the fumes away from you breathing them in. You then have the hand tools that again have to be chosen and purchased wisely. You don't have to break the bank but don't go for super cheap. For this job I will be using my screw drivers, tweezers and diagonal cutters. Finally with this project I have to remove old solder from the pads that are on the K3's PC board. This is a part of the project if things go bad they can go really bad! In the past I have used the hand held spring loaded desoldering pump. They are ok but not great, I took the plunge and purchased the Hakko 808 desoldering tool. This has been one my best investments! This are most of the tools that I am going to be using and for this post that's about all I'm going to talk about. My next post (part 2) I am going to get into the steps I used to change P30 and P35 headers.
KX3: Cool Go Box
I just came across this on the internet the other day, but I thought it was a very cool way to package the KX3 for portable operation.
Check out www.oe2atn.at/tom/gobox
If someone would commercialize this, I think it would be very popular.
Check out www.oe2atn.at/tom/gobox
If someone would commercialize this, I think it would be very popular.
The Elecraft k3 stopped working
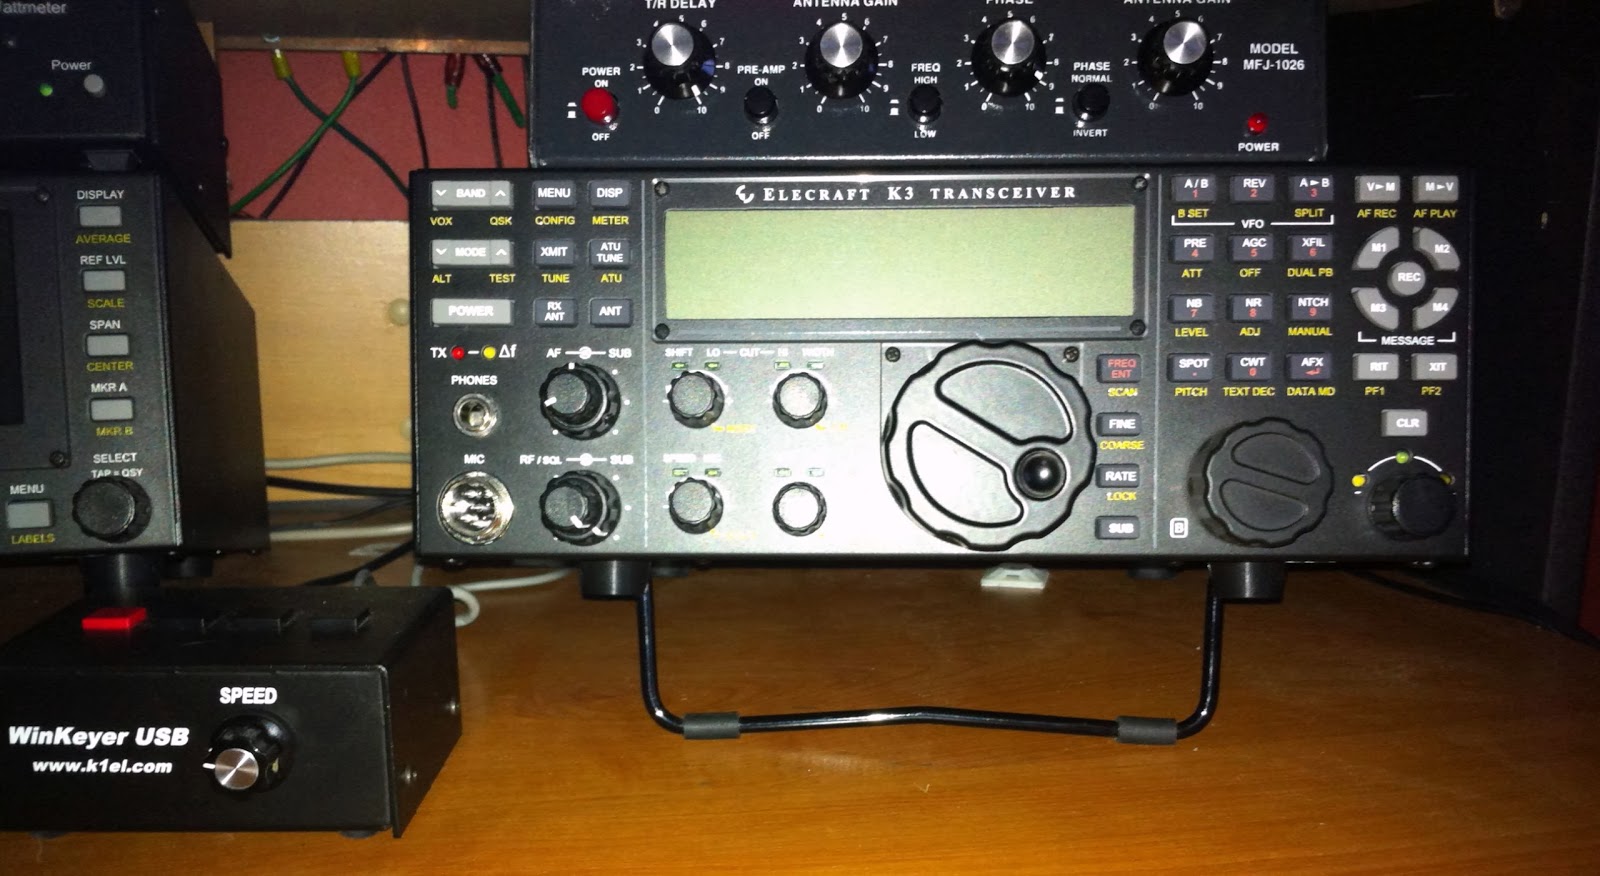 |
| The K3 just stopped! |
There was one heart stopping moment, it was during a tuning session of the Alexloop and the rig. I tuned the Alexloop for max receive I then hit the tune button on the K3 with the power on 3 watts the SWR was around 3.1 to 1 so some fine tuning was needed. As I tuned the Alexloop the SWR did a sharp rise and the rig powered off!! I waited for a moment and tried to power the K3 on again and NOTHING! I then checked the incoming power and it was dead. Well I thought better the Astron 20 amp supply taking a hit than the K3. Looking at the Astron supply the lights were on and 13.8 volts was showing on the meter. As I narrowed things down it was a fuse on the power bar that the Astron feeds power to. The K3 was fused at 1 amp at the power bar and not 5 amps and the fuse on the power bar went. After the proper fuse was installed all was well again.
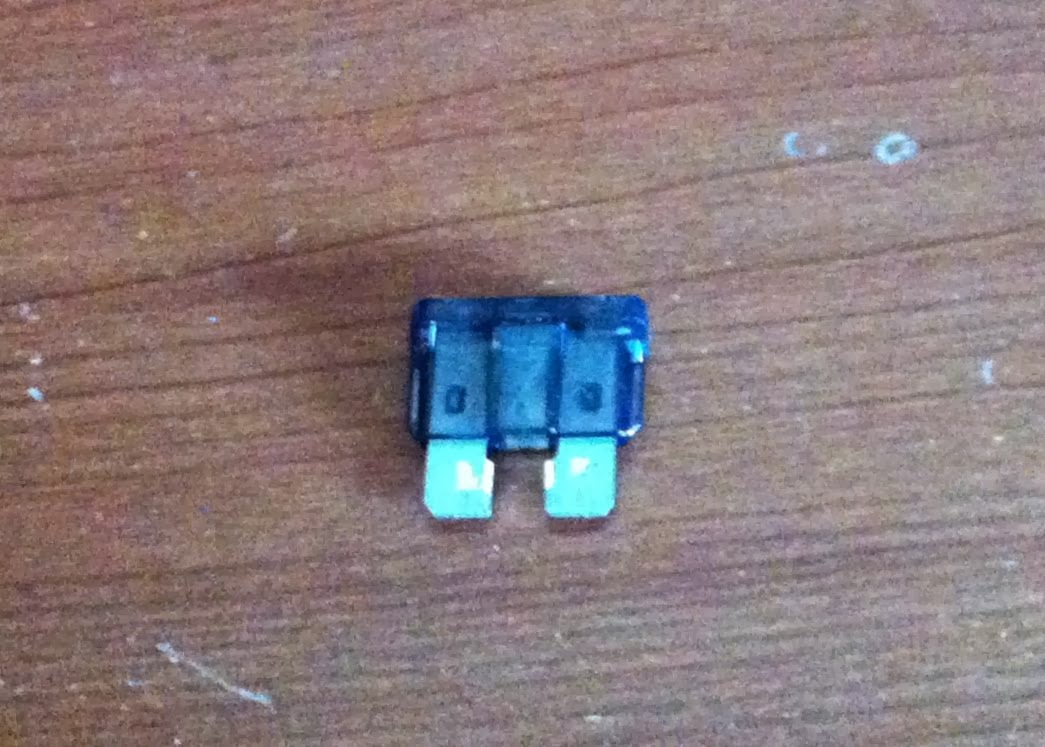 |
| Blown fuse |
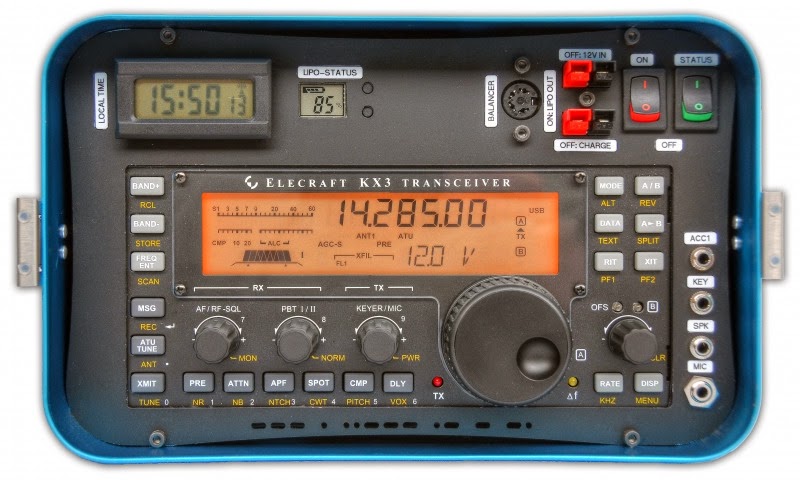
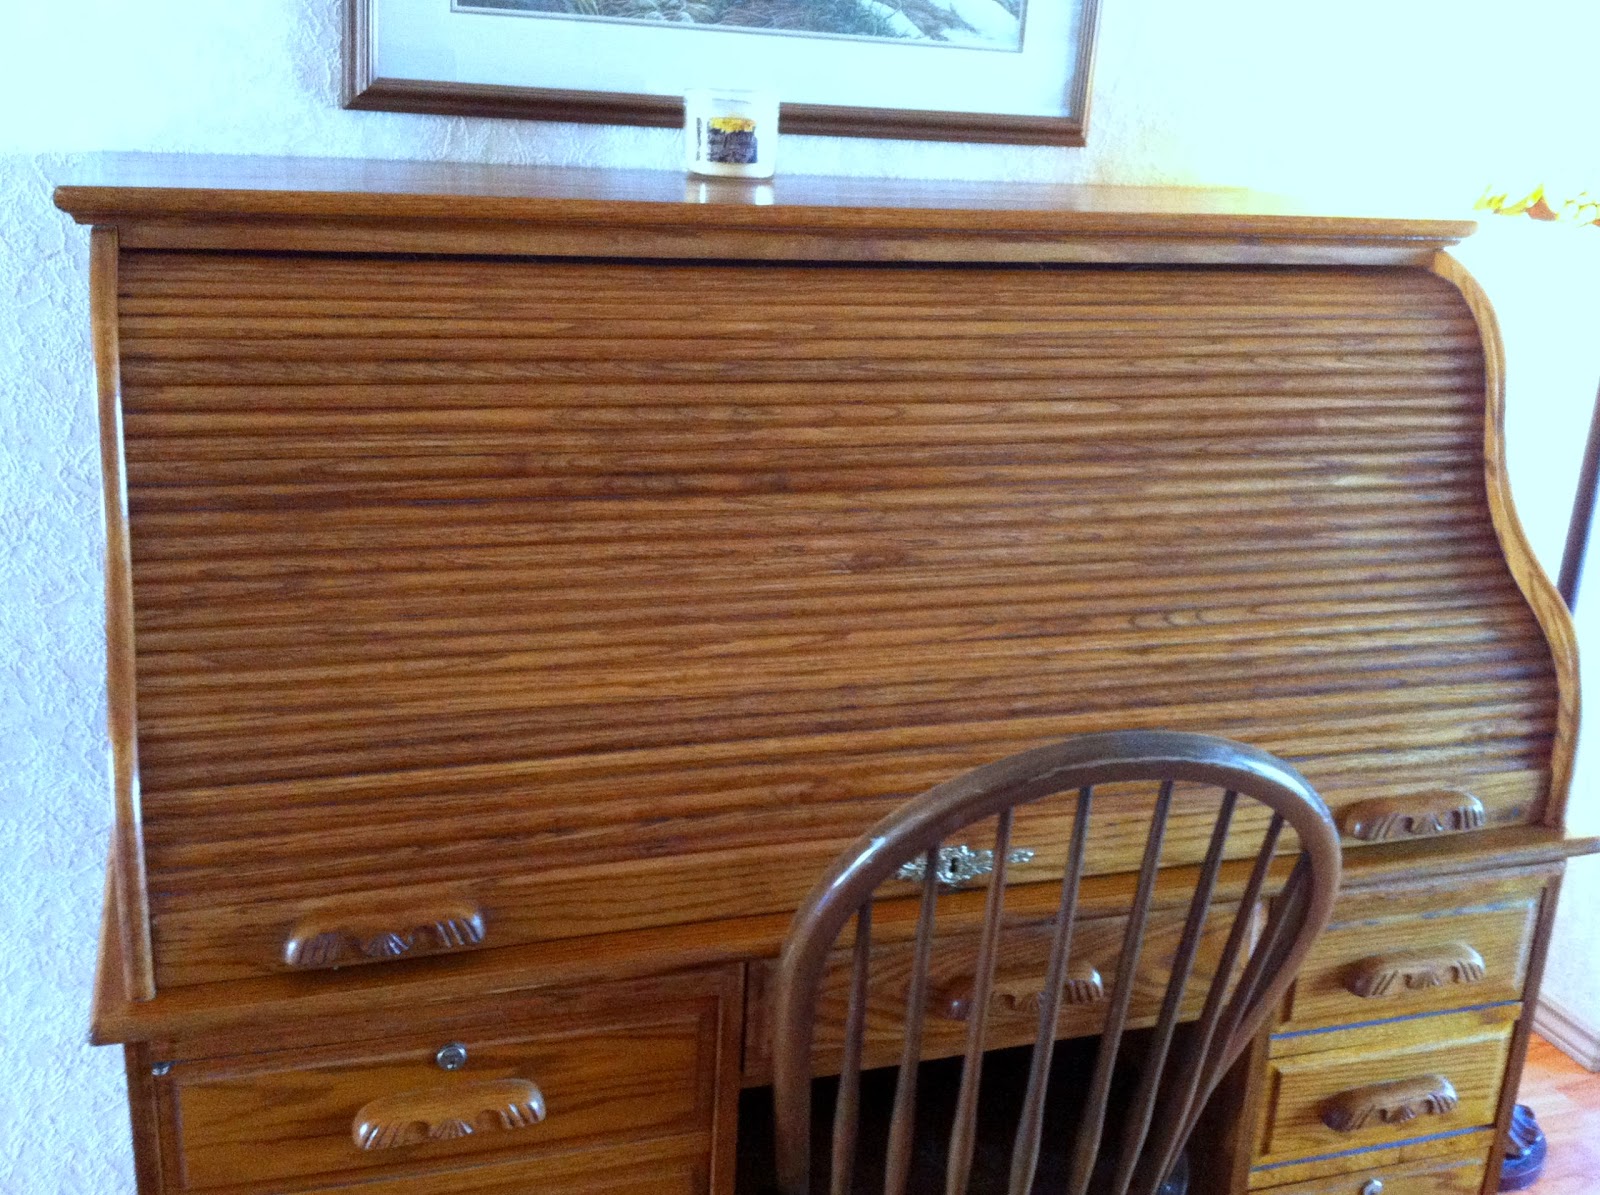
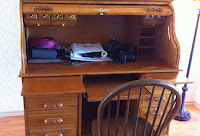
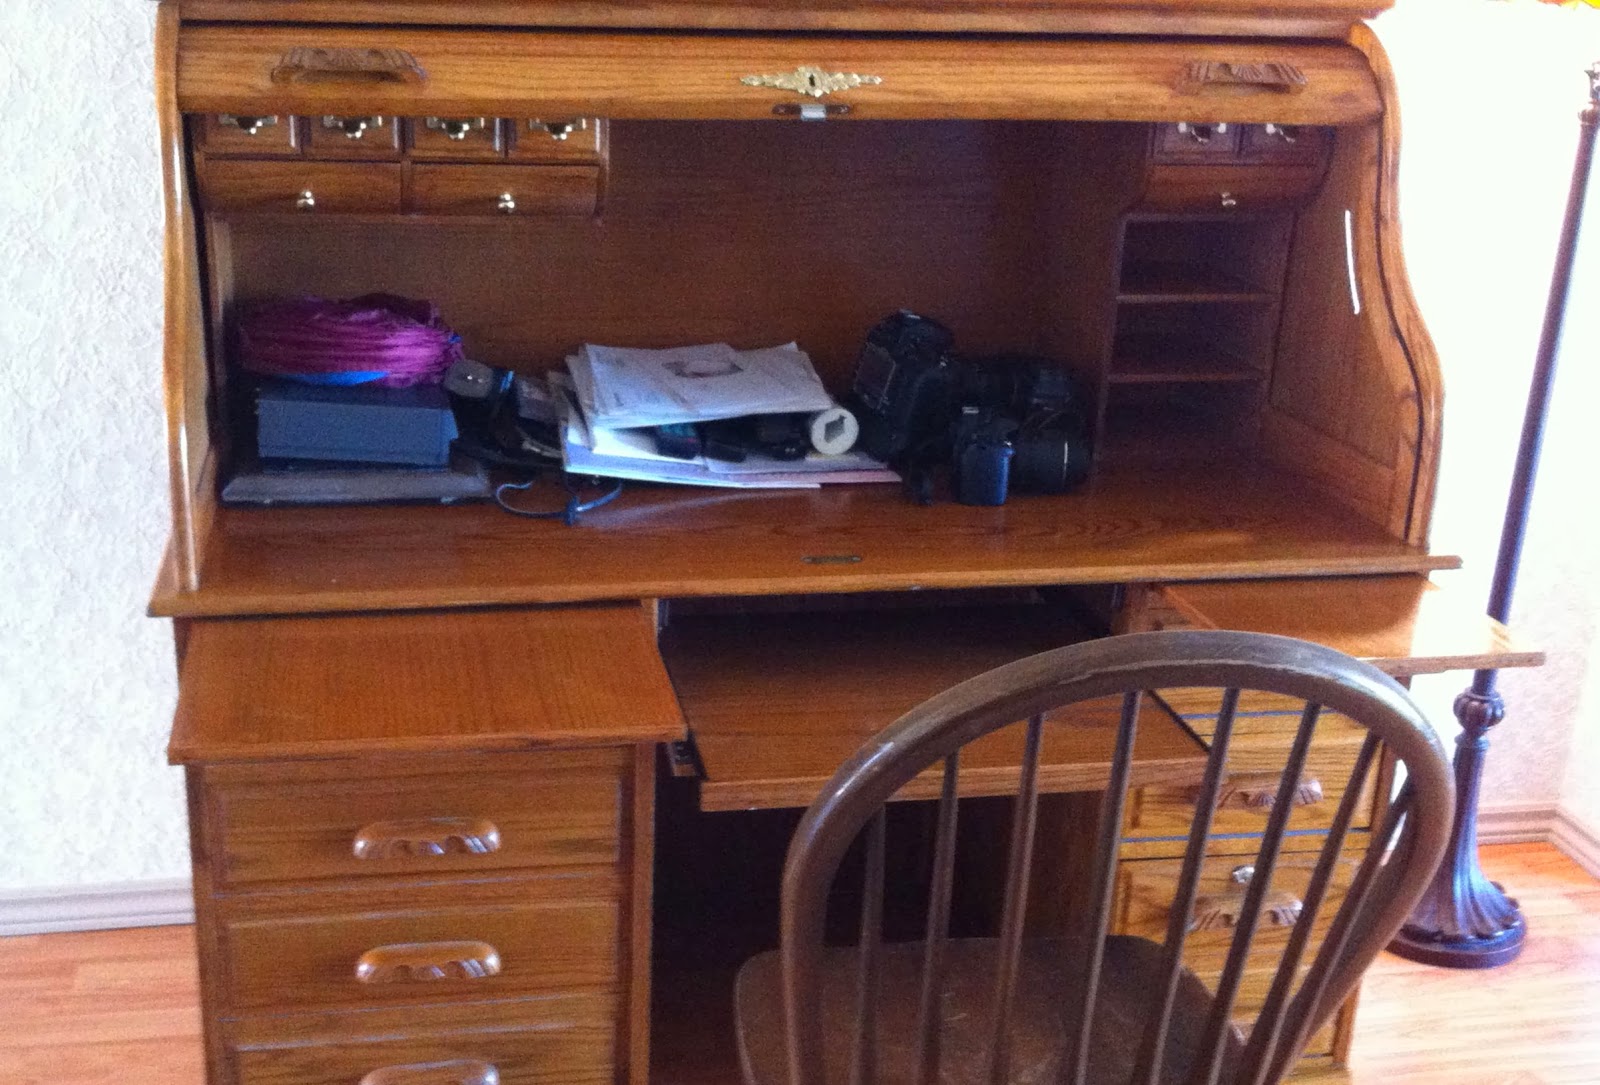
As for radio time Saturday was spent getting the K3 setup and my heart restarted when it powered down. There was a contest going on so the band were very busy but it did give me a change to see how Skimmer works under a contest situation. I can see how this piece of software will give my limited size station some advantages. The picture below is what sold me on the desk, the keyboard tray and the two pull outs.
Toroid winding can be fun…..well almost.
 |
| The dreaded toroid... |
When I first started kit building some years ago it was the dreaded toroid winding that I never looked forward too. After winding and rewinding over time it has not become a dark task, it has taken some time to get the hang of it but I can say that I no longer get uptight about the process. I have learned some tricks and some never ever skip steps when it comes to toroids.
I am in the process of building my second K2 rig from Elecraft and there are lots of toroids to be wound. Now having said that if you want you can order per-wound toroids from the toroid guy. If you do order toroids that are per-wound I would encourage you to try to wind your own as well. What I have found is it's only practice that is needed to get the hang of the winding thing. In the past I have built many Elecraft kits were toroids have been involved, I have learned as I said some tricks, some must do stuff and things to stay away from when it comes to this art.
My advice when winding single conductor toroid....
1. Most if not all the time you have more wire than you need so when told to cut a conductor to lets say 12 inches I give myself around 13-14 inches. A wise person told me "it's better to have and not need than to need and not have"
2. If you are winding a toroid that has lets say 20 turns when you hit 19 I stop and count the turns just to make sure I am not at 20 or that I lost count and am only at 18! I have had both happen.... it's better to check rather than cutting the excess wire and finding out you need to somehow add 2 more turns.
3.Once the toroid is wound check the turns to see if they are more or less equally spaced. Take your time and move the windings around the core. Use a plastic tool or wooden tool for this a metal tool (screw driver) may remove the paint on the wire and cause a potential short.
4. Take the new toroid and see how it fits on the board. Sometimes you may have to squeeze the turns or open them up a bit for the toroid to fit properly.
5. Once the turns are good and the fit is good you can trim off the extra wire. When I do this I always make on leg shorter than the other. I find you can place the toroid on the board with less effort by having the lead staggered in lenght. This is very evedent when you have a toroid with more than one winding..
6. Now that the toroid has the right amount of turns, it is spaced correctly, fits nicely and the leads are cut one longer than the other....its time to remove the enamel coating off the wire. There are some various
ways to to this........
 |
| Getting ready for solder blob |
B. Use sand paper.
C. The solder blob method.
D. Use a razor knife to scape the coating off.
E. I have heard some dipping the wire in var-sol....would not recommend it.
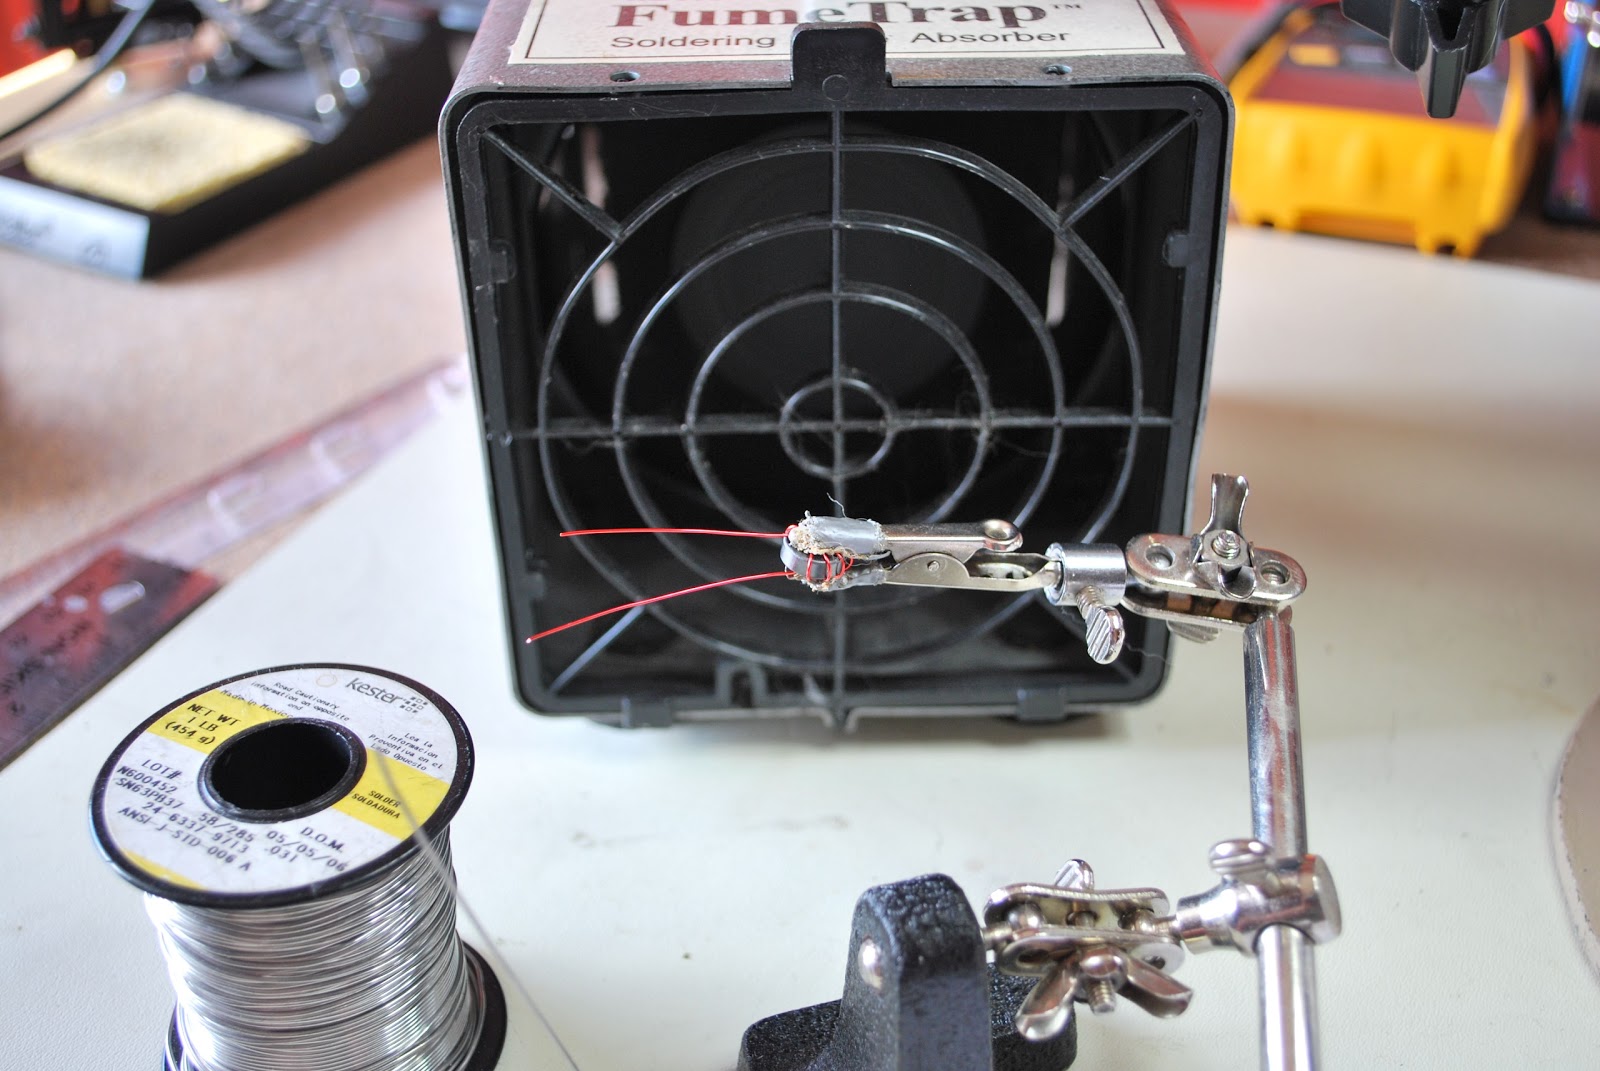
I use the solder blob method and I have tried the sandpaper (find it just to rough for the delicate work that is needed) I have tried the lighter method but found on the smaller toroids I am not able to control the heat and end up burning off to much insulation. The razor blade scraping I have not tried and really don't want a razor knife that close to my fingers. SO....it's the solder blob for me!! I find if I put the toroid in an alligator clip to hold it I can in a very controlled fashion remove the right amount of enamel from the toroid.
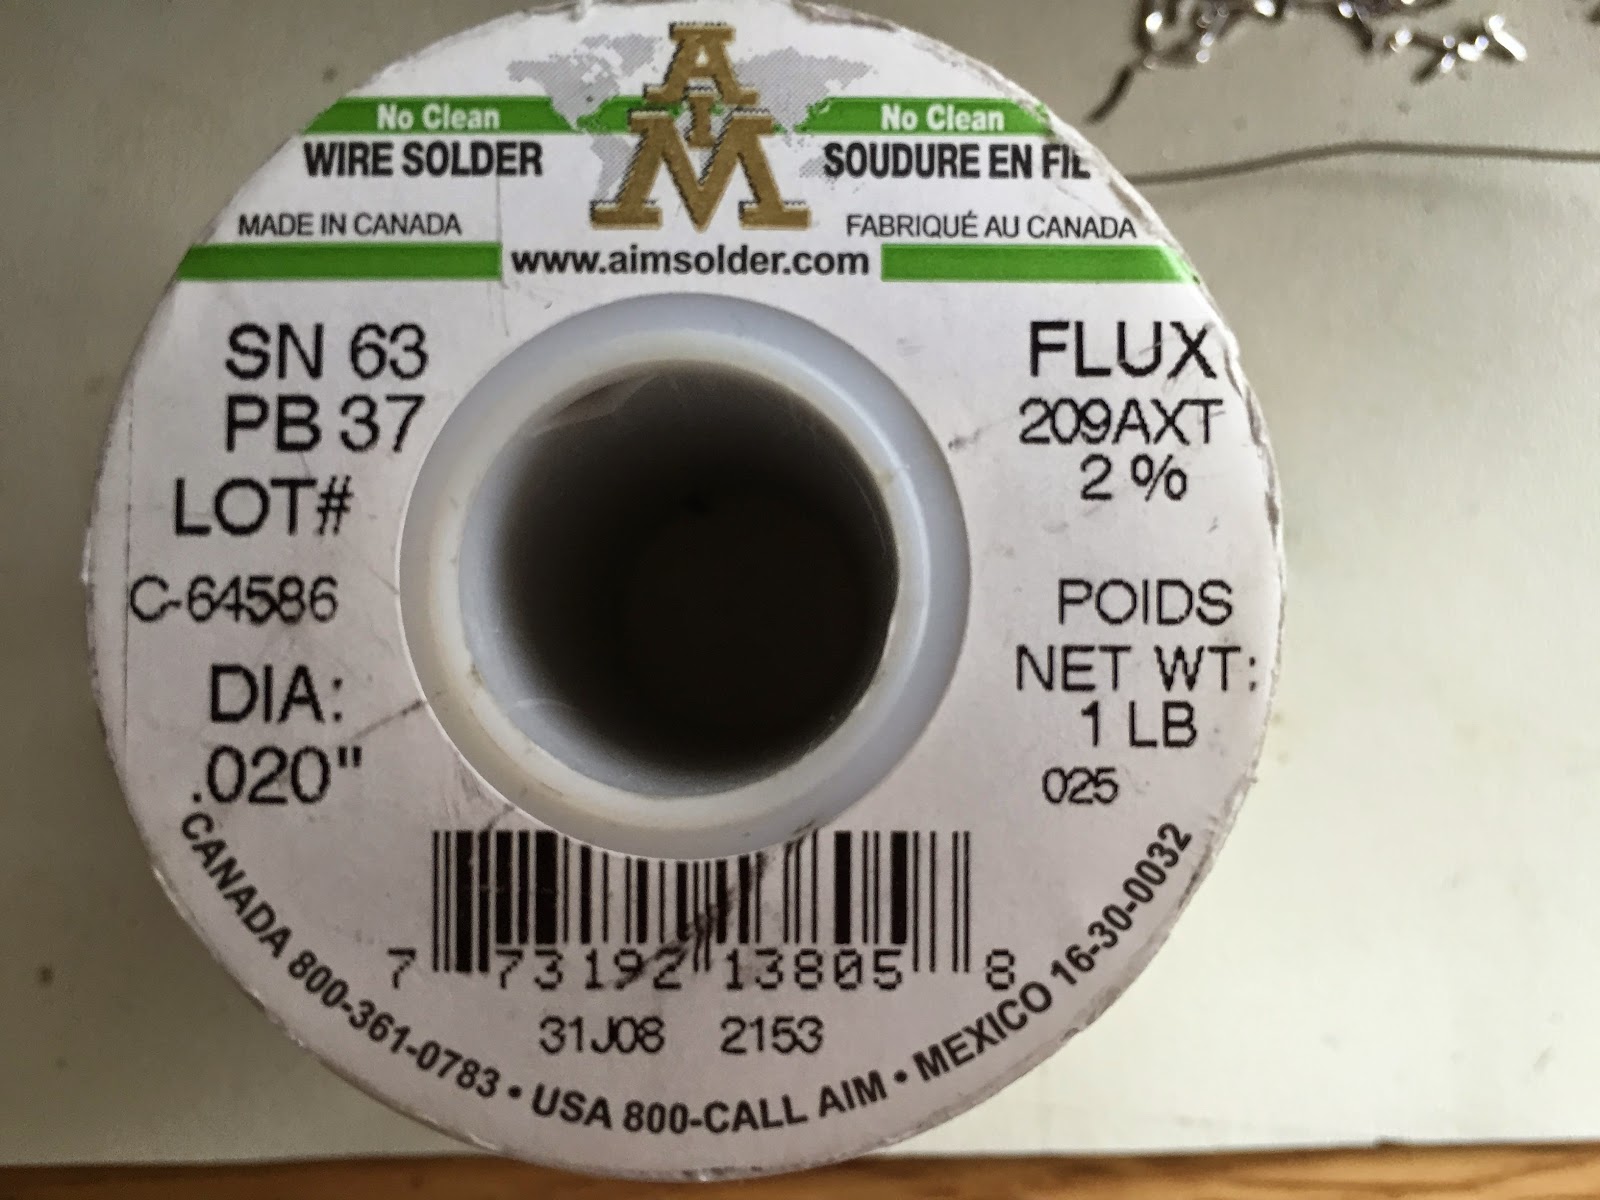
I change the tip on my Weller soldering iron to a larger tip and use a .030 diameter solder. Most of my board work is done with a .020 diameter solder.
DO NOT SKIP STEP 7.....
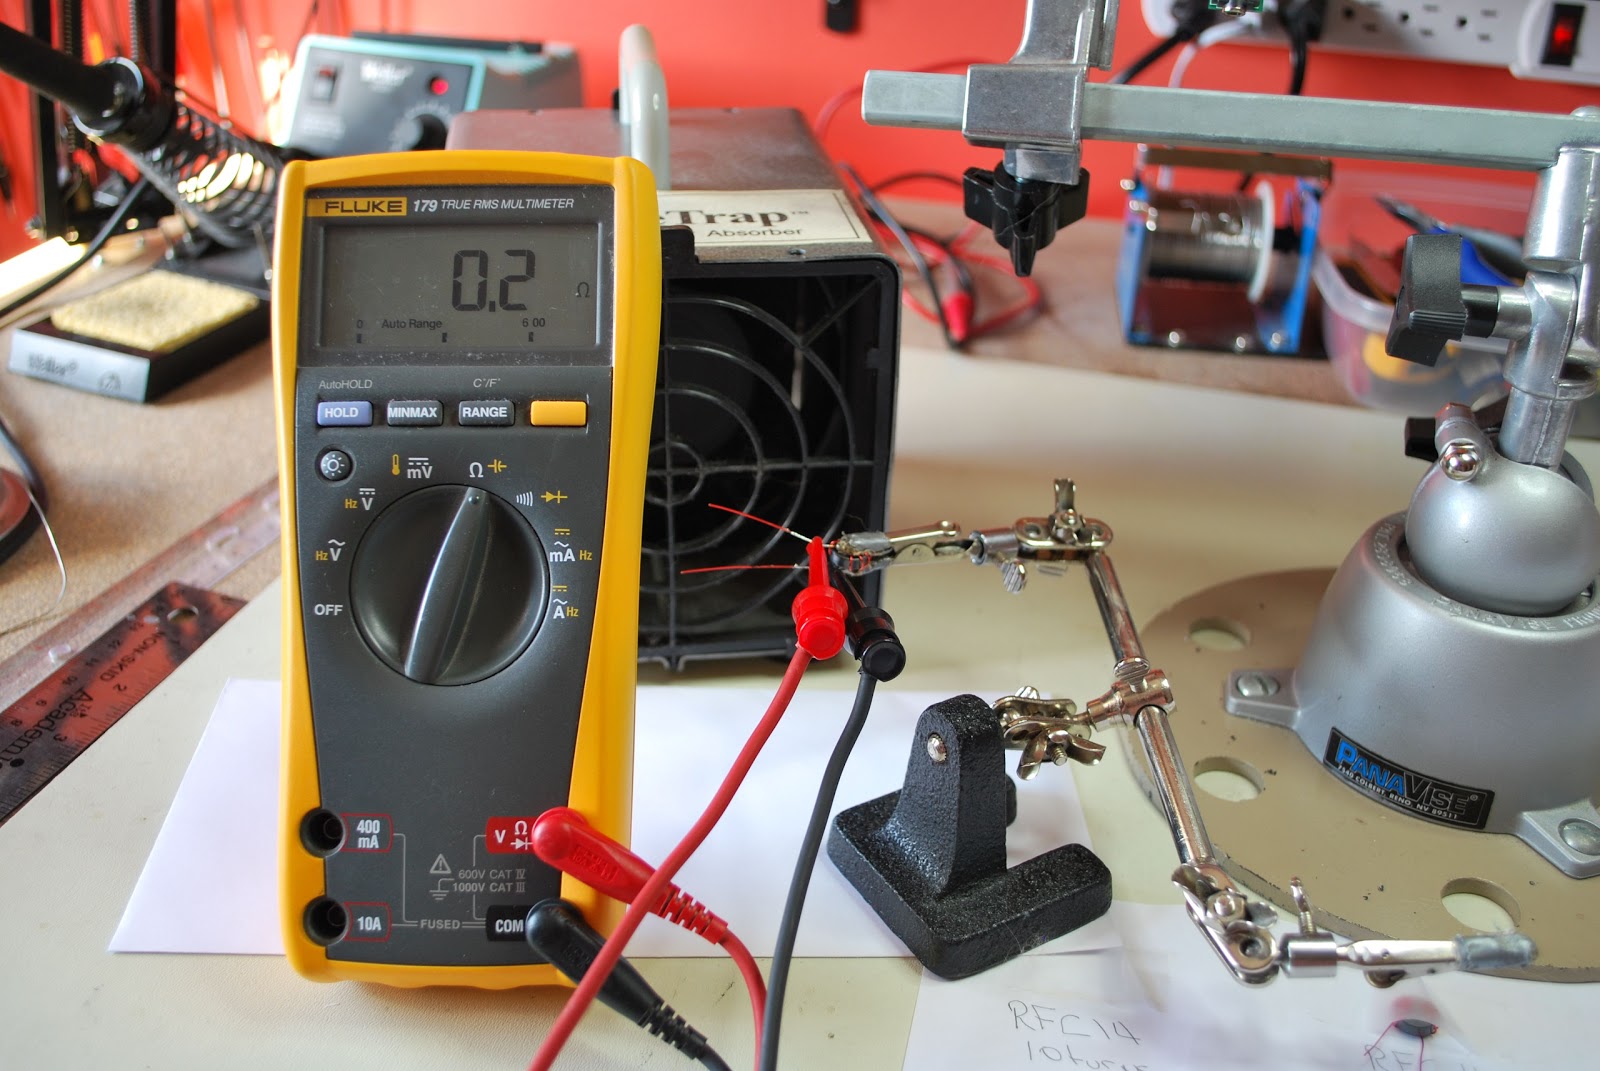
7. Once the toroid wire has been stripped I use my DMM to check to make sure the coating has been removed and there is good continuity. Oh and for toroids that have more that one winding I check to make sure there is not shorts between the windings as well.
8. It's now time to solder the toroid in place and I find once the toroid is soldered in place before the leads are trimmed you can heat each solder blob up again and give each lead a LIGHT pull with a pair of pliers. This will allow the toroid to sit firmly on the board.
Some tips
1. Practice practice practice......it's like CW it's an art and over time you will get the idea and look forward to it.
2. Some toroids have nice rounded edges but be aware of those with sharp 90 degrees edges. These toroids can if your not careful remove the insulating coating from your wire and potentiality cause a short.
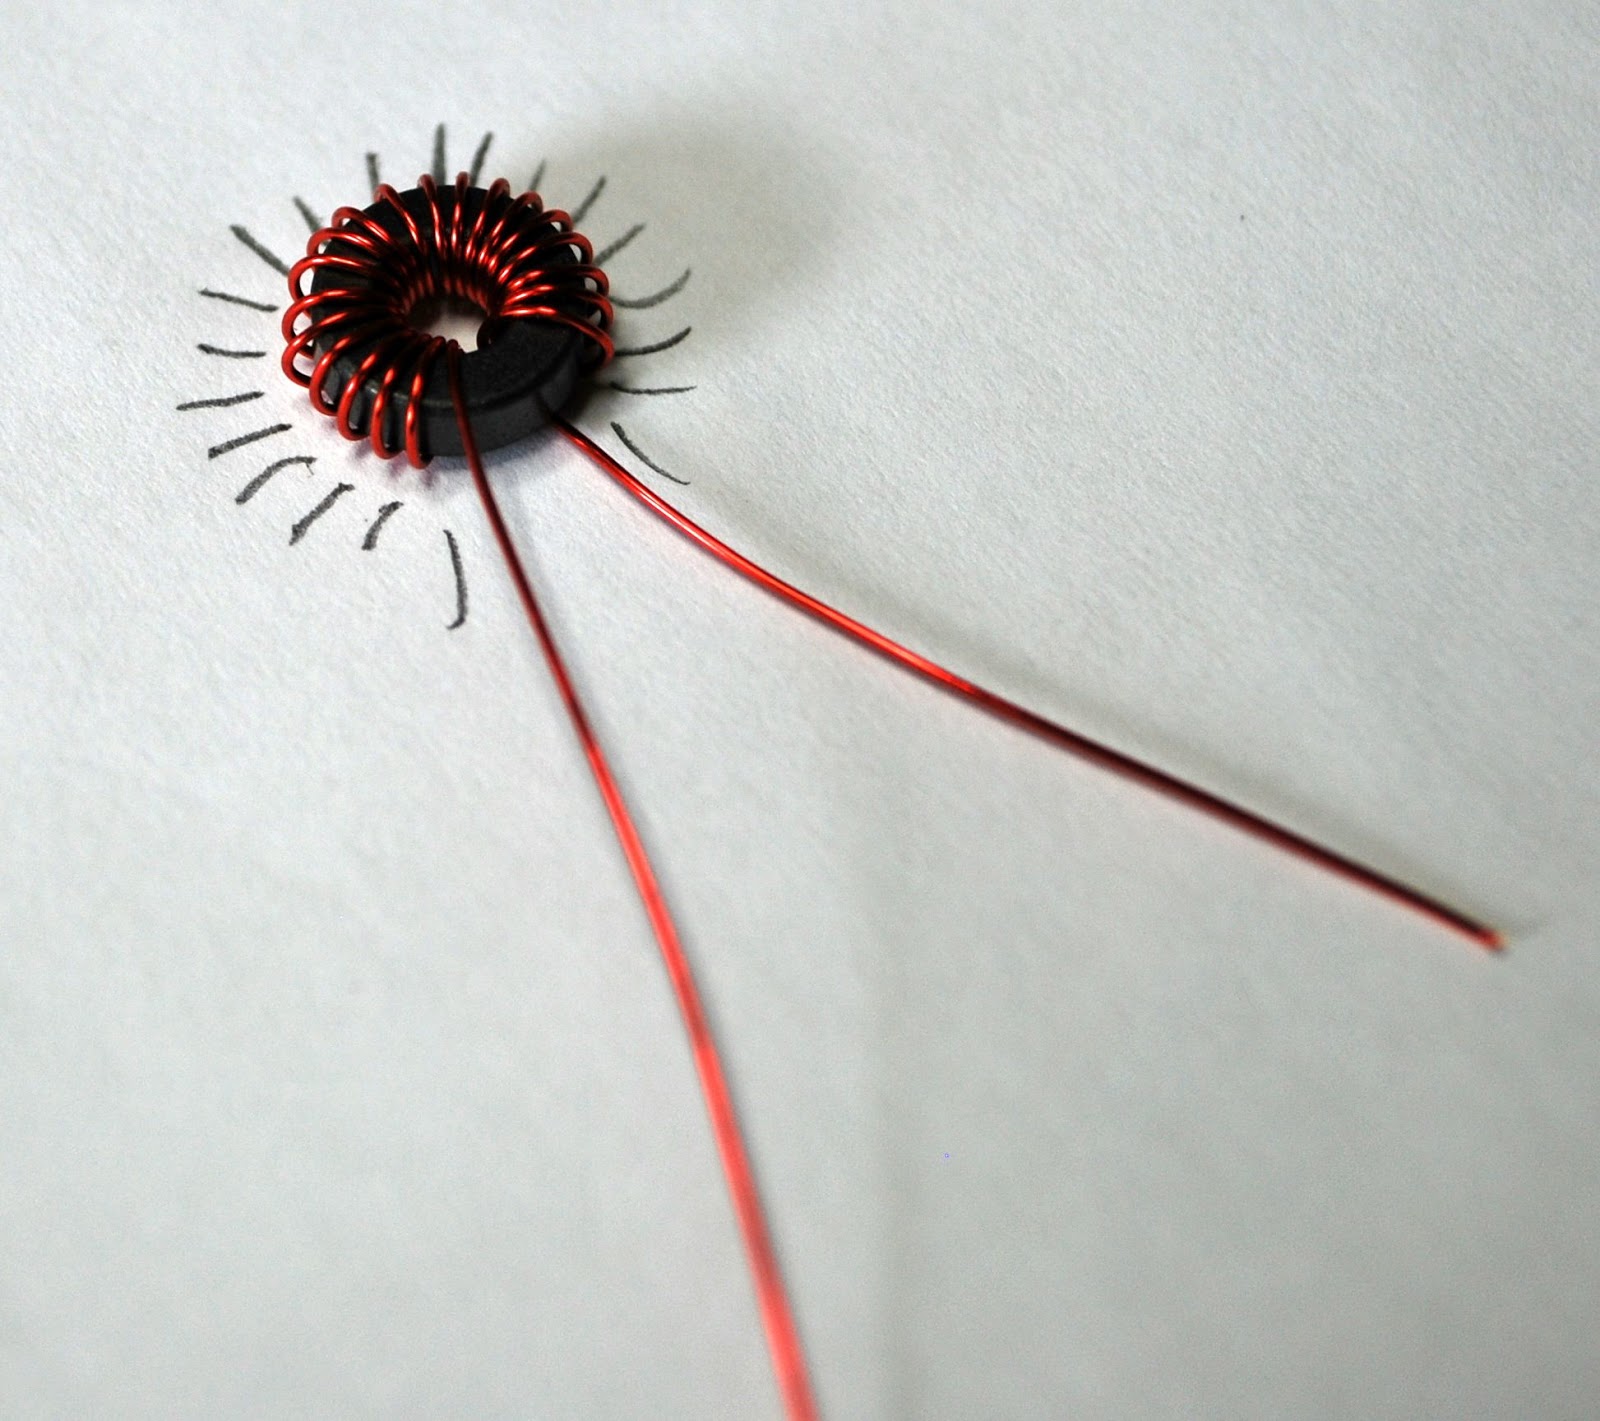 |
| Using a paper and pencil to count |
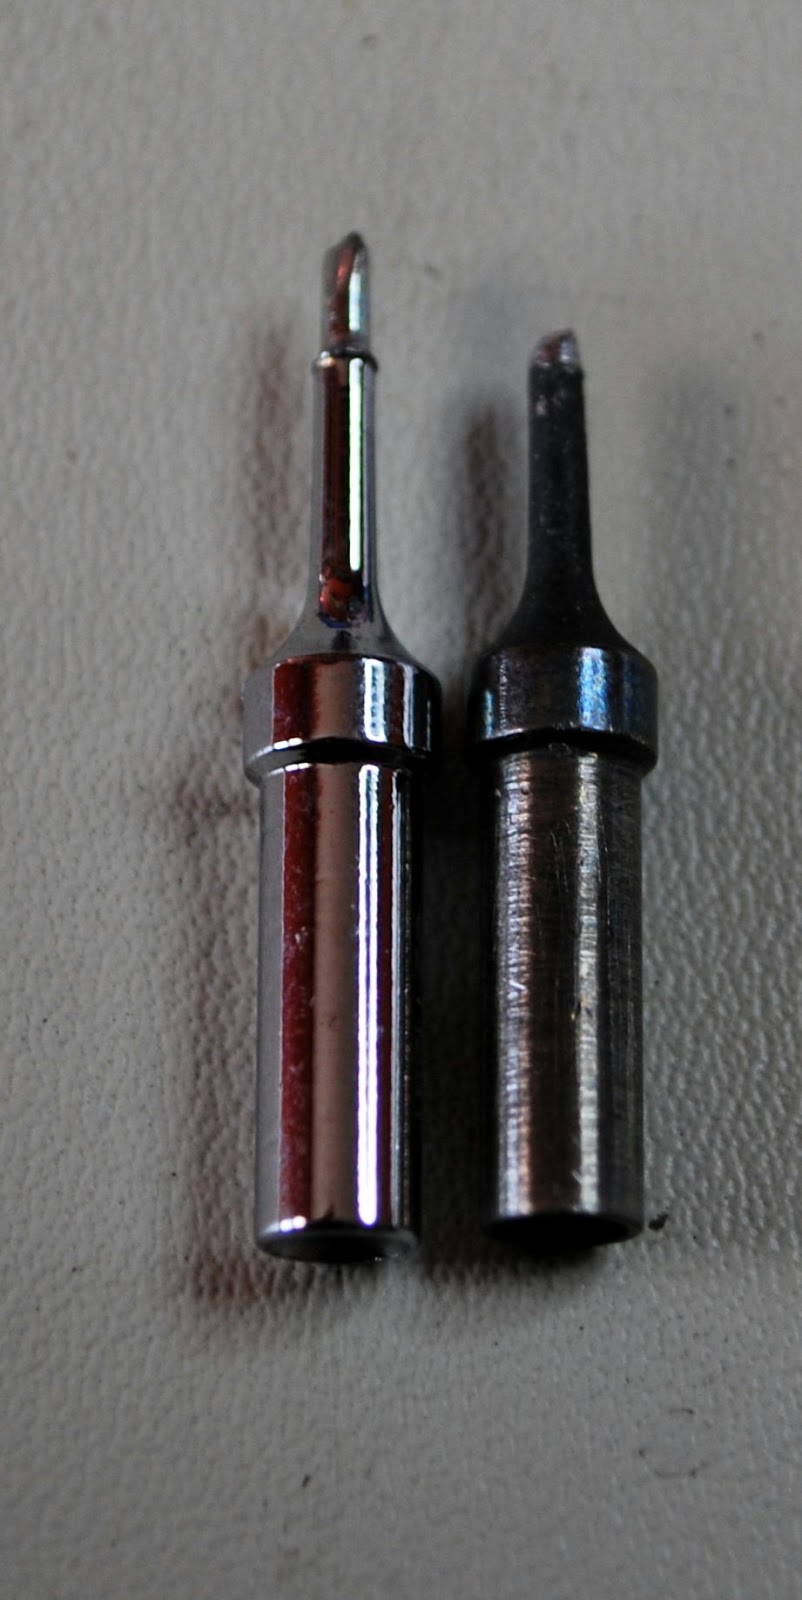
4. Use two sizes of soldering tip's one (I use the Weller ETC 1/8 tip) for the solder blob used to melt the insulation off the wire. Then a thinner tip (I use the Weller ETR 1/16 tip) for soldering the toroid to the board.
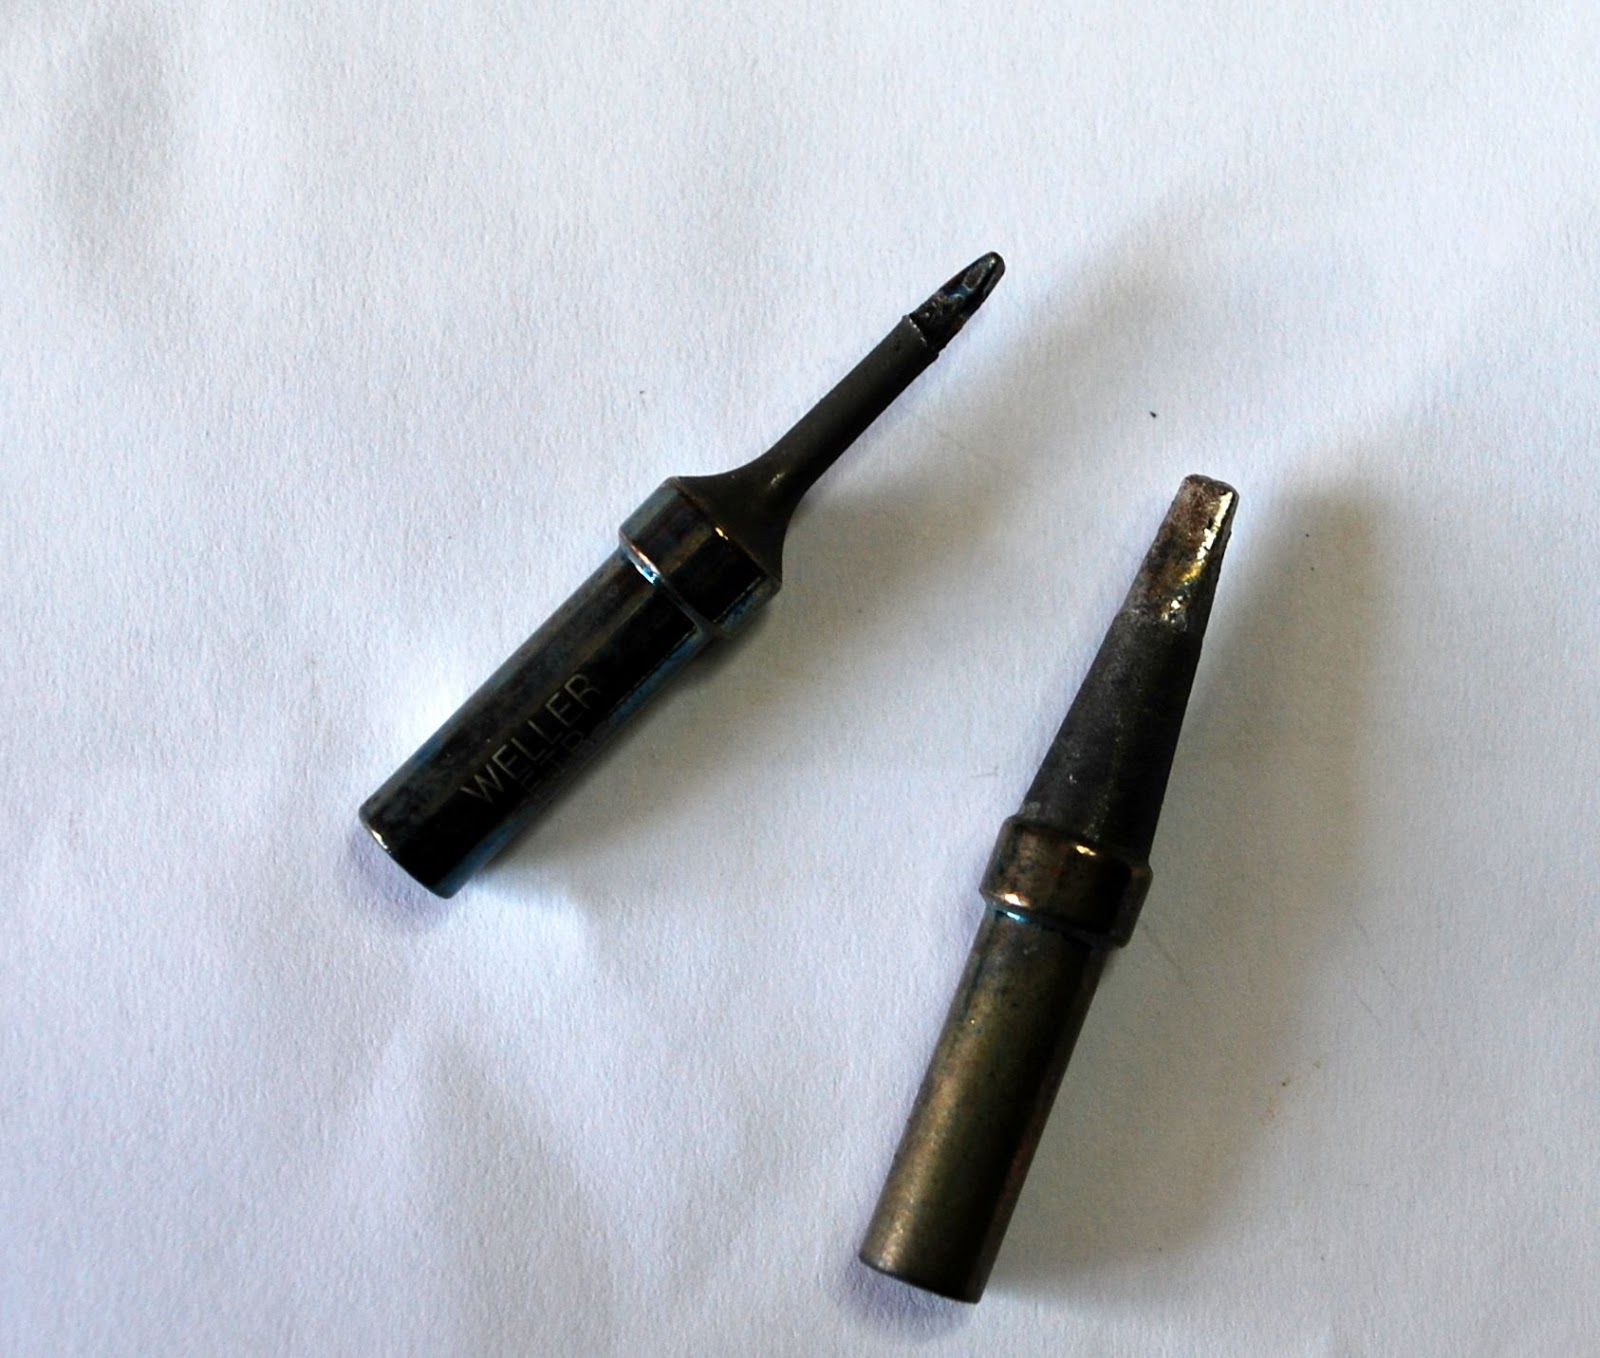 | |||
| ETR and ETC tips |
Coming soon how to wind the bi-filar toroid and transformer toroid.
The Rigol DS 1052E oscilloscope 50 mhz to 100 mhz
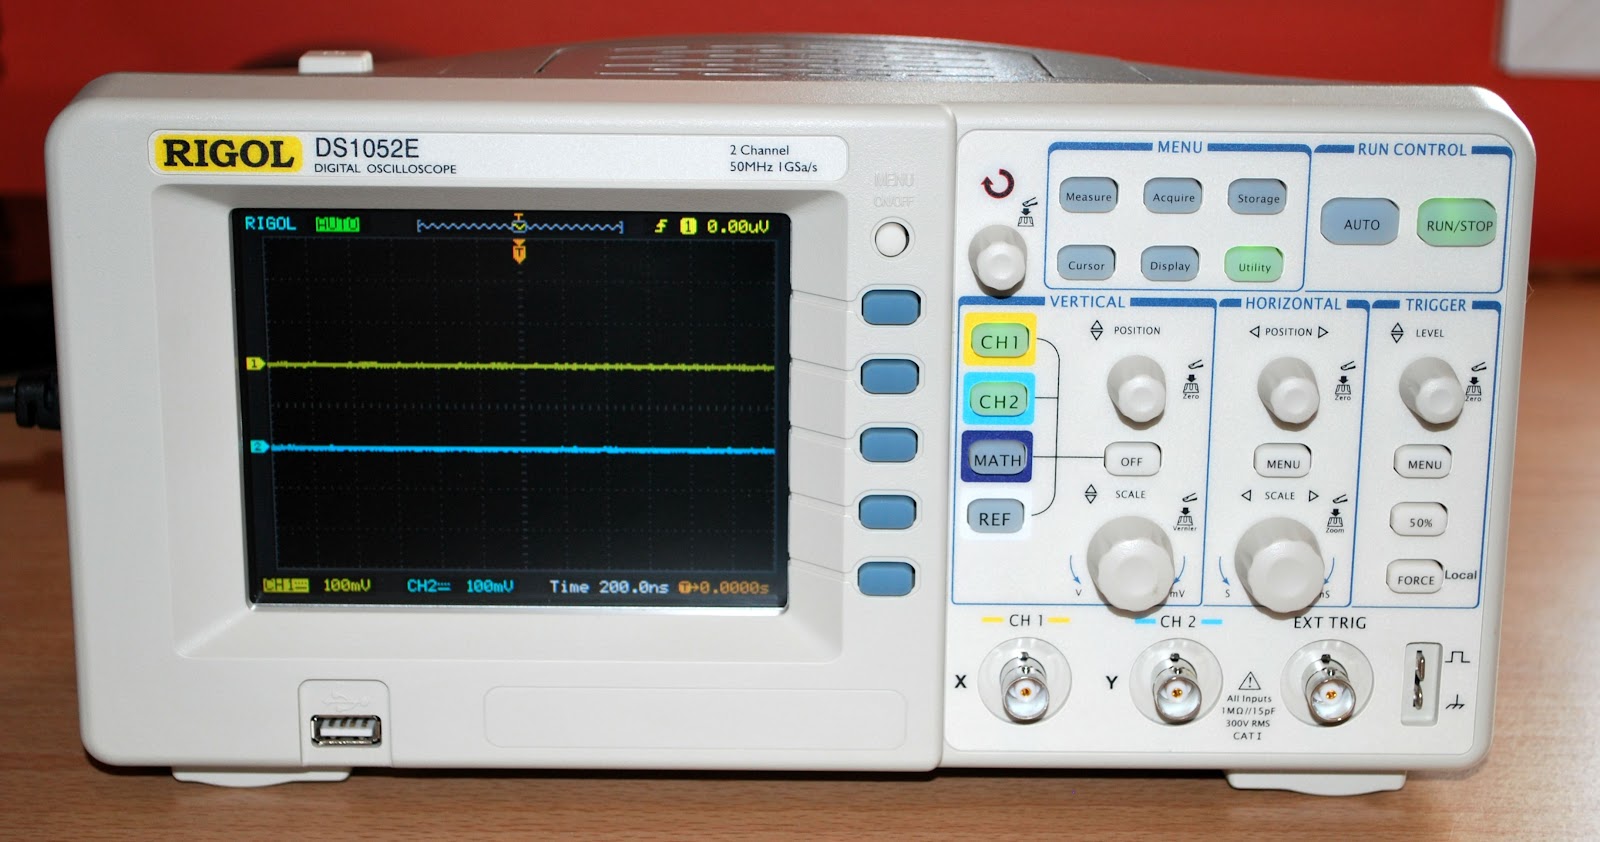 |
| Rigol DS 1052E now DS 1102E scope |
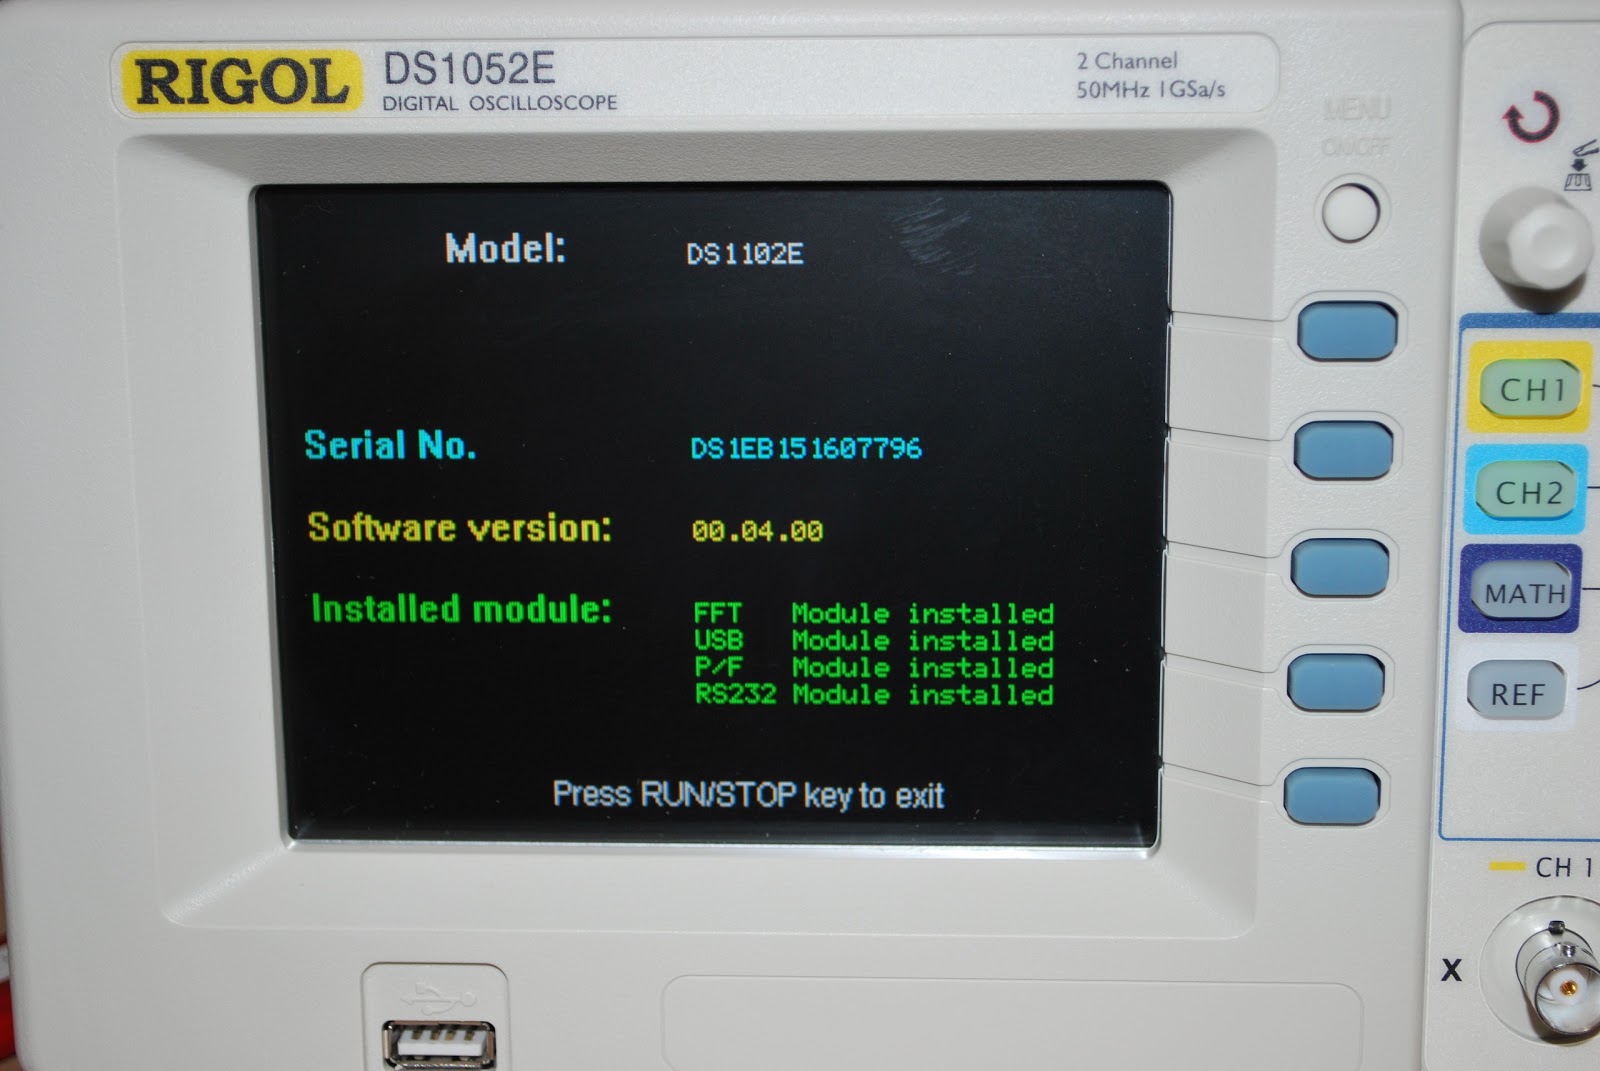
1. The first thing I had to do was to check what software version was on the scope. To hack the scope your software version has to be 2.00 or 2.02 SP2. Well I checked by simply turning the scope on and looking at the start up screen mine was 4.00.
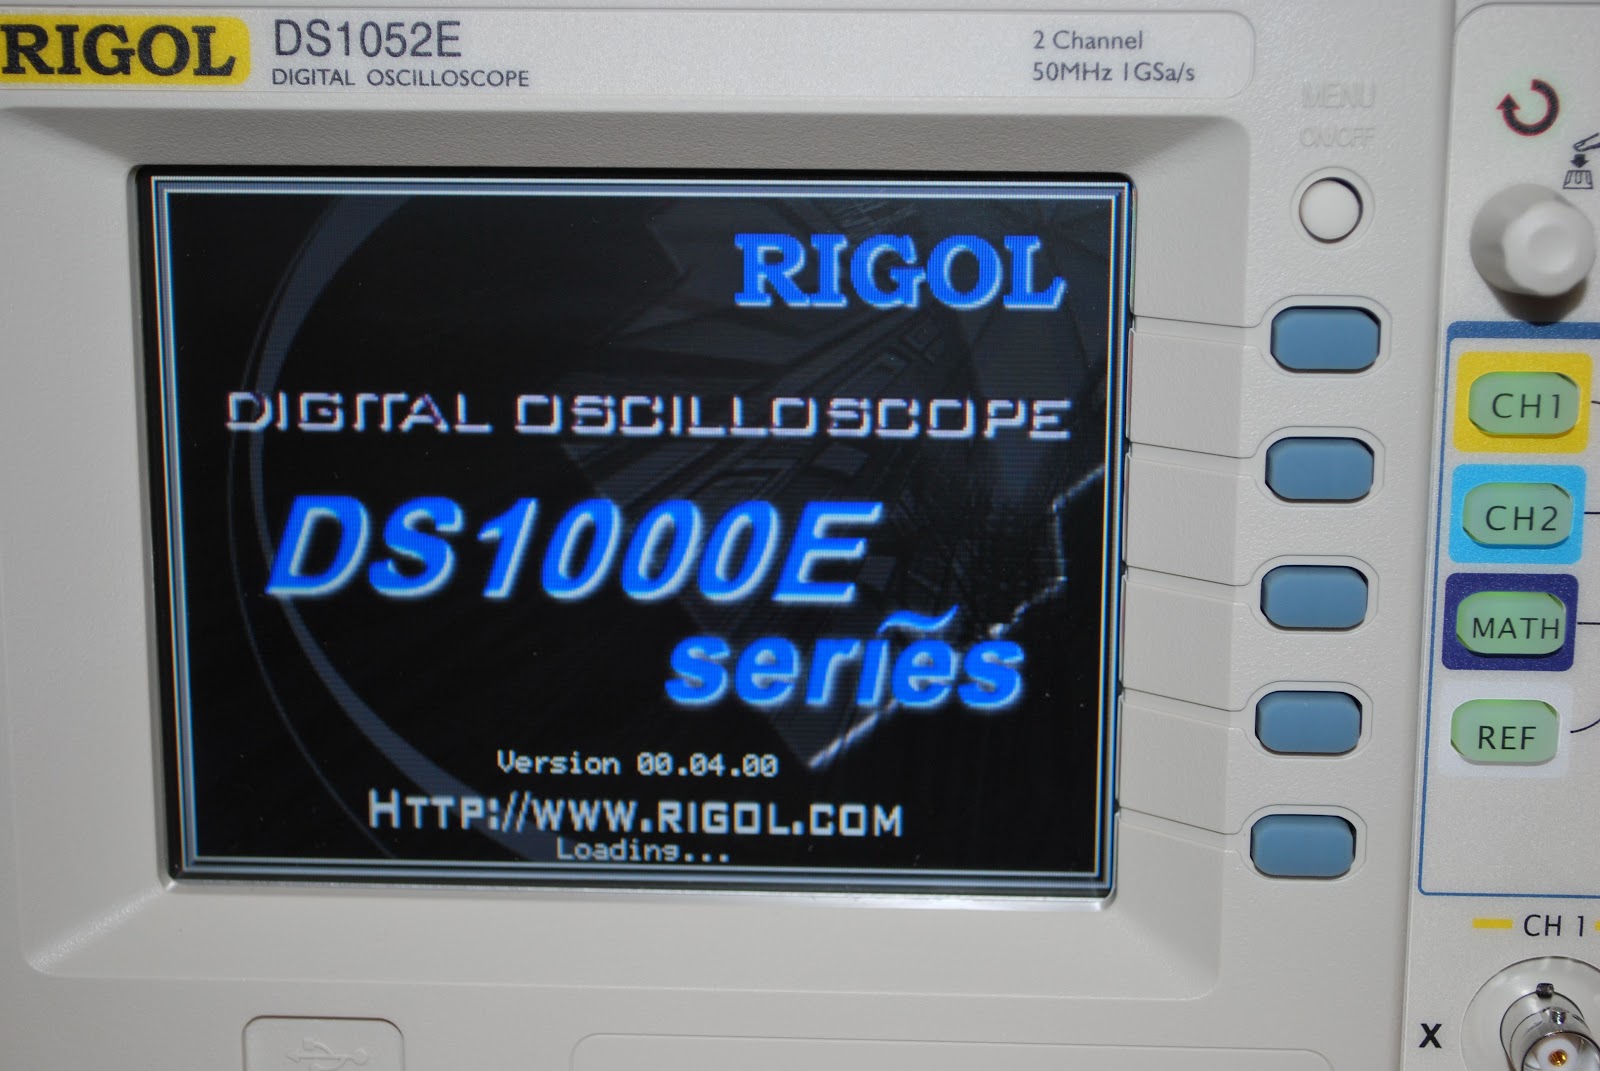 |
| 4.00 software |
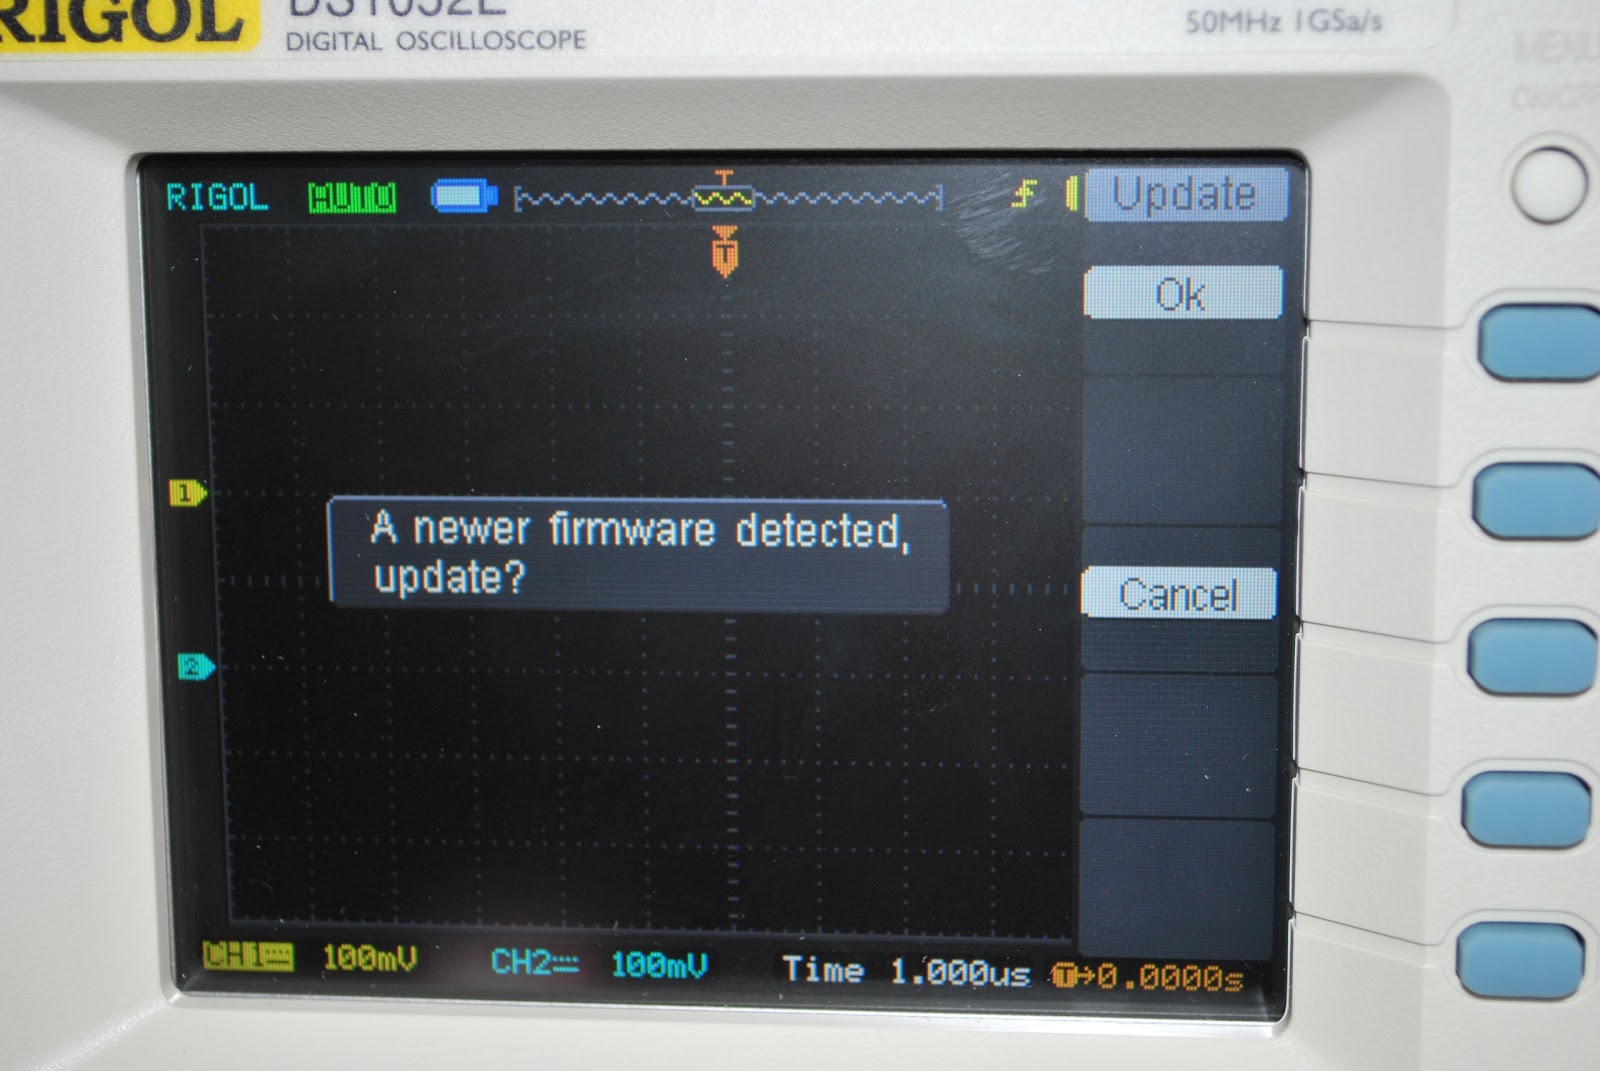
3. This is were the fun begins....I had to hook up a serial cable (not crossover and female to female) from the scope to pc. It was now time to enter some code via Hyper Terminal!! The instructions are very very very clear on the net.....you mess up the code and you could "Brick" your scope. Looking up "Brick" in a nut shell meant rendering it useless until MAJOR programing or hardware issues were dealt with.
 |
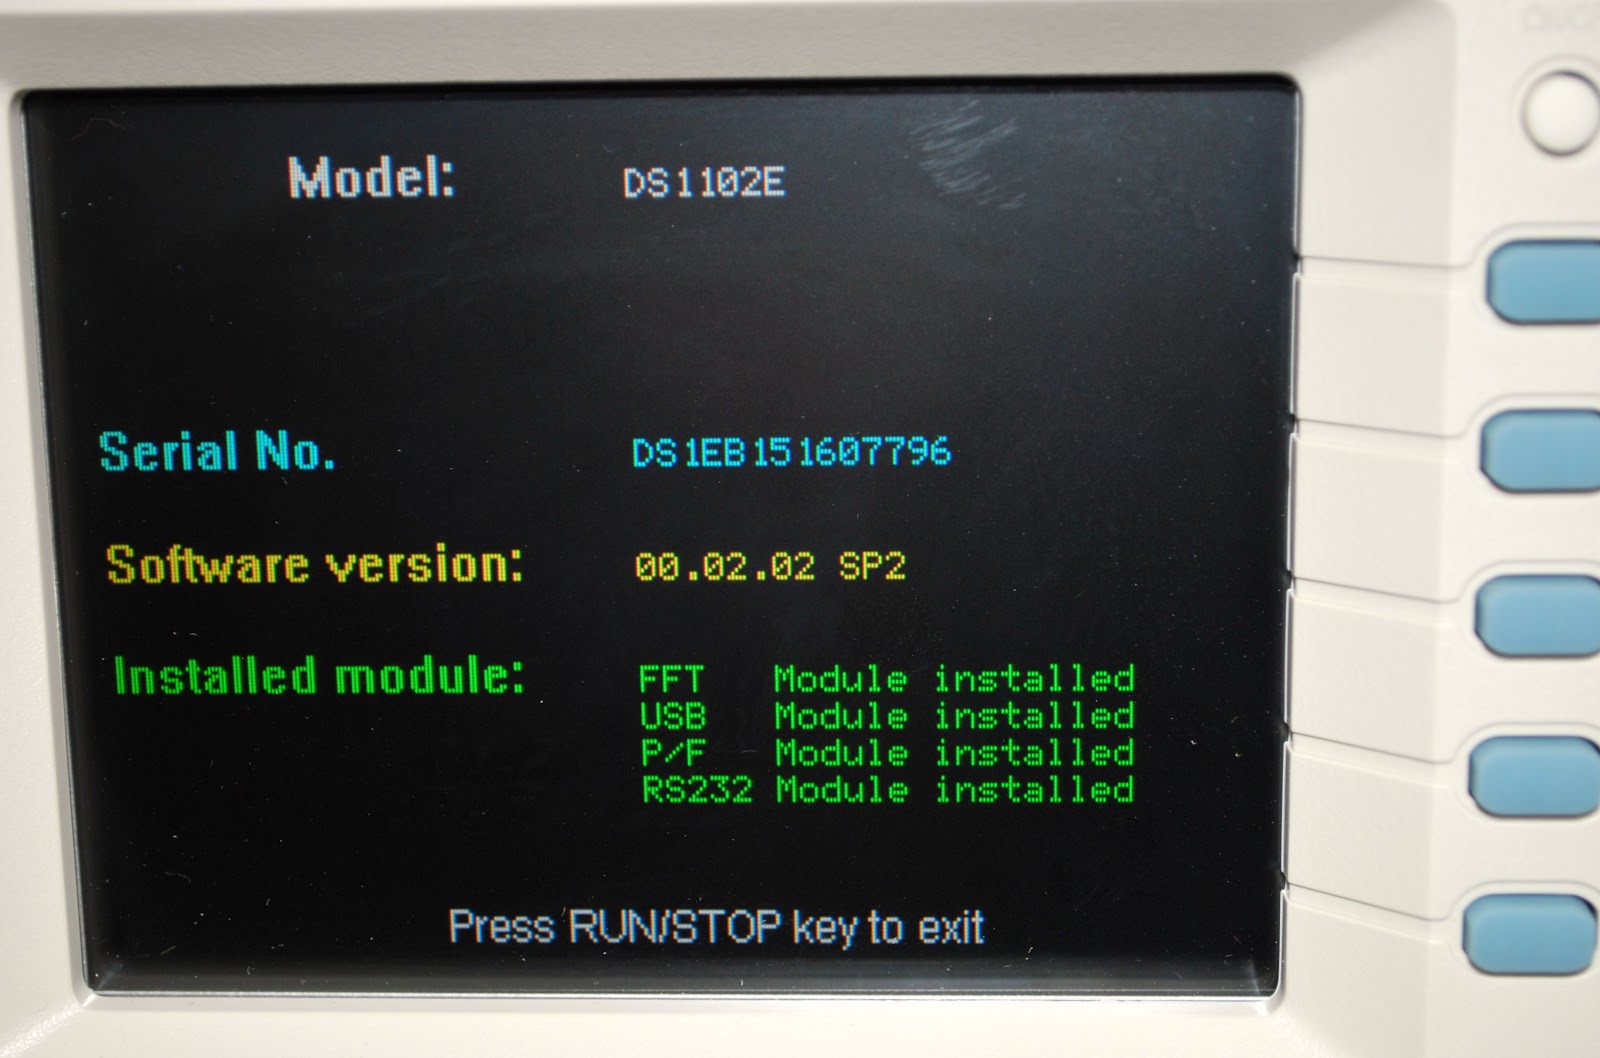
| Down grading to 2.02 |
4. I entered the code in Hyper terminal asking it to connect to my scope and it did by giving me the serial number of the scope.
5. I then entered code to change the scope from model DS 1052E to DS 1102E and then (according the online instructions) entered the serial number but changing one specific letter to a " B". I then entered that line of code.
6. It was now time to restart the scope and see from the systems info menu if the model changed to DS 1102E and if the serial number had changed to the new number with the "B" in it.
7. It was successful (after a few hiccups) and I could further verify by turning the horizontal scale down and if it went to 2 nano seconds things were good to go!
 |
| Downgrade done |
1. I was not able to connect the scope at first to the PC hyper terminal program. Turns out I just changed RS232 ports on the PC and all was ok.
2.When I installed a lower software version into the scope and then went to hyper terminal to confirm I did not get any serial number. I restarted the scope and ran the commands in hyper terminal again and I was good to go.
3. For some reason lady luck had me put the "B" letter in the wrong part of the revised serial number. That resulted in a new serial number of @@#$#%%$$% (ya no numbers just junk) on the Rigol start up screen. That was fixed by reloading version 4 software and then in hyper terminal changing the serial number back to the original number. It was then time to start all over again and change the model and serial but pay more close attention this time.
 |
| model and serial change |
 |
| Upgrading back to 4.0 software |
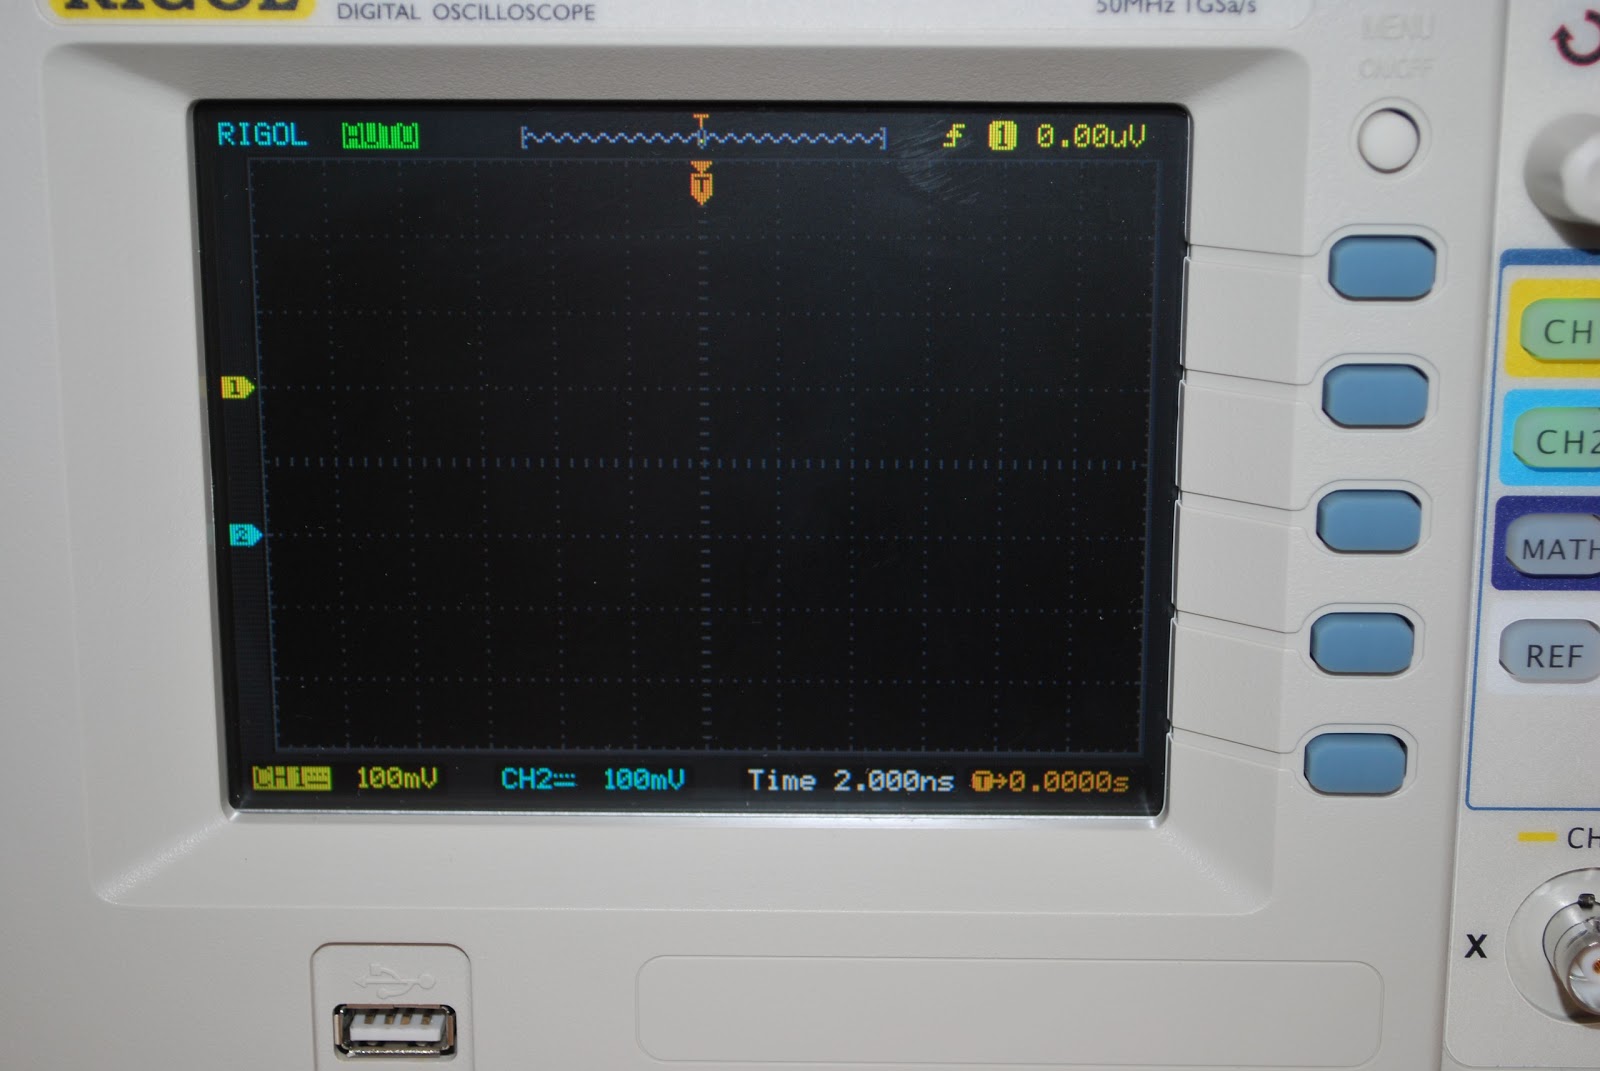 |
| 2.000ns means 100mhz scope |
 |
| 4.0 upgrade good to go |
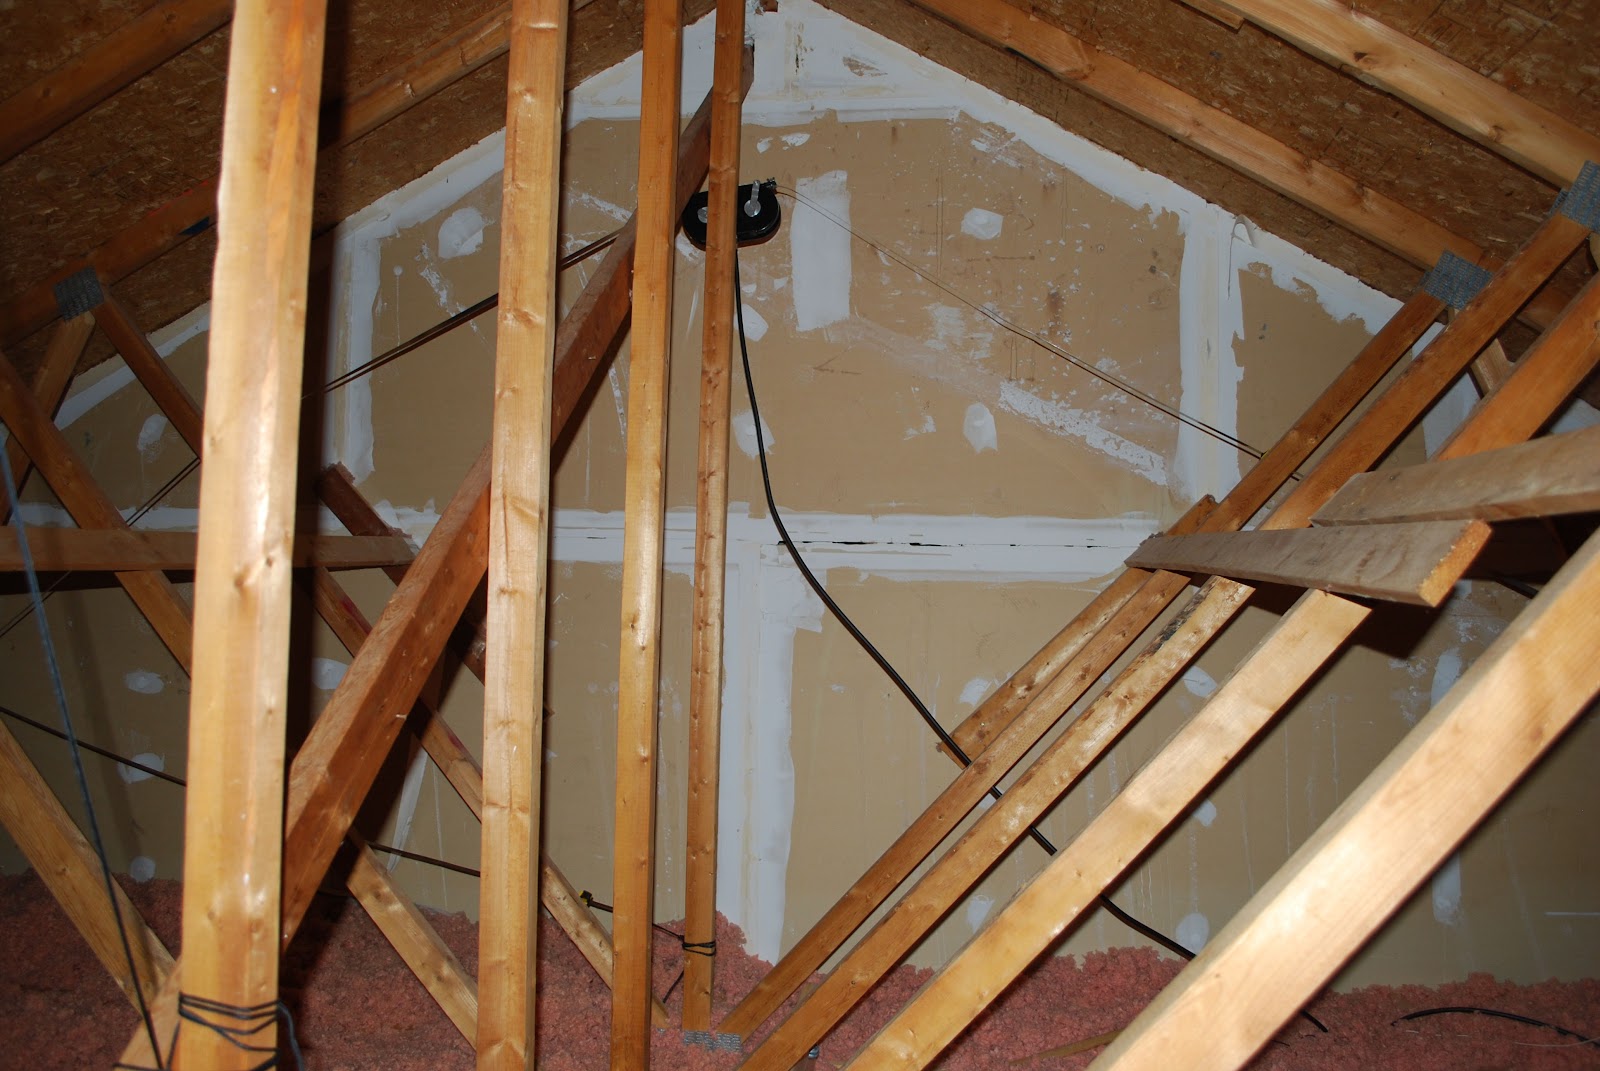
A trip into the attic.
 |
| Alpha Delta DX-EE with balun. |
 |
| Hy-gain noise antenna |
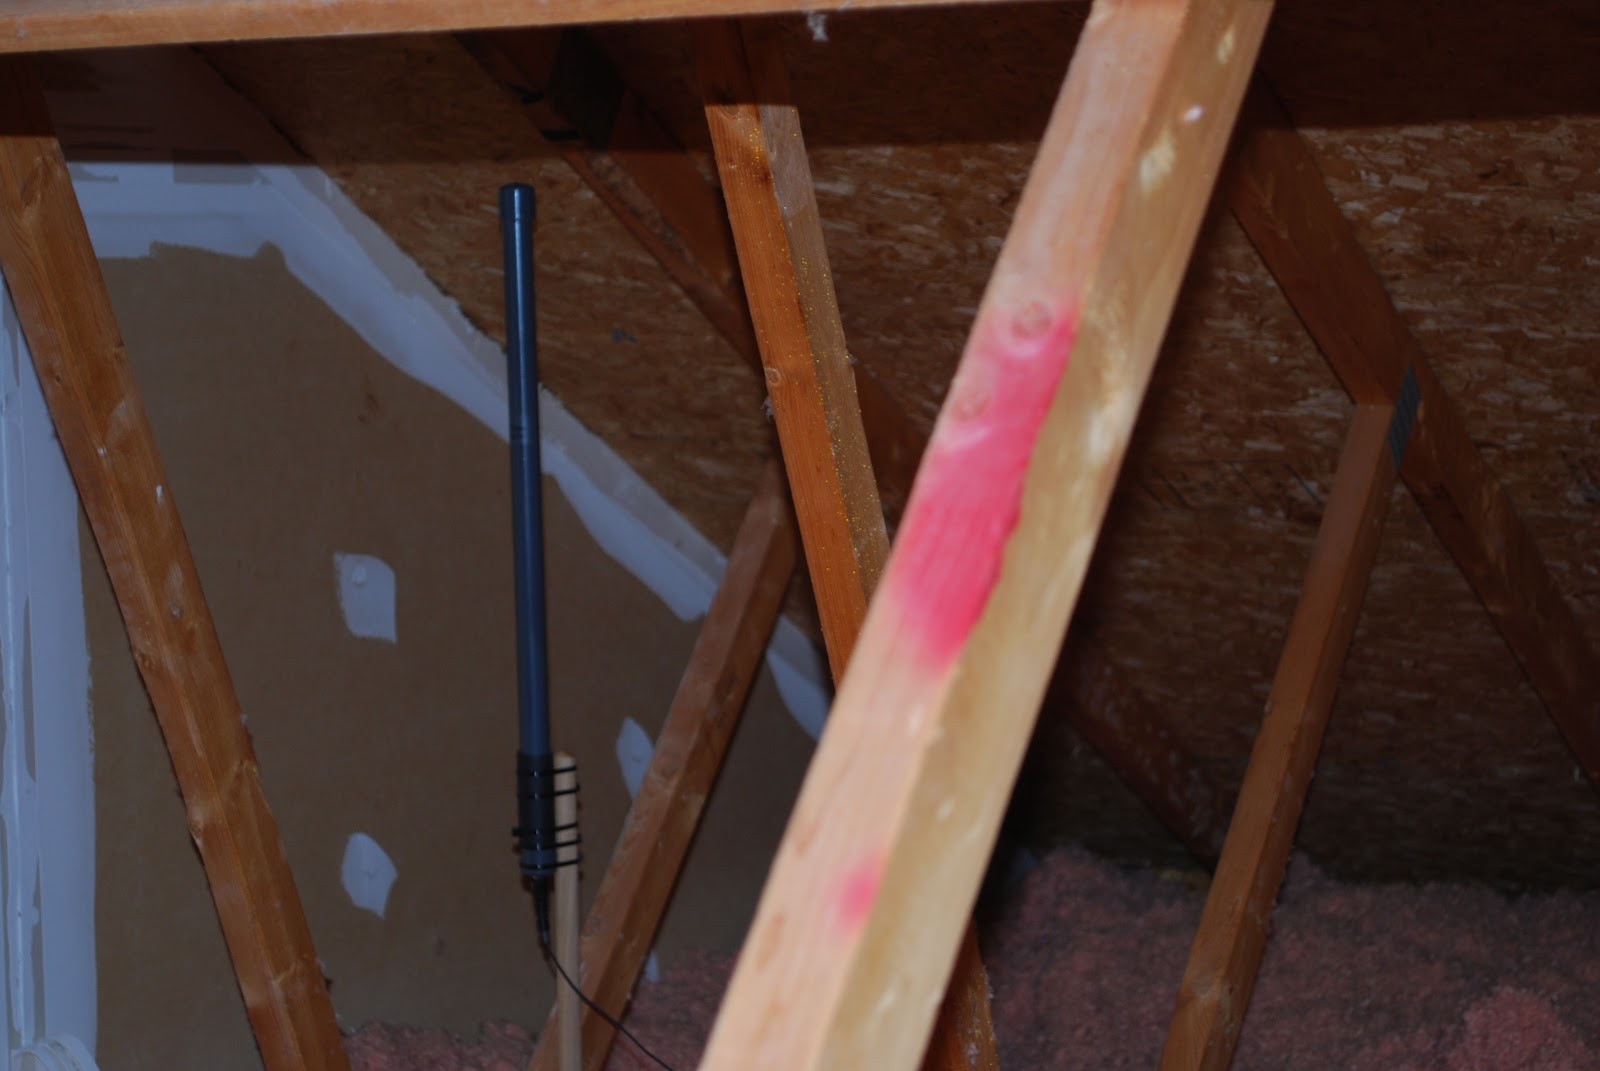 |
| H-900 active antenna |
 |
| Sagging 40m trap |
Kit build came to an abrupt stop
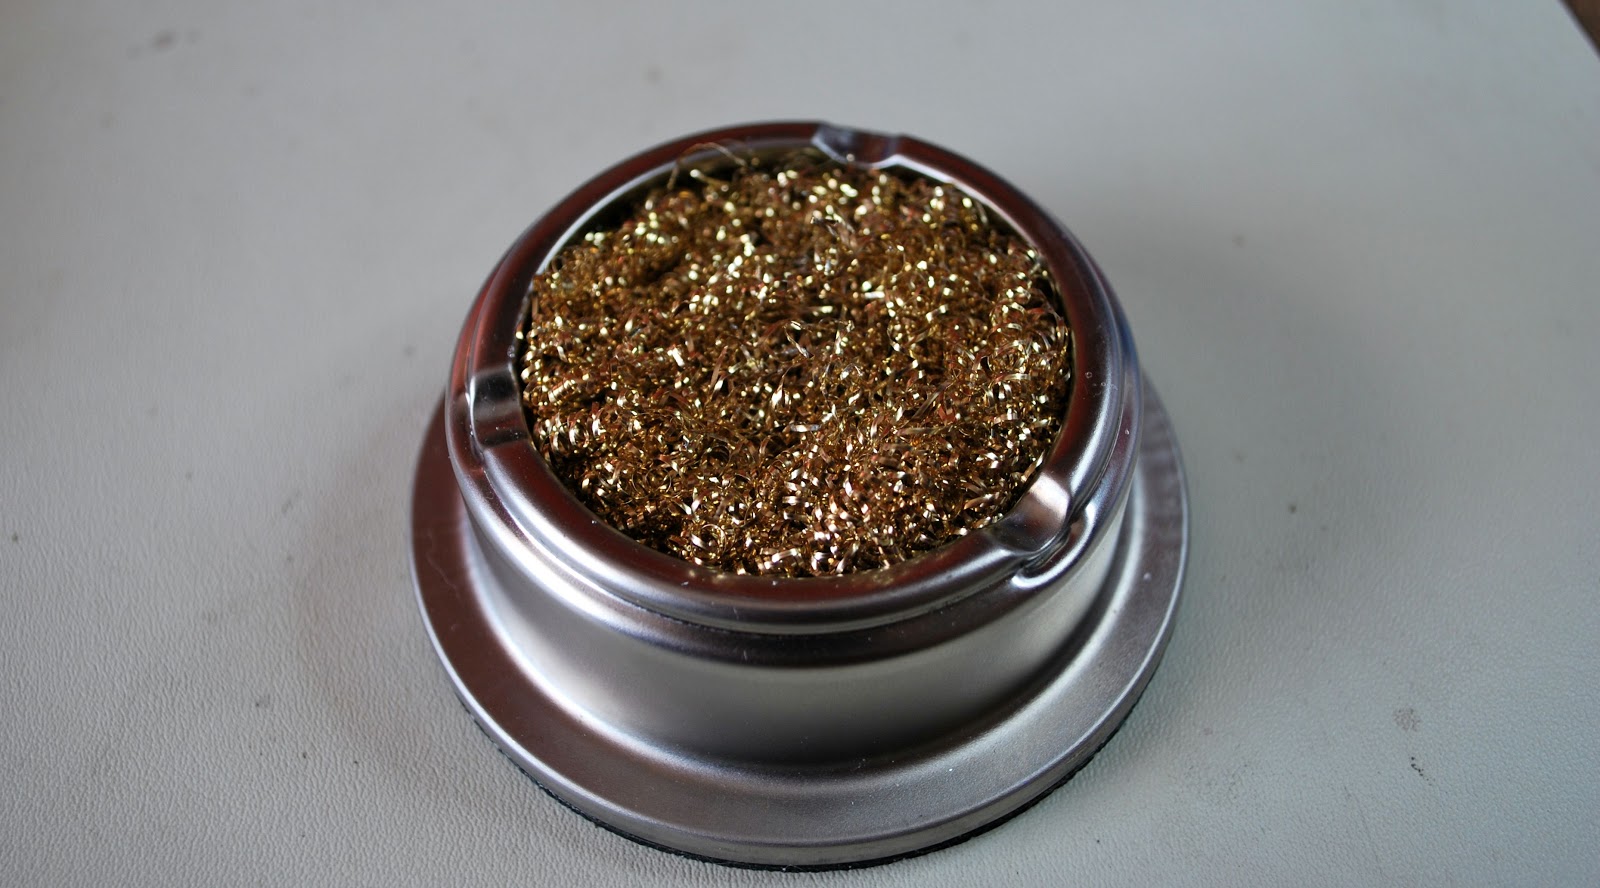 |
| Wire sponge |


