Posts Tagged ‘Portable operation’

Does the early bird get the DX…it’s said he gets the worm.

Last Friday we had a "situation" at work that had me working until about 3 a.m. and when I got home I was still all pumped from work and was not ready to jump into bed. The thought came to me about getting on the radio and seeing what DX pileups were out there. I had heard of folks getting on in the wee hours of the morning and catching some rare DX. With great expectations  I turned the radio on....10m dead, 15m dead, 17 and 30 same thing!! Alas on 40m my Elecraft P3 showed some faint signals, I spun the dial to the frequency only to find it was some very weak State side stations. Not that there is anything wrong with that but it's kinda a let down when one is anticipating WILD DX!!!

I did not check the propagation that morning so there could had been a storm brewing or maybe everyone but me was in bed sleeping. As I have blogged about in the past I am trying to get my ARRL Diamond Challenge award (and doing it QRP) at this point I am at 81 DXCC contacts. You only have one year to accomplish this goal and it's now almost December!!!  Having said that I am "really" at 95 DXCC's for 2012 according to Club log. The catch is the ARRL for the Diamond award is not counting ALL DXCC on the list. It is a long story but it's just how the ARRL perculates. I was hoping to bring my K2 or my newly acquired KX3 to work as I was wanting to get some operating time in before work. I am usually in around 5:30 in the morning and I have until 7 to make some contacts. With my Saturday mornings performance I am not to sure if bringing  the rig would be a waste of time.....any ideas out there???

Elecraft KX3 part 3 youtube assembly video

Well the KX3 is almost completed and this is the 3rd of a 4 part assembly video of the radio. In this YouTube video I go over the problems I had with the ATU installation, the roofing filter board issue and the battery holder oops I had and needed to correct before there was damage. The build is almost complete but have a look and either get excited about purchasing one or pick up some pointers before you do  your build.


Part two of the KX3 video………

Part two of the KX3 build is up on YouTube, in this video I go over some of the troubles I encountered and how they were solved. The radio begins to take shape and looks more and more like a KX3.

A VERY SMART charger

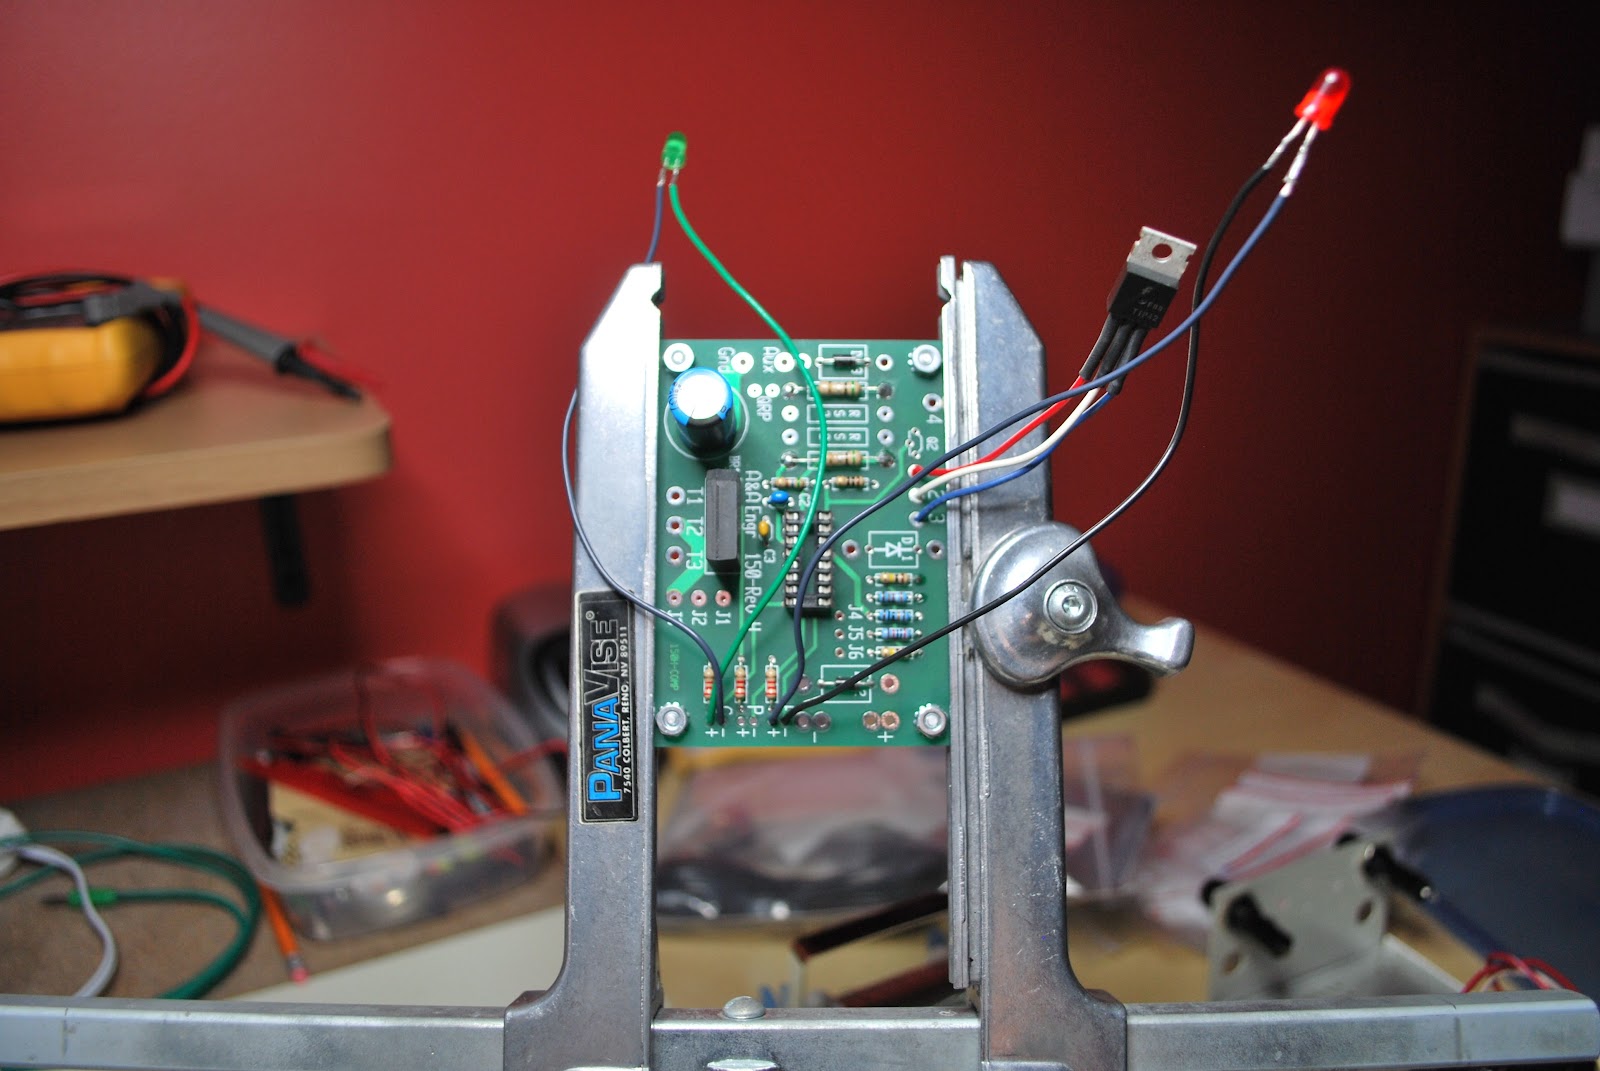
Charger ready for testing
I have built  A&A Engineering's 1 amp Smart Battery QRP charger mainly for my Elecraft K2's internal battery. This very much is a smart charger and here are a FEW reasons why.....

1. The charger can be connected to the battery indefinitely and no harm will come to the battery. Once the battery is fully charged the Smart charger will remain in maintenance mode delivering a float charge. Therefore the battery cannot be over charged.

2. The charger can stay hooked up to the battery while operating the radio if you so choose to do so. The charger will enter the bulk mode to help with the load of the radio operating.

3. When the charger is connected it automatically determines the type of charge the battery needs.


Close to done but no heat shrink on LED
 The charger can either be ordered fully assembled and tested or as a kit.....yours truly held true and strong the the QRP spirit and chose the kit. The kit did arrive very fast and all parts were checked and accounted for. If you are a first time builder of  kits this may not be the one for you as the instructions are vague at times. I did get myself into problems after  realizing I had missed part of the assembly and had to go back to add parts and two jumpers. The kit does not give you the "standard" step by step instructions regarding assembly. It's more or less tells you too "install the components according the the pictorial diagram".  There are even little side notes here and there one in particular relating to jumper installation that I totally missed. I did get the charger all together and it was time to check the unit out. So I plugged the charger in, turned it on and ........no 12 volts DC from the leads on the charger!!!!
Top view with no jumpers or D1 ops
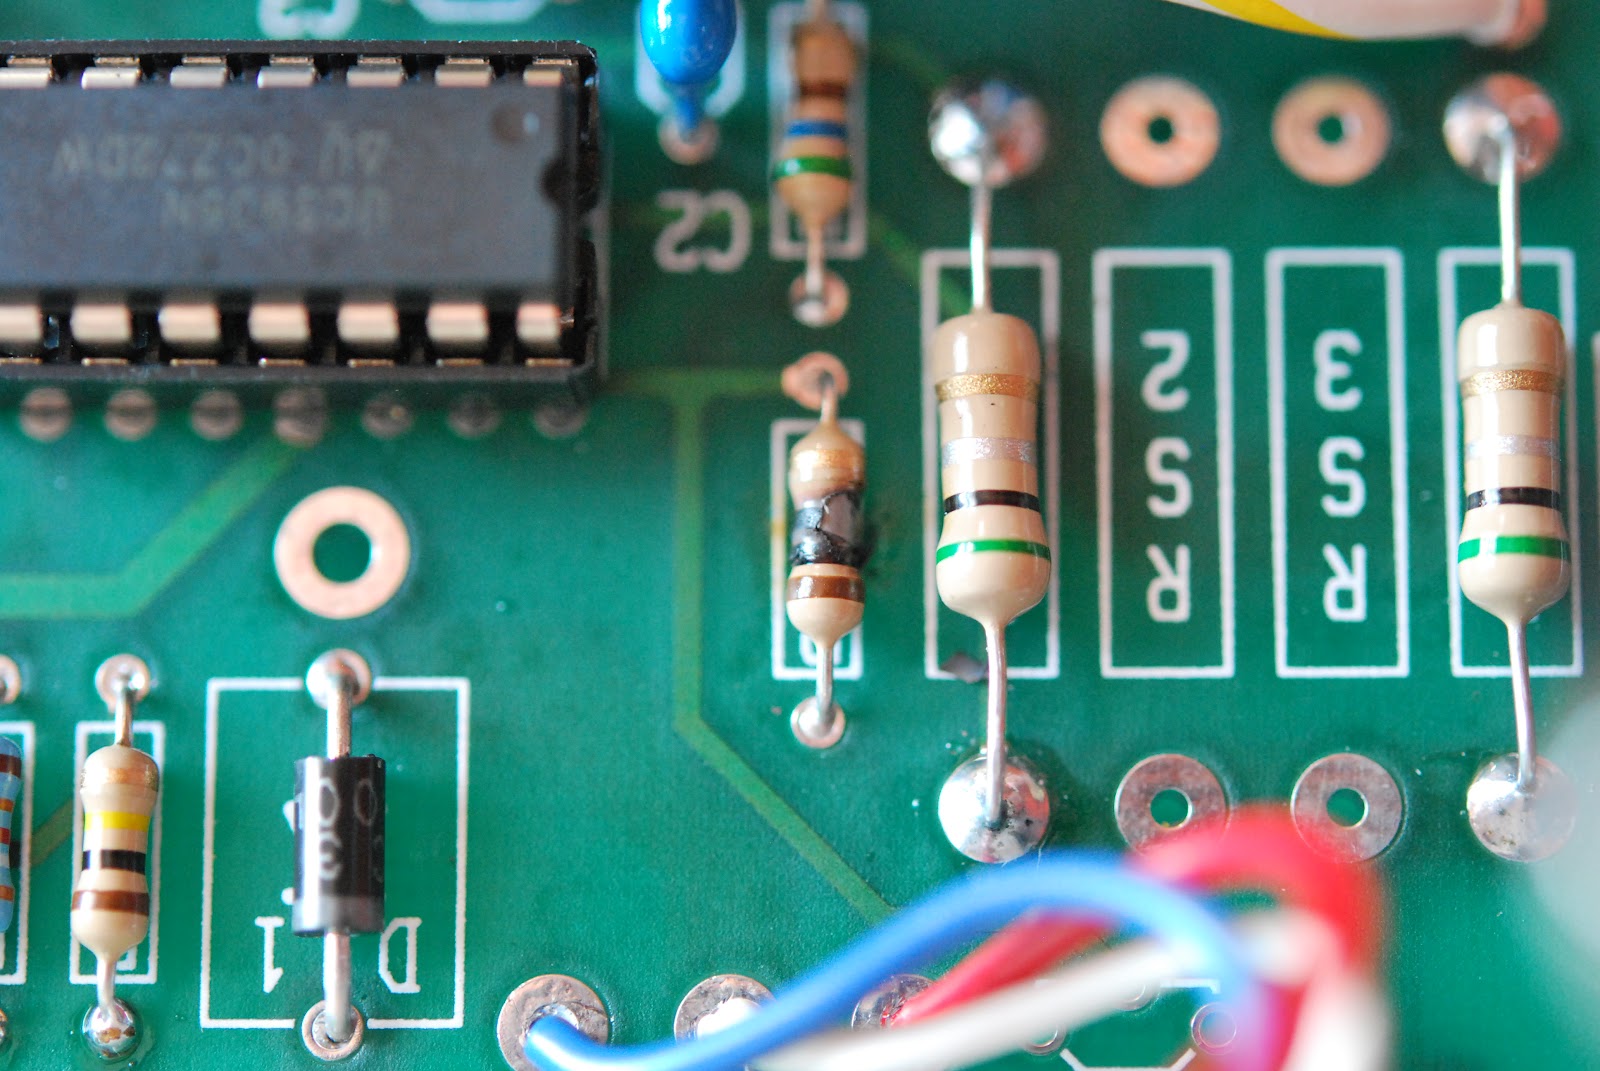
Fried resistor
 It was time to check the board to see if parts were installed according to plans and if all solder joints were good and soldered. All seemed to be good so it was off to the internet to see if anyone had the same troubles. It was on the internet I found a test procedure for the kit version of the  charger from A&A Engineering. For some reason beyond me I am not sure why this was not included in the kit!!! Anyway.....one of the things what was emphasized was if the charger is not hooked up to a load you will NOT get any output. Well that solved the problem of no output and things now seemed to be "normal" There was a test procedure in the text that
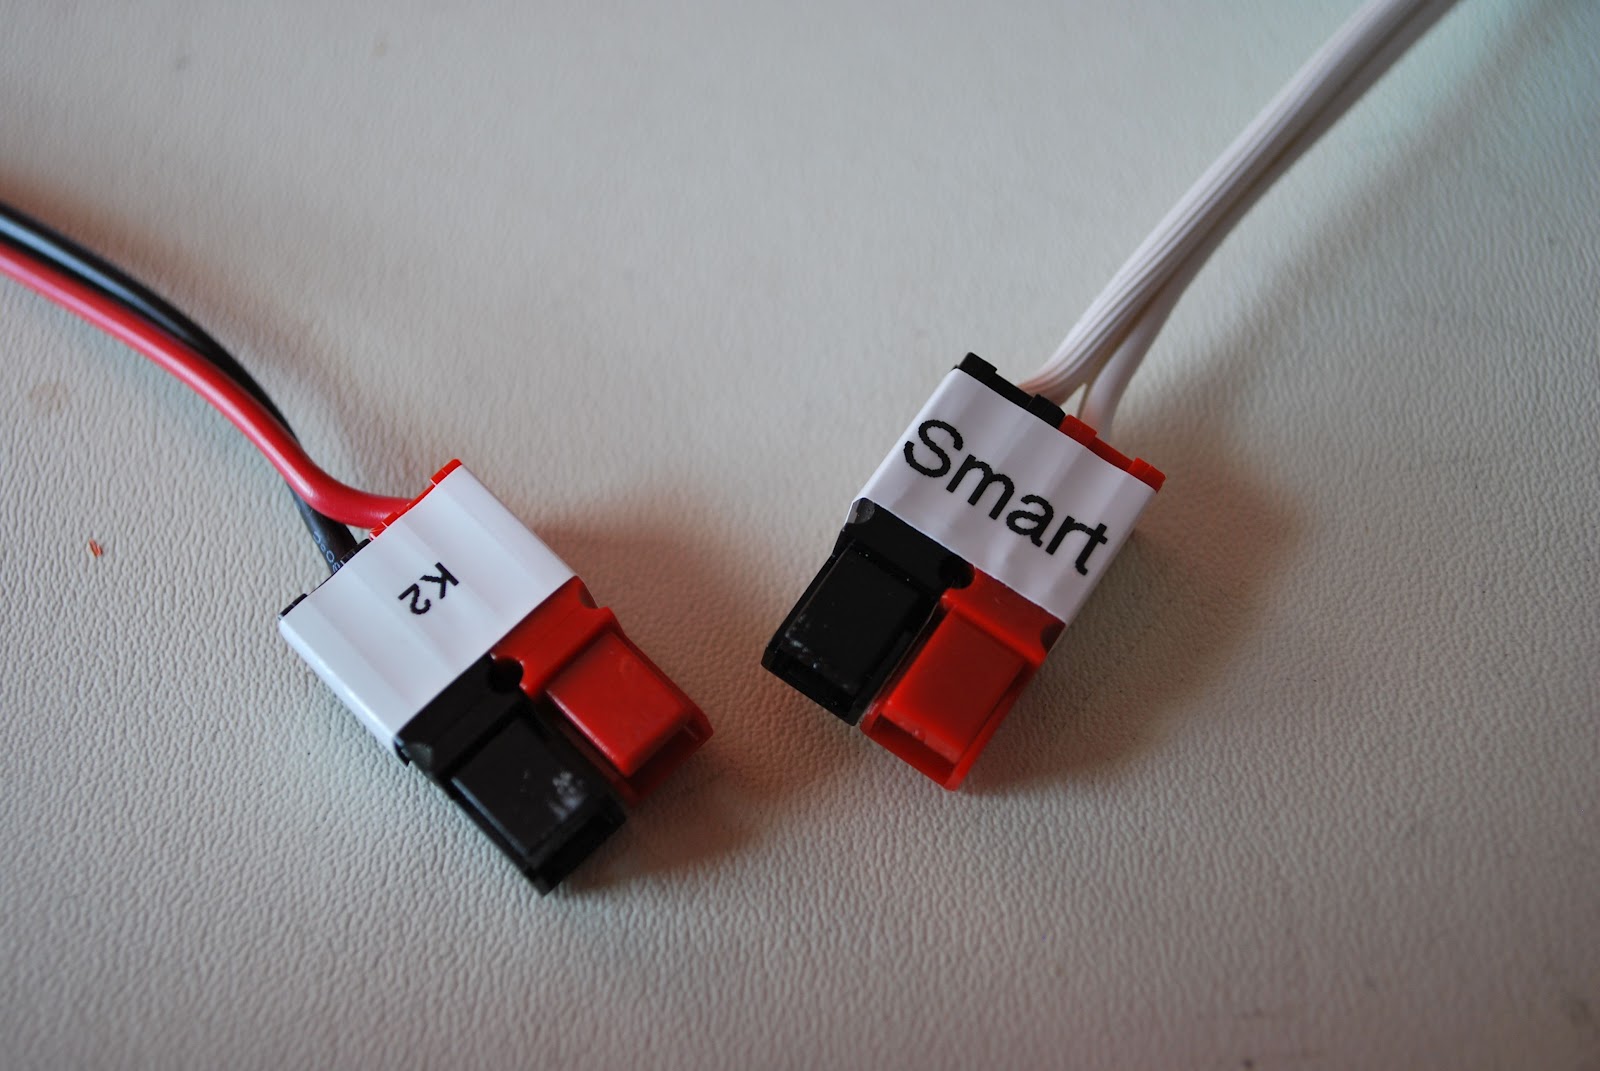
Decided to use Anderson conn's
allowed you to see if parts of the charger were working as they should. It involved removing the IC and shorting legs of the IC 16 pin socket to certain areas of the circuit board. When this was done certain voltage reading should be observed or LED's should turn on. Here is my BIG problem with this type of testing......when you short things out things can go WRONG and they DID!!! I guess I was not paying close attention and I shorted the wrong pin on the IC to ground and I FRIED a resistor on the board. When you short out to test I call this a destructive way of testing I much more prefer using a meter to look for certain voltages. If  you either don't get the right voltage or a down right outrageous voltage you understand
either:
1. You are in measuring in the wrong place.
2. You have made a mistake in the assembly.
In either case nothing has been toasted
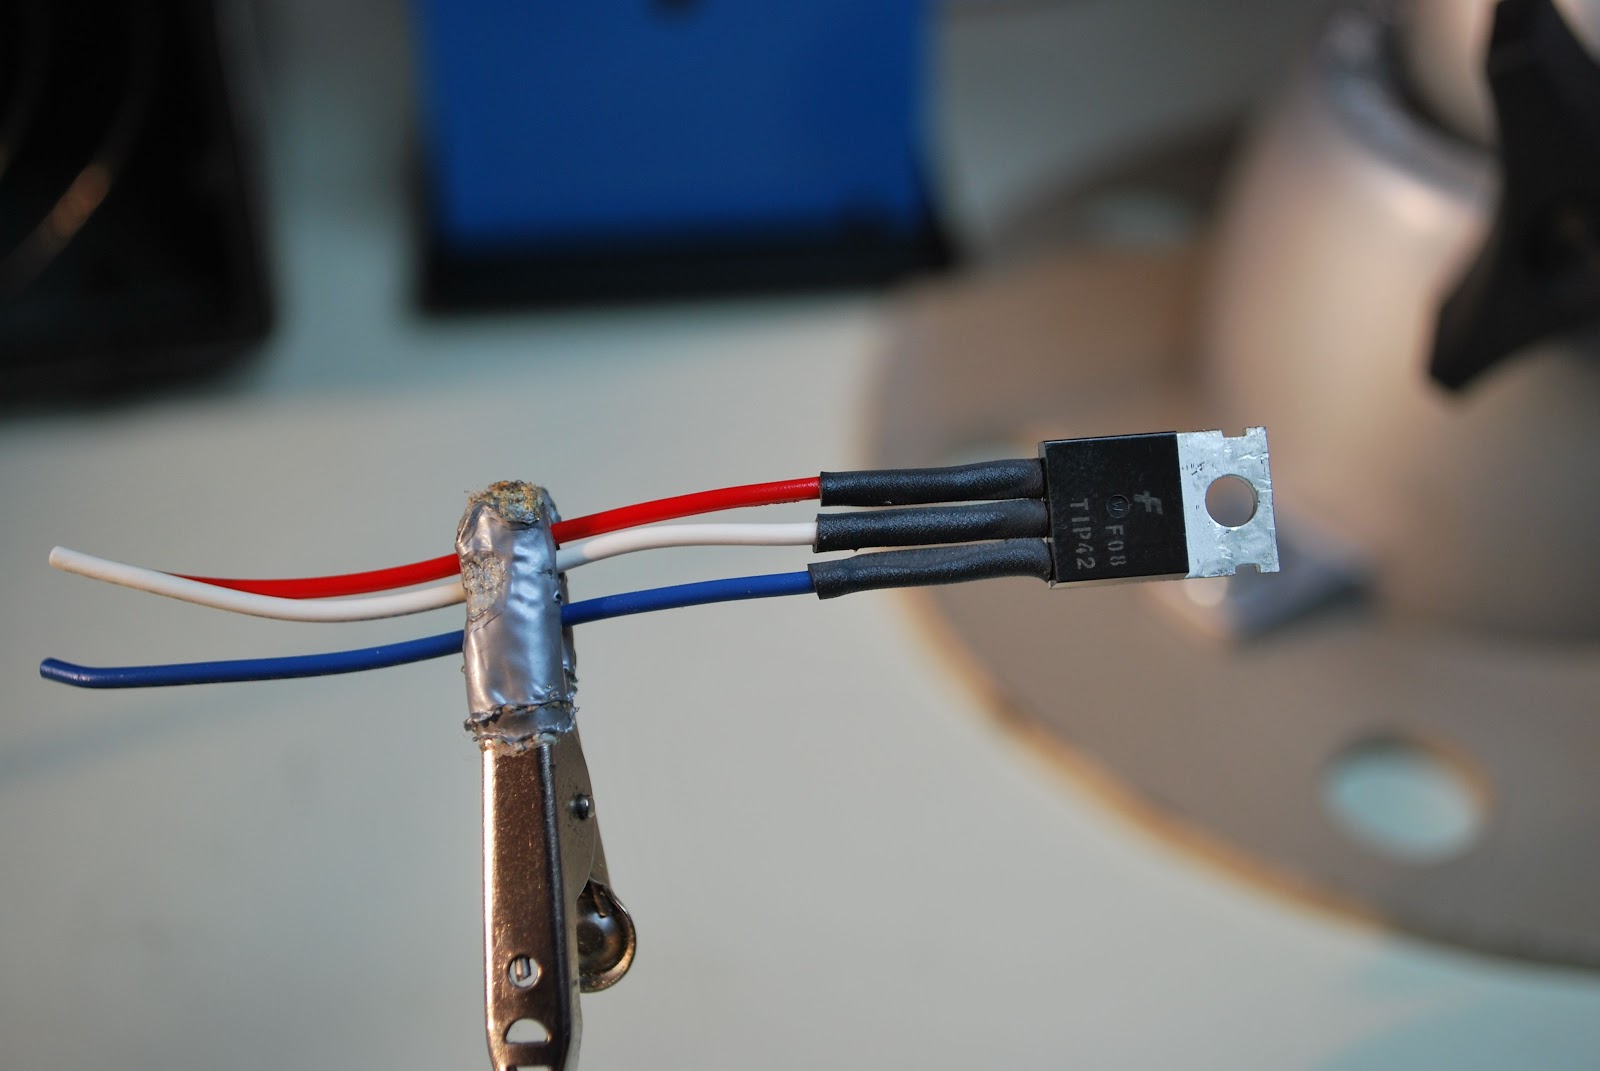
Some heat shrink fun
In the end all checked out ok with the Smart charger and it working great to charge my Elecraft K2.  Over all this is a great unit even with the hiccups that I had. Some of the things that are not clear in the instructions are as follows
1. The heat shrink tubing is very clearly stated to go on the transistor but it also should go on the leads of the LED's...that was not so clear and I have redo the LED's.
2. Make sure you add the jumper J1 to J2 in my case it is mentioned but off to the side of the instructions
3. There is no diode to be installed in D3 position, instructions just say install parts and there are is D1, D2 and D3. Just install the diodes (both are the same diode) one in D1 the other D2.
D1 needs to have the diode not D3

4. If  you ordered the QRP version of the charger as I did you will get a separate kit that allows the charger to switch between two charging currents. Read those instructions and install the resistors they tell you too or you will end up removing resistors if you follow the main instructions then move to the add on kit instructions as I did.
5. When done remember the output leads will SHOW NO VOLTAGE UNLESS A LOAD IS APPLIED.
6. The document required to test the unit can be found at the link above under "test procedure". BUT when  you do it be very careful!!!

Last weekend was a contest in the park.

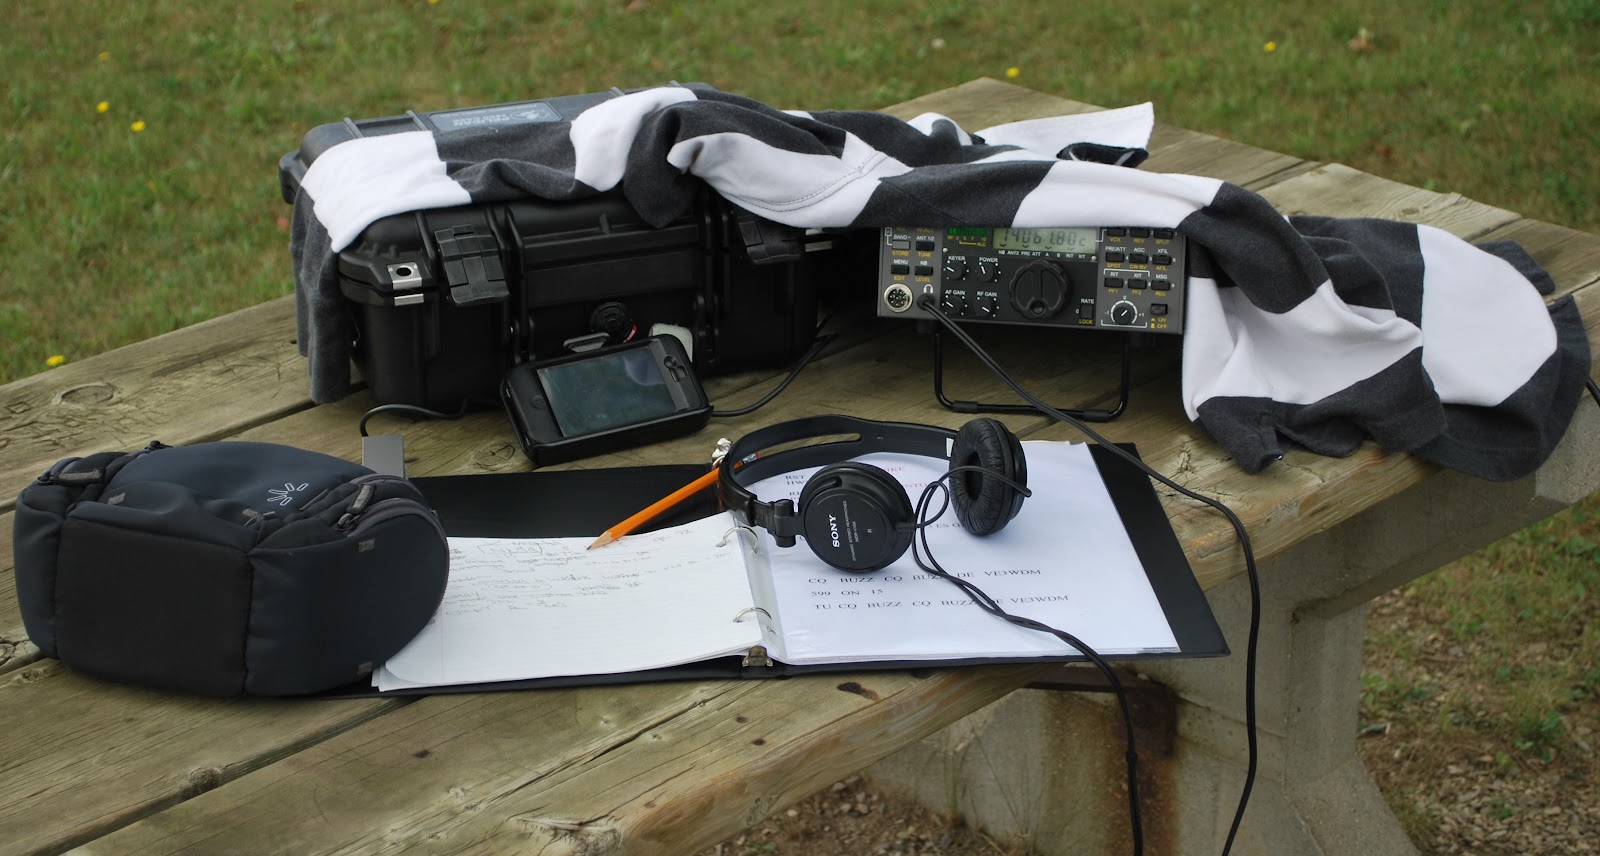
The setup at the park
Last weekend on Saturday the weather here was great lots of sunshine and very few clouds. So it was off the the park with the radio to give the ARCI welcome to QRP contest a go. Its a 3 hour contest from late morning to early afternoon. I setup my Elecraft K2 along with my mono band mobile whip antennas. The key I used was the Mini Palm paddle which works great and has a super feel to it. I found the bands to be in good shape but was not able to find many who were participating in the contest. In total I made 3 contacts contacts in 2.5 hours of operation. While operating I did hear W6/DL6AP/P who was operating in the SOTA at location CT-086....translation Strawberry peak in California. I was not able to contact W6/DL6AP/P but I did hear him in there. There was some other very attended State QSO party contests going on at the same time and were very well attended. So over all I did not strike it rich in the contest by any means...BUT.......I did pickup some bonus points for just being portable on battery power with a portable antenna.

The first annual skeeter contest….done!!

Packing up for the contest
I took part in the first annual Skeeter contest sponsored by the NJQRP club the first years theme was to go to  your favorate outdoor operating place and get involved with the contest. Well up this way the weather was not looking like it was going to co-operate. My fav place to operate was out in the open and very vulnerable to the weather....namely rain!! I decided to head out to a location that offered some trees as
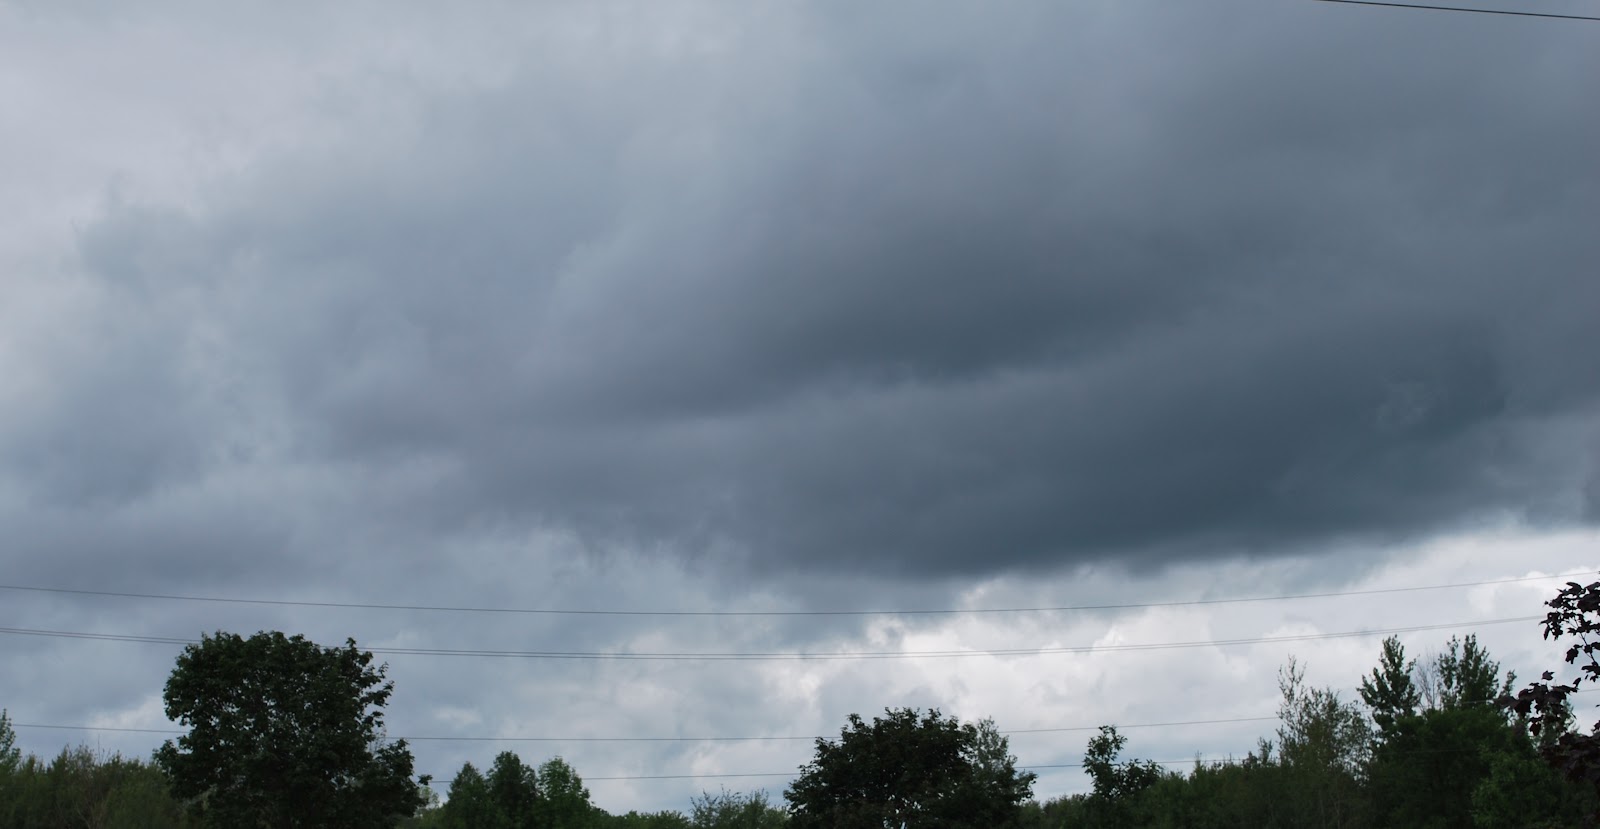
The weather to look forward too
shelter just in case of a sprinkle, as for a down pour my car was beside me and the rest of the contest could be finished from there. I was using my Elecract K2 and this by the way this was the first contest  this rig has ever done as battery powered. My key was the Mini Palm Paddle which by the way worked great!! My antennas were mono band mobile whips on the back of my car. I operated QRP at 5 watts Oh and the K2's battery lasted for 4.5 hours at 5
watts with me calling CQ and not searching and pouncing.
The weather was a mixed bag from nice sunny skies (very rare) to very threatening overcast that did let go
The setup...with a bit of rare sunshine

with rain at times.Over the last month the temperatures have been in the upper 30's and low 40C...today it was nice and cool almost to the point of putting on a long sleeve shirt (which was used to cover the rig during light rain). The location I chose was about 15 minutes from my home and offered a pic-nick table, trees and what I consider a luxury when operating out and about a portable washroom!! The bands were busy with not only the Skeeter contest but the WAE contest as well. I did have some European stations involved in the WAE contest respond to my "CQ Buzz contest" Thats ok they gave me their report and serial and  I asked for their power output and then they moved on this made it a skeeter contact....I believe anyway???
Covering for rain drizzle
I confined my operating to 20m as it seemed to be a "buzz" with skeeters but at 14.060 for some time there was some SSB going on, not sure if anyone else heard it but they were there right on the CW QRP calling frequency. While calling CQ I did have someone come back to me at the same time a passer by asked me what I was doing and showed an interest in ham radio. So I sacrificed the contact for taking time to talk with this gentleman about the hobby. So if your reading this blog I was not ignoring you just had to promote the hobby.....:). I had to end the contest around 4:40 as the Elecract K2 was telling me that the battery is getting to the point of no return so it was time to shut things down.
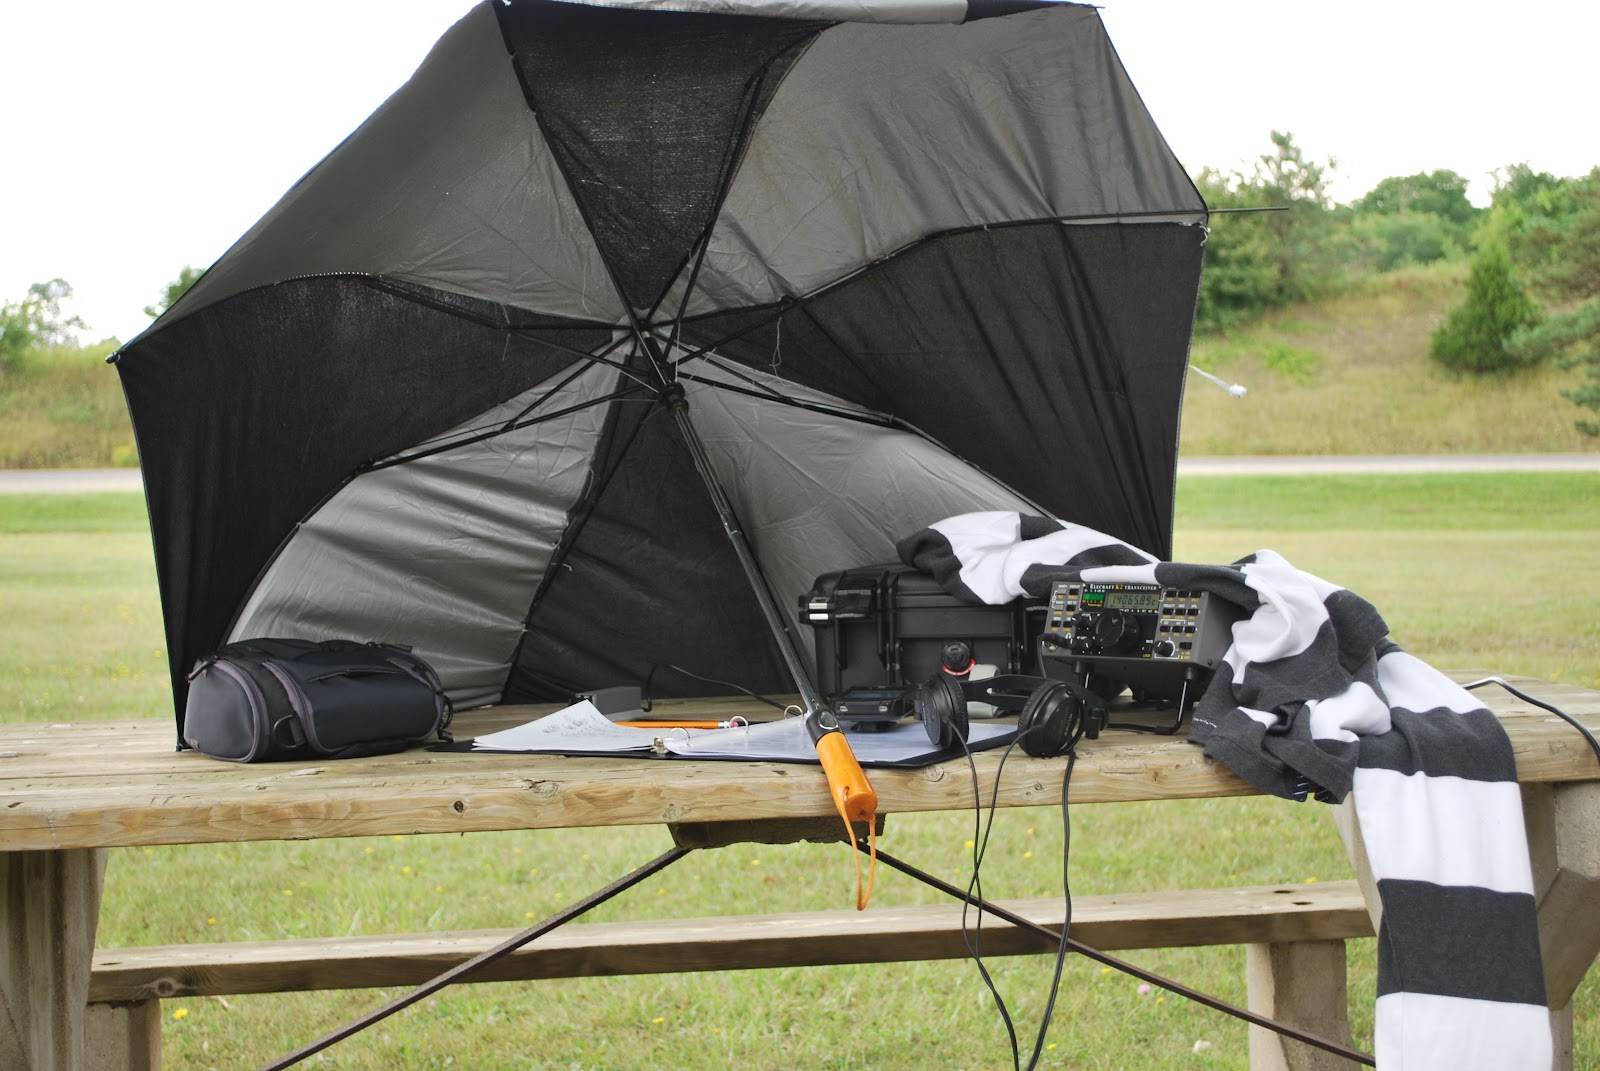
When it really rained
I made in total 19 contacts including DJ5AV from Germany and YU2A from Serbia. 12 of  the contacts were fellow Skeeters as they had Skeeter numbers. One contact was just an average QRP op not in the contest but wanted to know what he had to give me as an exchange so he could count in the log. Over all I had a great time even though the weather was touch and go at times.
Finally...a must have!!!
See all you Skeeters next year!!!


How a Cross-band Repeater Helps My Family

Yesterday my son, Antonio, got his call sign: KDØSGL! He’s been putting his HT to use, too. It came in handy yesterday evening when we were at opposite ends of Walmart, and this morning he took it along with him when he went to mow grass for a widow. My daughter dropped him off along with the lawnmower, and I waited to hear Antonio on the radio so she could go pick him up when he finished. We have a couple of “private” channels programmed in our radios for simplex on 2m and 70cm with a sub-audible tone set for CTCSS.

My own personal repeater, sitting in the driveway!

The thing is, our handhelds don’t go quite that far if one of us is indoors — and I was. No problem! Once my daughter returned with the pickup, I just set my new (used) Kenwood TM-V71A to cross-band repeat between our two channels. It is as simple as turning it off and turning it on again while holding down the [TONE] button, so it only took a second. When my son finally called me, he was sending to the high-gain antenna on my pickup on 2m and being rebroadcast on 70cm at 50 watts. Needless to say he boomed in on my handheld on 70cm when he finally called, even though I was indoors. And when I replied on 70cm, the Kenwood in my pickup rebroadcast my signal on 2m at 50 watts, booming in on his handheld. He would have to have been mighty far away for us to have had trouble communicating.

One thing I like about the Kenwood TM-V71A is that you can set it to identify every 10 minutes using morse code when it is in repeater mode. I have it set to do just that. Sure enough, while I was working indoors waiting for Antonio to call, I heard “NØIP/R” a couple times in morse as my own personal repeater announced itself.

My friend tells me to watch out lest I drain my battery doing this, so I’m being careful how much I use my mobile radio in cross-band repeater mode. But for short periods for just my son and I, it is the perfect solution to extend the range of our handhelds.


Subscribe FREE to AmateurRadio.com's
Amateur Radio Newsletter

 
We never share your e-mail address.


Do you like to write?
Interesting project to share?
Helpful tips and ideas for other hams?

Submit an article and we will review it for publication on AmateurRadio.com!

Have a ham radio product or service?
Consider advertising on our site.

Are you a reporter covering ham radio?
Find ham radio experts for your story.

How to Set Up a Ham Radio Blog
Get started in less than 15 minutes!


  • Matt W1MST, Managing Editor


Sign up for our free
Amateur Radio Newsletter

Enter your e-mail address: