Posts Tagged ‘Mods’
 Upgrade to K1EL Winkeyer USB
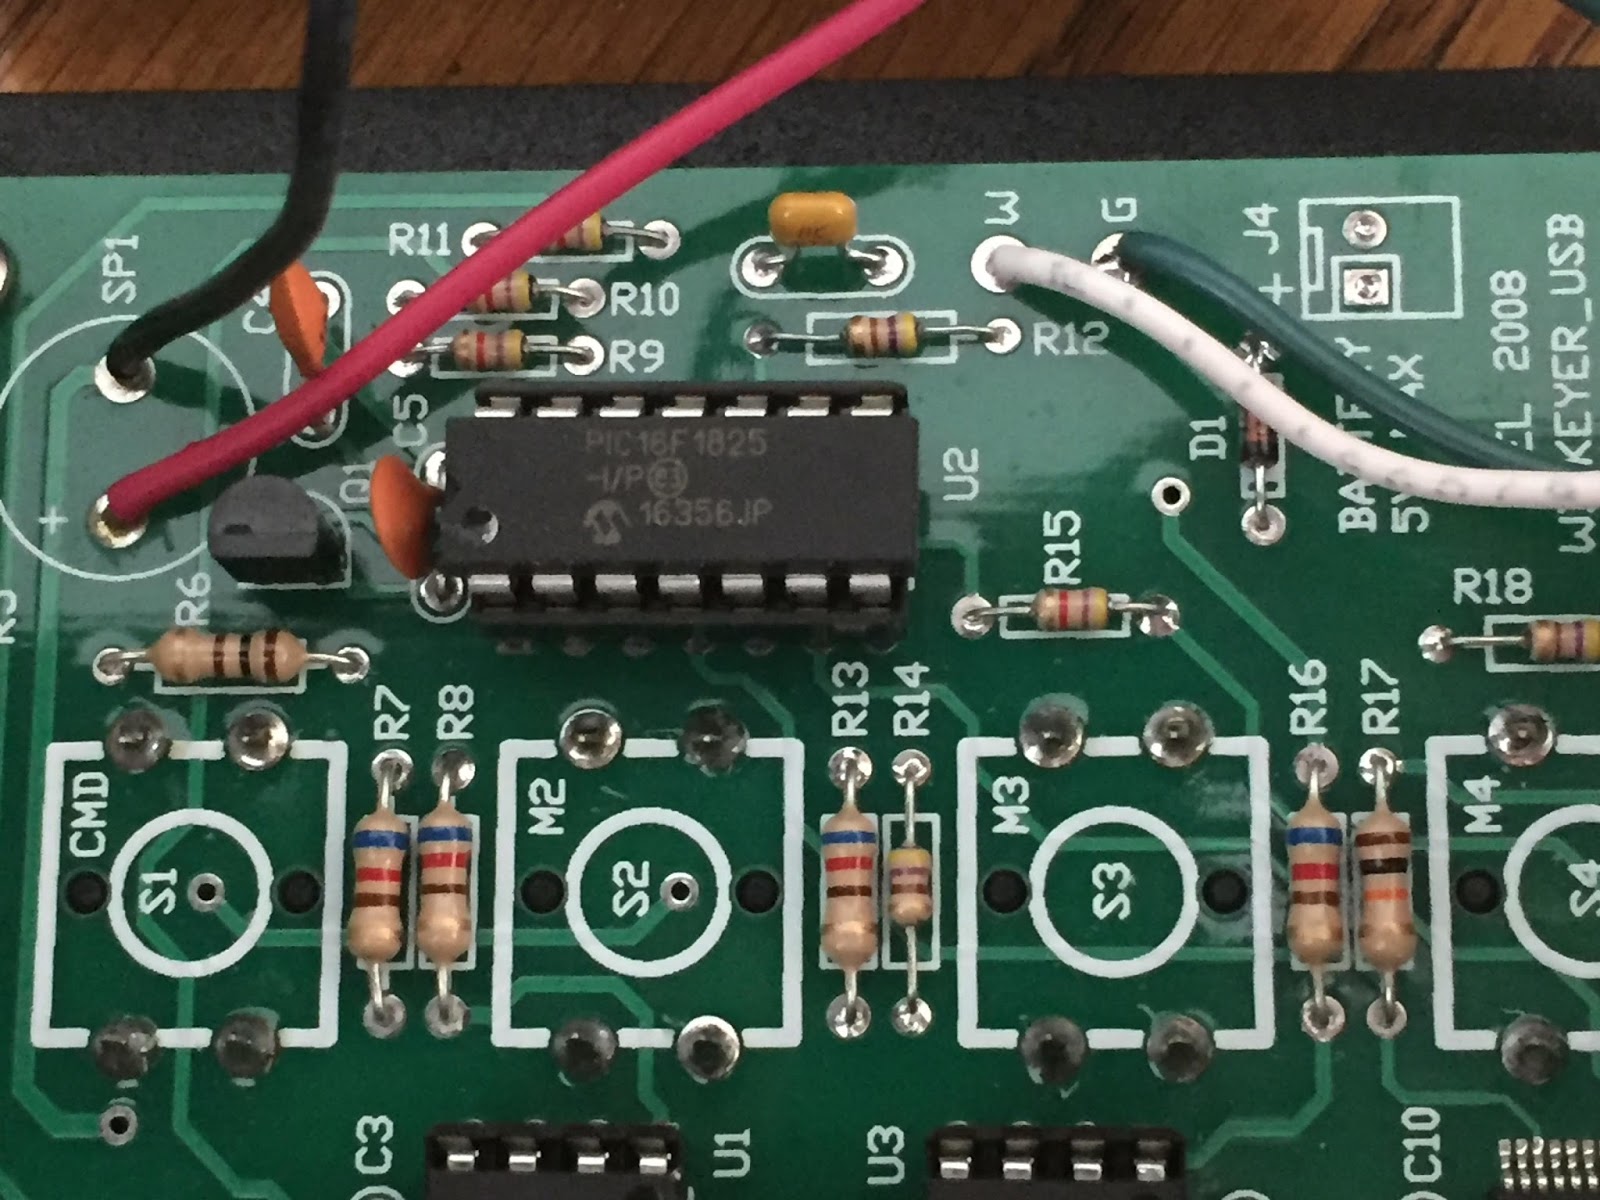 |
| New IC chip installed |
I recently upgraded the IC chip in my K1ELWinkeyer USB to version 3, it was only a 10.00 upgrade that gave me some nice advantages over the old IC chip. It was a very straight forward change out as the IC chip was not soldered in place. One of the main advantages is this IC chip has the ability (via supplied software) to be upgrade over the internet. As new functions become available in the future the upgrade is just a click away. Some of the other new features are:
1. With WK3tools downloadableprogram software you can store messages and retrieve messages. For example in contests you can store the contest exchanges, give the file the name of the contest. In the future when setting up for the contest just download the file to the keyer and your 4 push buttons (that can be preprogramed for 8 messages) can be used for that contest. When the contest is done simply reprogram the keyer with the file for calling CQ.
2. You can custom configure the keyer for 2 separate users or like me if you’re the only one using the keyer…..then have one configuration for contesting and one for QSO’s.
3. You can now adjust the side tone frequency which is not a big deal for me but for some it may be.
4. You can put your rig into tune with just the pressing of 2 of the Winkeyers top buttons the command and PB4 buttons.
5. During the transmission of a message a simple tap of the keyer will stop the message.
6. When and if you operate the unit from an internal battery the battery life has been extended by less drain.
7. Finally on the K1EL’s website under the software tab you will find some great finds. WK3tools, Winkeyer3 test app, WKscan that finds out what comport your Winkeyer is using, WK remote app and a software tools that is in the development stage and according to the website soon to be released a Winkeyer QSO simulator app,
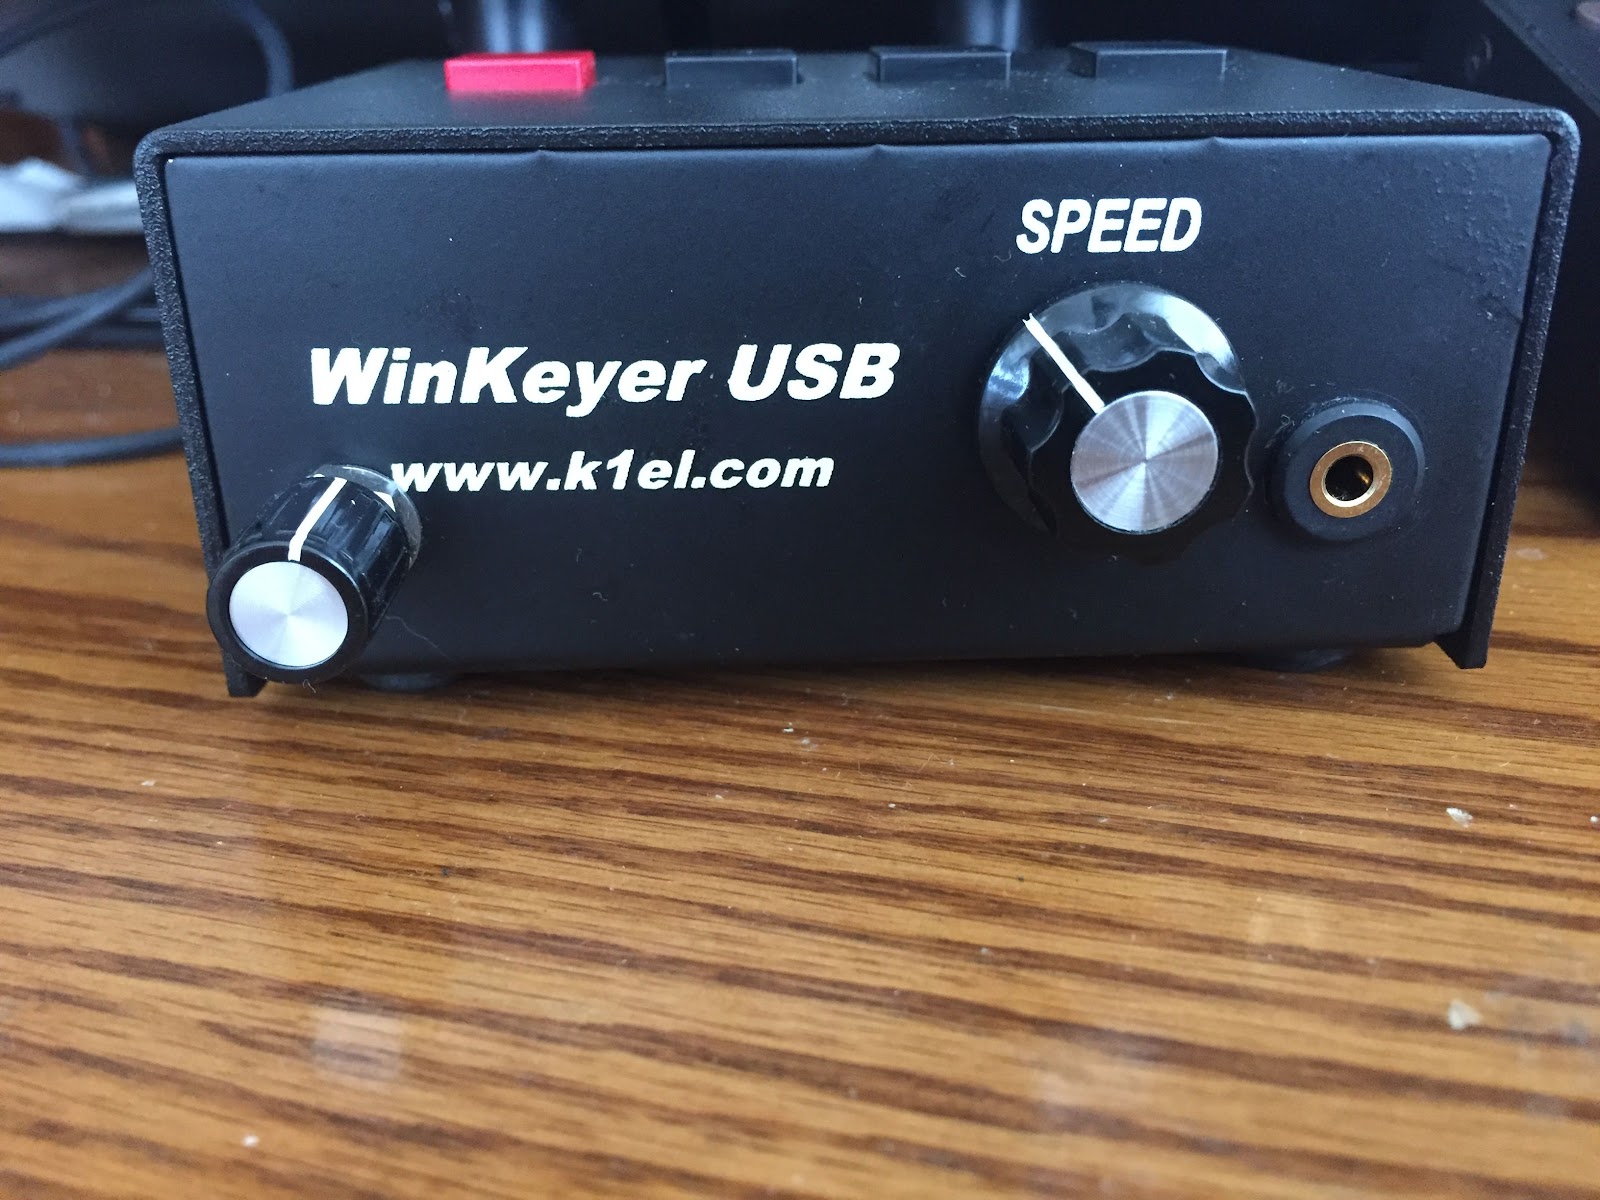 |
| With added volume and headphone jack |
These are just a few of the changes in the new IC chip to get a full rundown go to K1EL’s site where you can read thingsin more detail.
You may notice from the picture, if you are familiar with the insides of the Winkeyer USB that is I have done some upgrades to the unit of my own. I removed the internal speaker and added a headphone jack, I also added a volume control for the headphones.
Upgrade to K1EL Winkeyer USB
|
| New IC chip installed |
I recently upgraded the IC chip in my K1ELWinkeyer USB to version 3, it was only a 10.00 upgrade that gave me some nice advantages over the old IC chip. It was a very straight forward change out as the IC chip was not soldered in place. One of the main advantages is this IC chip has the ability (via supplied software) to be upgrade over the internet. As new functions become available in the future the upgrade is just a click away. Some of the other new features are:
1. With WK3tools downloadableprogram software you can store messages and retrieve messages. For example in contests you can store the contest exchanges, give the file the name of the contest. In the future when setting up for the contest just download the file to the keyer and your 4 push buttons (that can be preprogramed for 8 messages) can be used for that contest. When the contest is done simply reprogram the keyer with the file for calling CQ.
2. You can custom configure the keyer for 2 separate users or like me if you’re the only one using the keyer…..then have one configuration for contesting and one for QSO’s.
3. You can now adjust the side tone frequency which is not a big deal for me but for some it may be.
4. You can put your rig into tune with just the pressing of 2 of the Winkeyers top buttons the command and PB4 buttons.
5. During the transmission of a message a simple tap of the keyer will stop the message.
6. When and if you operate the unit from an internal battery the battery life has been extended by less drain.
7. Finally on the K1EL’s website under the software tab you will find some great finds. WK3tools, Winkeyer3 test app, WKscan that finds out what comport your Winkeyer is using, WK remote app and a software tools that is in the development stage and according to the website soon to be released a Winkeyer QSO simulator app,
|
| With added volume and headphone jack |
These are just a few of the changes in the new IC chip to get a full rundown go to K1EL’s site where you can read thingsin more detail.
You may notice from the picture, if you are familiar with the insides of the Winkeyer USB that is I have done some upgrades to the unit of my own. I removed the internal speaker and added a headphone jack, I also added a volume control for the headphones.
Powering the K-Pod via its RJ12 cable.
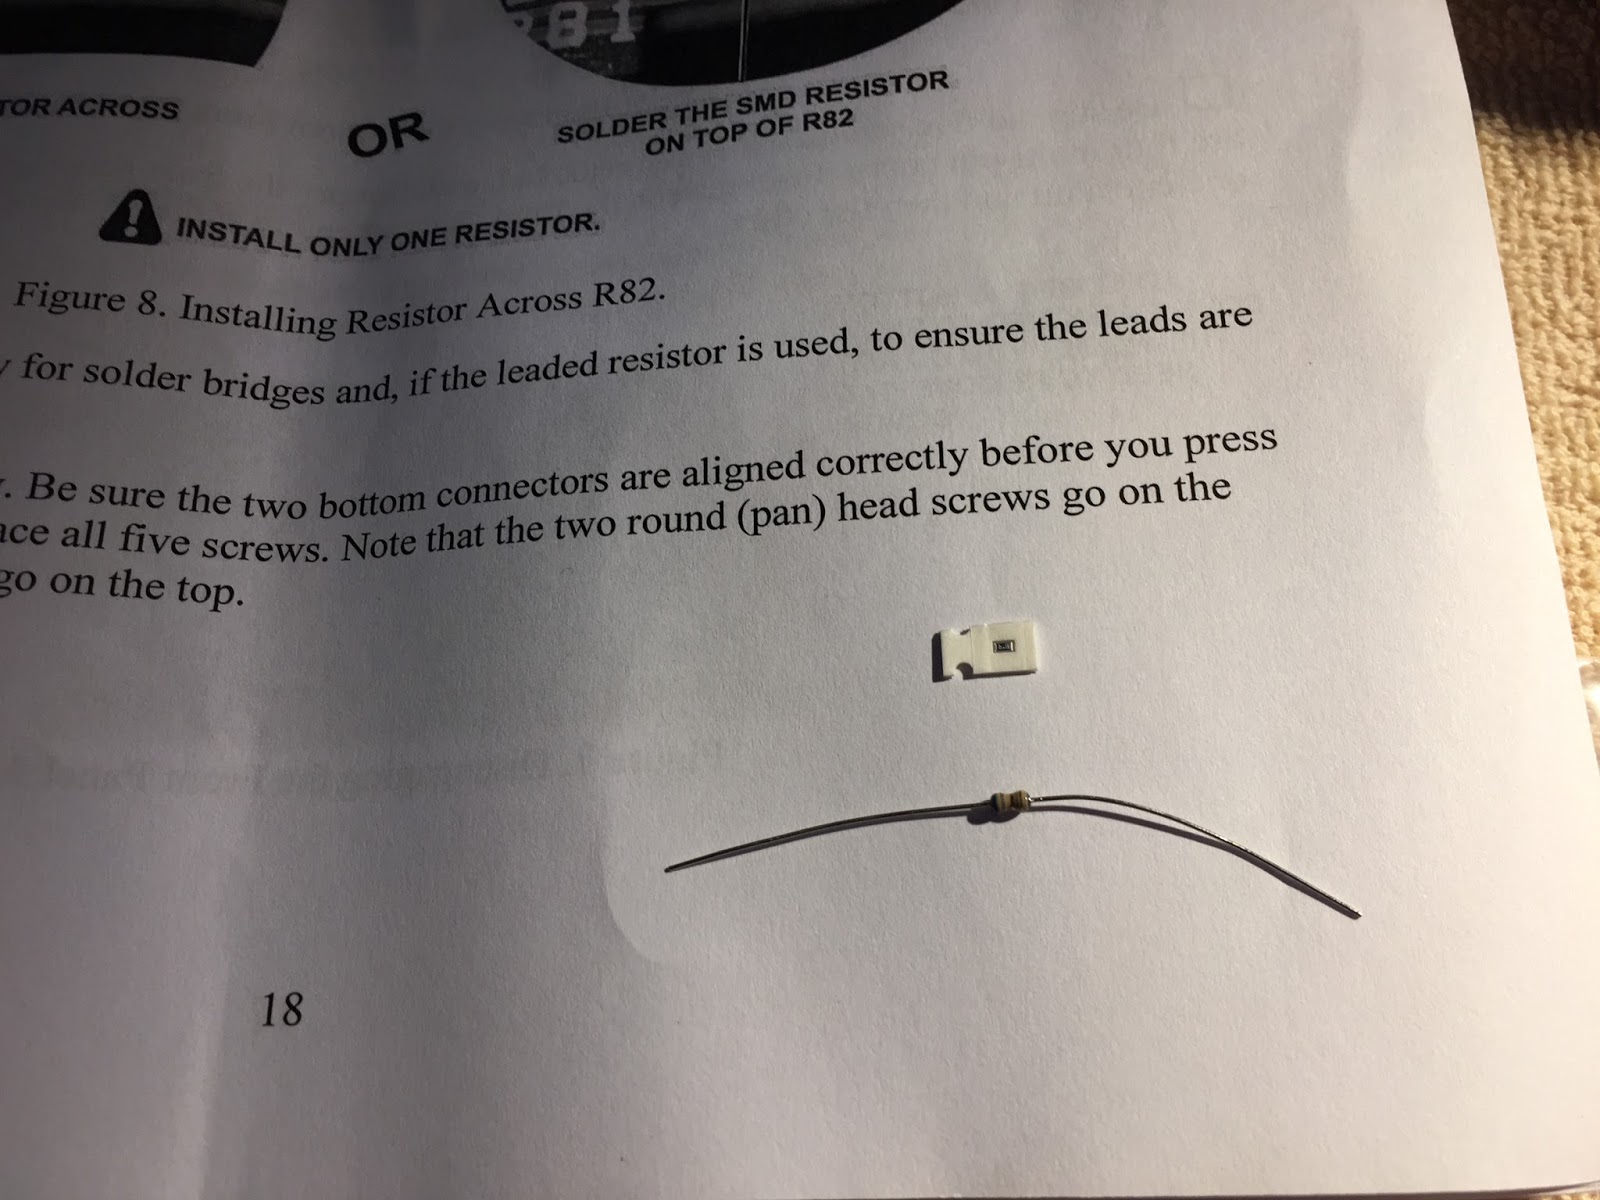 |
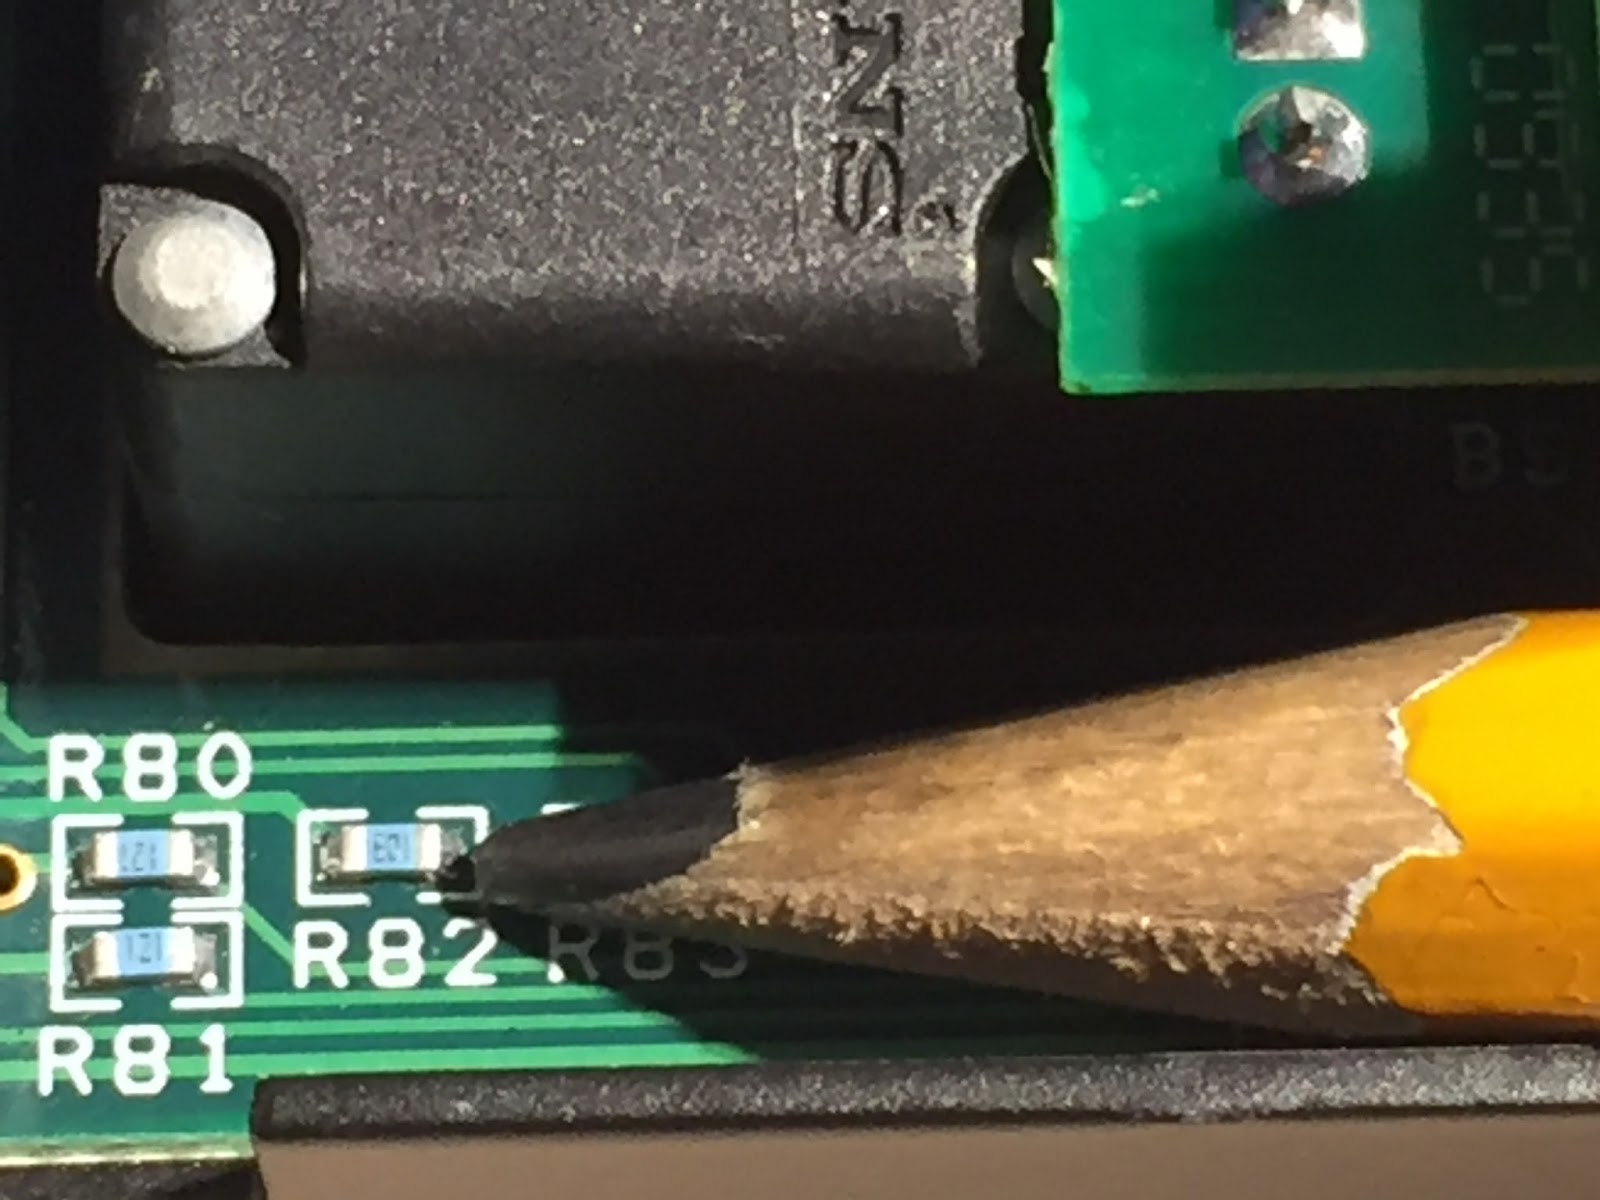
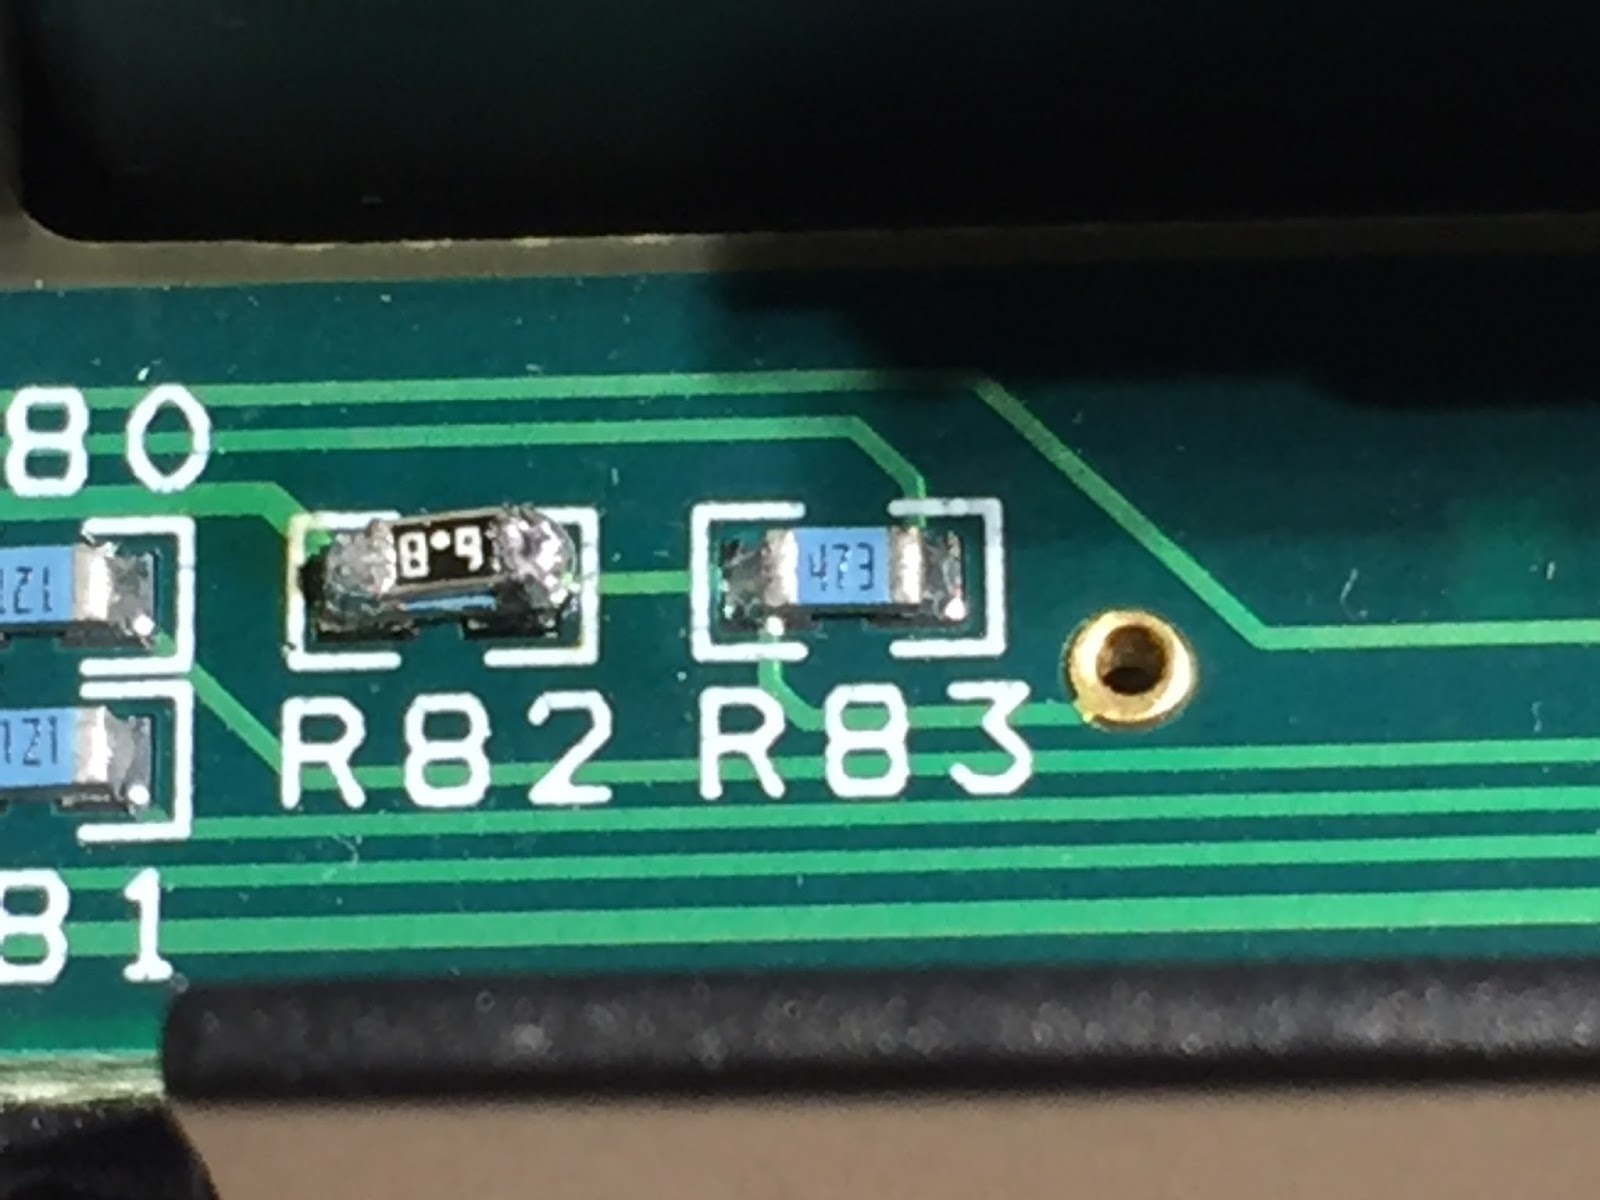
| The 2 resistor through hole and SMT |
 |
| Front panel removed |
 |
| Now that is small!! |
 |
| The deed was done not pretty but it works fine. |
Powering the K-Pod via its RJ12 cable.
|
| The 2 resistor through hole and SMT |
|
| Front panel removed |
|
| Now that is small!! |
|
| The deed was done not pretty but it works fine. |


