Posts Tagged ‘Kit Building’

A hard decision to make………

My 1/2 built K2 is up for sale
Many decisions have been made here at VE3WDM in the past few months. We decided to downsize to a condo in so doing we moved to a very nice condo on the lake in Toronto. Many things had to be sold including ham radio related items. The shack had to be downsized but not shut down! Over the weekend I took another look at items I have that I'm not using. So some small items went up for sale and one BIG item that I have been mulling over for some time.....my 1/2 built K2 went up on the market today. This was a hard decision as I really enjoy kit building but with the small space it was just not going to work out. This is my second K2 and I did have a blast putting the first one together as well as 1/2 of this one. It's up on the Elecraft user group site. There was a heart stopping moment when one email asked me what the serial number was of the kit. No problem I packed it in three boxes, once opening them the contents were just the casing and the boards that I had 1/2 built.....WHERE ARE THE PARTS!!!! Did I toss them with the "junk". A fast check of  some boxes in the locker cleared up the question and all were parts were found safe and sound.

RadioKitGuide.com ch-ch-ch-changes

Here are the changes at RadioKitGuide.com so far:

-YouKits
  • -Coming Soon- TJ4A MK II 4 Band SSB Transceiver.  No other info yet
  • New- TJ2B MK II SSB Handheld Transceiver.  YouKits combined the A and B models into one with a good choice of bands.  So far only available assembled.
  • New- EK1A and EK1B 3 band QRP CW kits.  Power output 4-5 Watts.  Built in Keyer.  SMD parts all finished.  Assemble in about 2 hours.  A model: 40, 30, and 20 Meters.  B model: 20, 17 and 15 Meters.  $179 + S&H

-Ten-Tec

  • The 1254 Superhet SW receiver has been discontinued.

-JUMA

  • Juha tells me that they are in the process of transferring logistics to a new company.  They hope to have kits available again by the end of the year

-Small Wonder Labs

  • As many of you have heard, Dave Benson has retired from kit production.  The famous RockMite transceiver is supposed to be moving to QRPme.com.  You can also check out the Super RockMite from AliExpress further down this listing.

-Wilderness Radio

  • Bob from Wilderness Radio informed me that the SST and Sierra have been officially discontinued due to a parts availability issue.

-Dan’s Small Parts and Kits

  • Dan doesn’t seem to have any kits listed on the website anymore, but is selling some of them on eBay.  See the listing at radiokitguide.com for more info

-QRPme

  • As stated above, QRP.me is rumored to be the new source for RockMite kits.  Stay tuned.

-Walford Electronics

  •   -NEW- The Lydford SSB Phone Transceiver.
  •  -NEW-  The FiveFET Simple Regen TRF Receiver.

-Kanga Products UK

  • -NEW- Open QRP Transceiver.  Similar to the Ten-Tec 506 Rebel.  Based on the OPen QRP design from Steve K1EL.

-Kits By EA3GCY

  •  -NEW- EGV-40 CW QRP 40M Transceiver.  40M CW Band.

-BLEKOK QRP by YD1JJJ

  •   -NEW- Micro 40S QRP 30 Watt SSB Kit.

-The Ham QRP DIY Kit Shack on AliExpress. 

  • -NEW-Pixie Kit (Improved).
  • -NEW-Frog QRP Kit.
  • -NEW-Super RockMite Kit.

See RadioKitGuide.com for all details on these, and many more!

Please leave any additions you may have in the comments.


RadioKitGuide.com is being updated, and you can help!

Hi all,

The Lydford from Walford

The Lydford from Walford

I am in the process of updating radiokitguide.com.  If you can think of any new kit sources that I haven’t covered yet, please leave a comment here.  I am looking for RECEIVER, TRANSMITTER, and TRANSCEIVER  kits.  I will cover accessories at a later date.  If you know of a spectacular source of accessory kits though, send it along anyway.  I am adding a couple of new sources, and making changes to YouKits, Small Wonder Labs (goodbye), TenTec, and several others.  Thanks in advance for your help!

Toroid winding can be fun…..well almost.

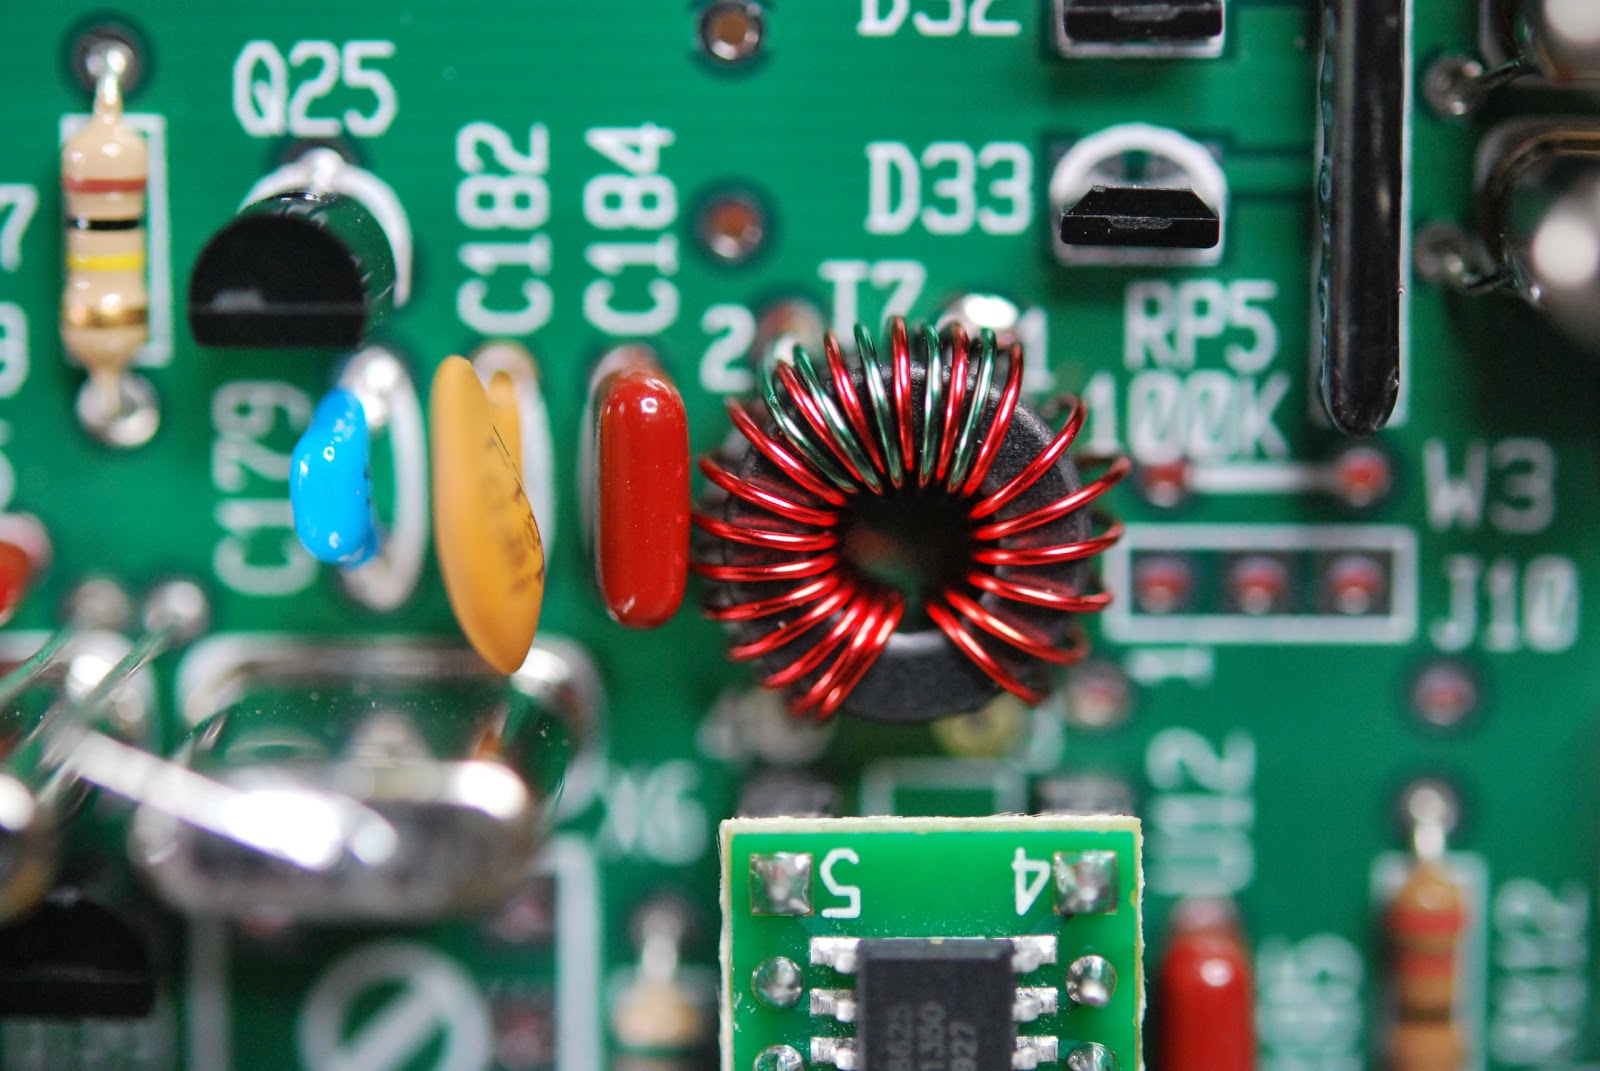
The dreaded toroid...
When I first started kit building some years ago it was the dreaded toroid winding that I never looked forward too. After winding and rewinding over time it has not become a dark task, it has taken some time to get the hang of it but I can say that I  no longer get uptight about the process. I have learned some tricks and some never ever skip steps when it comes to toroids. 
I am in the process of building my second K2 rig from Elecraft and there are lots of toroids to be wound. Now having said that if you want you can order per-wound toroids from the toroid guy. If you do order toroids that are per-wound I would encourage you to try to wind your own as well. What I have found is it's only practice that is needed to get the hang of the winding thing. In the past I have built many Elecraft kits were toroids have been involved, I have learned as I said some tricks, some must do stuff and things to stay away from when it comes to this art. 

My advice when winding single conductor toroid....
1. Most if not all the time you have more wire than you need so when told to cut a conductor to lets say 12 inches I give myself around 13-14 inches. A wise person told me "it's better to have and not need than to need and not have" 

2. If you are winding a toroid that has lets say 20 turns when you hit 19  I stop and count the turns just to make sure I am not at 20 or that I lost count and am only at 18!  I have had both happen.... it's better to check rather than cutting the excess wire and finding out you need to somehow add 2 more turns. 

3.Once the toroid is wound check the turns to see if they are more or less equally spaced. Take your time and move the windings around the core. Use a plastic tool or wooden tool for this a metal tool (screw driver) may remove the paint on the wire and cause a potential short.

4. Take the new toroid and see how it fits on the board. Sometimes you may have to squeeze the turns or open them up a bit for the toroid to fit properly. 

5. Once the turns are good and the fit is good you can trim off the extra wire. When I do this I always make on leg shorter than the other. I find you can place the toroid on the board with less effort by having the lead staggered in lenght. This is very evedent when you have a toroid with more than one winding..

6. Now that the toroid has the right amount of turns, it is spaced correctly, fits nicely and the leads are cut one longer than the other....its time to remove the enamel coating off the wire. There are some various
 ways to to this........ 
Getting ready for solder blob
A. Use a lighter to burn off the coating
B. Use sand paper.
C. The solder blob method.
D. Use a razor knife to scape the coating off.
E. I have heard some dipping the wire in var-sol....would not recommend it.  

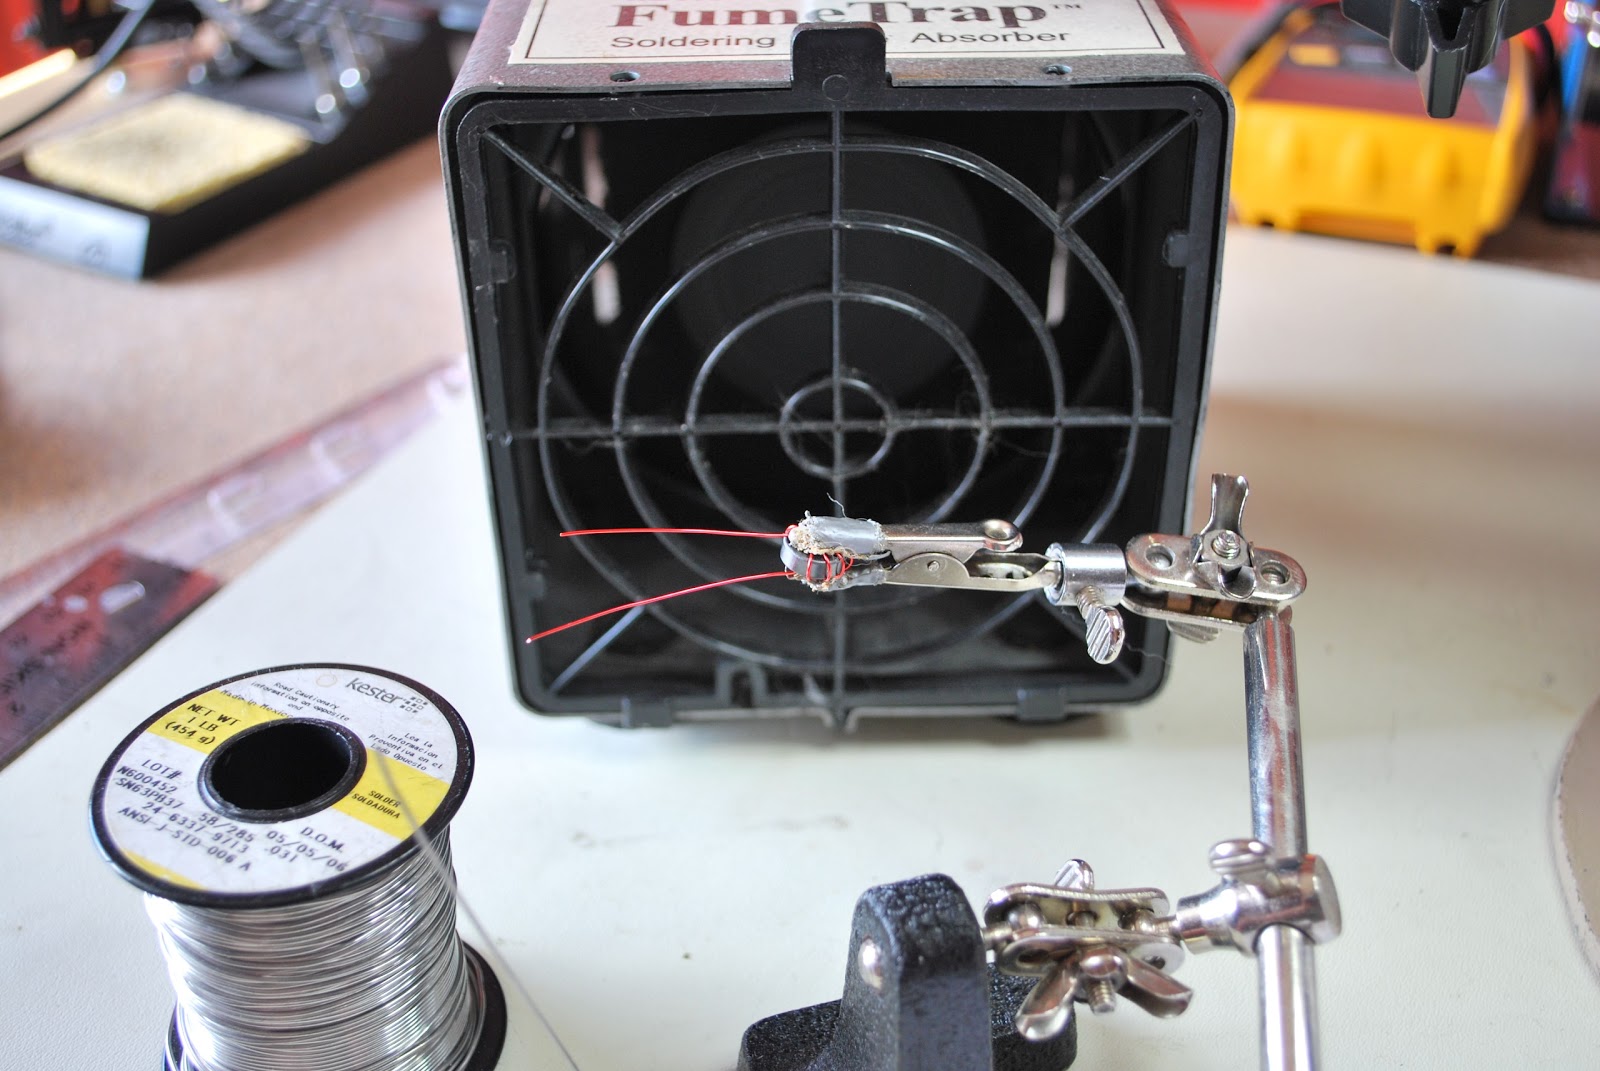
I use the solder blob method and I have tried the sandpaper (find it just to rough for the delicate work that is needed) I have tried the lighter method but found on the smaller toroids I am not able to control the heat and end up burning off to much insulation. The razor blade scraping I have not tried and really don't want a razor knife that close to my fingers. SO....it's the solder blob for me!! I find if I put the toroid in an alligator clip to hold it I can in a very controlled fashion remove the right amount of enamel from the toroid.
I change the tip on my Weller soldering iron to a larger tip and use a .030 diameter solder. Most of my board work is done with a .020 diameter solder.

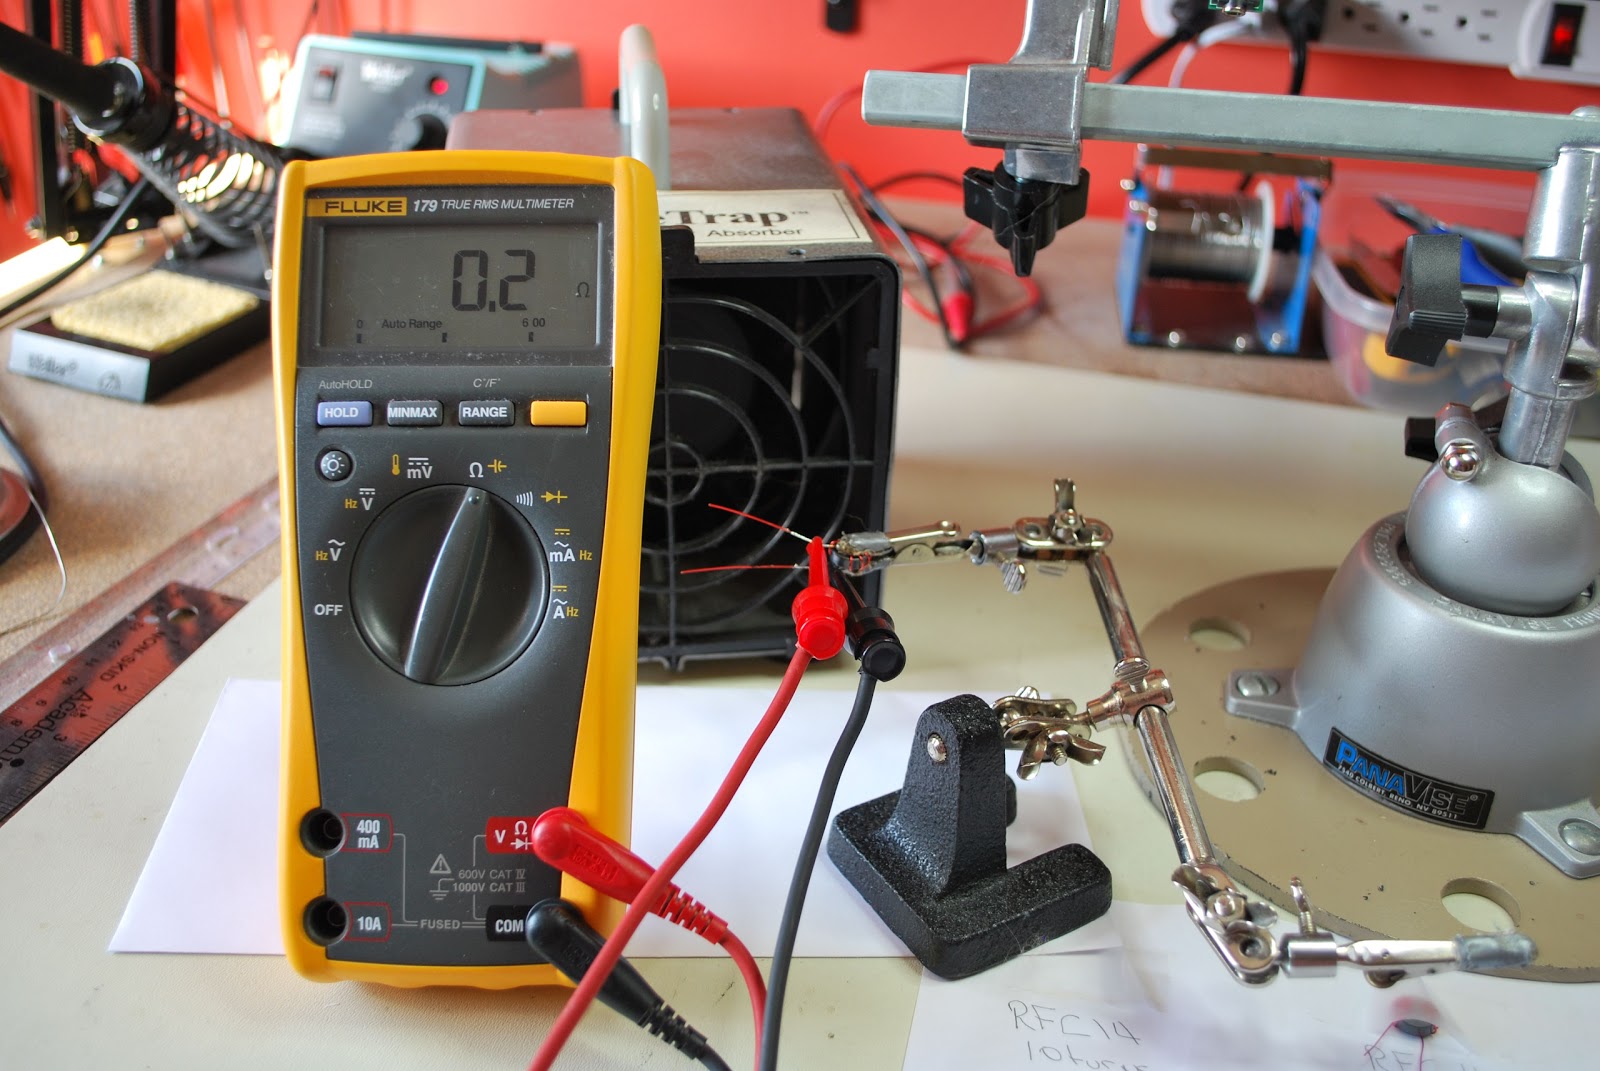
DO NOT SKIP STEP 7.....
7. Once the toroid wire has been stripped I use my DMM to check to make sure the coating has been removed and there is good continuity. Oh and for toroids that have more that one winding I check to make sure there is not shorts between the windings as well.

8. It's now time to solder the toroid in place and I find once the toroid is soldered in place before the leads are trimmed you can heat each solder blob up again and give each lead a LIGHT pull with a pair of pliers. This will allow the toroid to sit firmly on the board.

Some tips
1. Practice practice practice......it's like CW it's an art and over time you will get the idea and look forward to it.
2. Some toroids have nice rounded edges but be aware of those with sharp 90 degrees edges. These toroids can if your not careful remove the insulating coating from your wire and potentiality cause a short.

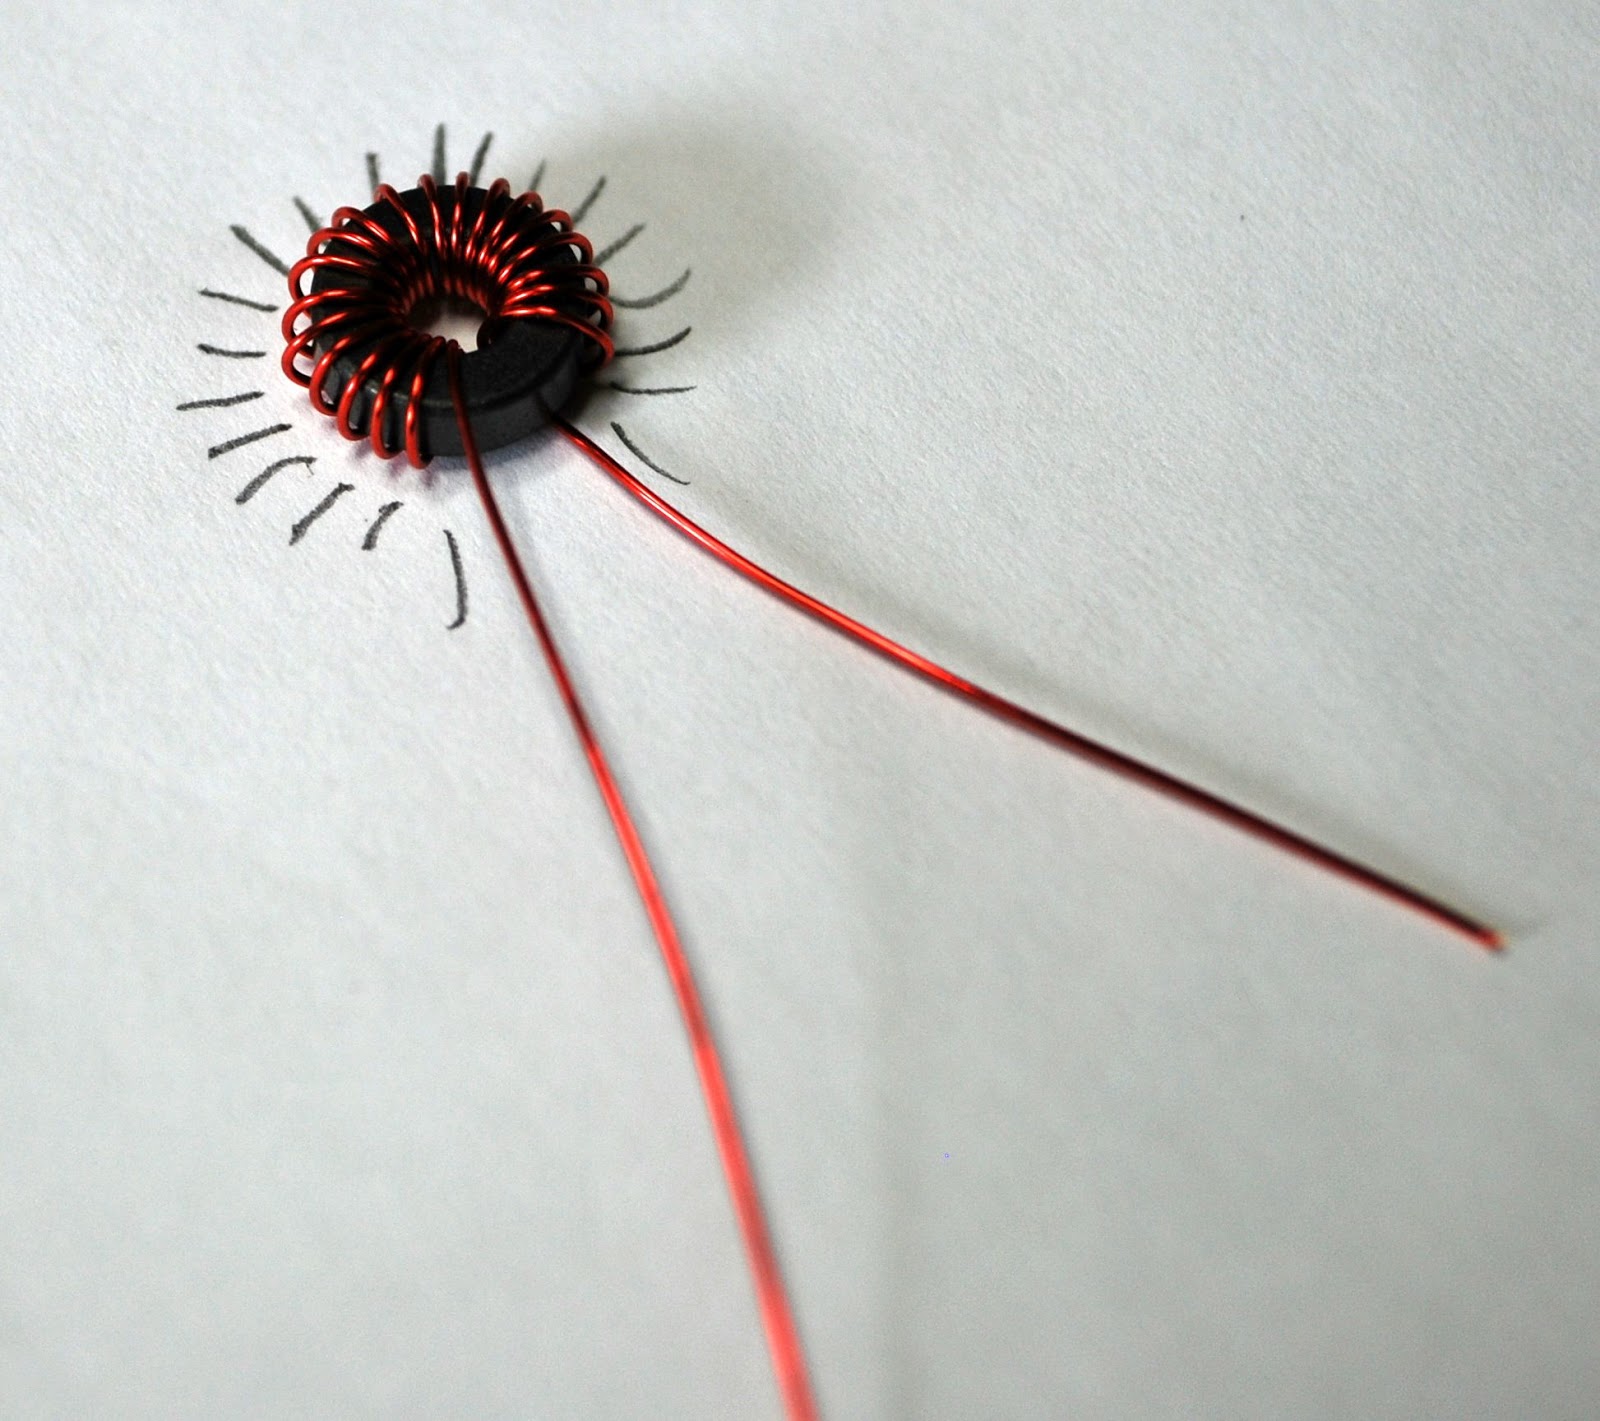
Using a paper and pencil to count
3. When  you have a toroid with 20 turns or more you can go buggy trying to check the turn count. What I do is lay the toroid on a sheet of paper and pencil make on the paper each turn. I then count the pencil marks and sometimes ticking them off as being counted.

4. Use two sizes of soldering tip's one (I use the Weller ETC 1/8 tip) for the solder blob used to melt the insulation off the wire. Then a thinner tip (I use the Weller ETR 1/16 tip) for soldering the toroid to the board.
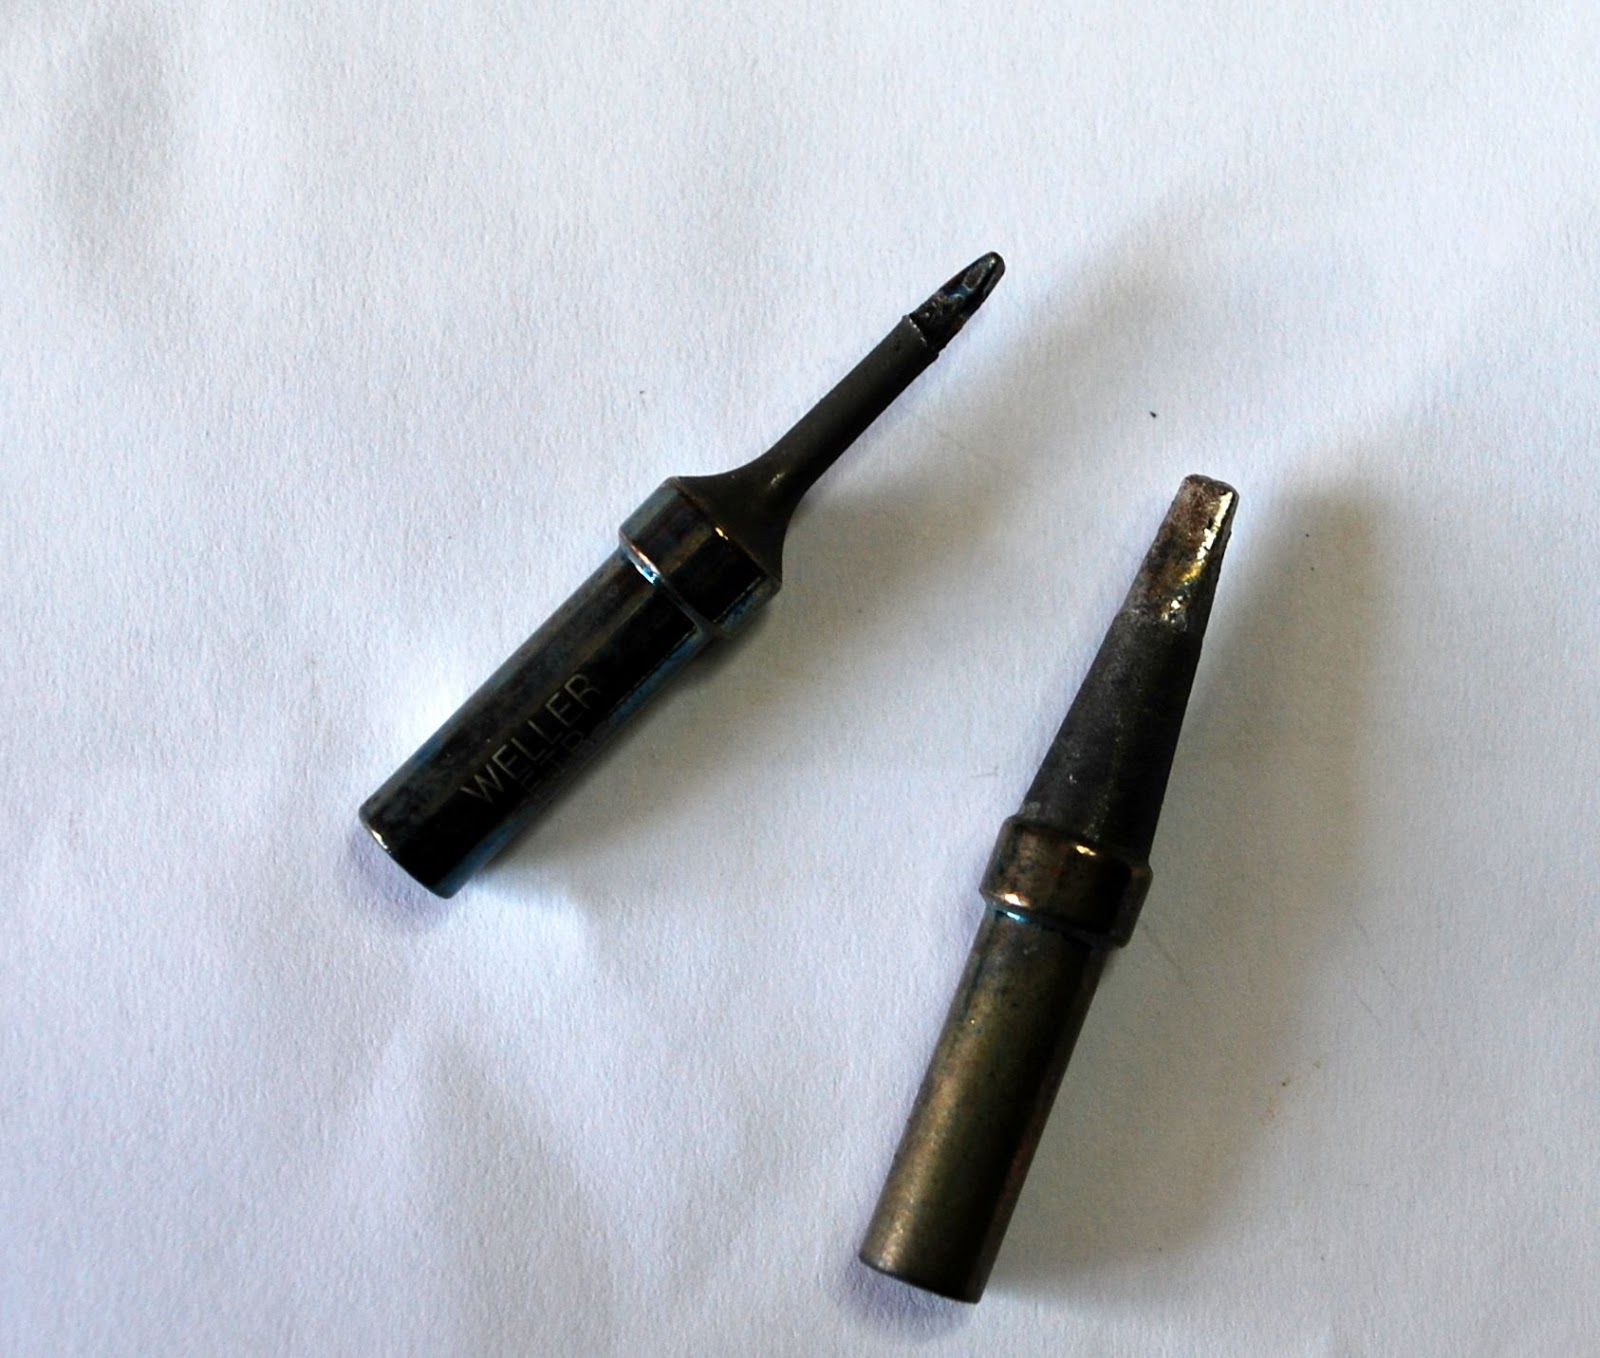
ETR and ETC tips


Coming soon how to wind the bi-filar toroid and transformer toroid.


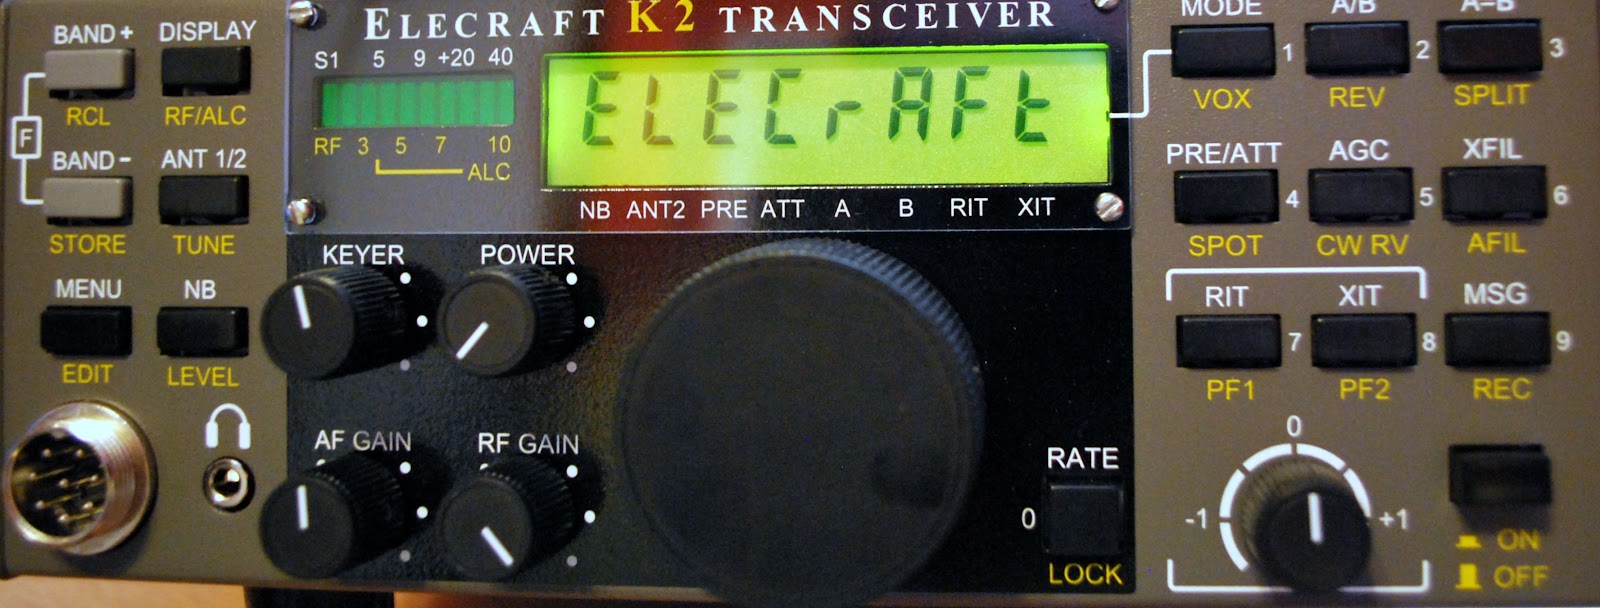
Time to do some kit building

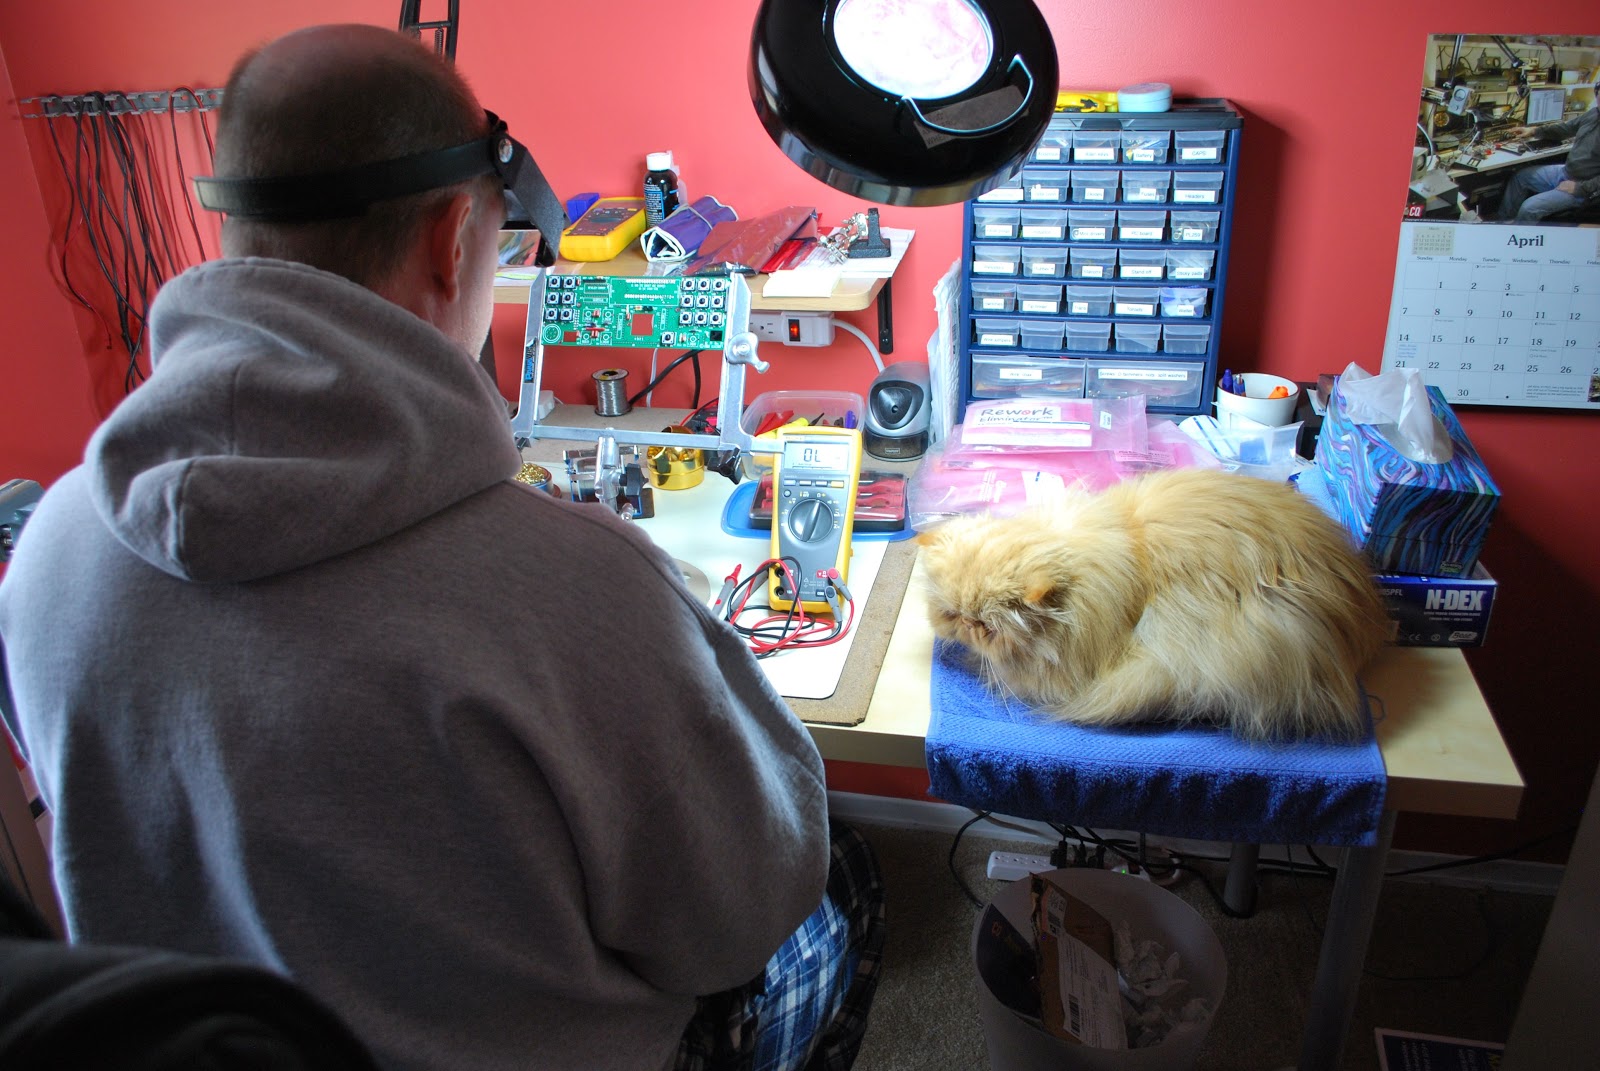
Oliver is keeping an eye on things
I was on the radio this afternoon and not much was on the WARC bands   (CW contesting on the other bands) it was time to spin my chair 180 degrees to the project desk. I am in the process of building another Elecraft K2 that when done will be put up for sale. This was supposed to be a winter project but the bands were busy and I was on the radio and not the soldering iron. Now the K2 build has become a spring project. A few years ago if I was asked about kit building I would not ever considered it....BUT...I have been bitten by the bug!! Along with my QRP and QRPp operating I also find kit building to be a very relaxing way to spend time. There are some kits which I have sold such as my Elecraft KX1 and
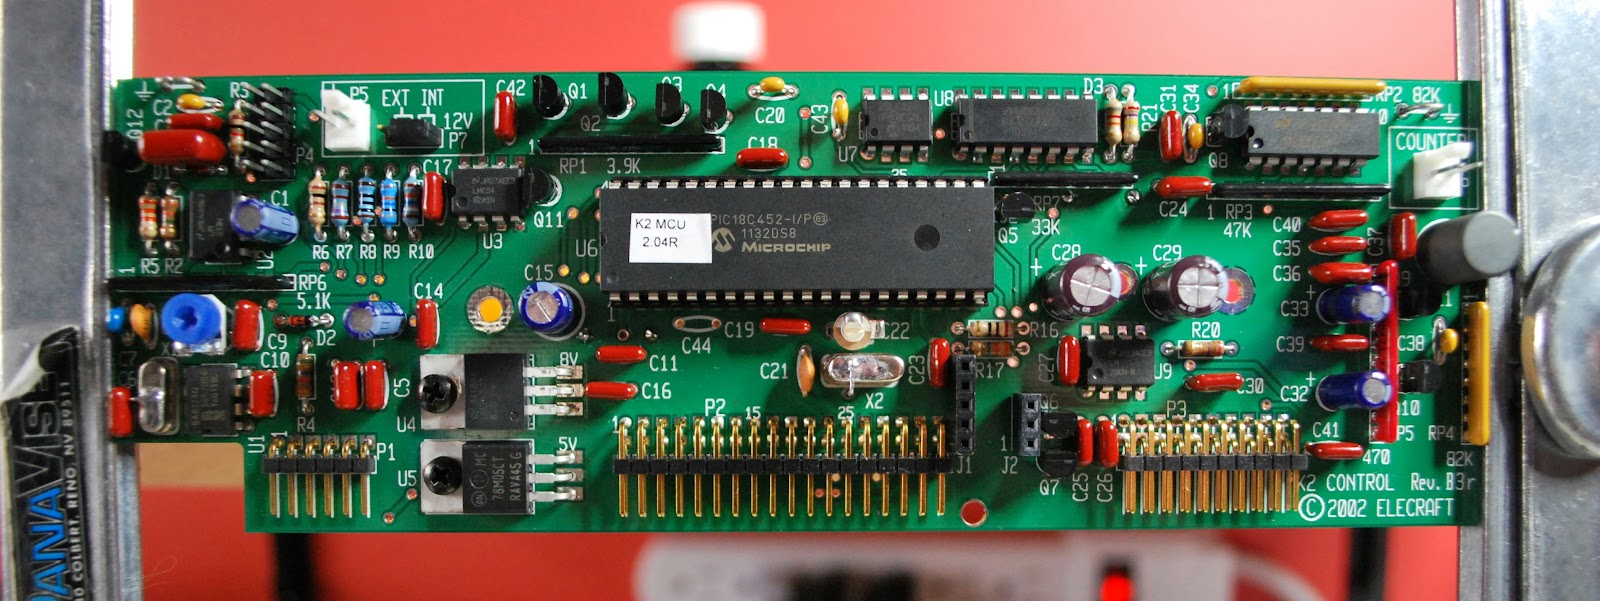
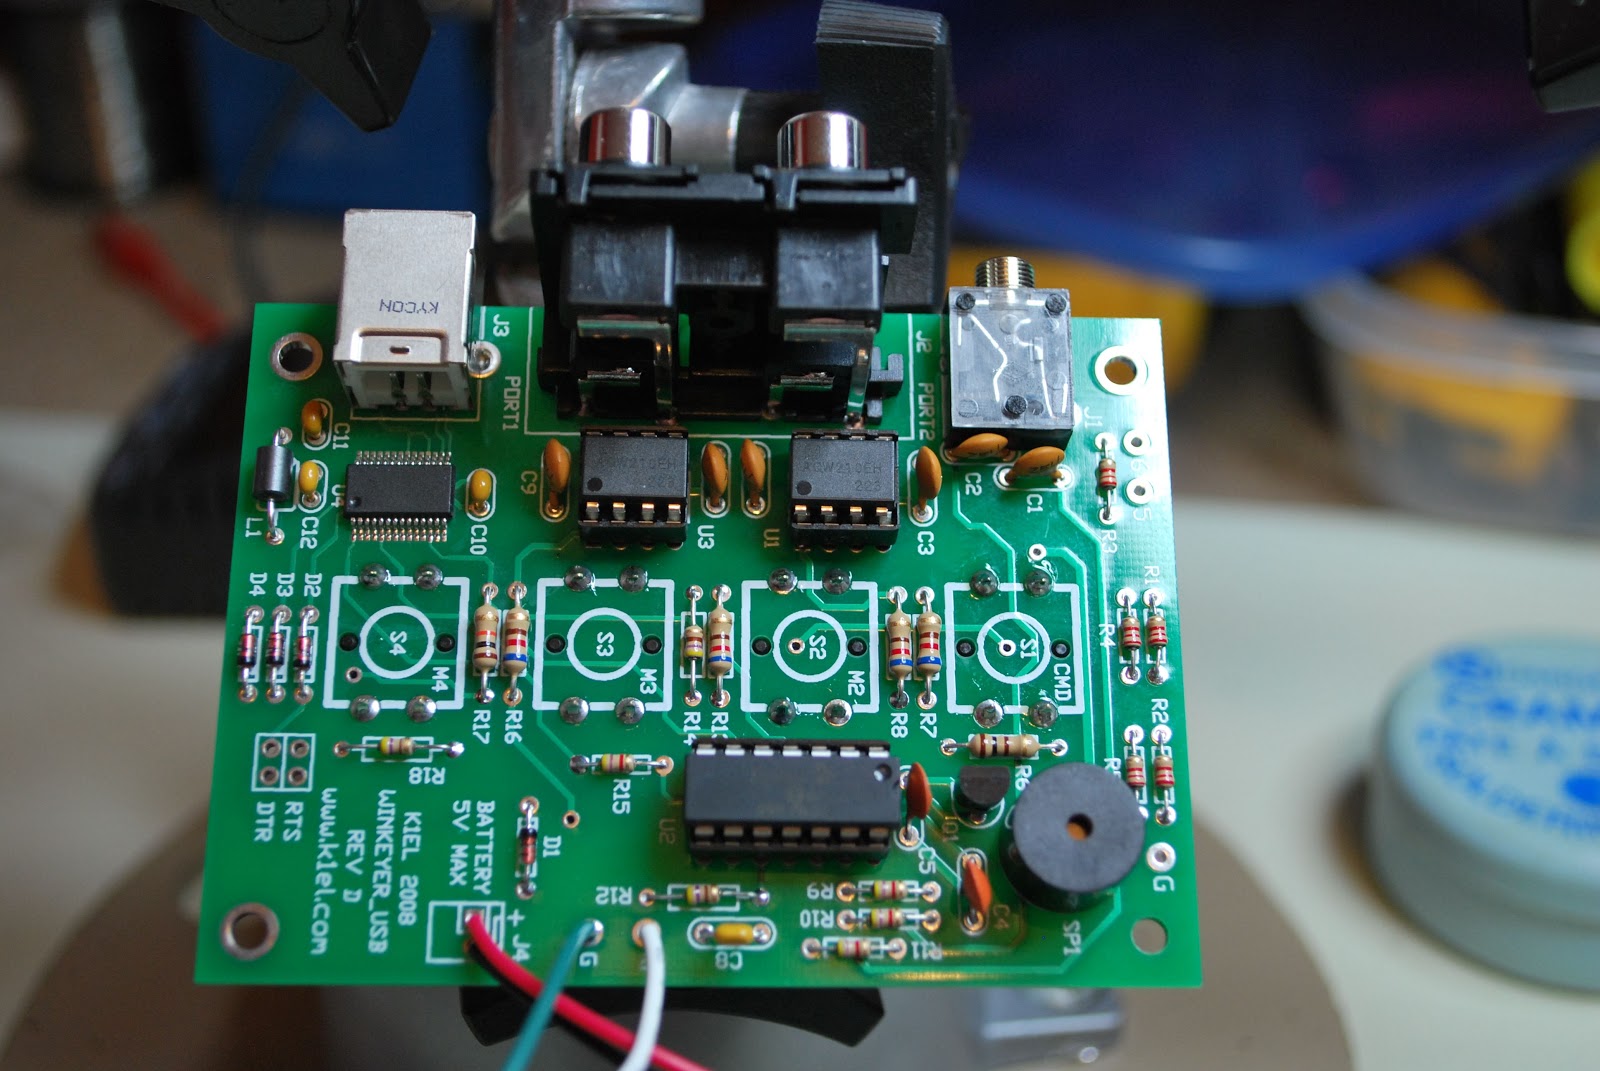
Control board completed
Some tricky lead forming
LP-Pan. Funny thing is after building something you attach a personal ownership to it that over the counter commercial equipment does not have. I have sold many items purchased but not built and thought nothing of it (other than it was money to get another kit with...maybe time for kit builders anonymous). As for the kits when it came time to say goodbye to make some coin it took some thought before they were put up for sale.
As was said I am in the process of building another Elecraft K2 and I have another blog that deals with the build. I wanted to blog the progress but also highlight other areas such as toroid winding, what was needed to be a kit builder and so on. There are specific posts about the K2 build it self making mention of tricky sections of the build and how it was handled. It's now time to see if the bands have come alive!!

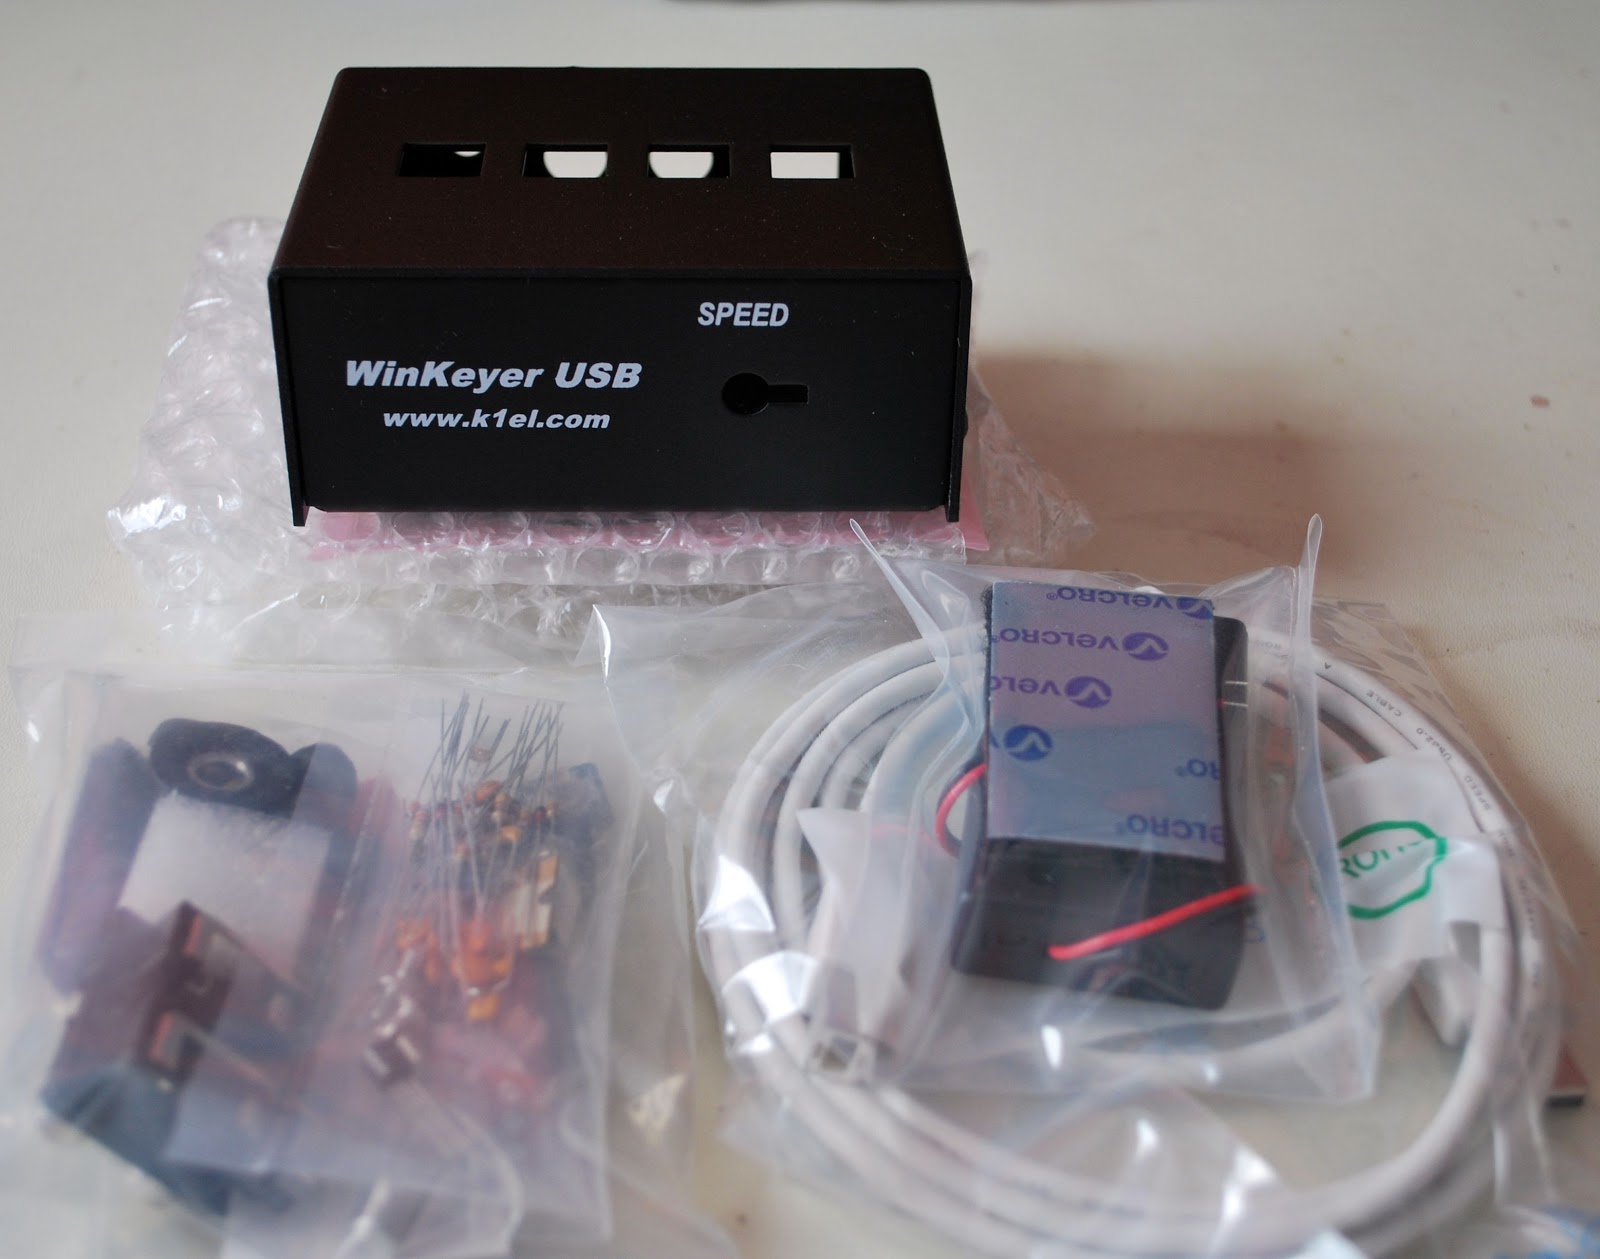
K1EL Winkeyer USB complete

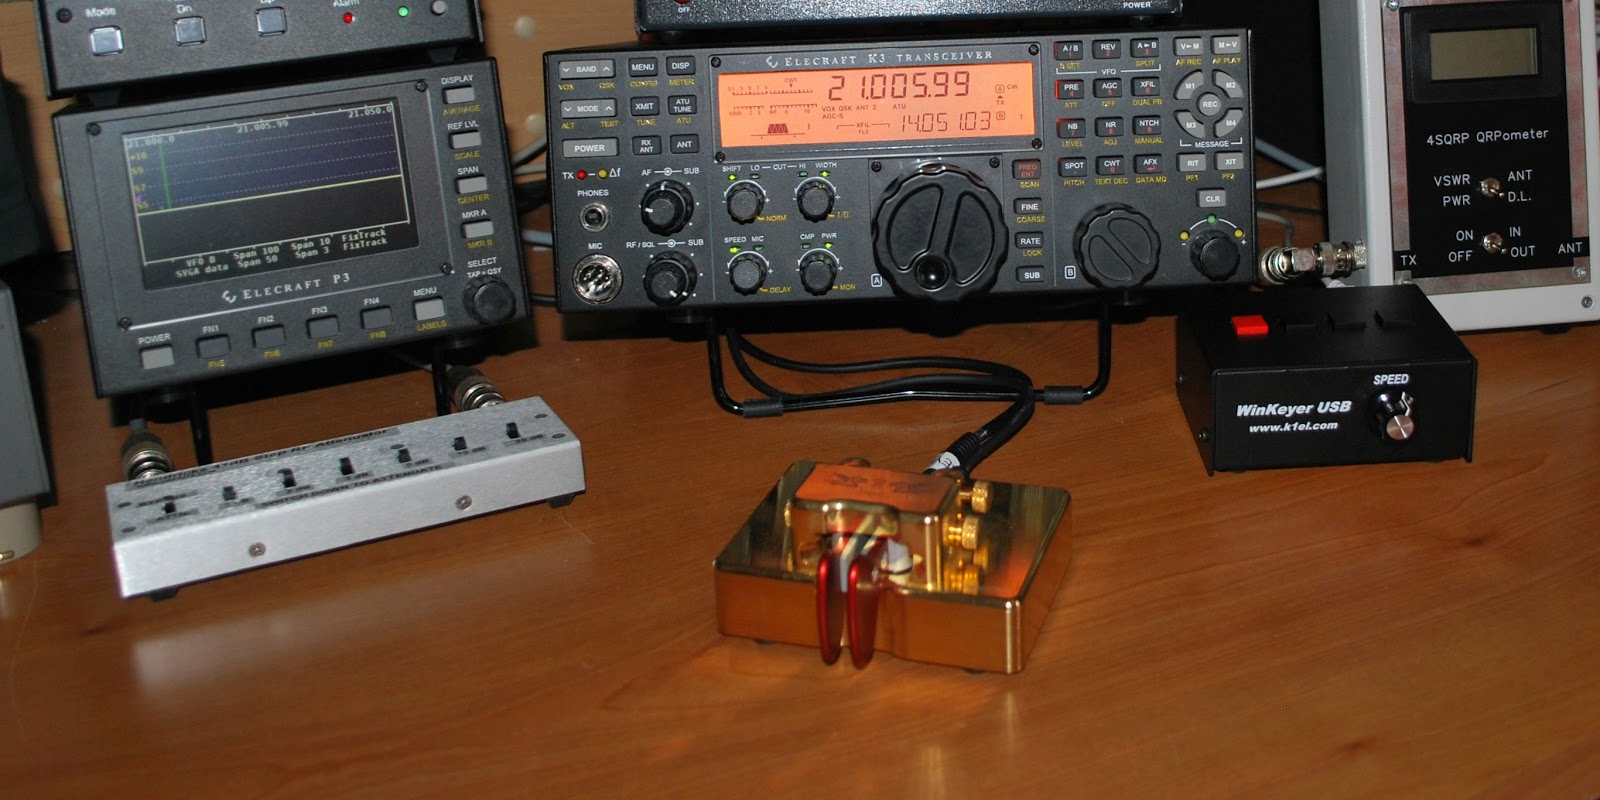
K1EL Winkeyer ready for action
For some time now I have wanted a stand alone keyer as well as one that integrated with my PC allowing me to change and update messages.  The Winkeyer USB is the perfect match as I am able to add 3 AAA batteries and take the keyer with me on outings or keep it at the desk hooked up to the PC via a provided USB cable. The unit comes as a kit with all SMD components already on the board so there is no worry about having to deal with super small parts and the soldering headache that goes along with it. The kit was shipped out and delivered very fast and very safely boxed for the ridge to my QTH. 
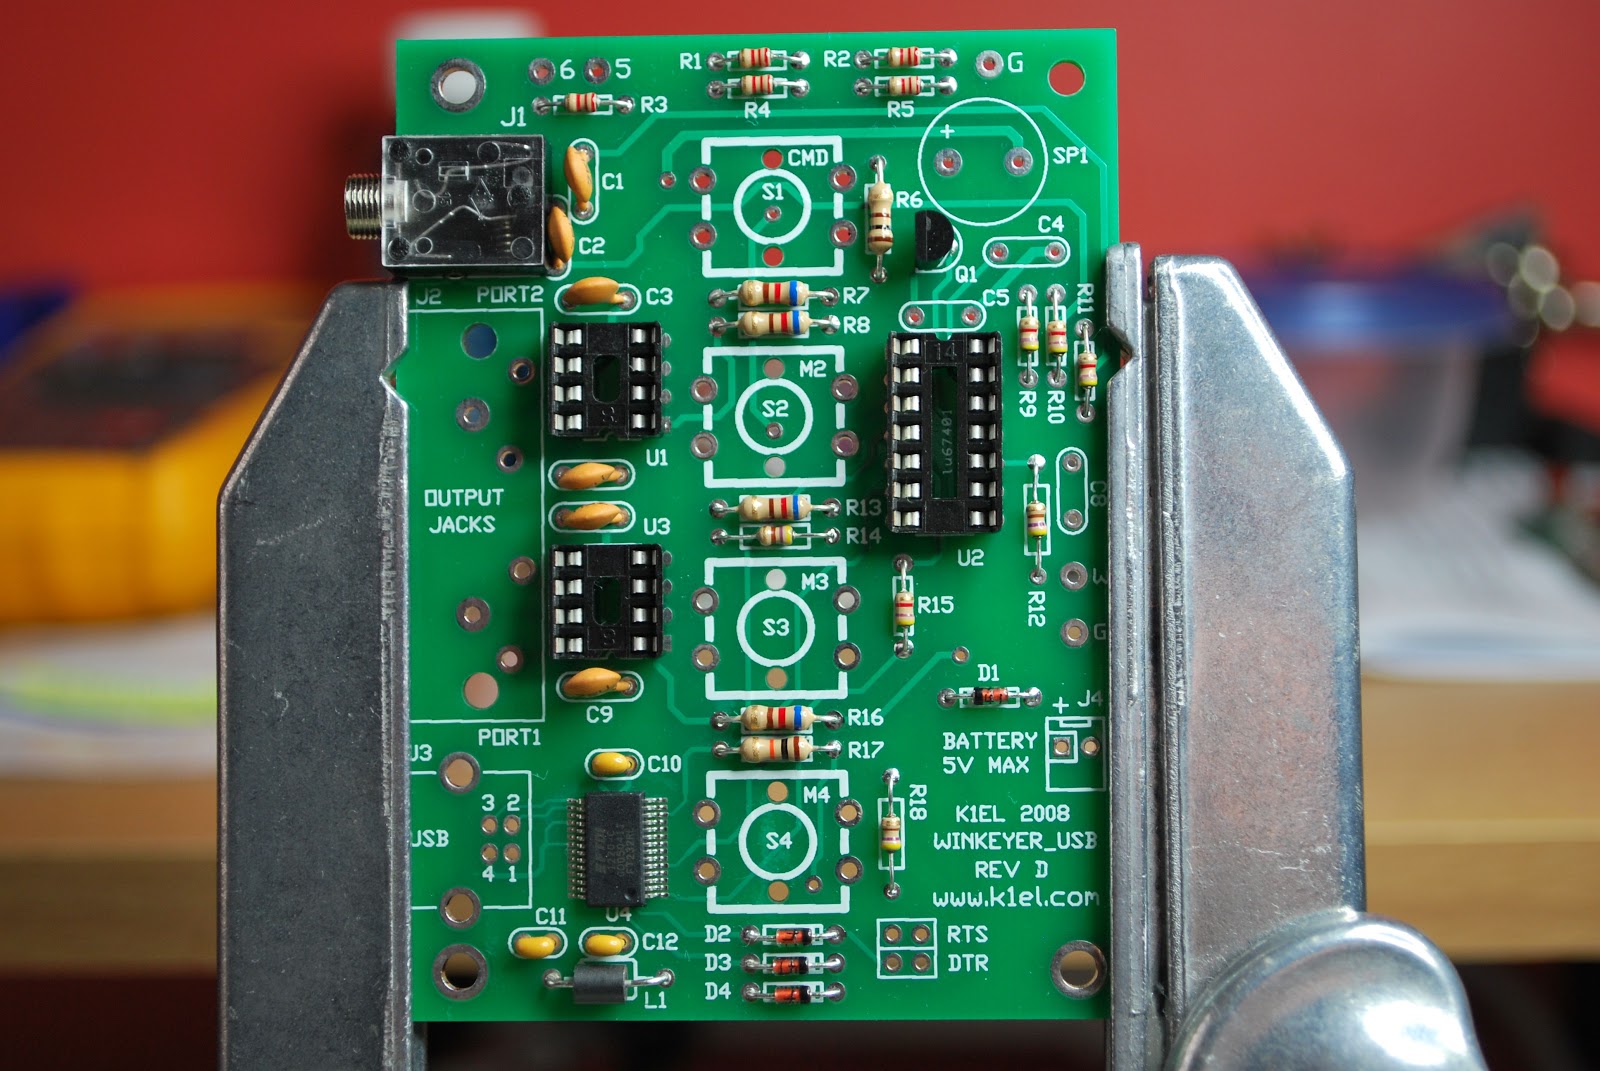
The first day of assembly
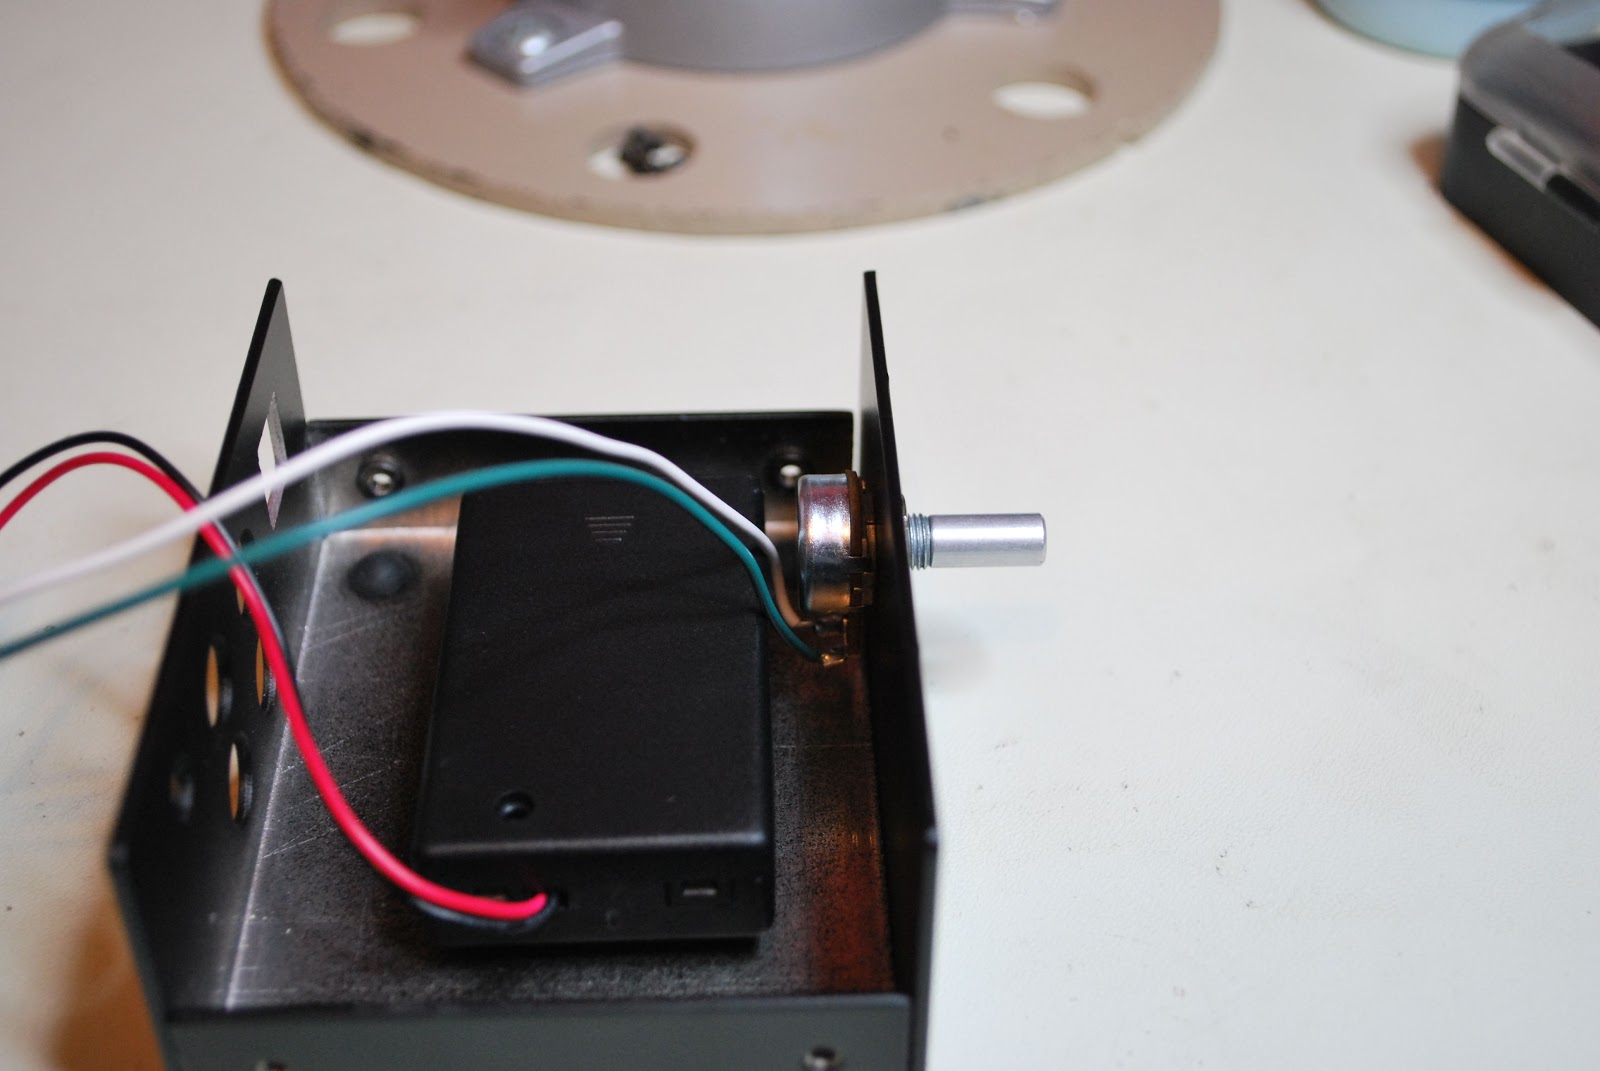
 The only thing that has to be downloaded is the instructions. I find this to be a fantastic way of doing things. If there are updates to the build then it's a simple update on the website and you are downloading the current assembly instructions. Take the time to print off the instructions that way you can check components off as you do the inventory.  Do yourself a favor and print the instructions in color as there are some great pictures to assist you. The kit went together very smoothly and KE1EL put thought into the order of  assembly. Follow the order and the kit
Battery holder

 building will be a smooth experience. Take your time building the unit, it's not a race as certain components such as USB connector, 1/8 jack and 4 way RCA jack should be mounted with care. This makes the final assembly of the two metal covers fit without any surprises.
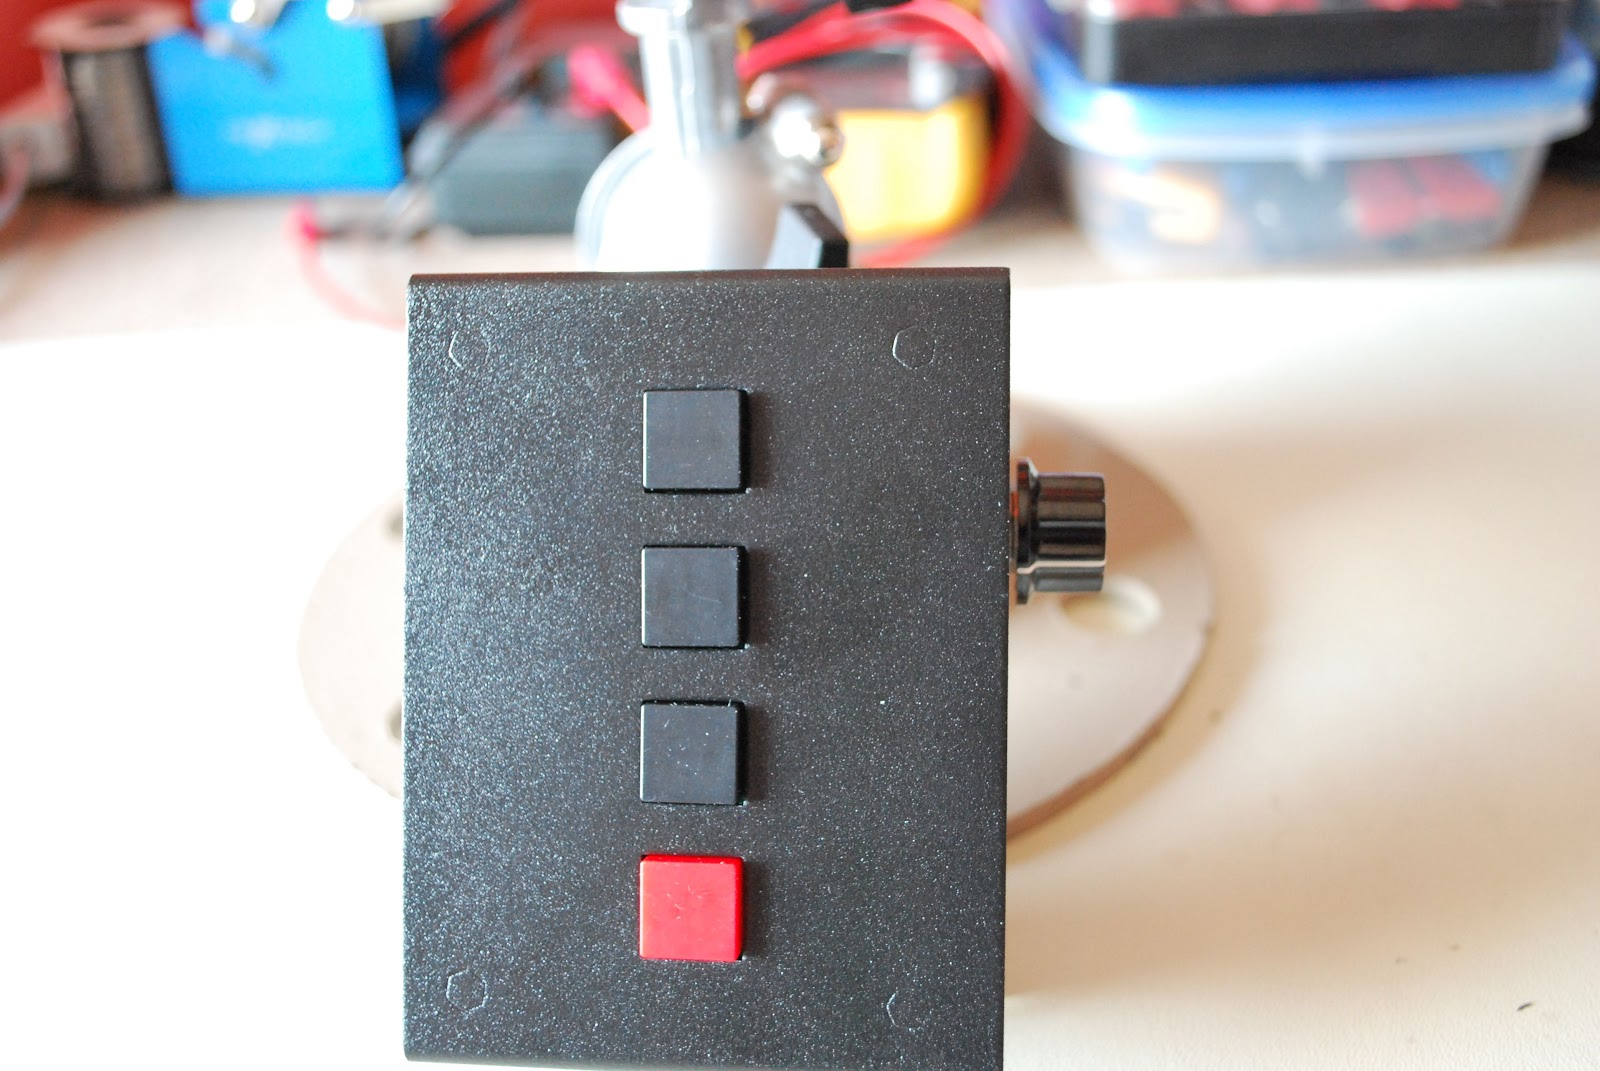
Kit complete
Once the kit is done there are some checks to be done to make sure all is working well. Once that is done you are on your way to hooking up to your PC. Easy to follow documentation is provided instructing you how to have your PC recognize the keyer and what to do if things don't go as planned. The kit also comes with a CD containing programs that will allow you to program the keyer from your PC and download the messages to your keyer. Not to mention all the settings one could imagine for setting up a key as well. The only 2 issues I had with the kit and by no means are they show stoppers.
1. There is a 10k potentiometer and the shaft was just a bit to long and I had to trim it. This was only for looks as I did not like the knob extended away from the keyer.
 2. No hookup wire was provided to go from the potentiometer to the board. This is no big deal either as I did have the wire...but.....it would had been nice to include it in the kit.
Pot before mod
Pot after mod

K1EL WKUSB keyer

About a month ago a new kit arrived and is still sitting waiting to be built. With some thought and over time I ended up selling my Logikit CMOS4 keyer that I built. I sold it not because it's a poor keyer but  being a stand alone keyer made it for me a hassle to program.  I missed just starting up the PC opening a program typing in what I wanted the keyer do and simply saving that sequence.  I do a lot of CW contests and have to keep changing the exchanges. With the CMOS4 keyer I was always taking out the manual and refreshing my poor memory with the proper sequence of buttons to push on the keyer to enter and save morse code in the CMOS 4 memory.
So I sold the Logikit keyer CMOS4 and Julie had purchased me the K1EL WKUSB keyer kit. I am familiar with the WKUSB keyer as some years ago I did purchase a built unit and it worked great. At the time it did seem to have some issues with my contest program N1MM. I ended up selling the unit and as they say hind sight is 20/20 and if I knew then what I do now I would still have it. This keyer has been around for some time now and improvements have been made. To hook it up to the PC is a simple USB cable along with some software and you are off to the races. To change the CW messages you open a program on your PC enter your new message then save to the key and that's it. You are able to enter four separate messages (just great for contests or DXepedtion contacts) The keyer can be connected to two rigs, my K3 and K2 can use the same unit without cable swapping. So back to the software for just one more moment.....not only can you program messages BUT there is a slew of custom settings you can enter such as spacing, weight and tone just to mention a very few extras. I hope this weekend to heat up the soldering iron and point it in the direction of this kit!!

Subscribe FREE to AmateurRadio.com's
Amateur Radio Newsletter

 
We never share your e-mail address.


Do you like to write?
Interesting project to share?
Helpful tips and ideas for other hams?

Submit an article and we will review it for publication on AmateurRadio.com!

Have a ham radio product or service?
Consider advertising on our site.

Are you a reporter covering ham radio?
Find ham radio experts for your story.

How to Set Up a Ham Radio Blog
Get started in less than 15 minutes!


  • Matt W1MST, Managing Editor


Sign up for our free
Amateur Radio Newsletter

Enter your e-mail address: