Posts Tagged ‘Arduino’
 Minima Digital Board
After procrastinating for a very long time I finally summoned up the ‘whatever it was I needed to summon up’ to get a move on with the Minima transceiver. I planned on tackling the digital board first as it seemed logical. It did however need me to solder an Si570 onto the board without any solder paste. So it was going to be a bit of a struggle.
The method I chose was to put a healthy load of flux on the pads and a blob on both of the ends. Align the chip then solder one end, applying a small amount of pressure onto the chip. Then the other end, then back to the first and then to the second again. Making sure I had seated it correctly. after that the other pads seemed dead easy.
The result was that it worked (I think). Although I am unsure as to why is does stay on a single frequency. This will need a bit of looking at. Here’s a very brief video.
Autumn = projects time
I usually cycle to work. Wow I hear you say, what a guy….Well thanks but I hadn’t finished the introduction. Cycling means you notice the seasons a lot more than if you drive. Its still the season for shorts and after some very mild days we’re definitely heading towards fully developed autumn. So what?
Well its time to spend fewer hours outside (because you’ll be blown across the street) and more time preparing for those murky days when projects are preferable to souwesters.
This year I have got a couple of PCB’s that need populating. 1 of them is the Budd Churchward Morseduino. The other is the Minima Transceiver.
Budd created a neat little barebones arduino and morse code decoder and he kindly gave me the gerbers. It is essentially a very simple device that will allow audio to pass through and it will give a reasonable decode of CW. I say reasonable because it is never going to be as good as your purists ears but it’ll help get the less talented on the air (hopefully). This video gives you a flavour
Project 2 it the Minima Transceiver, by Ashran Farhan of BitX fame. It is my first foray into complete rig build for the experimenter so I’m expecting some tinker time. Essentially it is a Arduino controlled simple transceiver (Any spot the link here?). This will be a lot more involved and I’m just getting my head around the schematic.
There seems to be a lot of useful information about so if I get stuck then google will no doubt be my friend! Here’s a little taster.
Arduino Morse Tutor – Update
Its quite humbling really. Ive had this blog now for a number of years. I’ve always had a bit of a love/hate relationship with it. I love the concept of sharing my experiences, failures and successes with who ever stumbles across the blog. But mostly only a couple of entries get found and commented on. Namely my MQ26SR antenna posts are the most popular entries on this blog and I get about 1 email a month asking very specific questions.
That all changed this week. With the addition of my latest Arduino project. All of a sudden and quite literally overnight – the traffic to this blog skyrocketed. My inbox was awash of emails asking questions, my twitter feed was stacked with retweets and favorites of this circuit. I seem to have struck a chord with many folks who, like me, were looking for a Morse Tutor, but don’t want to sit in front of a PC all day.
I’ve had some really wonderful feedback. I have been offered Crowd funding, beta testers and asked if I can supply more information. So I hope this entry can help with my plans for my Morse Tutor version 2, So here are some headlines for you all.
- I am making a kit. I have this in hand and a PCB design is on the screen right now.
- This will be launched as soon as I have figured out some minor gremlins.
- There will be added functionality. And some really cool features too – watch this space.
- The Sketch I have created so far is only a fraction of what is on offer. (plus also a lot of fixes have been included in the Version 2 build)
- Below are 2 drawings – 1 Schematic, 1 Breadboard. This will support Version 1.01 of the code.
Version 2 will include an Audio Amp, an SD card and proper switching logic (either a rotary encoder, or latch chip) four new modes of training and all ready as either a pre assembled kit or kit of parts for you to build & box yourself. And trust me on this, it wont be expensive either.
First HAB flights were a success
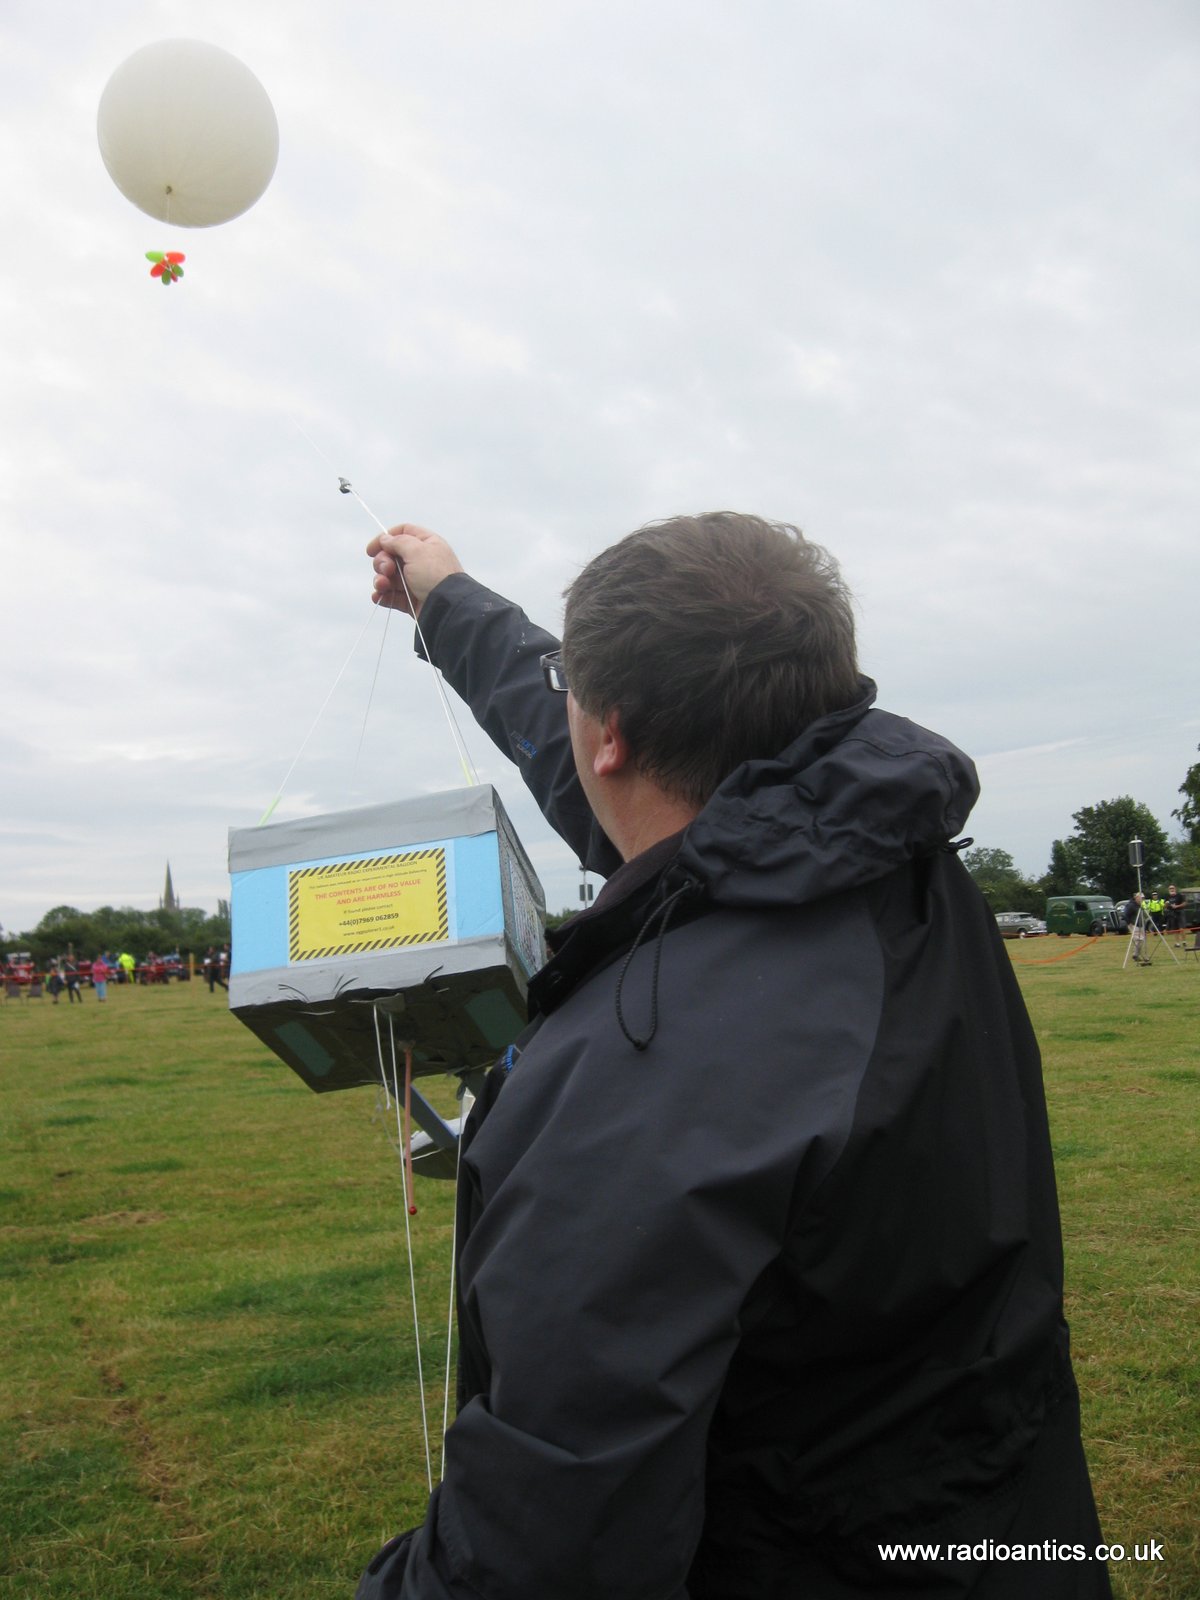 |
| Ready to launch |
South Kesteven ARS were going to hold a special event station with the call sign GB2EGG. During the planning stage I jokingly suggested throwing an egg in to space on board a balloon, I shouldn't have yoked...
The whole venture captured everyone's imagination, sadly putting the special event station in the shade but we certainly got a lot of publicity for the club and amateur radio in general.
 |
| Featured on front page of local paper |
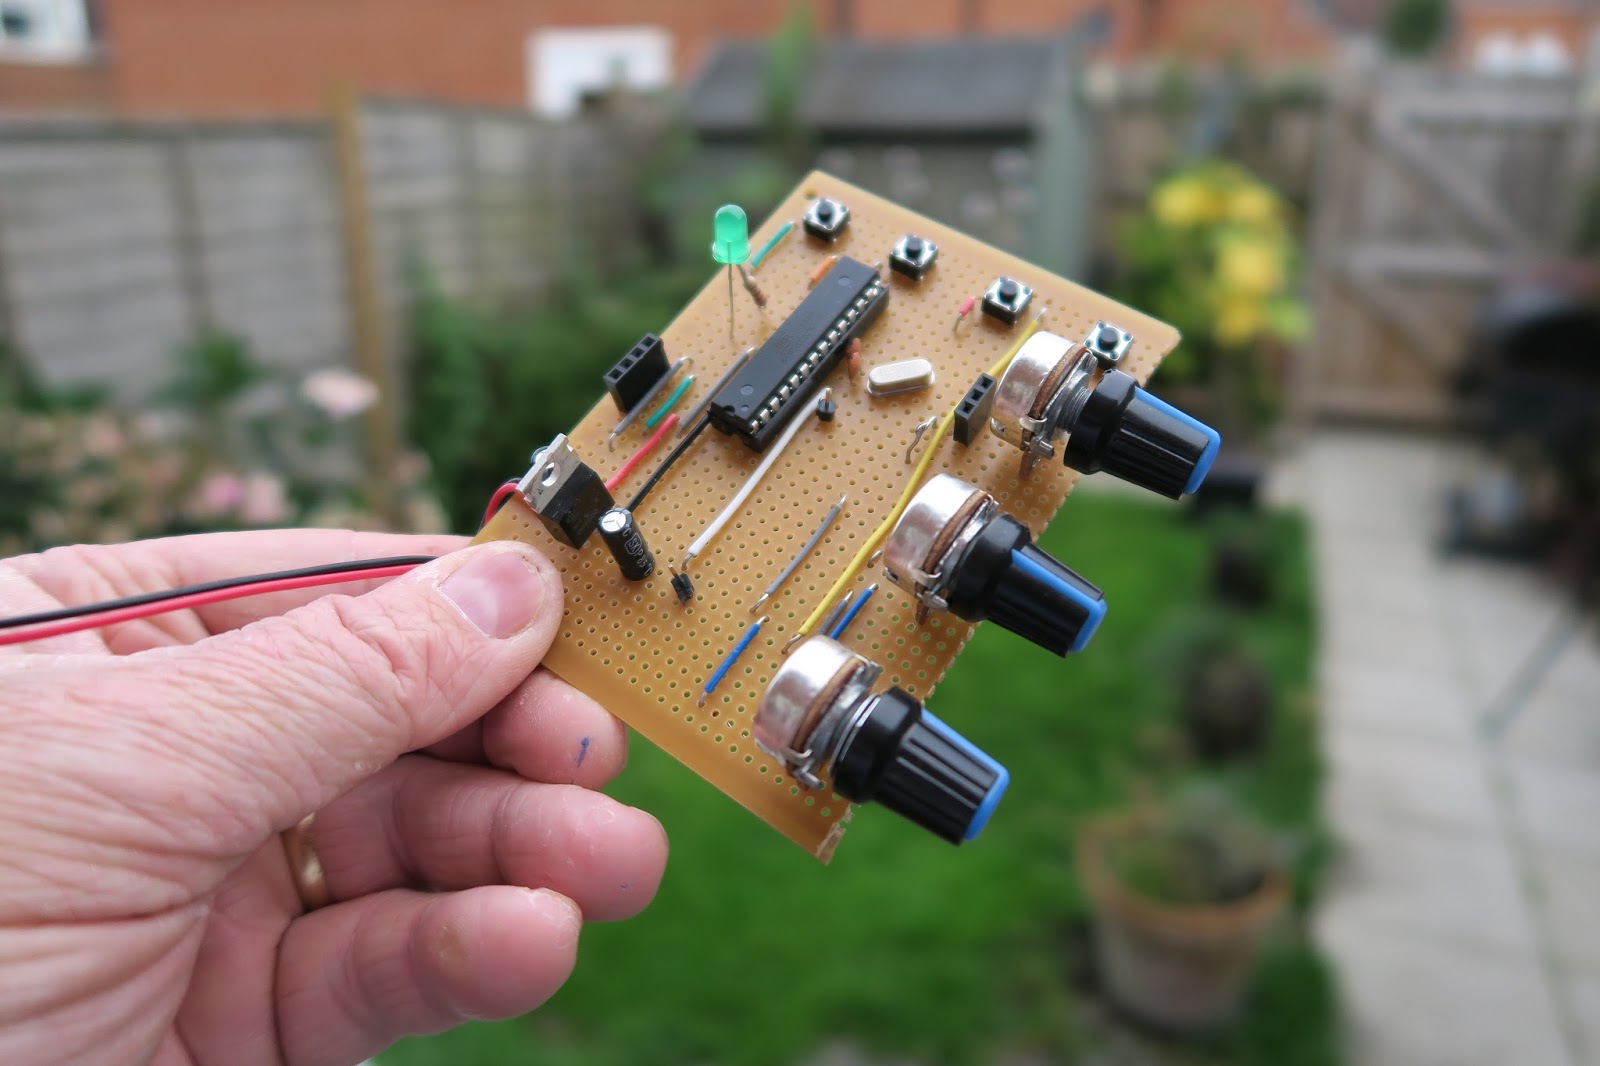
There was certainly a lot to learn and get organised, not only did I have to design and build the flight computer which was the easy part but I had to build the payload containers get the balloon, parachute, cord the lifting gas (Helium) and build a filler assembly as well as getting official permission from the CAA for the launch.
The information on the UKHAS wiki as well as Dave Akerman's High Altitude Ballooning, From The Ground Up (and back again) were invaluable.
The cost of this venture was not insubstantial and thankfully MADHEN - The Ultimate Party Band agreed to sponsor the flight which helped greatly and I received a nice donation from fellow club member Mark Orbell (M0OBL)
Months of work and lots of last minute hitches but I was ready.
Two flights were planned an altitude 'burst' flight with a raw egg payload with a parachute decent. The main tracker MADHEN would broadcast SSDV images and telemetry with a telemetry backup tracker EGG1 suspended below it. The second flight was a foil party balloon 'floater' with a tracker kindly donated by Steve Smith G0TDJ of ProjectAVR
Both flights flew and were a great success, unfortunately the SSDV tracker failed early in the flight so no in flight images were received.
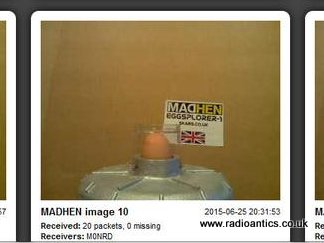
The main payload is pictured below before the flight resting on its side. The Styrofoam box contained the flight computer and radio transmitter with a camera attached to the Raspberry Pi and the "flying saucer" model which contained the egg was positioned to be visible.

As this test image shows the 'egg saucer' should have had the earth below it.
However the arduino based backup tracker which was suspended below it worked perfectly.
There were some issues with getting CAA approval because the sky was very busy on the day including the last remaining Vulcan Bomber VH-558 making its farewell flight in the area, cue jokes about the Vulcan getting scrambled... but approval was given for a morning flight, not ideal for the organisers but we were still a spectacle for the handful who were there early.
 |
| Starting the fill |
 |
| Checking the neck lift, made difficult by the wind |
 |
| Stewart (M0SDM) helping me tie off the balloon and payload cord |
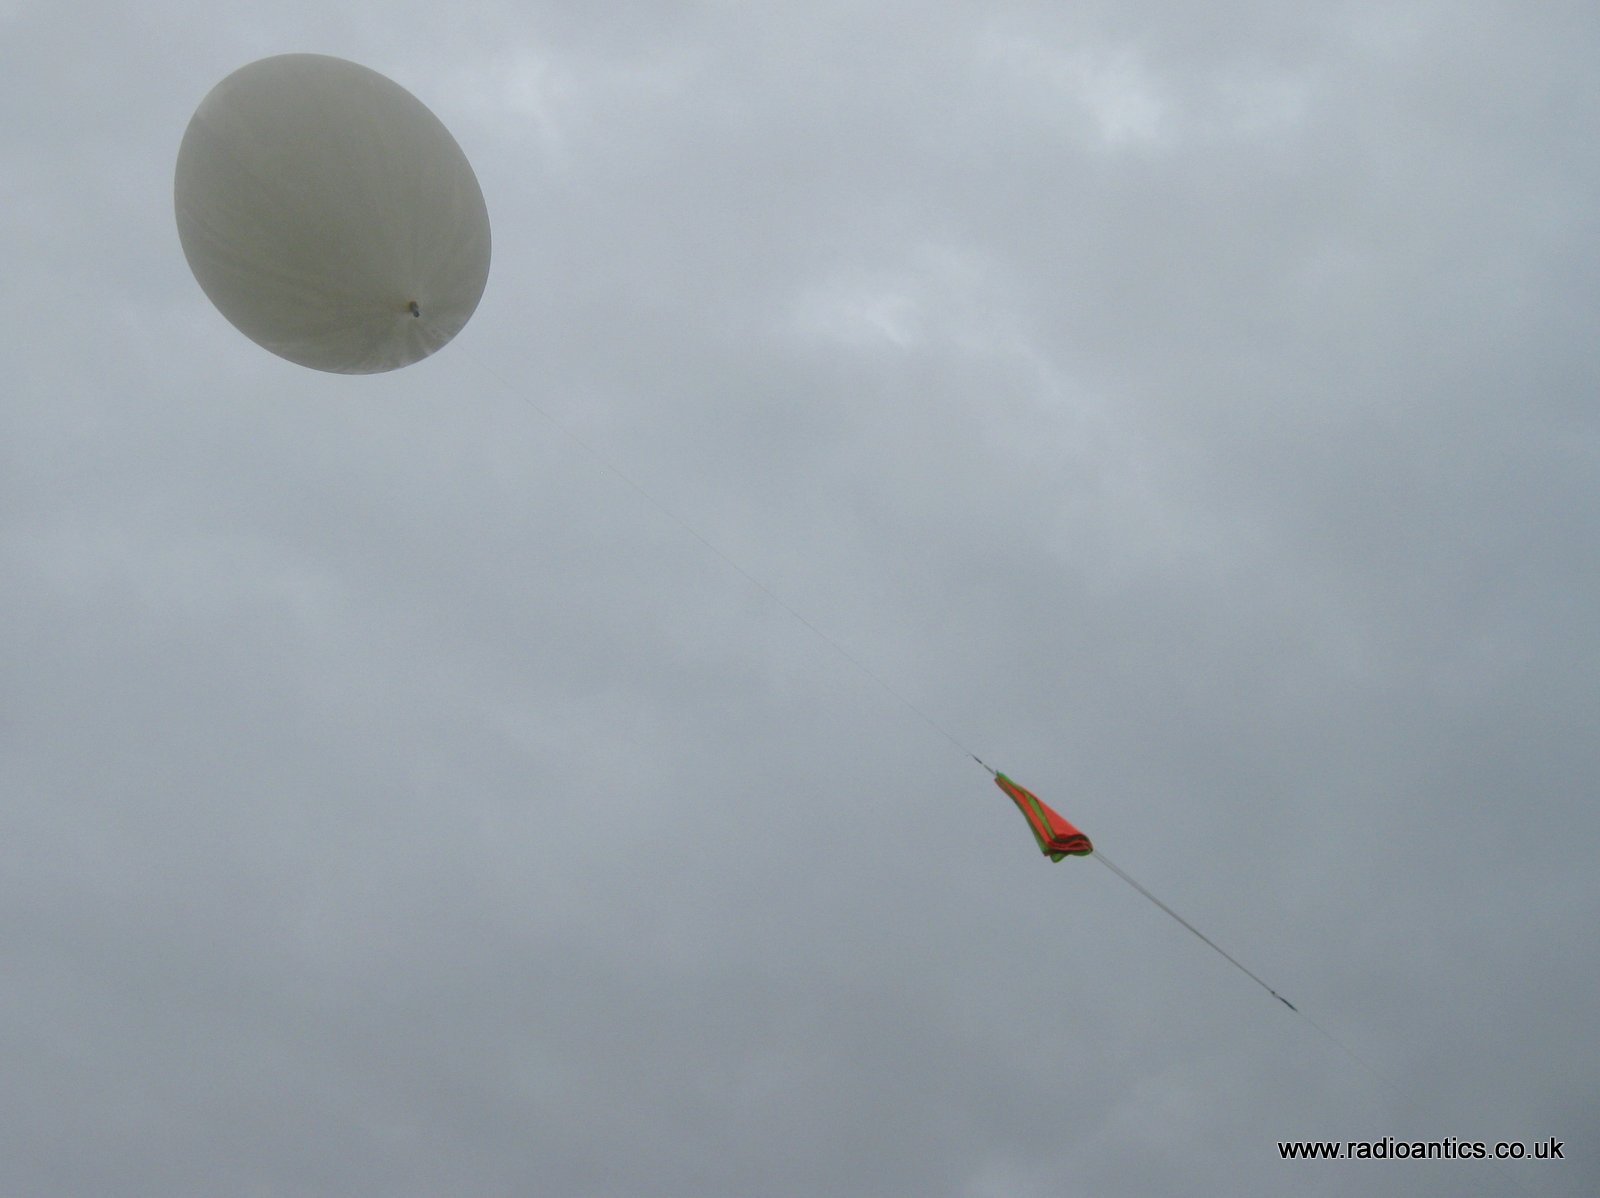 |
| The strong gusty wind made launch difficult |
 | |
| Me and Stewart making a dash to assist the launch |
It started so well, I was receiving telemetry and image packets and then transmission stopped

However as I said the other tracker worked brilliantly and this was the final flight path as visualised in Google Earth. The ascent and decent rate and the burst altitude were exactly as planned and predicted, so I know I got the neck lift measurement right even with the high wind on the day.
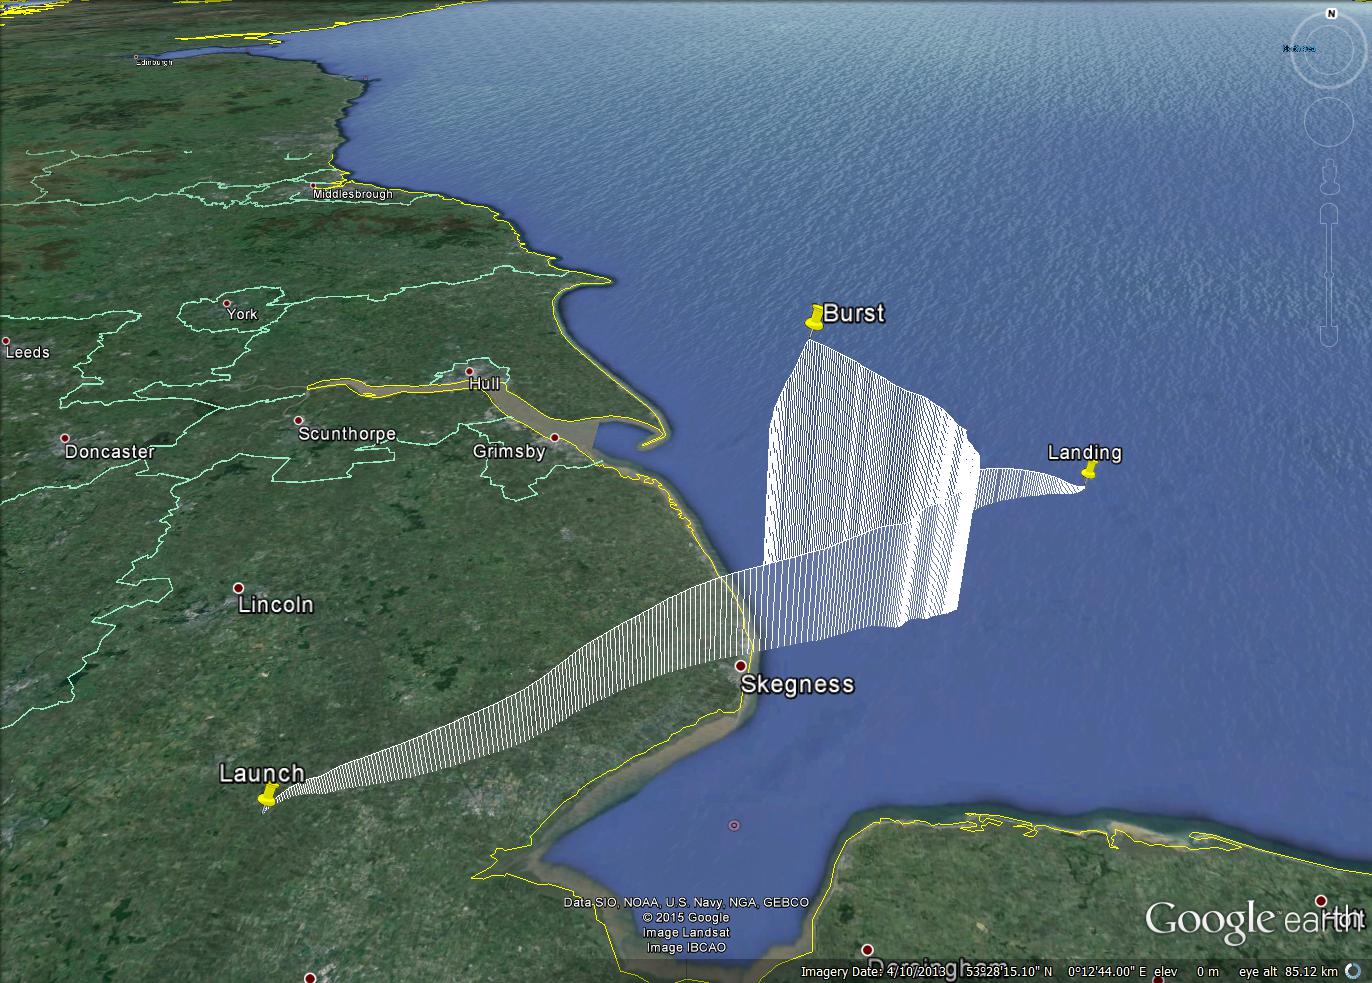 |
| Path of MADHEN/EGG1 |
A splashdown at sea was inevitable due to the wind conditions, hopefully it it survived the landing it may wash up on a beach somewhere and we can retrieve the images.
With what little Helium remained I was able to lightly fill and launch a foil party balloon carrying a blown egg shell as a 'floater' which made a valiant attempt to reach the continent at 6-7km high travelling at 120+km/hr where it reportably hit bad weather and was downed.
 |
| Path of EGGDX in comparison to MADHEN/EGG1 |
All in all an eggscellent day!
First HAB flights were a success
|
| Ready to launch |
South Kesteven ARS were going to hold a special event station with the call sign GB2EGG. During the planning stage I jokingly suggested throwing an egg in to space on board a balloon, I shouldn't have yoked...
The whole venture captured everyone's imagination, sadly putting the special event station in the shade but we certainly got a lot of publicity for the club and amateur radio in general.
|
| Featured on front page of local paper |
There was certainly a lot to learn and get organised, not only did I have to design and build the flight computer which was the easy part but I had to build the payload containers get the balloon, parachute, cord the lifting gas (Helium) and build a filler assembly as well as getting official permission from the CAA for the launch.
The information on the UKHAS wiki as well as Dave Akerman's High Altitude Ballooning, From The Ground Up (and back again) were invaluable.
The cost of this venture was not insubstantial and thankfully MADHEN - The Ultimate Party Band agreed to sponsor the flight which helped greatly and I received a nice donation from fellow club member Mark Orbell (M0OBL)
Months of work and lots of last minute hitches but I was ready.
Two flights were planned an altitude 'burst' flight with a raw egg payload with a parachute decent. The main tracker MADHEN would broadcast SSDV images and telemetry with a telemetry backup tracker EGG1 suspended below it. The second flight was a foil party balloon 'floater' with a tracker kindly donated by Steve Smith G0TDJ of ProjectAVR
Both flights flew and were a great success, unfortunately the SSDV tracker failed early in the flight so no in flight images were received.
The main payload is pictured below before the flight resting on its side. The Styrofoam box contained the flight computer and radio transmitter with a camera attached to the Raspberry Pi and the "flying saucer" model which contained the egg was positioned to be visible.
As this test image shows the 'egg saucer' should have had the earth below it.
However the arduino based backup tracker which was suspended below it worked perfectly.
There were some issues with getting CAA approval because the sky was very busy on the day including the last remaining Vulcan Bomber VH-558 making its farewell flight in the area, cue jokes about the Vulcan getting scrambled... but approval was given for a morning flight, not ideal for the organisers but we were still a spectacle for the handful who were there early.
|
| Starting the fill |
|
| Checking the neck lift, made difficult by the wind |
|
| Stewart (M0SDM) helping me tie off the balloon and payload cord |
|
| The strong gusty wind made launch difficult |
| |
| Me and Stewart making a dash to assist the launch |
It started so well, I was receiving telemetry and image packets and then transmission stopped
However as I said the other tracker worked brilliantly and this was the final flight path as visualised in Google Earth. The ascent and decent rate and the burst altitude were exactly as planned and predicted, so I know I got the neck lift measurement right even with the high wind on the day.
|
| Path of MADHEN/EGG1 |
A splashdown at sea was inevitable due to the wind conditions, hopefully it it survived the landing it may wash up on a beach somewhere and we can retrieve the images.
With what little Helium remained I was able to lightly fill and launch a foil party balloon carrying a blown egg shell as a 'floater' which made a valiant attempt to reach the continent at 6-7km high travelling at 120+km/hr where it reportably hit bad weather and was downed.
|
| Path of EGGDX in comparison to MADHEN/EGG1 |
All in all an eggscellent day!
Kanga Sudden Arduino Shields
Kanga Products are a kit and component supplier in th UK. They offer all sorts of simple kits for the ham. Notably they supply the Rockmite ][, Foxx and Sudden type TXRX’s.
At the Norbreck rally I bought an Arduino based Sudden TXRX that uses 3 shields. One shield acts as an interface to a AD9850 DDS module, one as a Sudden receiver and the final one as the TX.

Pinched from the Kanga Products website (click to follow)
Assembling the kits was relatively straightforward. There were a couple of small issues but they seem to have been hidden buy what has been a complete disaster with the Arduino. The code looks (to my rather uneducated mind) straightforward as it controls the vfo, a rotary encoder and two push button switches. The implementation of the I2C LCD has been the major issue along with an odd position with another of the libraries call Stdlib.
Try as I might I am having almost no success with the module. I have managed to get it to compile, upload and run a very simple ‘hello world’ after spending 2 evenings on the internet and keyboard. Its a very frustrating thing as with the exception of a bandpass filter the kit is ready to go.
The current error is:
Arduino: 1.6.4 (Windows 8.1), Board: "Arduino Uno"

Build options changed, rebuilding all
Using library Wire in folder: C:Program Files (x86)ArduinohardwarearduinoavrlibrariesWire

C:Program Files (x86)Arduinohardwaretoolsavr/bin/avr-g++ -c -g -Os -w -fno-exceptions -ffunction-sections -fdata-sections -fno-threadsafe-statics -MMD -mmcu=atmega328p -DF_CPU=16000000L -DARDUINO=10604 -DARDUINO_AVR_UNO -DARDUINO_ARCH_AVR -IC:Program Files (x86)Arduinohardwarearduinoavrcoresarduino -IC:Program Files (x86)Arduinohardwarearduinoavrvariantsstandard -IC:Program Files (x86)ArduinohardwarearduinoavrlibrariesWire C:UsersAlexAppDataLocalTempbuild7923519500833479682.tmpsketch_jun01a.cpp -o C:UsersAlexAppDataLocalTempbuild7923519500833479682.tmpsketch_jun01a.cpp.o
sketch_jun01a.ino:12:31: fatal error: LiquidCrystal_I2C.h: No such file or directory
compilation terminated.
Error compiling.
What this tells me is that it can’t find the Library called LiquidCrystal_I2C.h. Believe me Mr Arduino IDE it is exactly where it needs to be! I’m going to get upset in a minute.


