 |
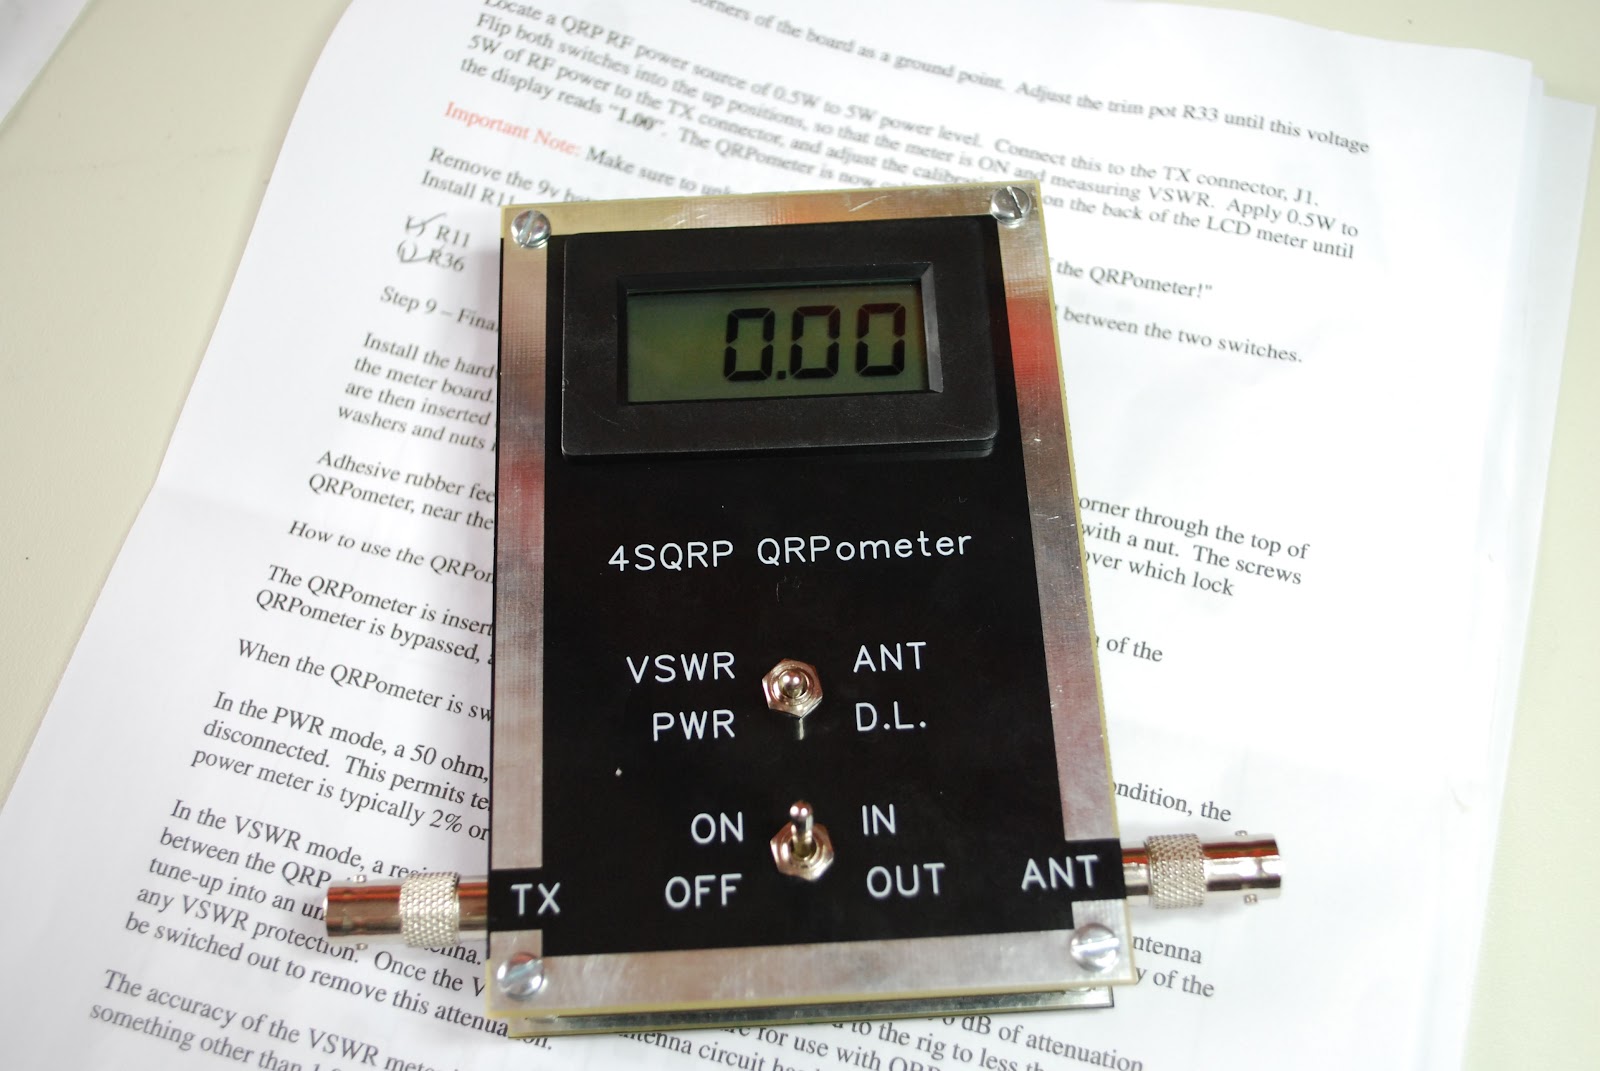
 QRPometer ready for action
 |
| QRPometer complete |
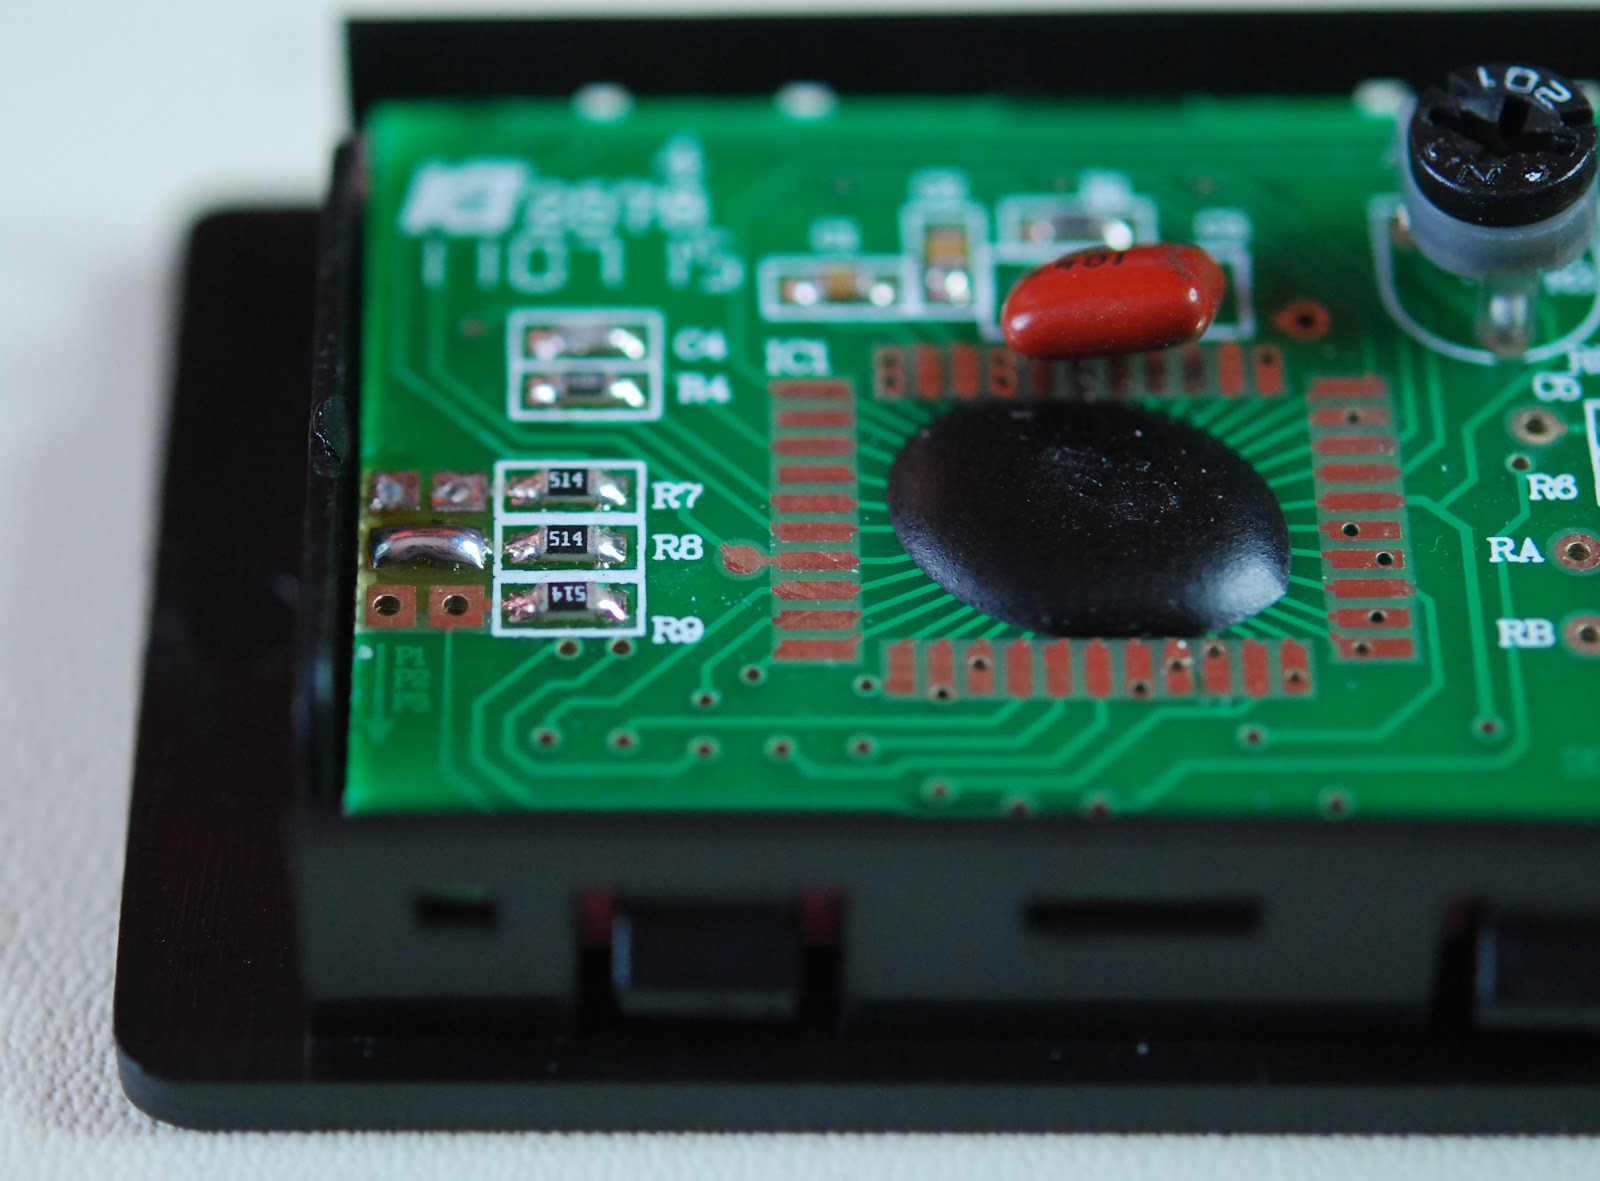 |
| Solder blob mod done |
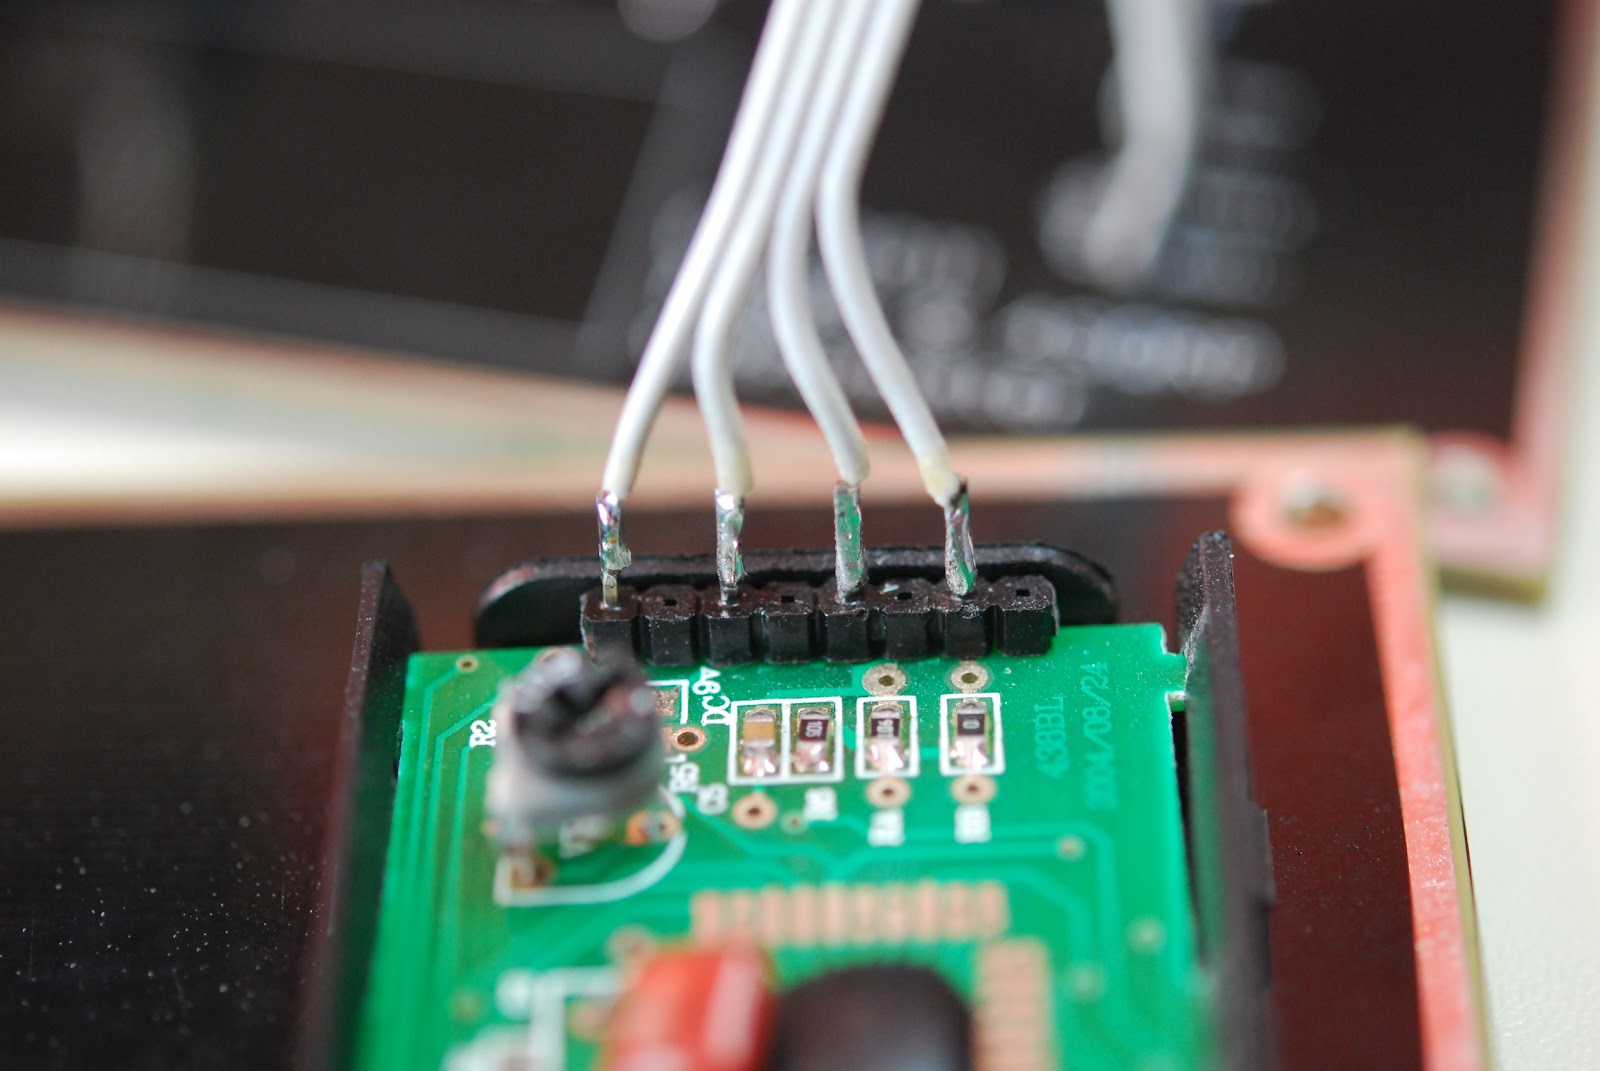 |
| Ribbon cable soldered to LCD |
The kit pro's
1. Very easy to build and calibrate
2. No toroid or SMD for those kit builders who shy away from them.
3. Instructions are well written and very easy to understand.
4. Meter has a built in dummy load when measuring power.
5. When meter is turned off it can still be left in series with antenna and transmitter the meter is in bypass.
6. Professional silk screen front panel.
7. Parts layout on the the circuit board are...may I say "Elecraft quality"!
Con's
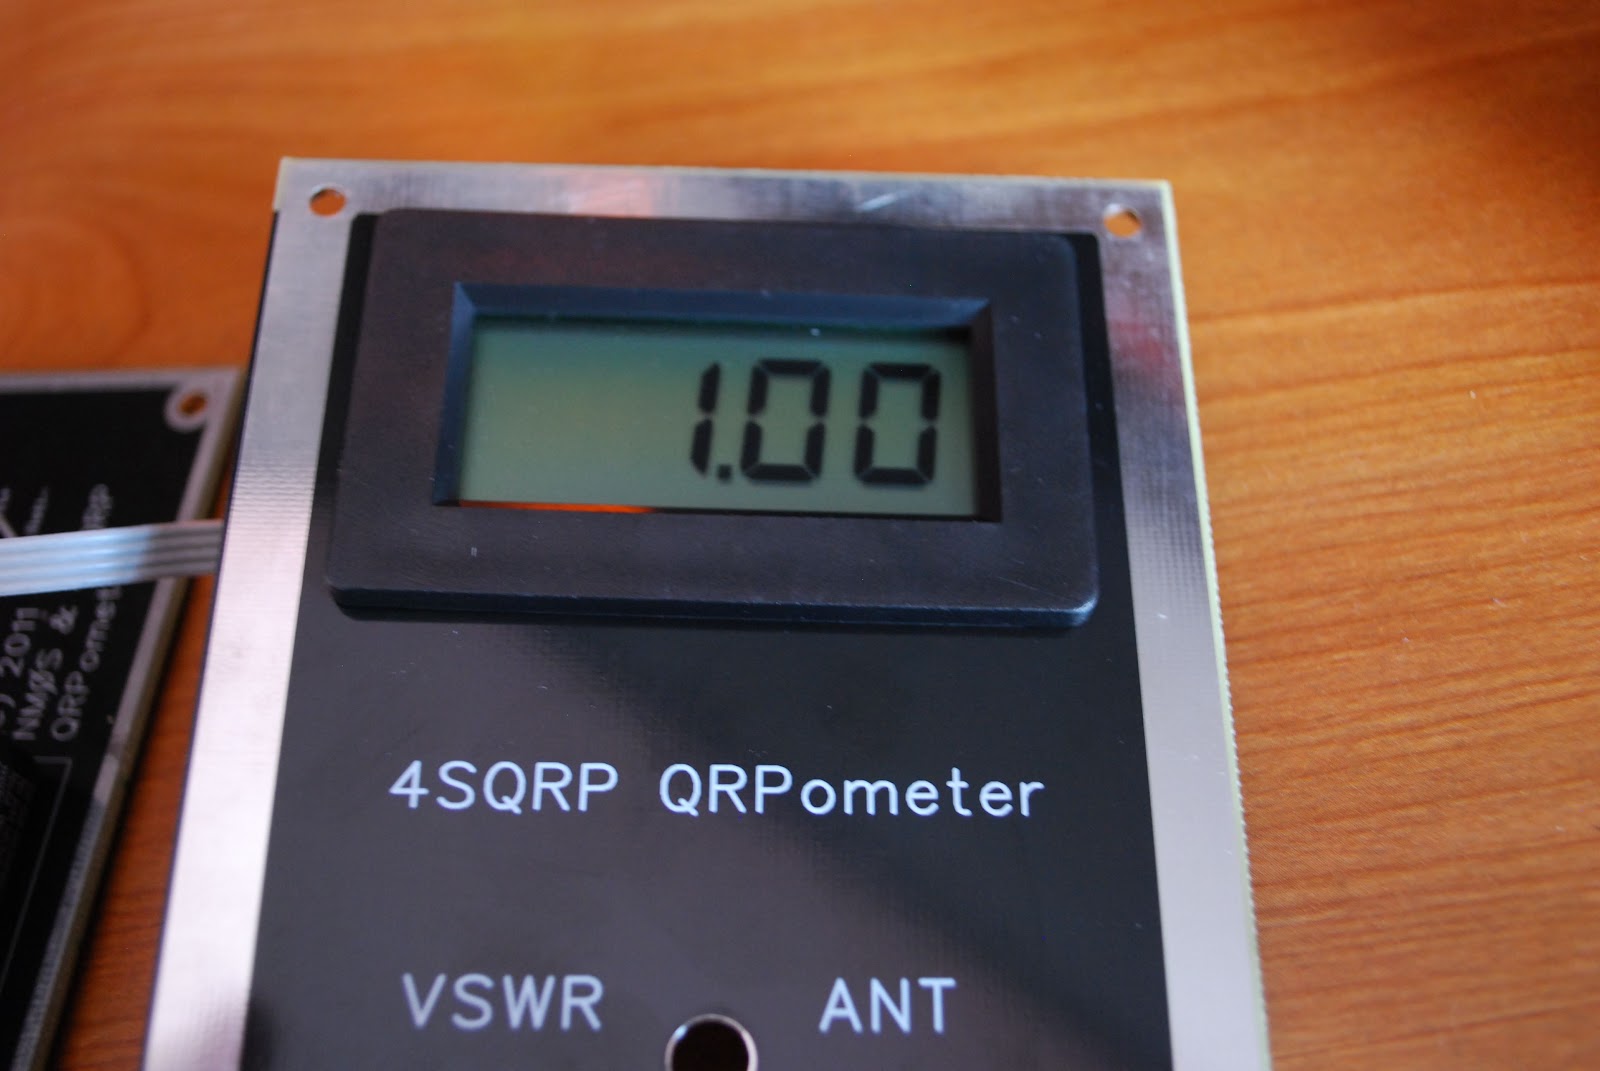 |
| Calibration complete |
2. There is no cover for the back of the circuit board.
So lets put 2 and 2 together.......7 pro's to 2 con's = home run!!
4 Responses to “QRPometer ready for action”
Please support our generous sponsors who make AmateurRadio.com possible:
 Ham Radio Deluxe |
 W5SWL Electronics |
 Ham Radio Prep |
 KB3IFH QSL Cards  Hip Ham Shirts  HamRadioAuctions HamRadioAuctions Reliance Antennas Reliance Antennas Enigma Shop Enigma Shop |  morseDX  Ni4L Antennas  R&L Electronics R&L Electronics antennas.us antennas.us QRV QRV |
- Matt W1MST, Managing Editor

I took most of the photos…glad your kit worked great! So far, all I have heard is great results! Glad you had fun making it! It was fun being a part of the beta test team.
73, Joe K0NEB
Mine is still in the mailer. Have not had a chance to build it. I also received the email about the resistor.
Good morning Joe, yes the kits is great to build and a very nice piece of test equipment to have around the shack. They were great pictures you took and were a great help at times when I was not sure what the instructions were telling me.
Mike
VE3WDM
Hi Paul, hope you get your kit soon as mine did not take very long to get up here to Canada. Sometimes customs can hold things up for a long time. Send me an email and let me know how the build goes and if you have any quesitons.
Cheers,
Mike
VE3WDM