 |
 Security for the Ham Shack: FakeTV

Although I’ve never personally suffered a break-in, I know others who have and I’ve been giving quite a bit of thought to “hardening” my home against theft and doing everything I can to create a deterrent. I’ve done all the commonsense stuff: installed deadbolts, added more motion-sensitive exterior lighting to the back of my home, and made arrangements with a neighbor to have the mail and newspaper picked up daily when I go on vacation.
Most of us have a pretty big collection of expensive radio toys. We also have the FCC callsign database pointing every criminal to the exact street address where they can find our expensive toys. And then there’s the antenna farm in the backyard broadcasting RF to the world and and the message to passerbys that “there’s something interesting and valuable here!”
Two weeks ago I began doing research on timers and other devices that fool burglars into believing someone is home. I figure that the best way to protect my home is to discourage a burglary to begin with. To me, this is the best plan. By making the house appear “lived in,” I hope to counteract the other factors that may make my home especially interesting to thieves. I certainly want to avoid my home being pegged as an easy target.
I stumbled onto a cool little device called FakeTV. I contacted the manufacturer with a few questions and they kindly provided me a demo unit to evaluate. It arrived quickly and I was pretty interested to see if the device lived up to some of the comments and reviews that I had read online. The FakeTV device is about the size of a fist — smaller than I had imagined. It’s very solidly built and is unobtrusive. My wife thought that it made a nice nightlight as well and the kids were mesmerized by it.
Now, I’m a pretty skeptical guy and am not easily impressed. FakeTV is pretty cool. It works a lot better than I expected it would. Looking at a window at night, I cannot tell the difference between a television and this device. The way it randomly switches colors and brightness creates a very, very convincing effect.
 The Fake TV has some limitations. First, I think it would be most effective in a second floor window. You really don’t want the would-be burglar to be able to peek into the window and see the device. It would kind of defeat the purpose. When I tested it, I put it on the first floor and it was very realistic with the blinds closed. However, at very close range with my face near the window I would probably have been able to hear the sound from the TV and it was conspicuously absent. Putting it in a room on the second floor (maybe a spare bedroom or den?) facing the road or driveway would probably be most effective.
I tested a few different configurations and it seemed to be most effective in a completely dark room. Other lights on in the room seem to diminish the quality of the FakeTV “effect.” I don’t think that you would want to use a light on a timer in the same room that you’re using the FakeTV device as I think the light would completely overpower it.
According to the manufacturer, it uses about 3W of power. The cost to operate the FakeTV is about $5 per year on average. Compared to about $150 per year for the same effect from leaving on a medium-sized LCD TV, you can see how FakeTV would pay for itself rather quickly.
The retail price of FakeTV is about $30. I haven’t seen them at Wal-Mart, Target, or any of the other big box stores but I wouldn’t be surprised to see them soon. Considering the investment I’ve made in radio equipment, I think $30 for this kind of deterrent is fair.
Matt Thomas, W1MST, is the managing editor of AmateurRadio.com. Contact him at [email protected].
Foul!
Following a tip from the VX-8R Yahoo group I ordered a high capacity 2000mAh FNB-102Li battery for my VX-8GR from a dealer in Spain that was selling them for EUR 28.50. The website couldn’t calculate shipping to the UK so I received an email asking me to order two connectors the cost of which equalled the cost of the shipping, making a total of EUR 36.80 – still much less than the price of the Yaesu product even when ordered from Hong Kong. After this was sorted out the battery was with me five days later.

My pleasure at the speed of the shipping soon turned to dismay. Yaesu chose to make the VX-8 belt clip attach to the battery pack. I don’t know whether the accessory batteries bought from Yaesu come with a belt clip to attach to them but this one doesn’t, so if I want to interchange this battery with the one that came with the radio one of them will have to be used without a belt clip.
But worse was to come. The battery will not charge in the drop-in charger while it is attached to the radio! The charger has a platform which, as owners will know, is deeper than the radio with the stock battery – presumably to accommodate the thicker higher capacity version. But with this battery attached, the front of the radio fouls the lip at the front of the charger where the status LEDS are, preventing it from dropping the last tenth of an inch necessary for the battery contacts to make contact with those on the charger.
Is this a general problem with the FNB-102Li and the VX-8GR (in other words, is the GR thicker than the DR and my charger doesn’t allow for this?) or is it just this third-party battery that is thicker than the one from Yaesu and causing the problem? I’m having to take the battery off the radio to charge it, but that rather spoils the convenience of having the drop-in charger.
Julian Moss, G4ILO, is a regular contributor to AmateurRadio.com and writes from Cumbria, England. Contact him at [email protected].
Connector conundrum
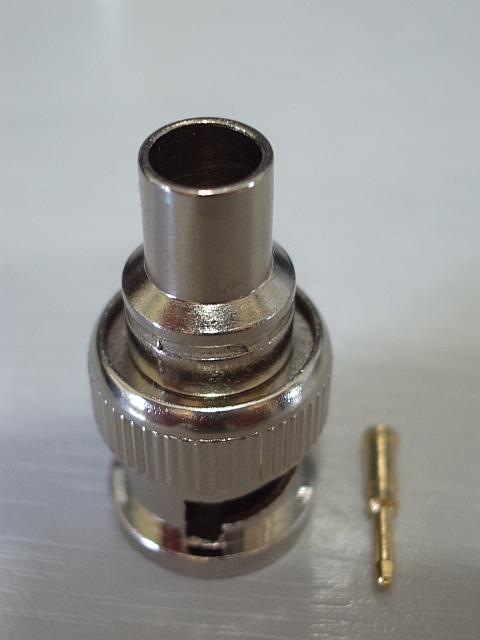
What is one supposed to do with the BNC connector pictured right?
I ordered 5x Crimp On BNC Plugs from eBay, expecting to get plugs with a narrow body and separate small piece of tube that you use to crimp the braid of the cable to the body of the plug. What I actually got was these, which I already had a couple of and didn’t know how to use. The only way I can see that you could use these is to crimp the large diameter barrel on to the braid itself, but with nothing but the nylon insulation beneath it you are not going to get a good contact. I think they are useless, though I did make a QRPP dummy load from one of the originals as two 1/4W 100 ohm resistors in parallel just fit inside the body of the plug and you can solder the ground ends to the outer.
I guess soldering the braid is the answer, but that isn’t what I bought crimp on plugs for and it isn’t going to make a very neat job.
Julian Moss, G4ILO, is a regular contributor to AmateurRadio.com and writes from Cumbria, England. Contact him at [email protected].
Listening to Moonbounce on 1296MHz with your browser
I noticed today that the PI9CAM group who use a huge 25m diameter dish for 1296MHz moonbounce would be active. The great thing about these guys is that you can listen to their receiver using a WEBSDR receiver at http://websdr.camras.nl:8901/
I took a very quick video – which isn’t great quality, but you’ll hear PI9CAM working a JA station. Remember the signals are bounced off the moon – a round trip around around 500,000 miles! You get a demonstration of the speed that radio signals travel at (the speed of light!) by listening to the echo from PI9CAM. You’ll hear him stop transmitting and then after a pause, you’ll hear the echo as it comes back from the moon.
A lot of EME takes place using the WSJT modes, but the contact on the video is in SSB – testament to the great equipment in use at PI9CAM! As I write this, I’m listening to LX1DB on SSB too – so I highly recommend you have a listen next time the group is active – check their webpage for details.
Tim Kirby, G4VXE, is a regular contributor to AmateurRadio.com and writes from Oxfordshire, England. Contact him at [email protected].
ICQ Podcast Series Four Episode Two – Irish 80m Contest (16 January 2011)
Series Four Episode Two of the ICQ Amateur / Ham Radio Podcast. News Stories include:
- Commemorative stamps for radio society
- UK antenna manufacturer launches
- International Short Wave League celebrations
- Radio Meteor Detection
- Amateur Radio Club helps kids communicate
- UK DRM+ trial
- Italian amateur radio repeaters disregard IARU bandplan
- New UK lightwave record
- 8 year-old Arkansas Radio Ham
Your feedback and Colin (M6BOY) reviews taking part in the Irish 80m contest.
Colin Butler, M6BOY, is the host of the ICQ Podcast, a weekly radio show about Amateur Radio. Contact him at [email protected].
SoftRocks

Finally got all of the SoftRock downconverters here enclosed and repaired. Turns out I managed to cross two of the wires on the input transformer of my 20-meter v6.2 Lite (“upgraded” variant). Once I found that, it sprung to life. The other project was getting the 144-MHz Ensemble II VHF into an enclosure. This has been a long-standing struggle since the nearest size diecast box is just a hair too small. So, I put it into an extruded aluminum enclosure I found at Dayton a few years ago. Unfortunately, I had to make my own front and rear panels. But, I had an old minibox that was perfect for the donor material.
I should have polished the edges of the front and rear panels, but it’s not too bad. KK7B opined in a QST article many years ago that after homebrewing “about 50 enclosures, they start to look respectable.”

Holes were punched with a hand punch from Harbor Freight. Given the cost of the Roper-Whitney equivalent and for as much as I will use it, this is perfectly acceptable. There’s nothing like having the right tool for the job! However, mine came with two 5/16-inch punches (no 1/4-inch), but one each 1/4-inch and 5/16-inch die. Ooops. VFBBYQC. So, I had to drill the 1/4-inch LED hole. A nibbling tool made quick work of the USB cut-out. I cut the panels with hand shears. So, I guess it should be clear what’s next on my sheetmetal shopping list…

Now, I need to actually play with some “real” SDR instead of just diddling around with Rocky (which is very capable). I’m running it under Windows XP on a 1.3 GHz Pentium IV with 1 GB of RAM. The sound card is a Creative Labs Audigy 2 ZS. There is a little latency when running a large waterfall and resizing windows, but it’s adequate for tinkering. Eventually, I’d like to try some of the GNU/Linux SDR engines. But, I’m just going to wait until a new (to me) computer falls into my lap before that happens.
Ethan Miller, K8GU, is a regular contributor to AmateurRadio.com and writes from Maryland, USA. Contact him at [email protected].
Oh, so that’s where you were
Some of you may have noticed that I haven’t published anything here for a bit over a month. I was also pretty much absent from several of the other “social web” places that I frequent (Facebook, Twitter, etc.) and in fact got a couple of private notes asking if everything was OK. (Thanks to those who asked for your concern.) The short version is that everything is just fine. Here’s the longer version:
Around a week after I published my last update, I managed to come down with a kidney stone just about a year after the last time I had one. I’ll skip the details, but suffice it to say that I wasn’t very comfortable for a while and blogging, ham radio, and pretty much everything else not essential to feeling better got put aside. Complicating things was the fact that along with Sharon, Justin, and Brett, I was supposed to leave for vacation on the evening of December 25th, and the doctor was pretty adamant that I shouldn’t be traveling unless I had passed the stone. Fortunately, it did pass just a couple of days before that, and given everything we had to do before leaving I never had time to do an update.
The trip itself was something we’d planned for a long, long time, figuring that with the kids getting older (they are both in college), it would become increasingly difficult for all of us to get away. Our trip started in Barcelona where we spend three days sightseeing followed by a twelve-day Mediterranean cruise with stops in Palermo, Athens, Rhodes, Alexandria/Cairo, and Malta. I’m not going to go into detail here about the trip, but I did want to post a couple of pictures that are on topic for this blog.
 First, as we were driving from Cairo to the pyramids in Giza, I looked out the window of the bus and saw this antenna. Actually, although I didn’t notice it at the time, in addition to the beam that’s right in the middle of the picture, there’s also what appears to be a wire dipole just to the right of that. Unfortunately, I don’t know specifically where this picture was taken other than we were in Cairo at the time, so I don’t know who that might belong to. (Any Egyptian hams reading this?)
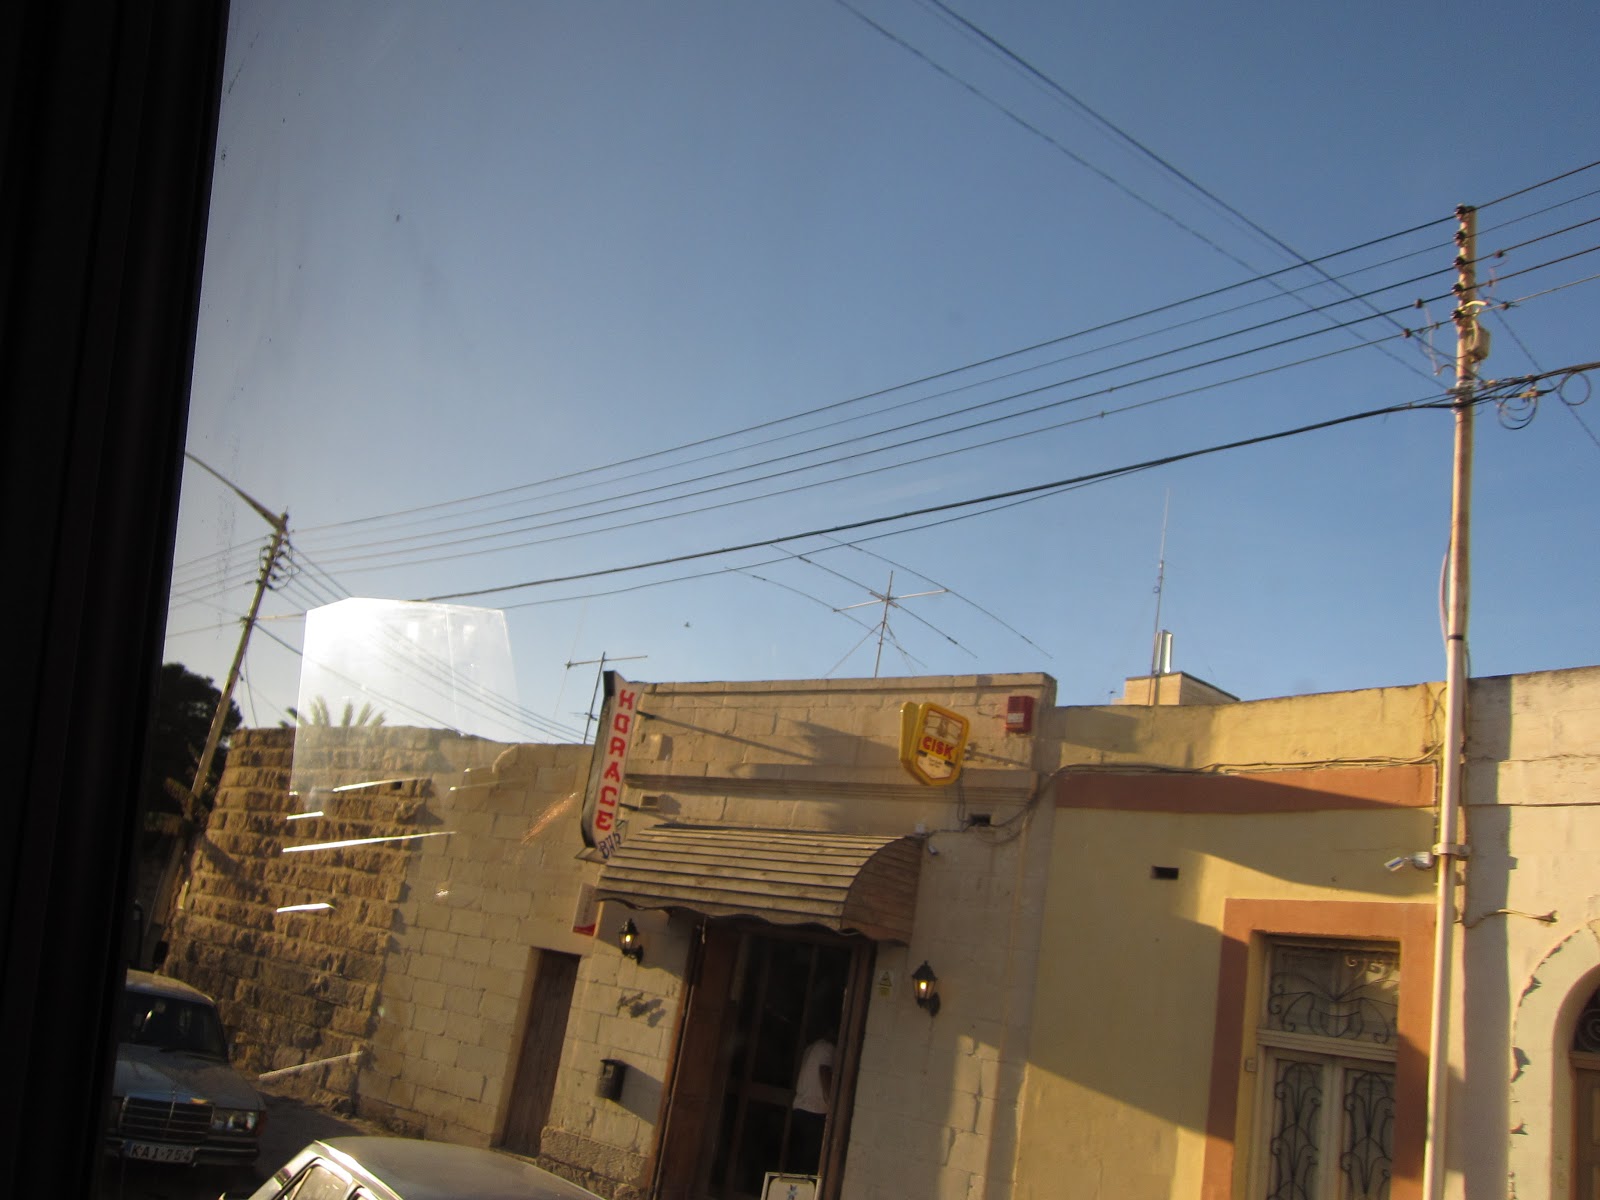
I know exactly who the next antenna belongs to: The Malta Amateur Radio League. I know this because just a second or two before I took this picture, we passed a big sign that said “Malta Amateur Radio League”. Unfortunately, we were on a bus driving from the city of Mdina to the capital city of Valleta, so I couldn’t stop to get a picture of the sign, but I did get a picture of the antenna on the roof of their building. I apologize for the lousy picture but I’m glad that I was able to even get this shot before we had completely driven past. We only had six hours in Malta, so I didn’t have a chance to try to get back to the MARL shack to see if there was anyone around, but I can say that Malta was absolutely beautiful and I hope to get back there some day for a longer visit.
I guess I should mention that I didn’t do any ham radio while we were away at all. We had a very tight schedule almost everywhere other than some very relaxing days at sea, and given the difficulties of transporting gear with me (in addition to everything else we brought), licensing, and the fact that unfortunately Royal Caribbean Cruise Lines explicitly prohibits the use of ham radio on board the ship, I decided that it didn’t make much sense to try to operate. As a result, it was just over a month between the last HF contact I made in December (before I was ill), and the next one that I made in January after I returned.
 Ham Radio Deluxe |
 W5SWL Electronics |
 Ham Radio Prep |
 KB3IFH QSL Cards  Hip Ham Shirts  HamRadioAuctions HamRadioAuctions Reliance Antennas Reliance Antennas Enigma Shop Enigma Shop |  morseDX  Ni4L Antennas  R&L Electronics R&L Electronics antennas.us antennas.us QRV QRV |
- Matt W1MST, Managing Editor
