 |
 Onward
The build continues. So far I have put about 2 hours into this. While I’m not quite done, I can see this being done in the 2 hours that Wayne mentioned on the KX3 reflector. But being uber careful, I am going slow and really taking my time (and also taking time to take photos). At this point I am “basically“ finished. I still need to install the battery holders, the auto tuner and the roofing filters. That won’t take long. While I am done for the night, I should have this completed and will hopefully make my first QSO (God willing and the creek don’t rise) tomorrow.
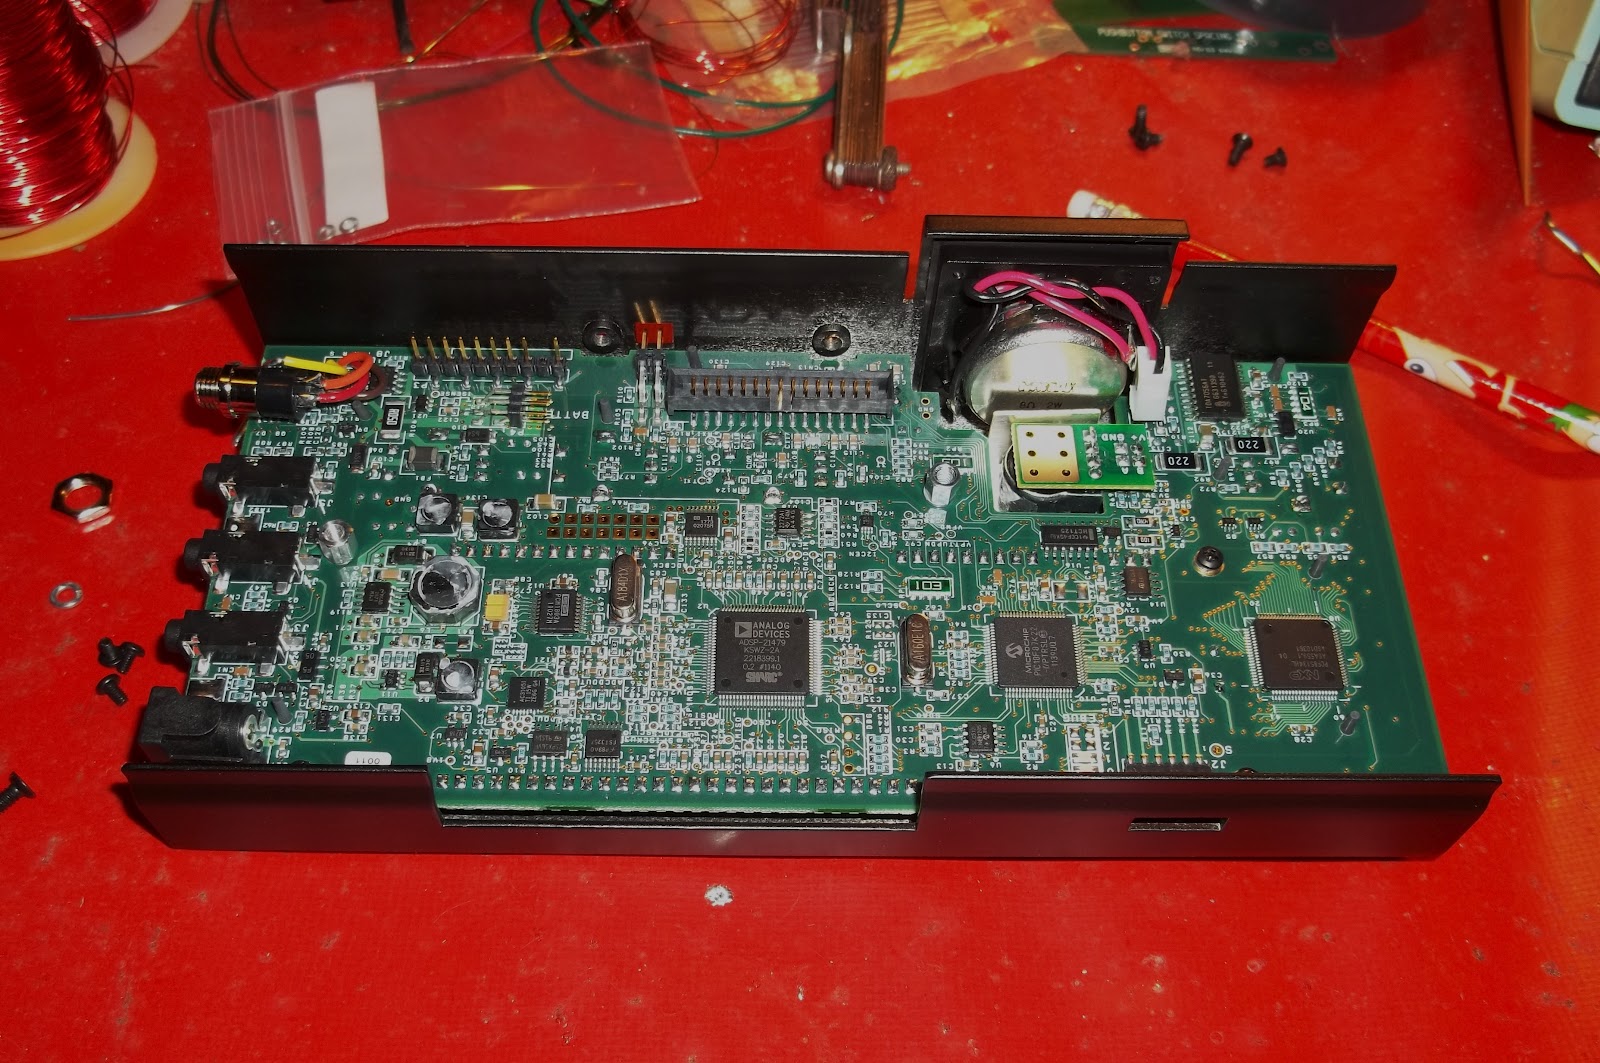
This is what the top half looks like from the back. You can click on any of these photos to get a larger image. The speaker and VFO encoder are towards the top right.
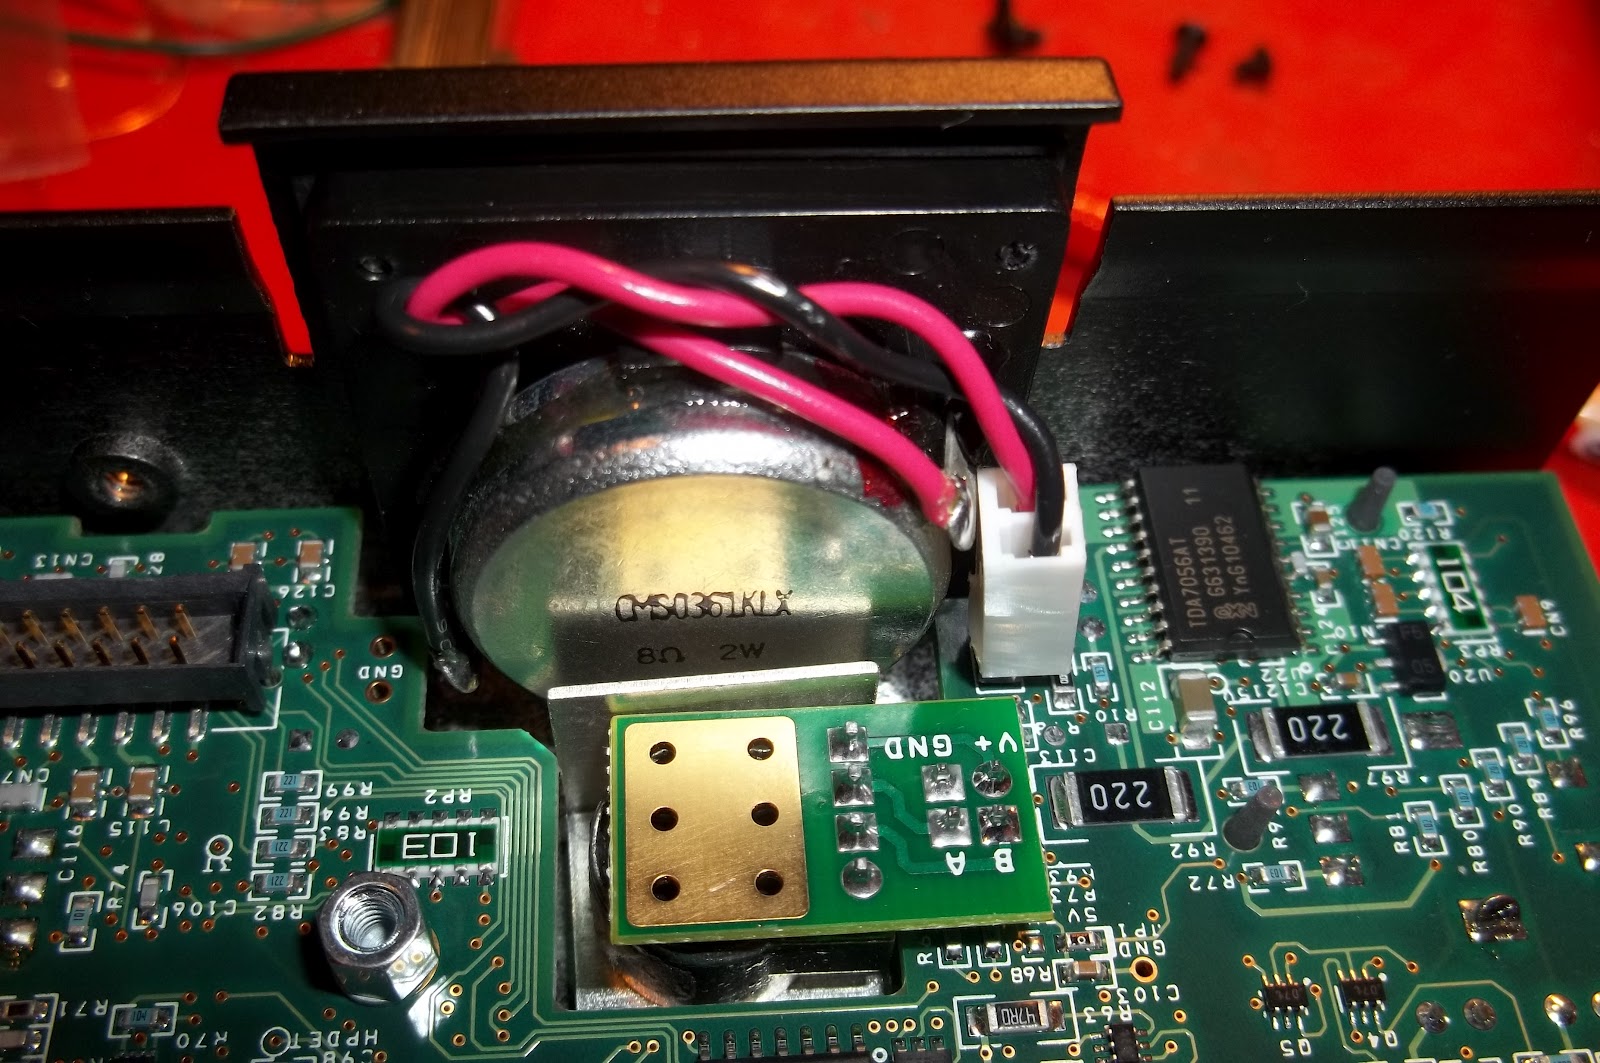
Here’s a close up of the speaker hooked up to the CP board. Directly below that is the VFO encoder (and shield).
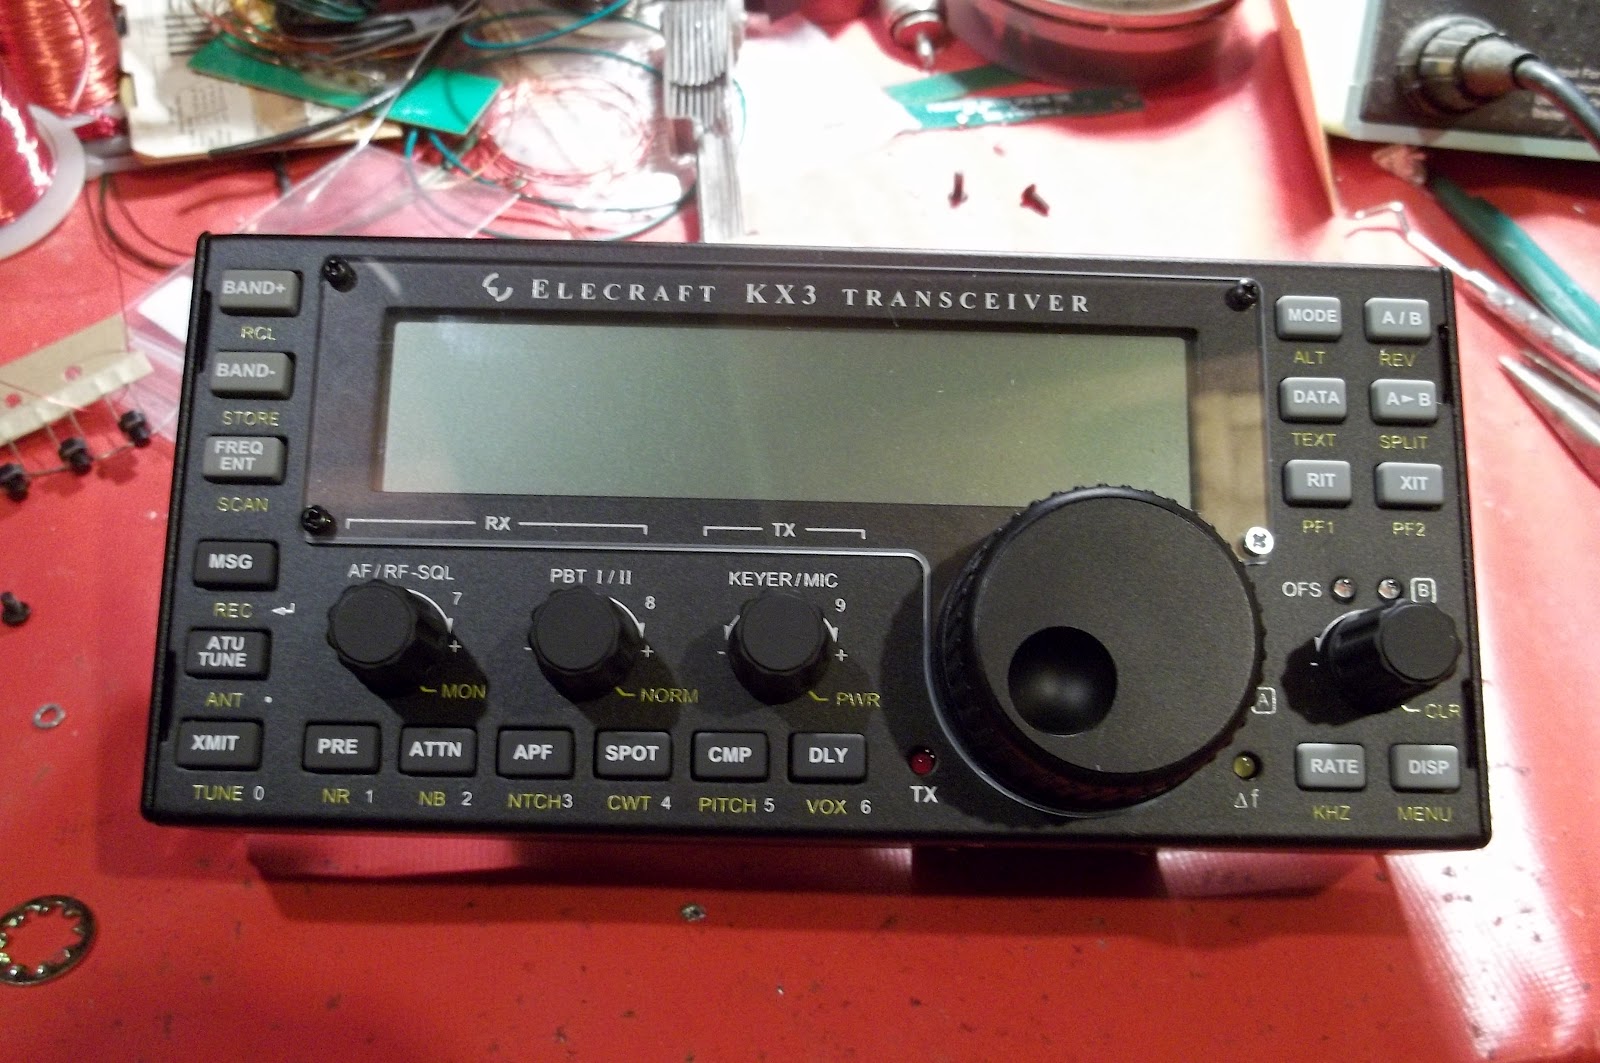
Here’s the finished top half. If you look at the bottom right hand corner of the plastic bezel you will see where I have a temporary “make do” silver screw holding the bezel down. This is where I was shorted one screw. I will put a black one in whenever it arrives from Elecraft.
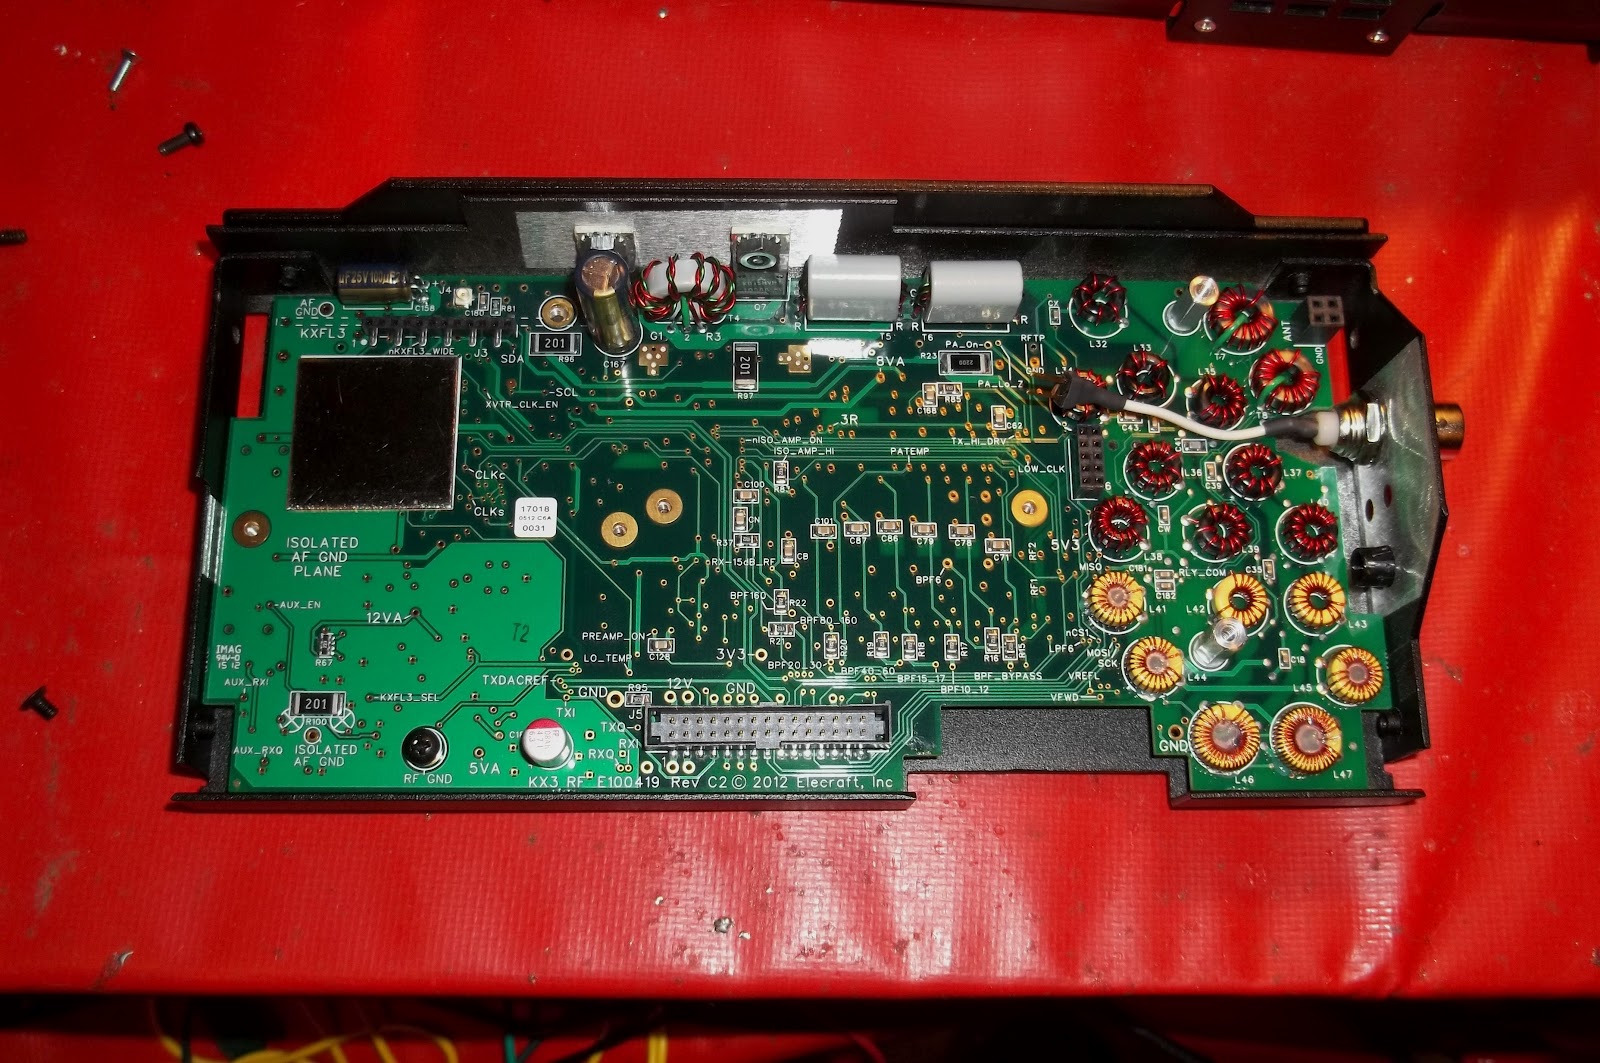
This is the RF board in the bottom housing. That big black square to the upper left is a magnetic shield. Things are really crammed onto these circuit boards, I can only imagine the effort it would take to build these boards as a “conventional” kit.
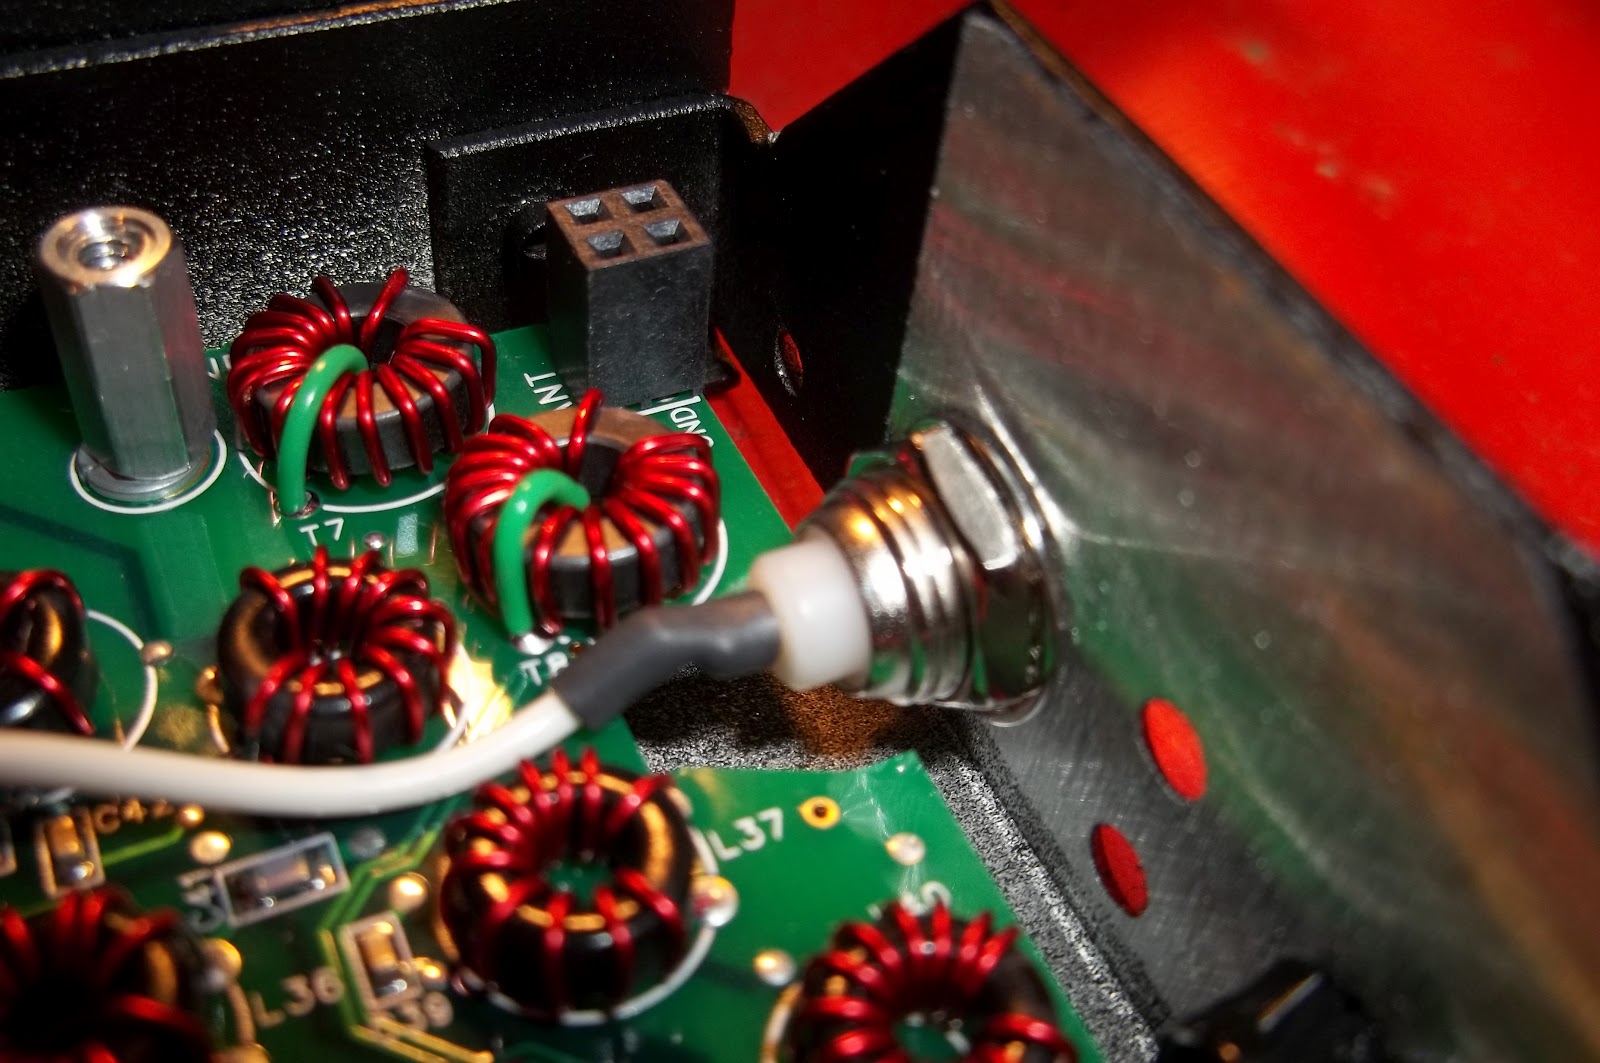
This is the BNC connector. It was a bit tricky to get this in, as with the RF Board in place and screwed down you have to finagle the connector part way into the hole, then get the lock washer and nut in place and started. Then you have to push the BNC to its final resting place against the chassis wall while simultaneously tightening the lock nut. There’s just not a lot of space!
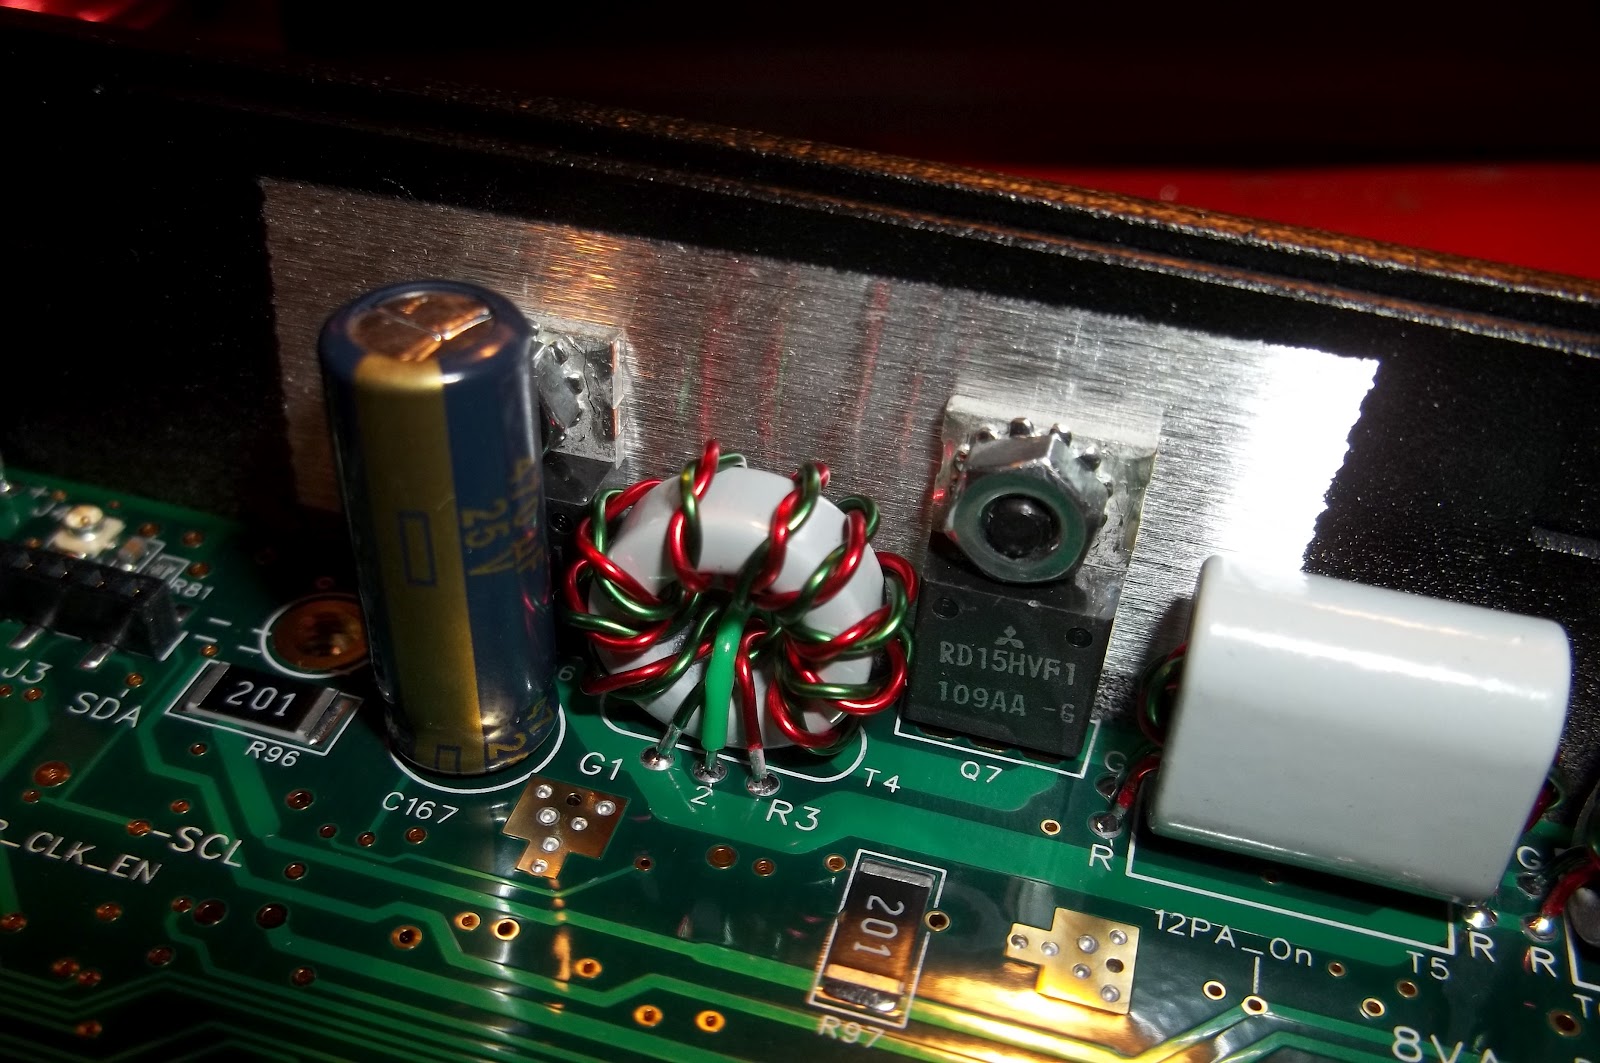
Here’s the two final transistors tightened down to the chassis/heat sink area. This is another area where you have to be careful as Elecraft makes sure to mention (with a big caution) not to disturb that electrolytic capacitor.
So far this has been real easy as kit builds go. The assembly manual is superbly done. The hardest part so far was installing some nylon screws for the rubber feet. You want to make sure you get the screws started at exactly the right angle so you don’t end up cross threading or otherwise mucking up the screw threads.
And except for that one silver screw at the bezel, I have been able to make do and keep the build going using those extra screws I had left over from my K1 and K2. Kudos to Elecraft for basically staying with the same hardware so that my “junk box” screws blend right in. The hardware that I have coming from Aptos will go to replenish my “extras”.
The bad side of all this ???? This is really making me want a K3 now! Maybe if I sell off some of my baseball memorabilia collection …………….
72 de Larry W2LJ
QRP – When you care to send the very least!
2 Responses to “Onward”
 Ham Radio Deluxe |
 W5SWL Electronics |
 Ham Radio Prep |
 KB3IFH QSL Cards  Hip Ham Shirts  HamRadioAuctions HamRadioAuctions Reliance Antennas Reliance Antennas Enigma Shop Enigma Shop |  morseDX  Ni4L Antennas  R&L Electronics R&L Electronics antennas.us antennas.us QRV QRV |
- Matt W1MST, Managing Editor

Thanks for the pictures, hope all goes well with the build.
Can you tell me who is Aptos? I did a google and could not
find any info.
Have a great weekend and enjoy your first QSO.
Marshall
Marshall,
My apologies! Sometimes I get carried away when I write. Aptos is the town in California where Elecraft is situated.
Thanks for reading.
Larry W2LJ