 |
| KBPF3 board |
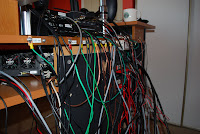 |
| The mess |
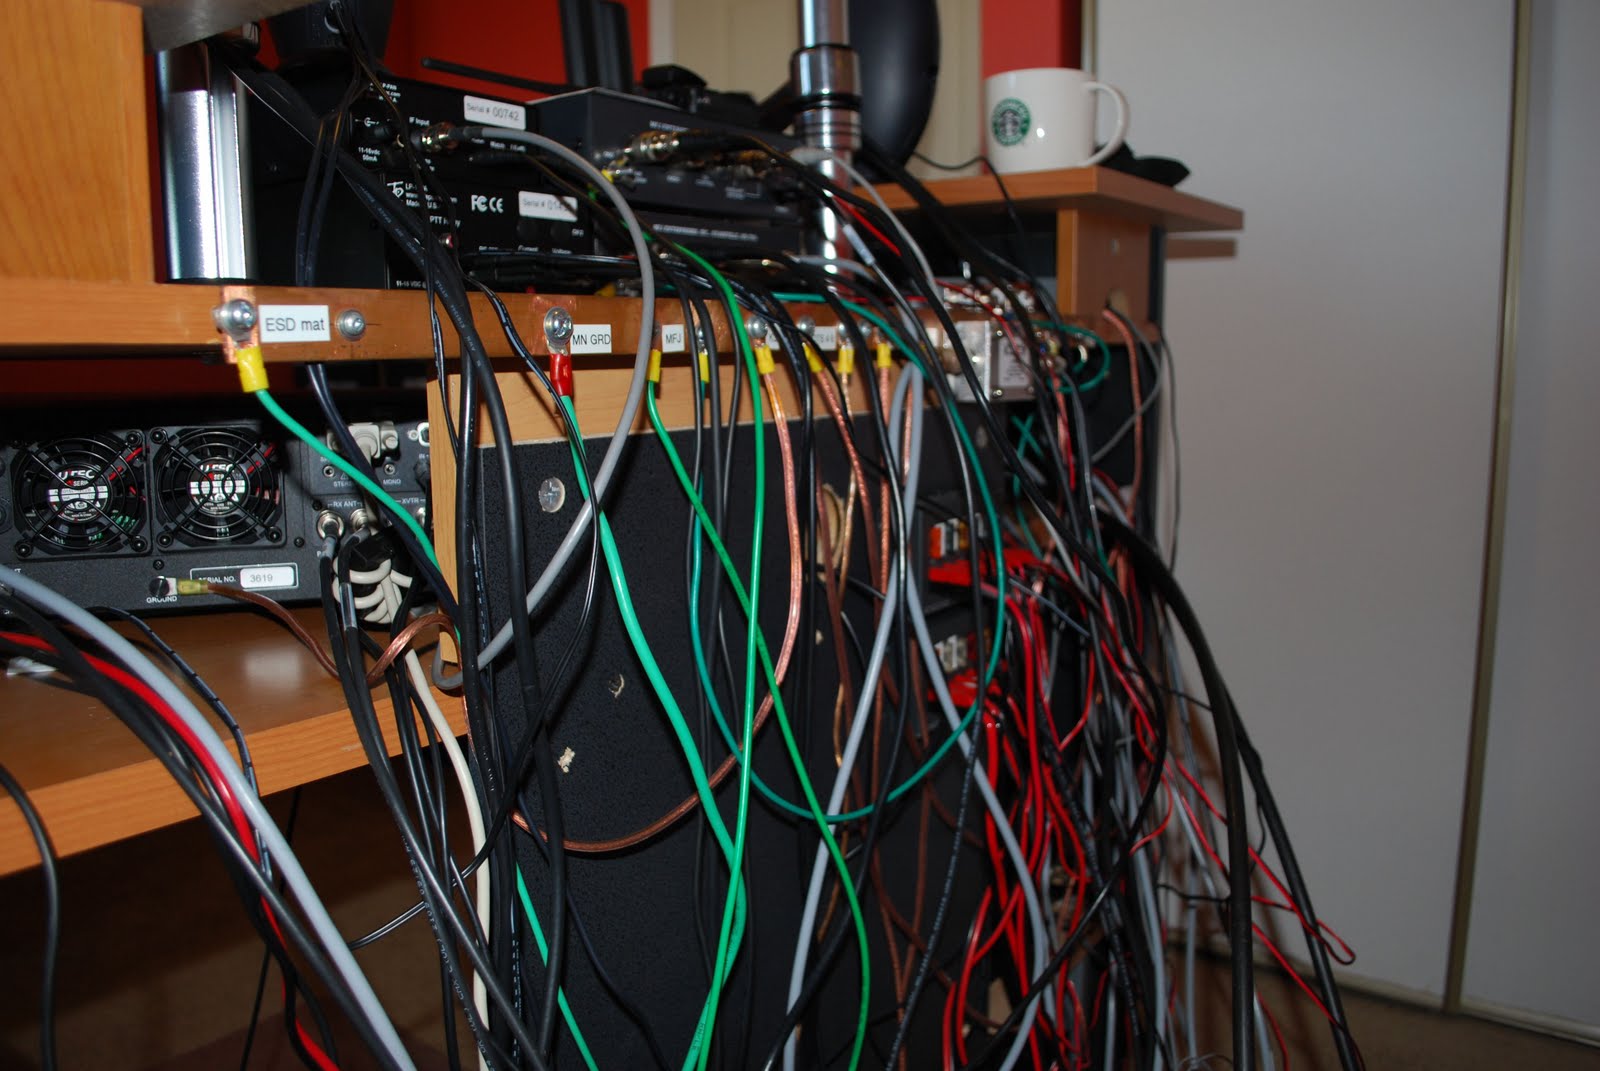
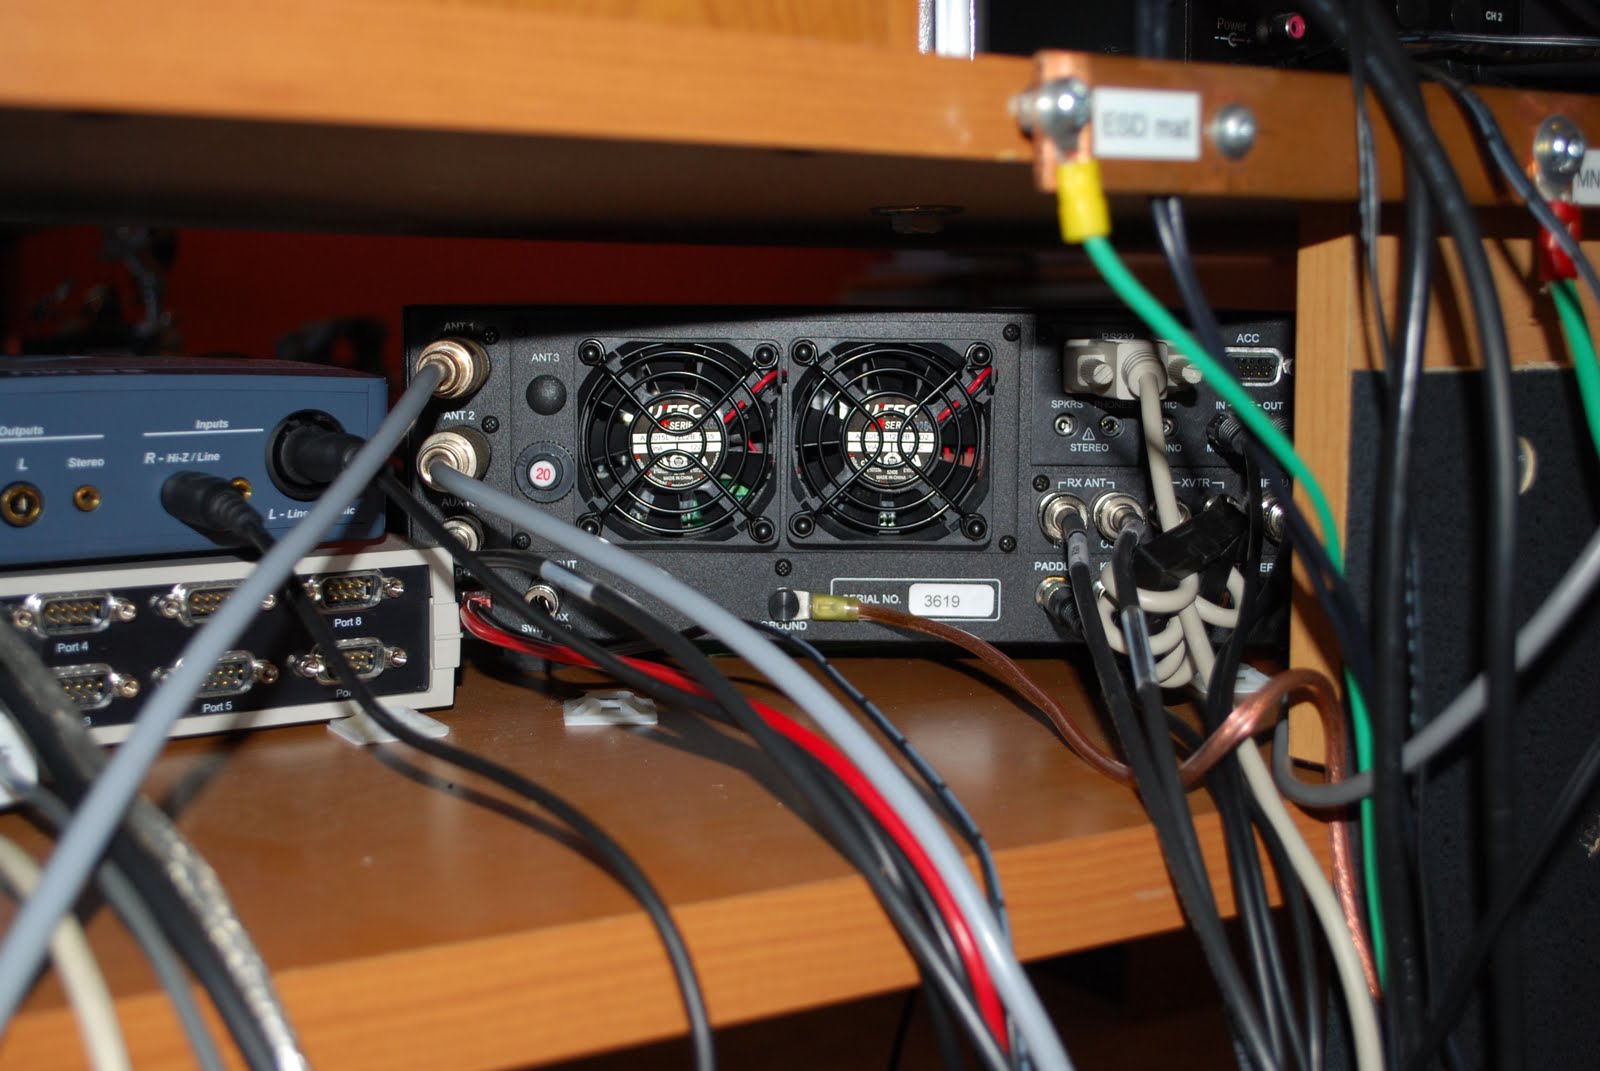
About 2 weeks ago I emailed my order into Elecraft for the KBPF3 general coverage board. It arrived on Thursday and was placed off to the side until Saturday. I did my reading to familiarize myself with the installation. It seems I was not familiar enough as I made an amateur mistake but more on that later. My K3 has the sub-receiver installed so I have the choice of putting the general coverage unit in the main or sub receiver. I choose the main receiver. So the first order of business is to get the work bench all cleared off and get the K3 on it. That is easier than it sounds as the back of the radio desk is a snake of wires and cables. Before taking ANY cabling comes off the K3 I made notes of where all the cabling came from and went too. In the past it was delusional of me to think I can just "remember" where all the cables went on the
 |
| K3 hookup |
back of the K3. So it was off to the bench with the K3 and the ESD band went on!! Removing the top cover was very straight forward and exposed the insides of the K3. Now I don't know about you but I am never thrilled about digging into the K3 and adding and removing parts. The Sub-receiver was the first item to be removed. There are 3 TMP coaxial cable connections that have to be removed. Unfortunately I have nice fat farmer's fingers I managed to remove the cables and pull the sub-receiver out. This exposed the main K3 board where the KBPF3 was to be installed and a new 8 pole
 |
| Top cover off |
6khz filter to be added. The general coverage kit came with 2 standoff's for mounting the board but in Elecraft's wisdom the standoff's were already on the main board.,so that was one step I could forget about. The KBPF3 board fit into place very smoothly the only concern was mating the KBPF3 connecting pins to the main board. That was done by feel and was only known if it was done correctly when the stand offs on the main board matched the holes on the KBPF3 board. Then it was time to install the 6khz 8 pole inrad filter. The filters have to be installed from wide to narrow. This meant it
 |
| Sub-receiver |
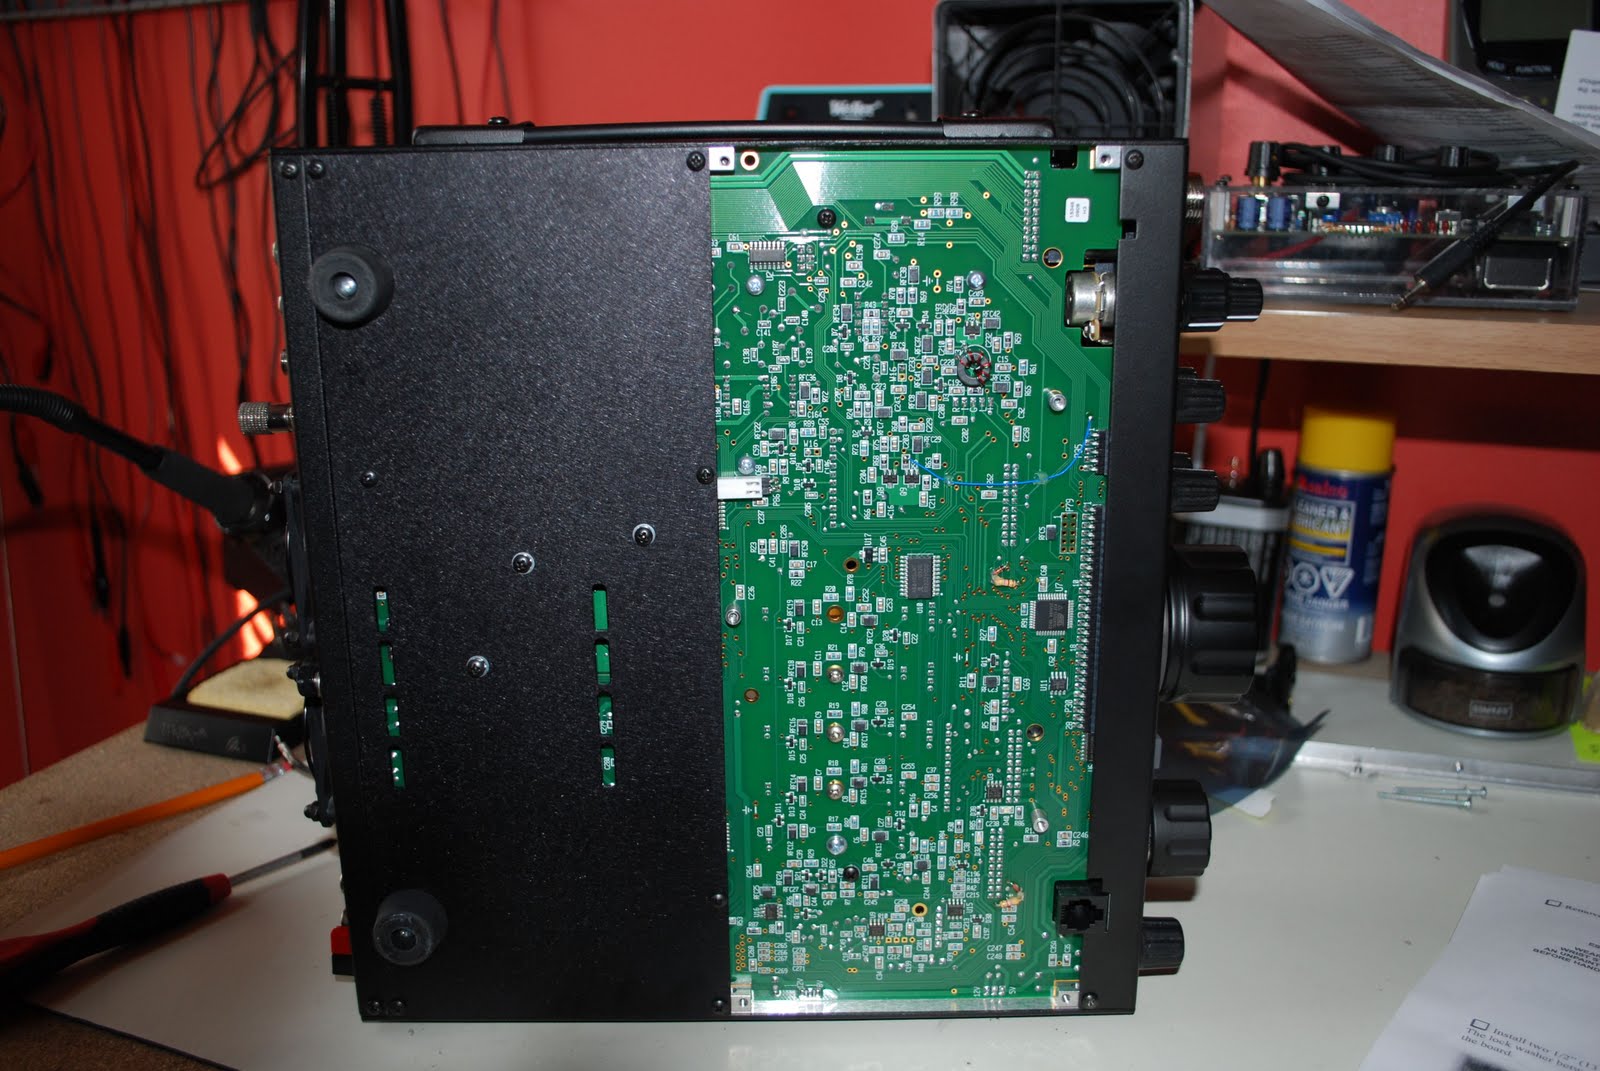
was time for me to move filters around to accommodate the new wide filter. Removing a bottom cover was in order to expose the filter's fastening screws. With the KBPF3 board in, sub-receiver back in....just a note of caution make sure the plastic cover is on the battery on the K3's main board. If it inadvertently came off and was left off it will come into contact with the sub-receiver's case and that is not good. Next all the covers went on
 |
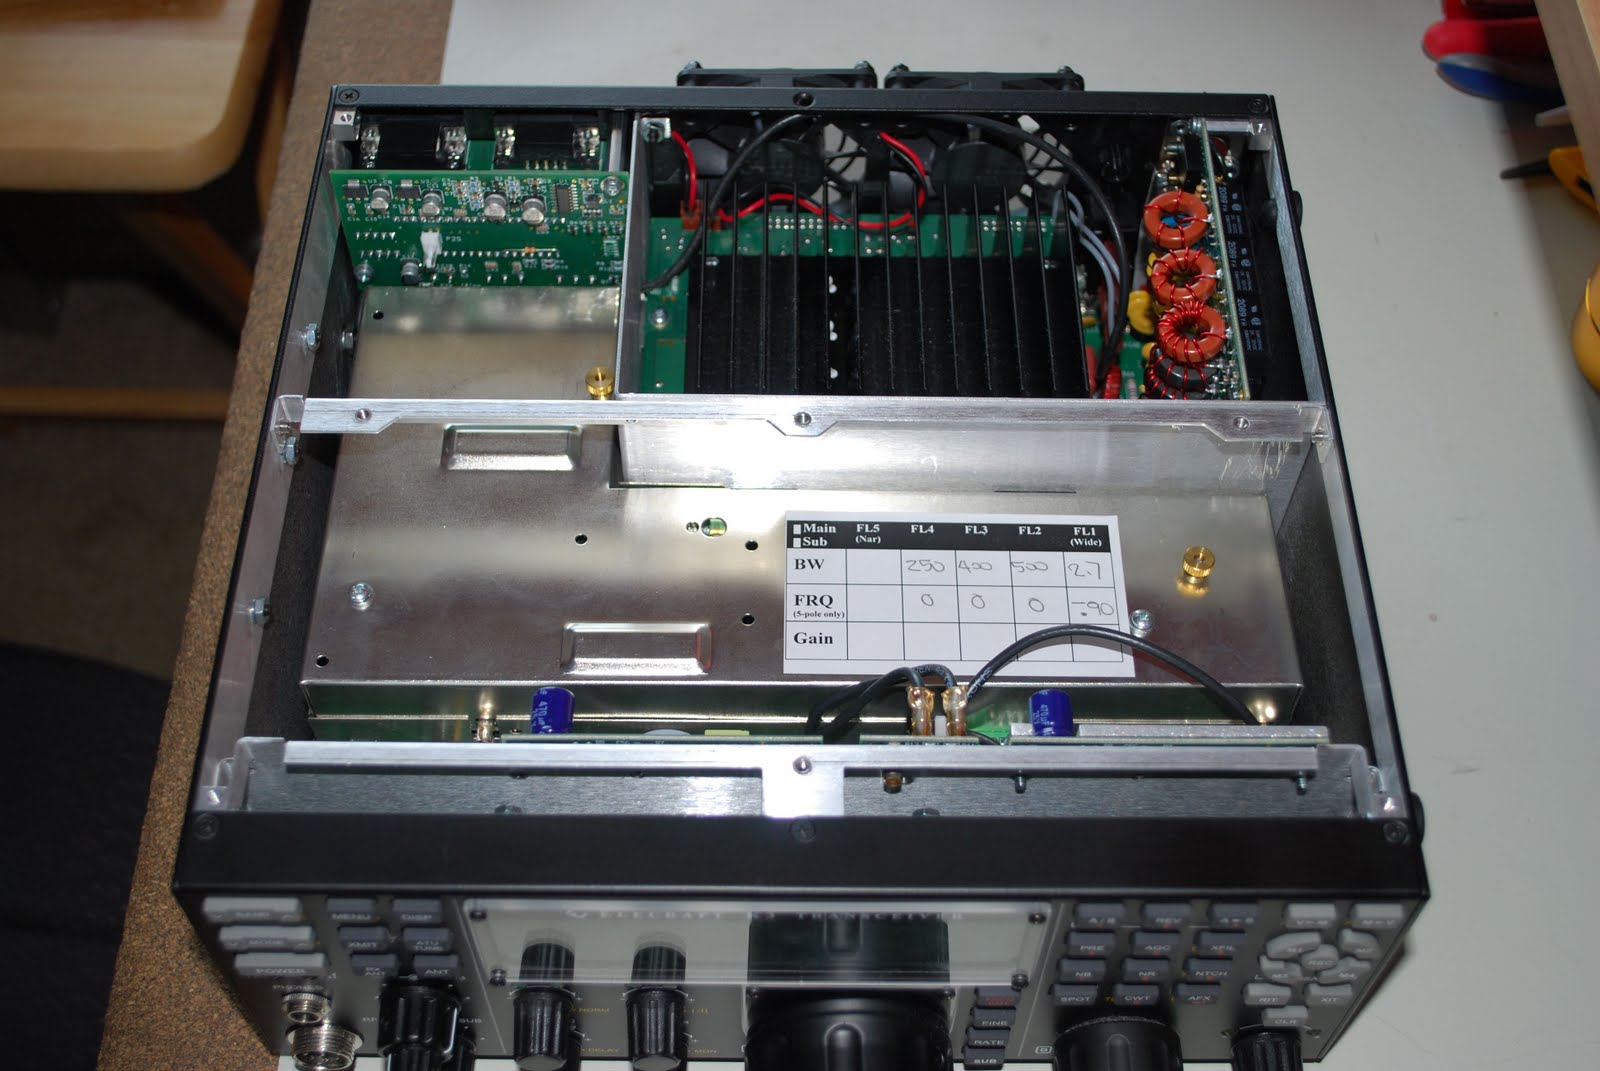
| KBPF3 installed |
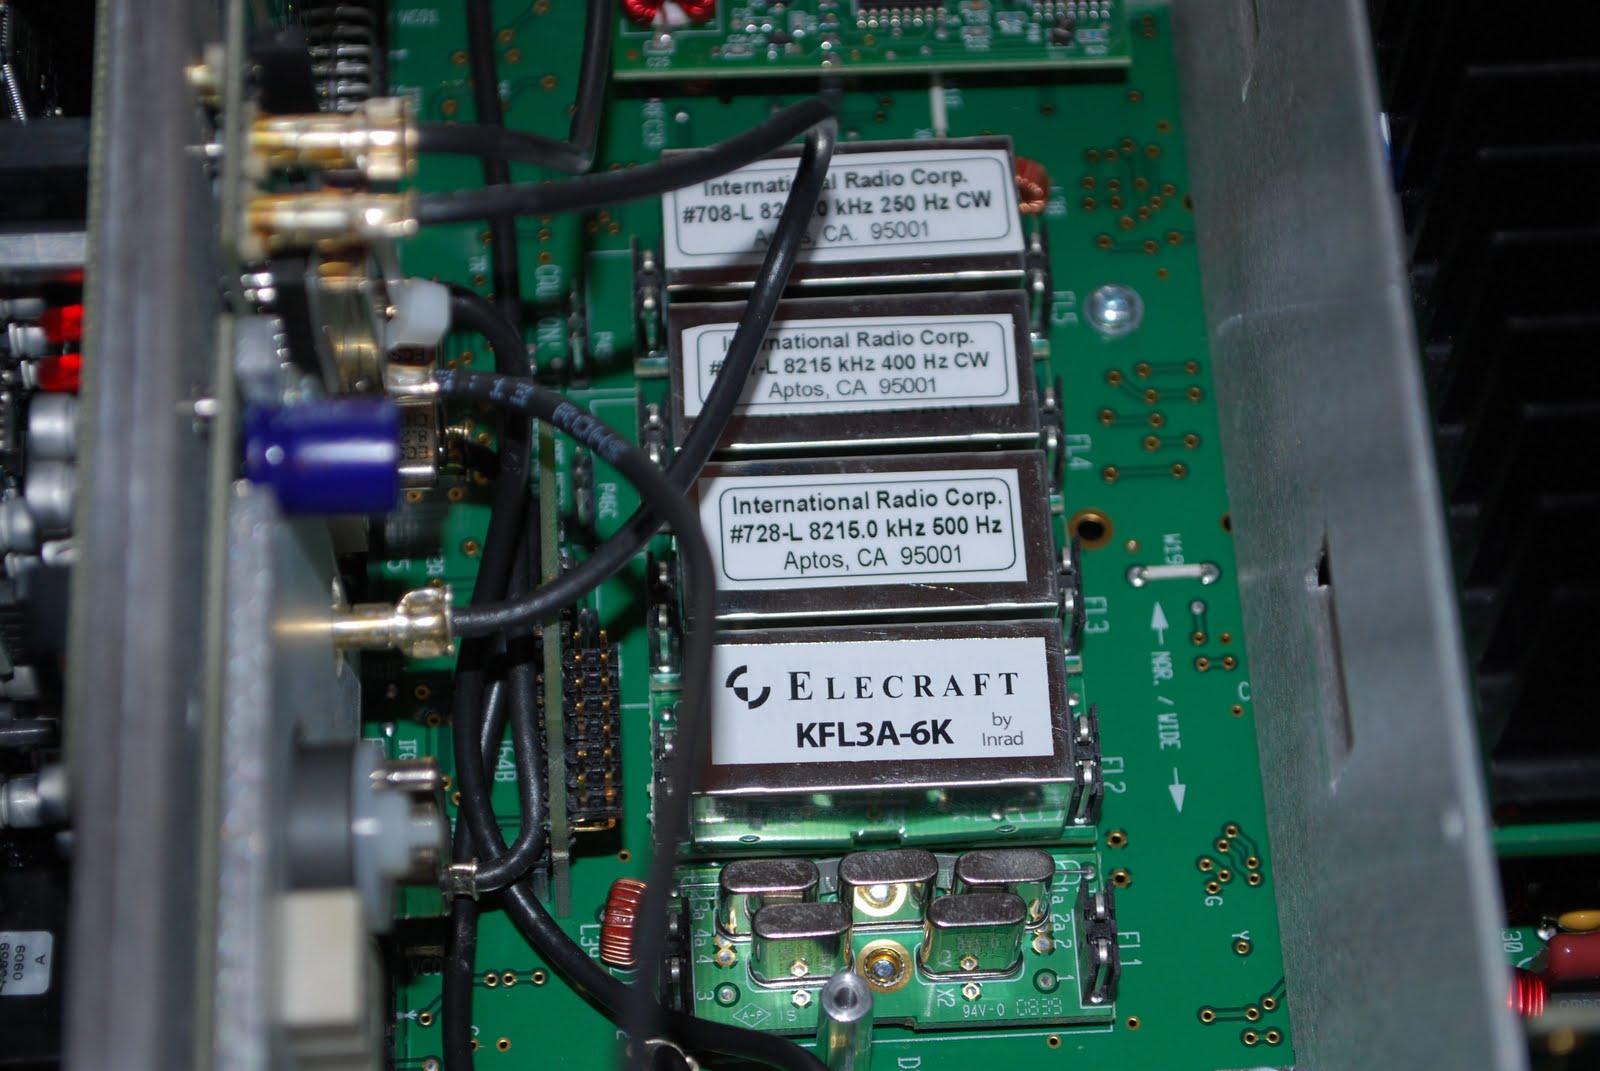
and it was time to hook the radio up and turn the general coverage board on in the K3's sub-menu's. Also setup the new filter within the elecraft software. This is when it hit me....I MADE A VERY AMATEUR MISTAKE!! The filters have to be installed wide to narrow bandwidth. I checked out my pictures and sure enough for some reason (brain dead
 |
| Note the wrong order of filters!! |
moment) I have the 6khz filter after the 2.7khz filter. I have not done it yet but I have to take the whole radio apart to switch the two filters around. After that mistake I stopped for the evening I won't check out the general coverage until the filters are switched around.
 |
| Bottom cover off |

 Installing Elecraft’s general coverage option
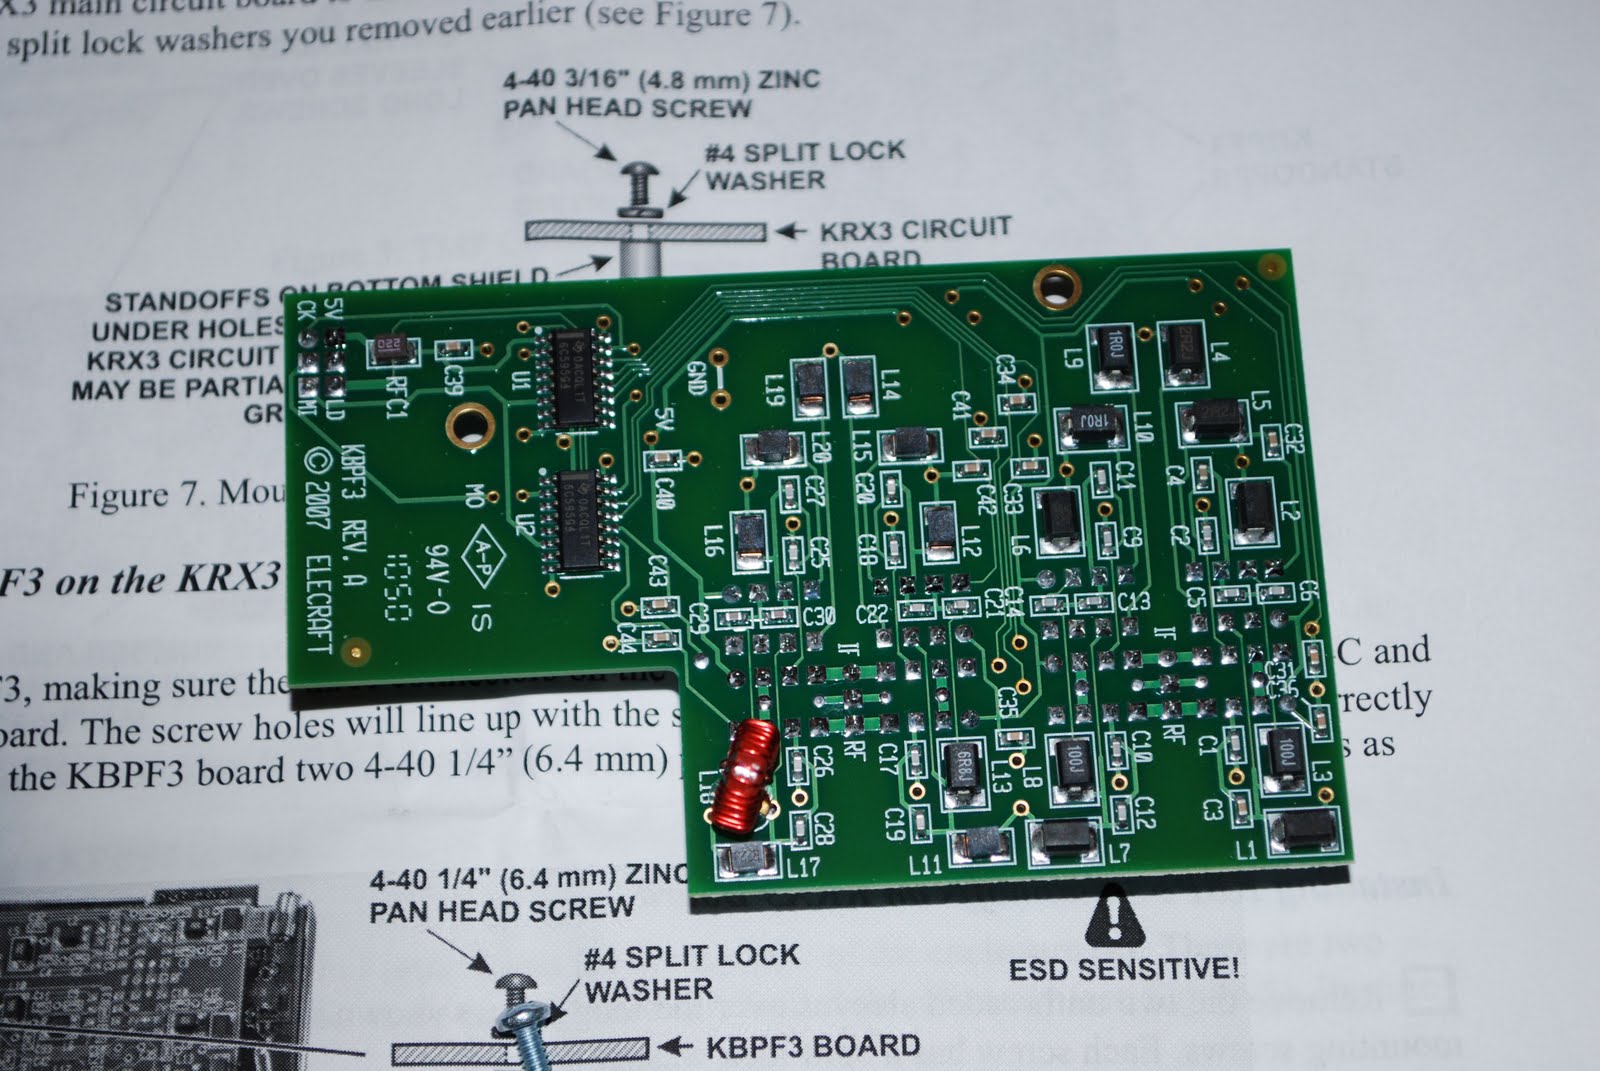


 HamRadioAuctions
 Reliance Antennas
 Enigma Shop

 R&L Electronics
 antennas.us
 QRV
QRV