Author Archive
 The Icom 7610 is here!!

The long awaited Icom 7610 is now available, the spec’s on this rig are very impressive. I would say that for all this rig offers it is priced VERY COMPETITIVELY! I won’t list the spec’s just provide this link that gives you the run down……..see what you think?

WOW those high end rigs!!!
Had some time today and for some reason I had a look at the top of the line dream HF rig's. First off is the Elecraft K3S with the contest and DX package priced at 5900.00 (all prices in Canadian dollars) to be fair to all the other high end rigs you would have to add a power supply bring the price in at 6050.00.
Next in the line up is the Kenwood TS 990S priced at 7995.00 ( or as I like to say 8,000.00) for the price this is a nicely packed rig and unlike the Elecraft or Flex radio it does not need a power supply. Like the Elecraft you get 2 independent receivers but you get the added bonus of 200 watts of juice to send out your call.
Moving along to the Flex radio 7600-GPSDO in at 10,800. This rig is the top of the line for Smart SDR rigs and the one feature that sticks out to me is the 8 slice pan-adpater. Having said that just a bit of over kill for me. Here is a link for all the features of this amazing Smart SDR rig. This rig also needs a power supply so I will add another 150.00 (same supply that was priced for the K3S) now you are looking at 10,950. The price does include the GPSDO module which is not cheap and also this rig has VHF an option not included in the K3S price.
Icom has a heavy hitter when it comes to high end rigs and it's the IC-7851 and a break the bank price at 17999.00 ( or.......you got it 18000.00) It does have a great TFT display, two receivers and 200 watts out.....but really 18,000.00 freaking dollars!!!!
The Yaesu FTDX-9000MP comes in next at 14,500.00 as with the other rigs 2 independent receivers and a whooping 400 watts output.......oh hang on just been checking and the 9000 and 5000 series rigs have been discontinued by Yaesu!!! The only rig that is left for the high end category is the FT DX 3000 at 2499.99 (lets call it what it is 2500.00).
Please correct me if I am going down the wrong path but I think Yaesu may has seen the light in that the cost to produce the very very high end rigs is just not drawing the sales to make it profitable? Now the DX 3000 rig is (in my humble opinion) a mid range rig and hopefully Yaesu will produce a rig above the DX 3000.....independent receiver and so on. BUT maybe Yaesu has taken a step back to move forward with a "high end rig" that is within range of more hams.
In closing as my readers know I am an Elecraft nut!!! Not to be tooting my Elecraft horn but they do have a great concept and that is you purchase a radio and in time add to it. The purchaser may add to the rig in time maybe due to budget restraints at the time or maybe your ham experience changes and you may want to dive into the digi modes or VHF.
In conclusion I just can't understand rigs that cost 18K or 10k for that matter but as I said before this is my humble opinion.
HAPPY NEW YEAR…..I have a plan

CW key dilemma
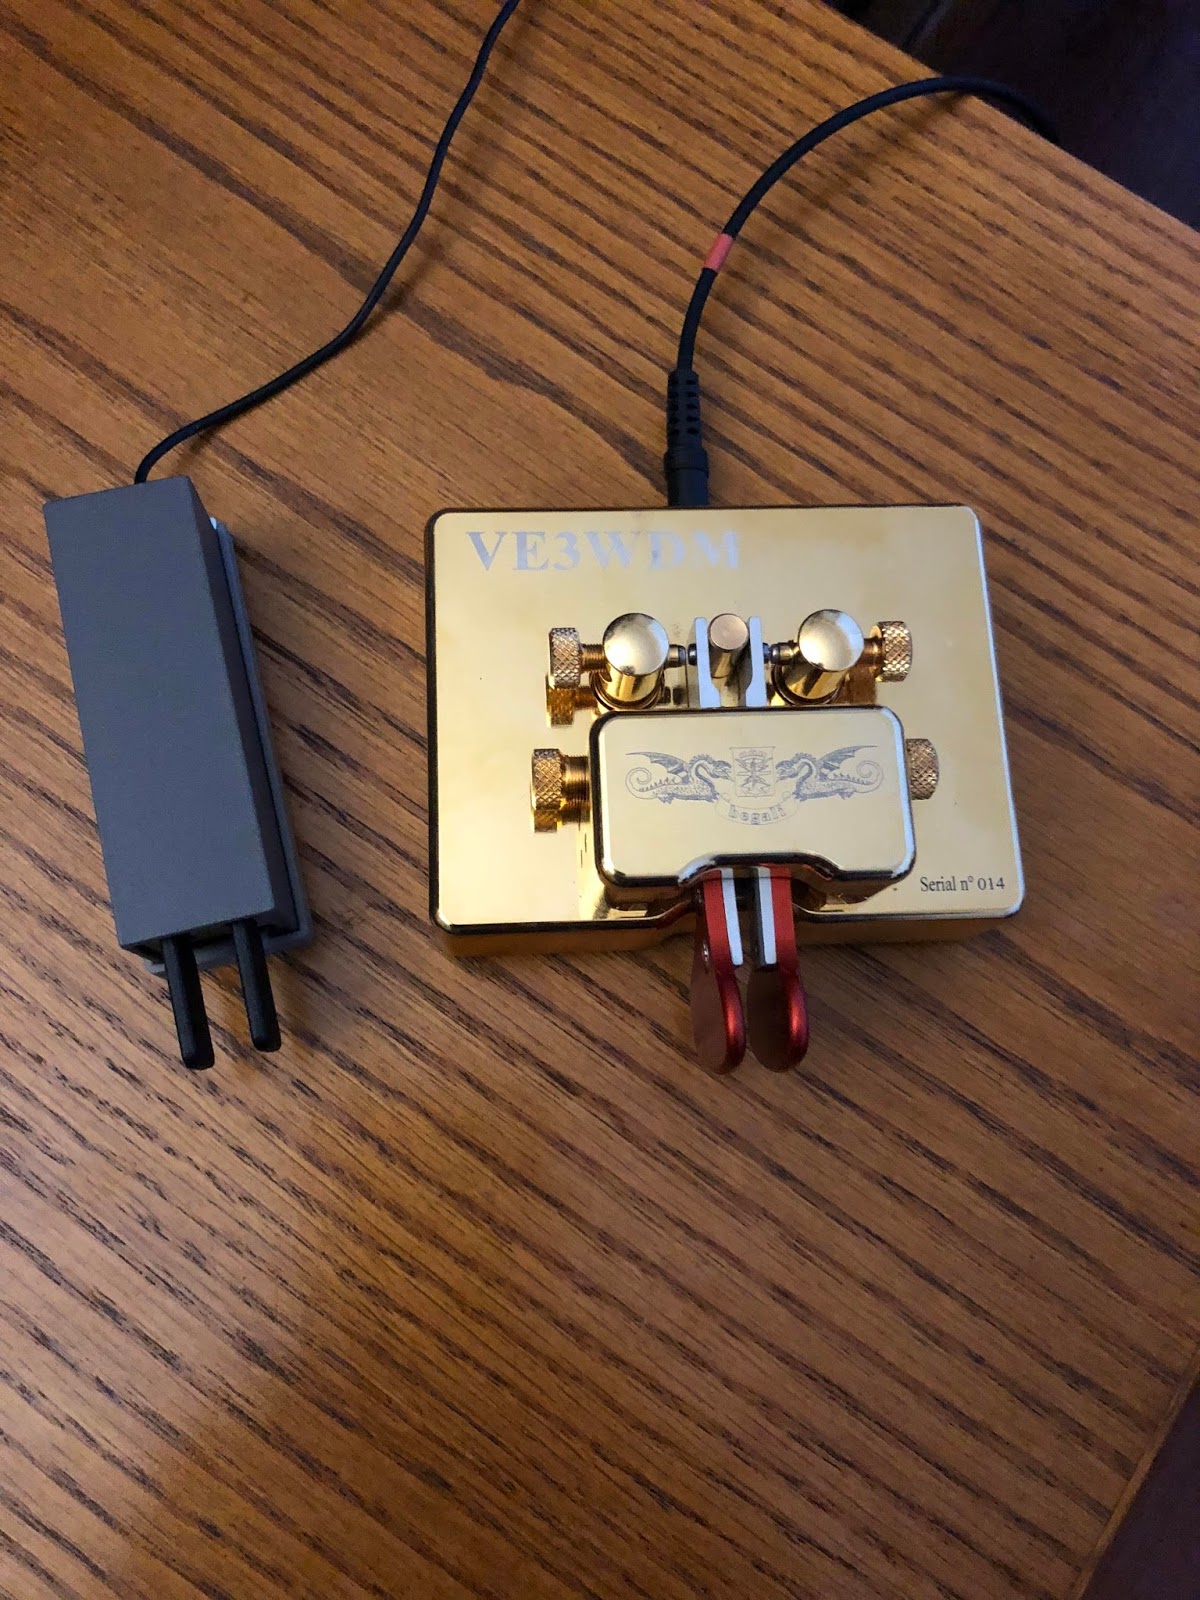
Some time ago I purchased a Begali Key, the Contour key. I have read lots about having a good key, of how it makes sending the code an art. I have to say that from day one the Contour key and I have had a love-hate relationship! The craftsmanship of the key is next to none as are all of the Begali keys. I am not sure if it's just this key or the contour keys but for way to long when ever I use this key I send extra dots and dashes or the spacing gets screwed up. I used to think it was just me and my sloppy fist until I did more portable op's and used the Mini Palm paddle. I just never seemed to miss a beat with this paddle there was no extra anything and the code was very smooth all the time. I have contacted Begali and exchanged many emails about adjusting the key, cleaning the contacts on the key and spacing the contacts on the key. It just seems to be the same old frustration with the Contour key. When I got on the radio today for the RAC contest I started out with the Begali key and after sending some very simple but very embarrassing exchanges I switched to the Mini Palm Paddle and exchanges were sent with not one error. I would put the Begali key up for sale in a second but it has my call engraved in it. I still think nothing can be said for a good quality key but it seems the Begali Contour is just not for me.
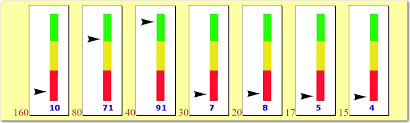
Where has the site Band conditions gone?
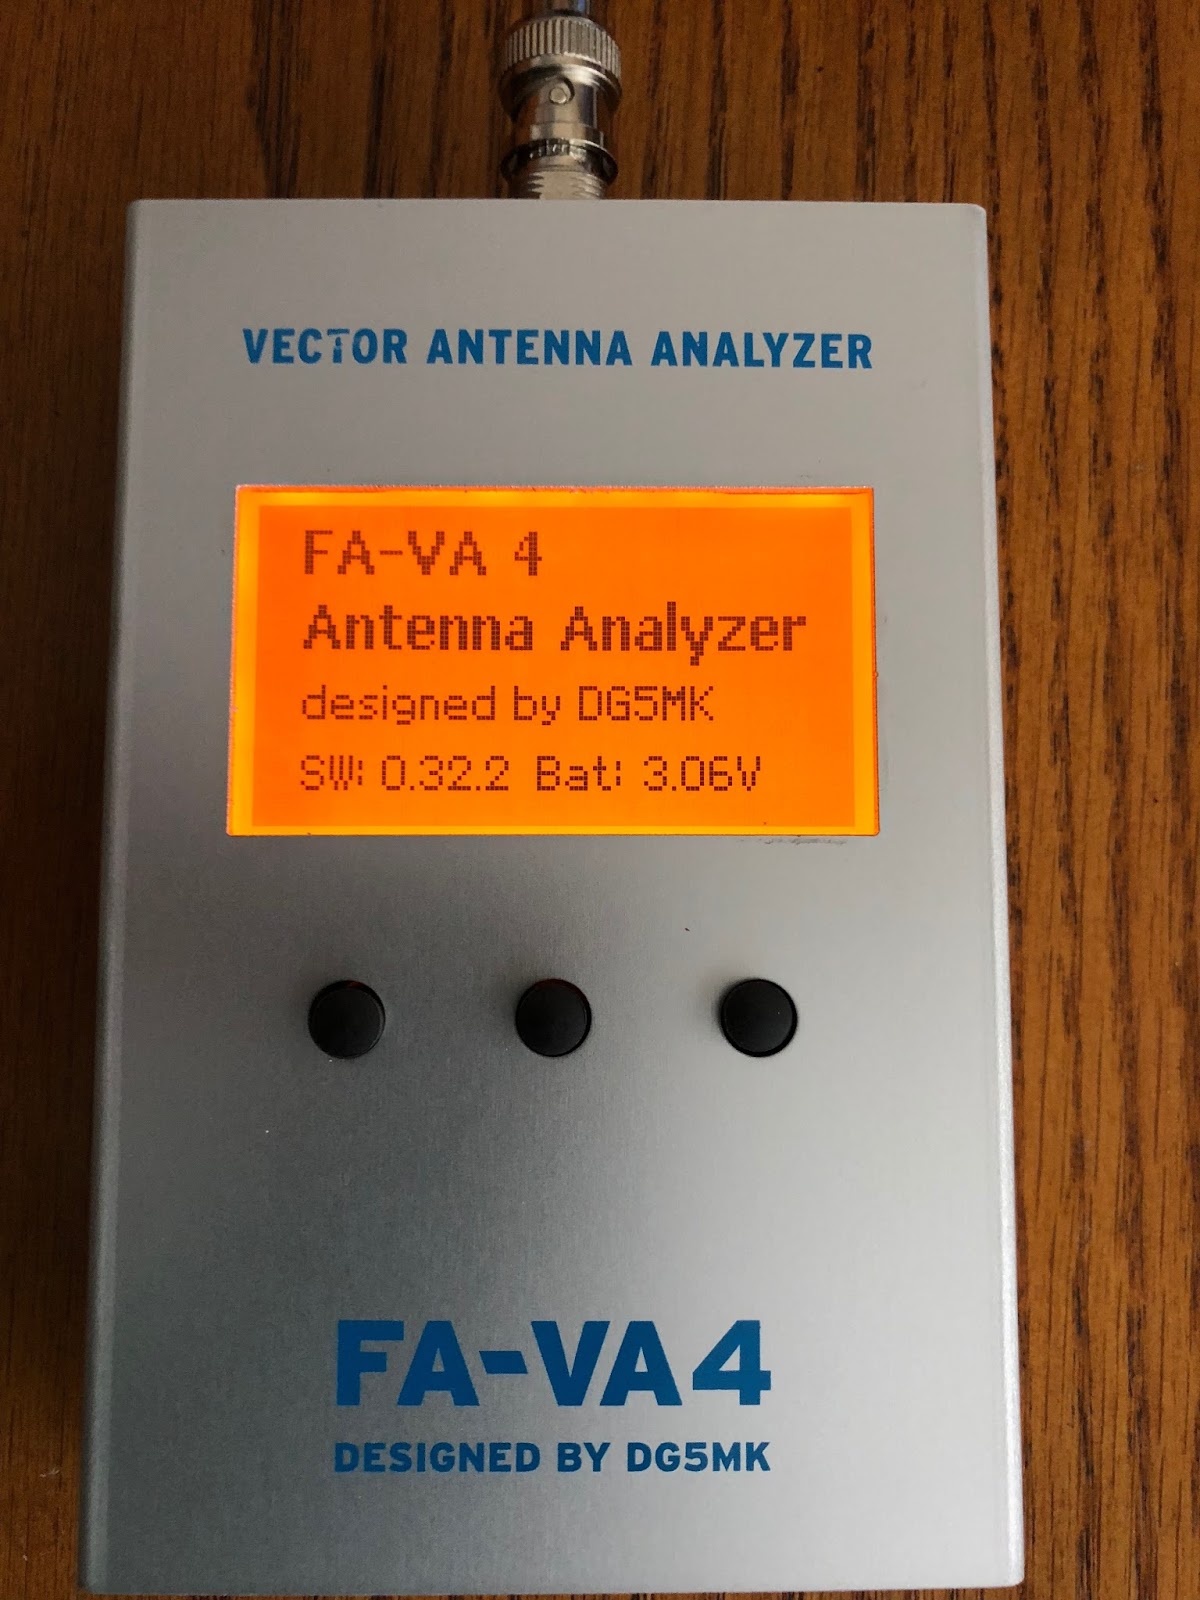
FA- VA4 antenna analyzer kit.
 |
| The condo kit corner. |
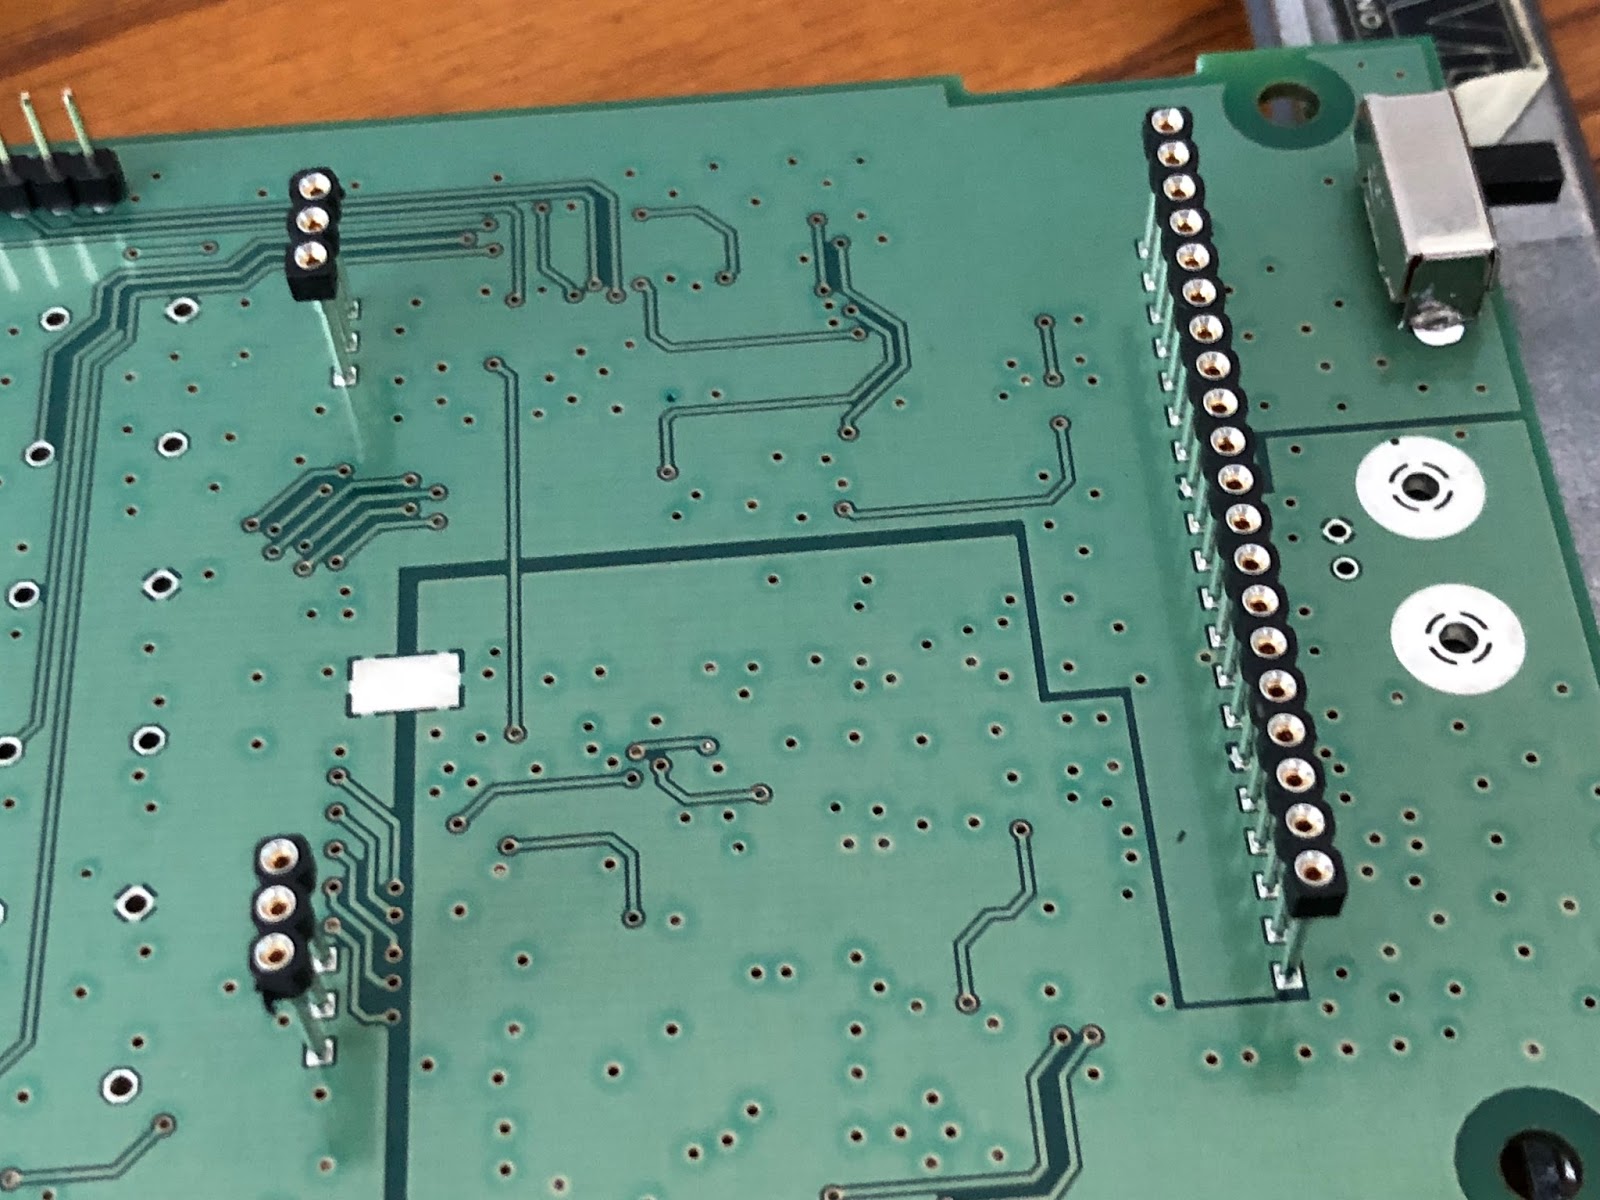
This kit does have SMD parts that I said are factory installed BUT some of the items that the builder needs to install are very close to some SMD parts. This brings me to another important part of kit building....spend the money to get the right tools for the job. In this case my Weller WES51 has a large variety of soldering tips. I find the fine chisel tip (Weller ETM) worked great for soldering the LCD terminals, the larger tip for the BNC connector (Weller ETD) and finally the intermediate tip for the components beside SMD parts( Weller ETB).
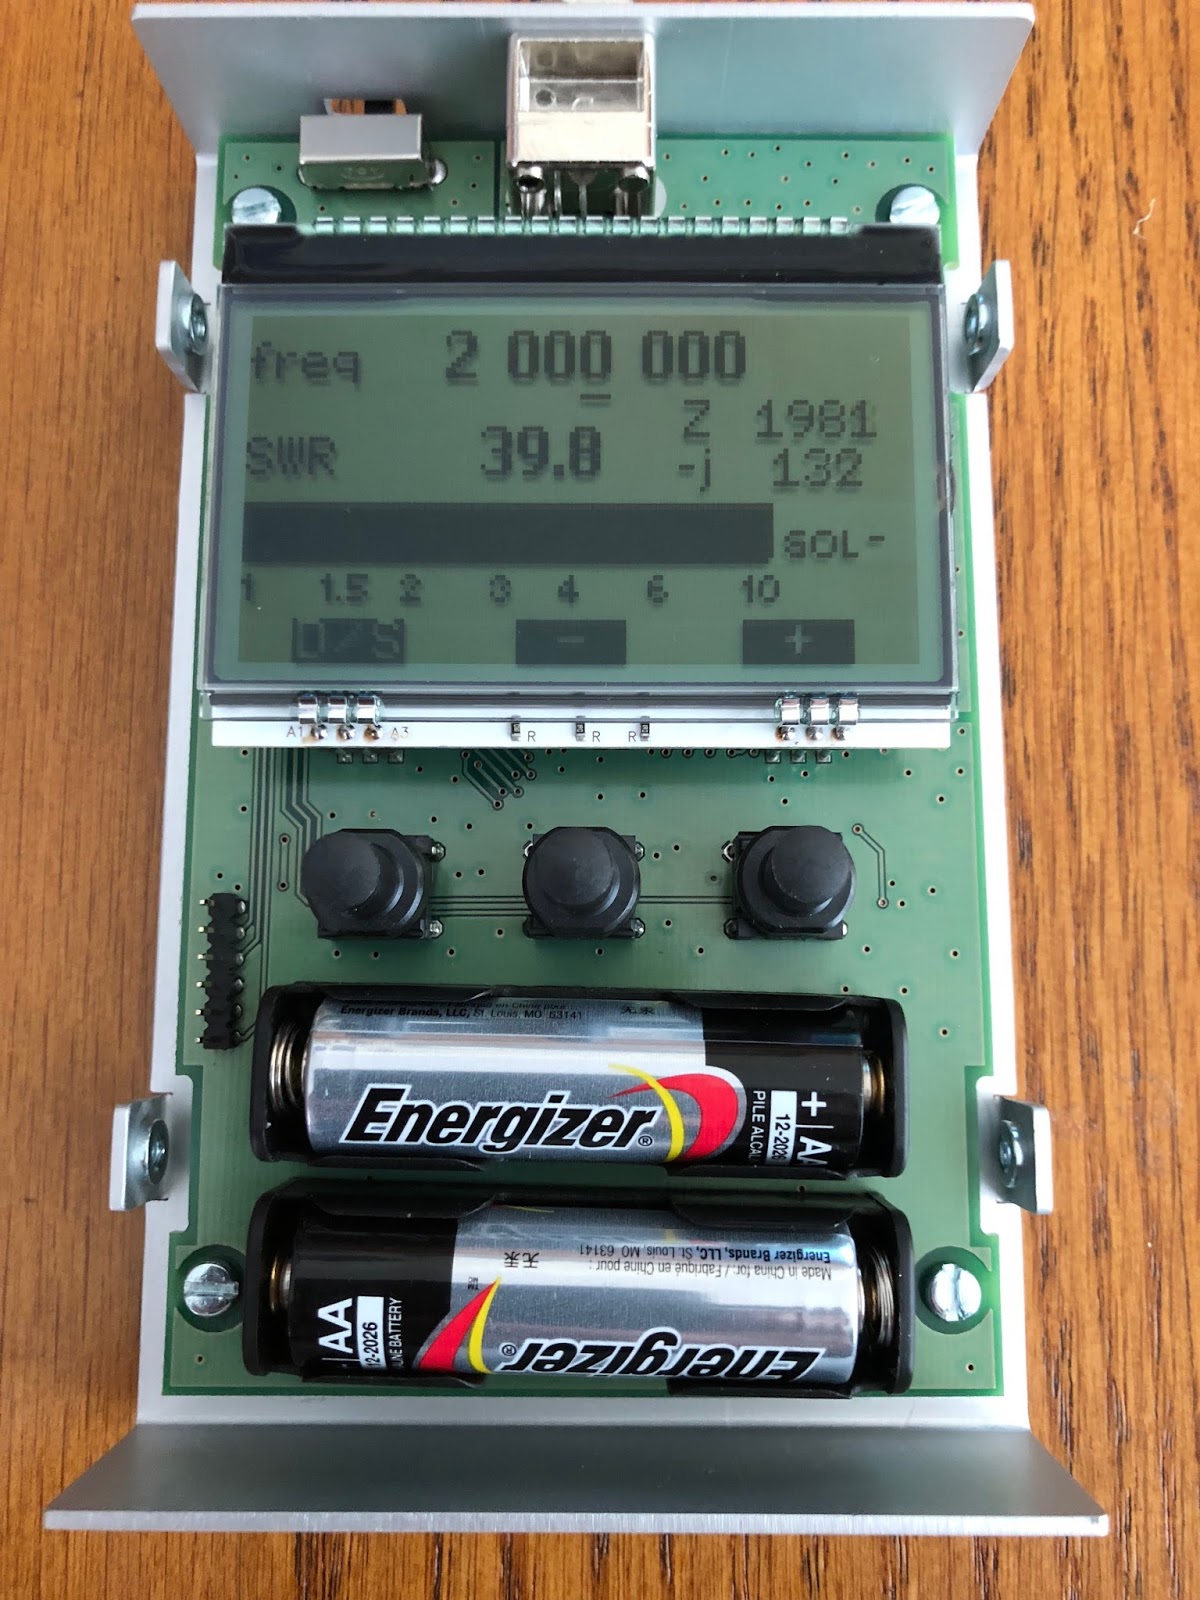
The instructions had me installing the ON/OFF slider switch first and this was a great start for this old rusty kit builder. I then moved onto the 3 rails in which the LCD would eventually plug into. You will notice from the picture these are raised up on the board. Each pin has a "collar" so the rail will be at the proper hight but the builder has to be cautious and make sure the rail is firmly seated and upright and straight. One rail is 20 pins and once it's in....it's in! In the past I have had to remove these types of components due to my own lack of attention. IT IS NOT FUN and I have a Hakko desoldering tool which make desoldering a pleasure but even with that tool removing a 20 pin rail is not fun at all. Take the time to set these parts up for first time correct soldering. My method was taping the rail in place, solder the 2 opposite end pins, check for upright correctness and firm seating on the board. If all is good solder the remaining pins. The other components were easy to solder in place when using the proper tips. I have a magnifier head set and use it to make sure all connections are soldered properly and that all were done. You would be surprised how many times when multiple pins are involved how easy it is to miss a pin. The LCD needed to be soldered to the backlight, it involved a 20 pin connection on one side. The instructions said I only "had" to solder the 2 outside pins. I chose to solder all 20 and then on the opposite side of the LCD there were 2 sets of 3 pin connections that need all pins soldered. To make sure the LCD was firmly against the backlight I used some tape. Once the LCD was ready to go again I took time to inspect the pins that were going to plug into the 20 pin and two 3 pin rails. I did find one of the 3 pin setups ups on the LCD was bent! I corrected this but if I failed to see this could had resulted in broken or bent pins.
There is two AA battery holders that need to be soldered in and all I can say is check and double check this. Mixing this up polarity can bring smoke to the smoke test. Believe me it can happen. One of the Elecraft K2 kits I put together almost ended in disaster when I was not paying attention and soldered up a power cable with Anderson pole connectors. I soldered red wire to Anderson black connector and black wire to Anderson red connector. It gets better.....I then plunged it into the K2 and powered the K2 on!! The Astron power supply made a noise and both the inline fuses on the main Astron power supply blew. I was very luck and now double check everything.
It was now time for the "smoke test" and I was so proud of my first kit in over 4 years I had my dear wife Julie come over for the ceremony.......I flipped the switch and........yup you guessed it...NOTHING!!!!! Yup nothing.....but no smoke and that is a good sign. Julie giggled and moved on to other tasks. I made a mental note to always solo a smoke test and avoid the embarrassment. The problem was one of the AA batteries was not firmly in place. Once looked after the power on test was a success. I called Julie over for her to check out the kit but it just did not have the same excitement. That was it for the kit building for the day I still have to preform the calibration. Over all the kit was a joy to put together and by way of some side notes. The case is a brushed aluminum with attention to detail such as counter sunk screws for securing case, the LCD and buttons lined up perfectly and a nice touch was not having stick on rubber feet (that always over time seem to come off and get lost) This kit came with pull through rubber feet. I still have to calibrate the unit and actually use it but that will be another day.
 |
| Completed kit |
 |
| Smoke test |
 |
| Bent LCD pins |
 |
| Supporting the 20 pin connector. |
 |
| Completed LCD pins |
Another day of outdoor op’s
 |
| The view from my other spot along the lake |
1. WA5OVB Phil's IC 7200 was doing a great job picking up my portable signal I gave Phil 579 report and I was given a 569 with some QSB.
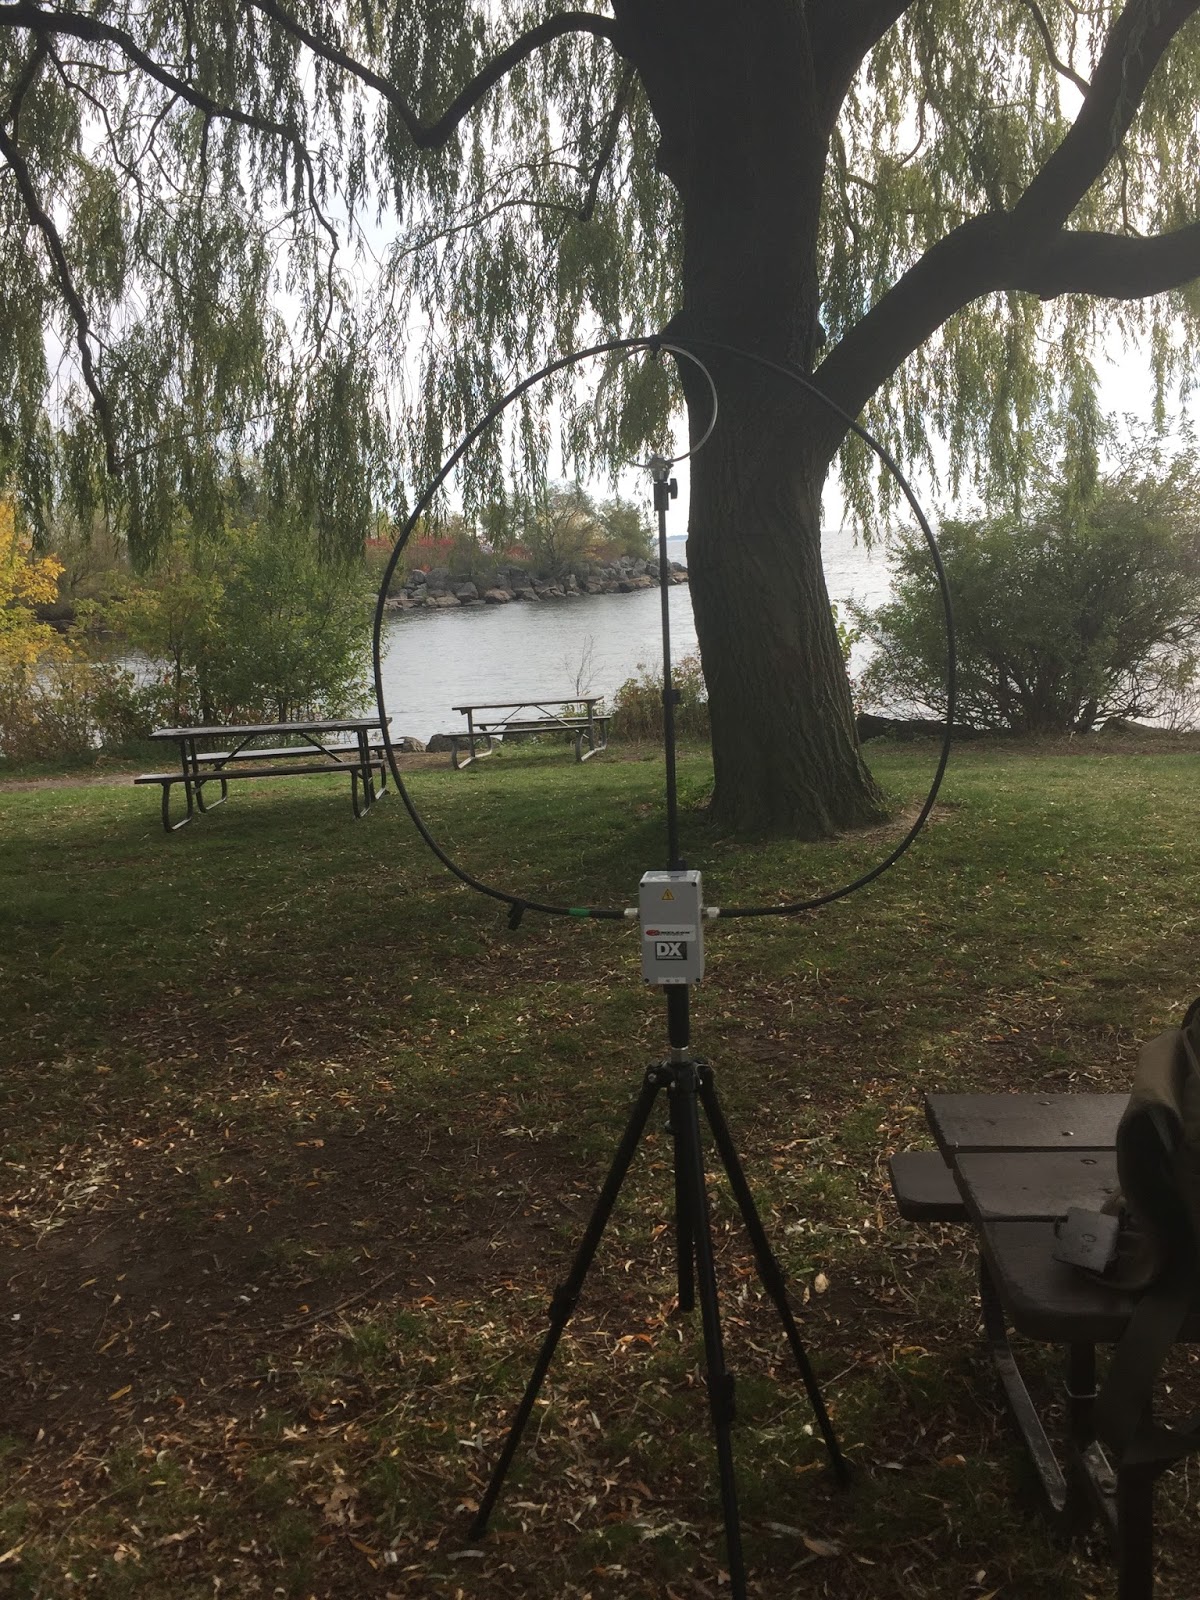 |
| The Chameleon CHA P antenna setup |
2. KW7D Paul's signal was strong, he was in New Mexico where the weather is much more pleasent than it is going to be up this way. Paul was calling CQ and I was able to catch his attention with my portable signal.
3. K3PR is Joes call and we had a nice long QSO exchanging as much info as we could. At first my signal was in around a 229 but conditions changed and I moved up the scale to 559! Joe and I had a nice QSO about antennas, rigs, WX and just what we were up too.
I did hear a station 4U1A the United Nations in Austria and when I first heard their CQ call they had not been spotted and I was trying to get their attention from my portable setup. I did not have any luck and even less luck after they were spotted and the pileup began.
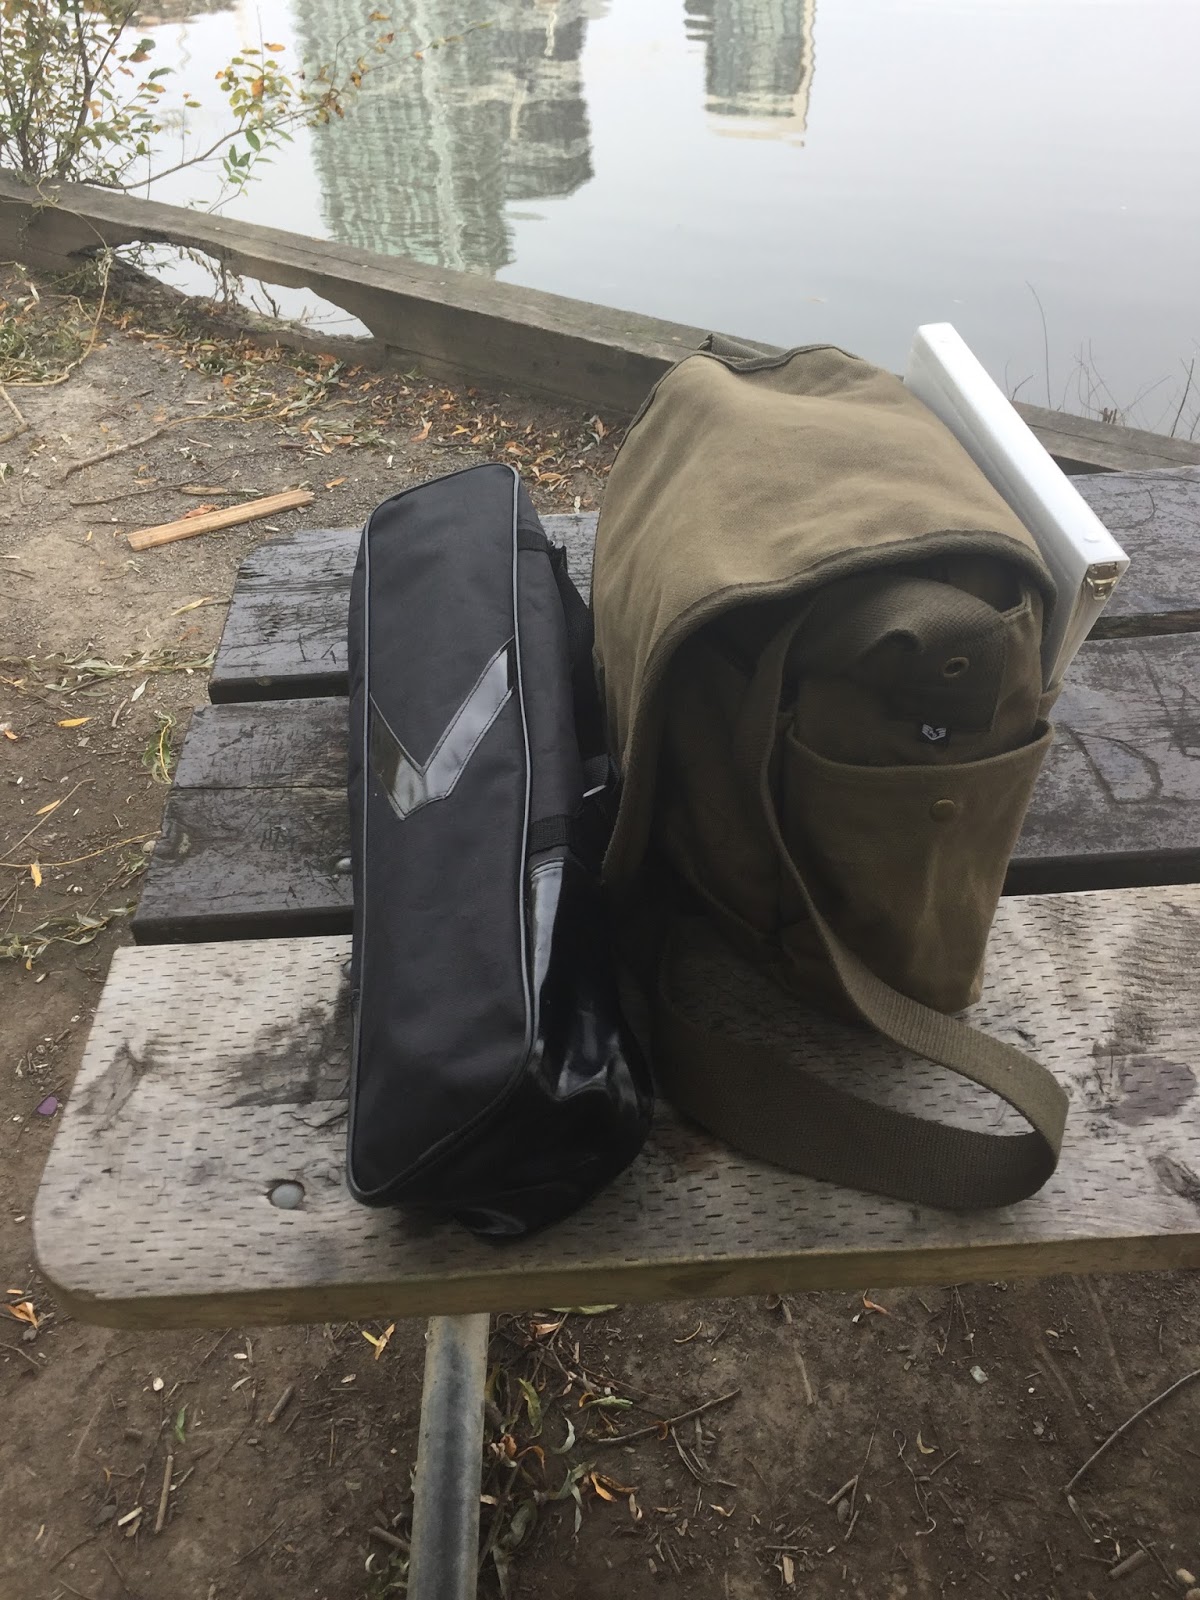 |
| Things pack up very nicely. |


