Posts Tagged ‘workbench’
 VE7BPO ‘Popcorn’ QRP / Home Builder

“The emphasis is fun. The hope is that it will attract new people to electronic design, measurement and experimentation. Hopefully, this site stimulates interest in QRP homebrew electronics.”
That's how Todd Gale, VE7BPO, described his website. Up until this past weekend, Todd site was one of the Web's premier sources of inspiration, accumulated homebrew knowledge and hands-on experimental wisdom. I was shocked to receive an e-mail from Todd explaining that the site would be taken down because of continued bandwidth / network struggles with his one and only choice of providers. It truly was sad news for myself and the thousands that regularly visit his site for guidance. However, all is not lost as Todd went on to say:
"....I will convert all the site files into pdf files and stick them on a download site sometime in the future. I may re-emerge with a small-scale site or blog at some point, but don't really know for sure."
Happily, today Todd has informed me that he will indeed begin a new POPCORN QRP blog in which he hopes to update with his benchwork descriptions that we have all come to enjoy.
I have listed Todd's blog site on My Blog List to the right but you may prefer to set your bookmarks for his site. Don't expect too much until later in the month as he is still working his way up the blogger's learning curve....hopefully we will see him back soon. Best of luck with your new endeavour...and, like the original website, I'm sure it will be great!
 |
| Courtesy: VE7BPO |
A New 630m Loading Coil & Variometer
I've decided, for the time being, to keep my 2200m (136kHz) antenna tuning system separate from the 630m system. This means that I'll need to build a new loading coil, variometer and impedance matching transformer. I'm not really sure why I should maintain the 2200m capability since there is not really much activity here. The only two excuses that I have at present are the fact that it took a heck of a lot of work to get to this point (but it was mostly "fun work") and that the U.S. may be getting the band soon. I'm also not convinced that even if the U.S. does get the band that it would translate into much new activity....so, for the time being, I will keep the system intact.
I've used an online coil calculator to design the coils needed for loading and for the variometer....it will be interesting to see how close the finished values compare with the calculated values. I hope they're not too far off! Here is what the plan calls for:

The main loading coil will be built on a low-loss 6" styrene pipe coupler using #16 solid copper transformer wire, spaced at 3mm. The coil will be elevated above the main form by strips of styrene rod that I have filed small notches into, every 3mm. The rod height will be staggered around the form, gradually stepping down one full turn every 360 degrees. Inside the main coil, the smaller variometer coil will be wound with poly-covered #18 stranded wire on a short length 3 1/2" PVC pipe.
Hopefully I'll get something that tunes from 130-230uH, approximately....if so, I'll not only be happy, but really surprised!
SMD Kits

I've been intrigued for some months now by the proliferation of SMD parts kits widely available from Asian manufacturers being sold on E-Bay. Resistor, capacitor and inductor kits, containing significant numbers of standard-value parts and in various sizes are being offered at attractive prices. With many sellers throwing in free-shipping, I find myself being tempted more and more to press the "Buy Now" key and fear that I will not be able to hold out much longer.
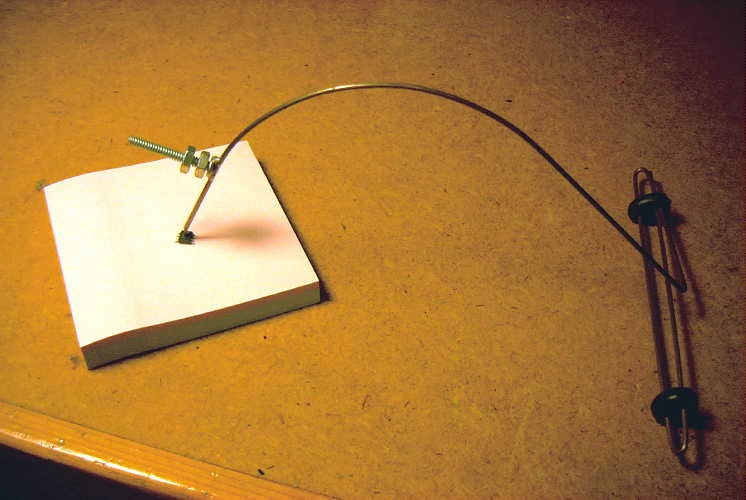
I have had limited experience with SMD parts, when building a small 40m QRP transceiver several years ago called the SMK-1. As I recall, it had 72 SMD parts....the bigger ones, 1206 size. I recall finding the assembly and soldering of these SMD parts to be somewhat tedious and less than enjoyable. I usually only soldered a half dozen parts at one sitting. After a few weeks of periodic assembly, I was delighted to see the circuit come to life once power was applied as I was definitely not looking forward to trouble shooting the board! Perhaps my technique of fluxing and the method of holding the component in place with a homebrew 'third-hand' device was not ideal or maybe my soldering iron was not properly sized for the job but I do have a desire to try it again.
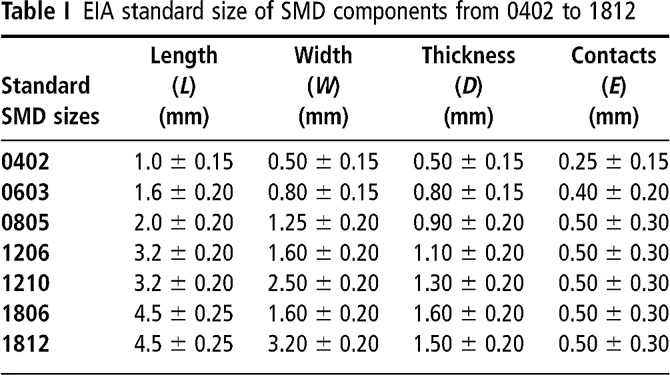
A 630m transverter, now planned out, would really lend itself nicely to SMD construction but realistically, the only size I would consider is 1206 at the smallest.
 |
| Courtesy: www.emeraldinsight.com |
 Why I am really contemplating the purchase of more SMD parts is somewhat vexing to me....perhaps it is simply my 'concrete-sequential' thinking style making me lust after all of these tiny parts, with all of them so neatly organized in their holders, begging to be brought to life by my own hands. Or maybe I just want to prove that my 66-year-old eyes and hands are still capable of working with these things.
Someone talk me out of this before it's too late.
1937 Marconi Restoration


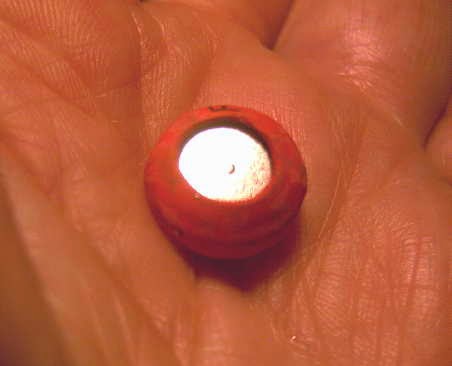
The radio also had two small fixed bias cells....small 1.25V cells for supplying grid bias voltage to the AVC/IF stages.
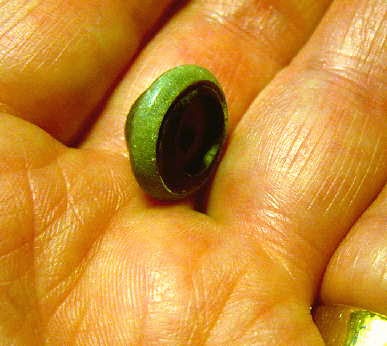
Both cells had long ago dried so I tried to rejuvenate them by following a procedure found on the web. The zinc casing was carefully pried up to remove the carbon covering disc and a few drops of distilled water were added to the dried-up crystals inside before re-sealing the case. The initial cell voltage of .11 VDC rose to 1.2 VDC after the procedure but I wasn't confident that the new 'seal' would keep air from drying the electrolyte out.
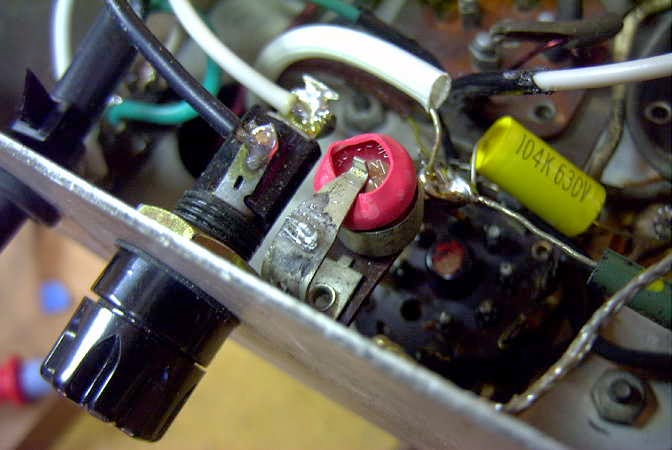
I decided to use small camera batteries (1.5VDC) in place of the original cells since they were very close to the same size. With heat shrink tubing surrounding the edges and bottom lip, they readily installed on top of the original holder and clamped solidly in place.
A small brass spacer was inserted into the cell holder to make contact with the bottom of the new cell.
I was pleased to hear how well the radio performed after all of the changes. I have attempted to record a short video (for the first time) using my I-Pad and then converting the video to mpeg format as well as trimming it slightly in newly-installed Windows Moviemaker freeware. Hopefully my videos will get better with practise!
Marconi Model 83 with 3' wire antenna
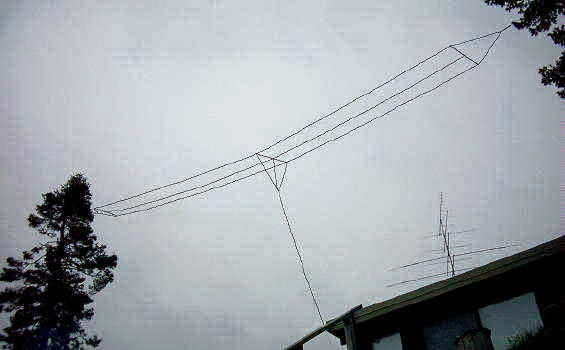
My neighbour will be pleased as the radio belonged to her grandfather and she remembers listening to it a lot as a child. She has been kind enough to let my hang my 100' three-wire LF flattop over the top of her house and property to a tree on the far side of her lot....now that's a good neighbour!
While on a roll I also cleaned and re- capped a mid 50's 'All American Five', Sylvania (model 515) that another neighbour had given me several years ago. It was so dirty and grimy when first received that it was hard to even tell what color it was. Two tubes were also replaced. It now resides on the kitchen counter and is sounding great, playing oldies only!
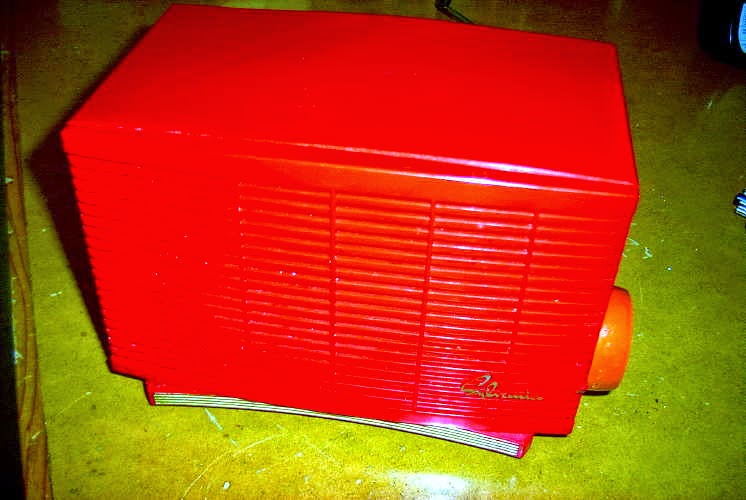 |
| My restored Sylvania 515 |
E-Bay, China, and Free Shipping!
I read about many homebrewers purchasing electronics from China on e-Bay. Many of these are major purchases such as test equipment, FM handhelds, antennas etc. The vast majority seem to be happy with their experience while some are clearly not.
I recently had the choice of buying from Chinese suppliers when shopping around for a new Rigol oscilloscope but must admit that I whimped-out when it came time to buy and chose to buy from a U.S. dealer who would also honour the warranty. I did end up paying slightly more, considering shipping and exchange rates but I do not regret my choice.
I have however made some smaller purchases from China, in an attempt to 'test the water'. I have seen some very attractive pricing on many homebrew-related goodies that would cost much more if purchased in North America and I reasoned that buying a few lower priced items would be a good way to test the quality. Politics aside and with a tiny bit of guilt, over the past few months I have purchased:
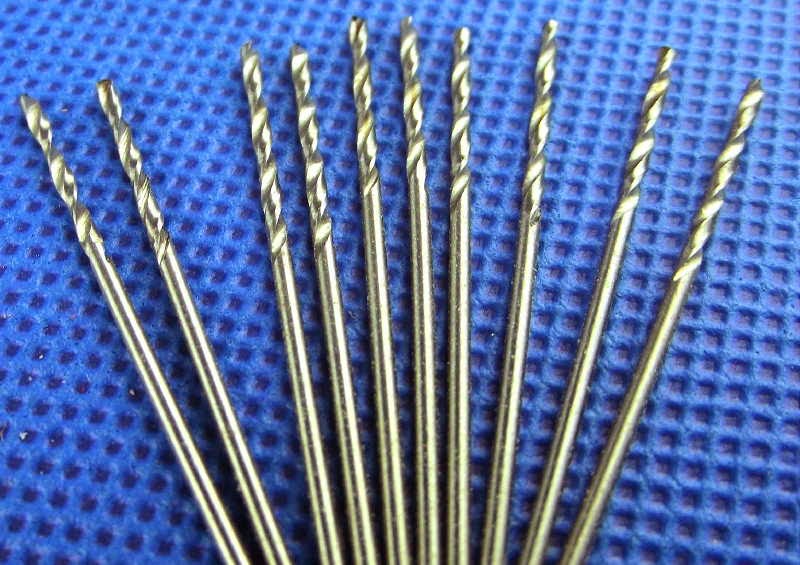
2 packages of HSS 1mm drill bits for PC work @ 25 cents each from
I happily admit that in all cases, I have been very pleased with not only the quality of the items received but also in the service. With the high cost of shipping anything to Canada, I find the 'free shipping' for all of these items to be particularly attractive.
Although all of these items are available from many e-Bay sellers in China, I think it pays to carefully search feedback records before purchasing. In many cases, a high rating does not always tell the story. I look for high volume dealers that have very few complaints within the past year. Check what complaints are being made...if it is the quality of what is being sold, then go elsewhere, as some dealers do a high volume of selling junk while others have only single-digit or even zero negative feedback.
It will still be some time, if ever, before I feel comfortable buying any high priced items from China but if you were brought up in the 50's, you will probably recall when buying from Japan was an invitation for disaster and look how that turned out!
I recently had the choice of buying from Chinese suppliers when shopping around for a new Rigol oscilloscope but must admit that I whimped-out when it came time to buy and chose to buy from a U.S. dealer who would also honour the warranty. I did end up paying slightly more, considering shipping and exchange rates but I do not regret my choice.
I have however made some smaller purchases from China, in an attempt to 'test the water'. I have seen some very attractive pricing on many homebrew-related goodies that would cost much more if purchased in North America and I reasoned that buying a few lower priced items would be a good way to test the quality. Politics aside and with a tiny bit of guilt, over the past few months I have purchased:
2 packages of HSS 1mm drill bits for PC work @ 25 cents each from
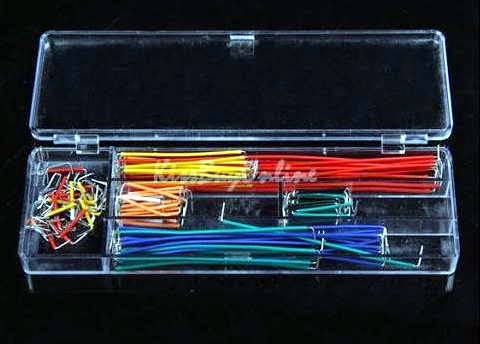
3 solderless breadboard jumper-wire kits @ $5.50 each from
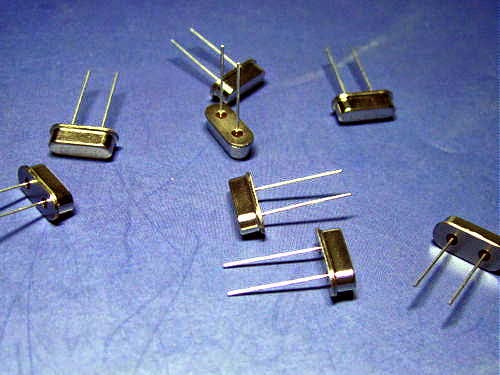
10 small HC49 28MHz crystals @ 18 cents each from
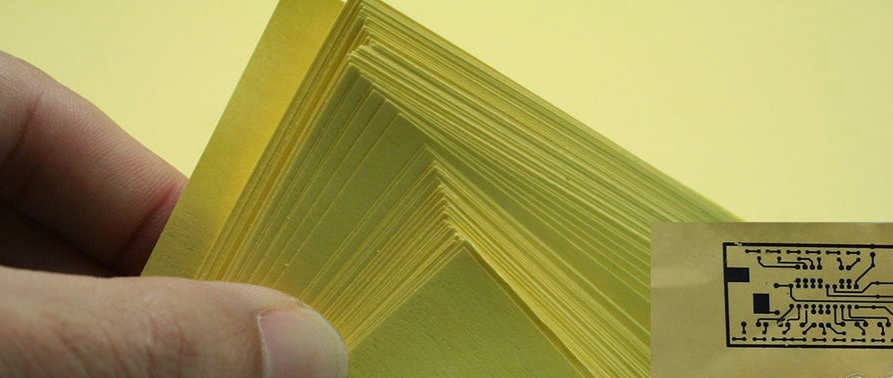
50 sheets of PCB thermal transfer paper @ 20 cents each from
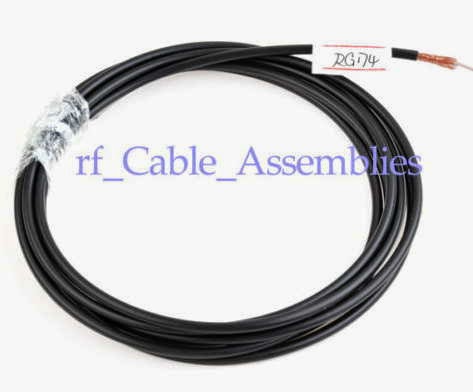
5m of RG174 coax @ 30 cents / ft. from
I happily admit that in all cases, I have been very pleased with not only the quality of the items received but also in the service. With the high cost of shipping anything to Canada, I find the 'free shipping' for all of these items to be particularly attractive.
Although all of these items are available from many e-Bay sellers in China, I think it pays to carefully search feedback records before purchasing. In many cases, a high rating does not always tell the story. I look for high volume dealers that have very few complaints within the past year. Check what complaints are being made...if it is the quality of what is being sold, then go elsewhere, as some dealers do a high volume of selling junk while others have only single-digit or even zero negative feedback.
It will still be some time, if ever, before I feel comfortable buying any high priced items from China but if you were brought up in the 50's, you will probably recall when buying from Japan was an invitation for disaster and look how that turned out!


