Posts Tagged ‘Products’

Dayton = NEW STUFF!!!!

This is a great idea from Ten-Tec which was introduced at Dayton....I give you the QRPer blog he has done a stellar preview. Check it out and get the grey matter excited!!

Alexloop vs Attic dipole

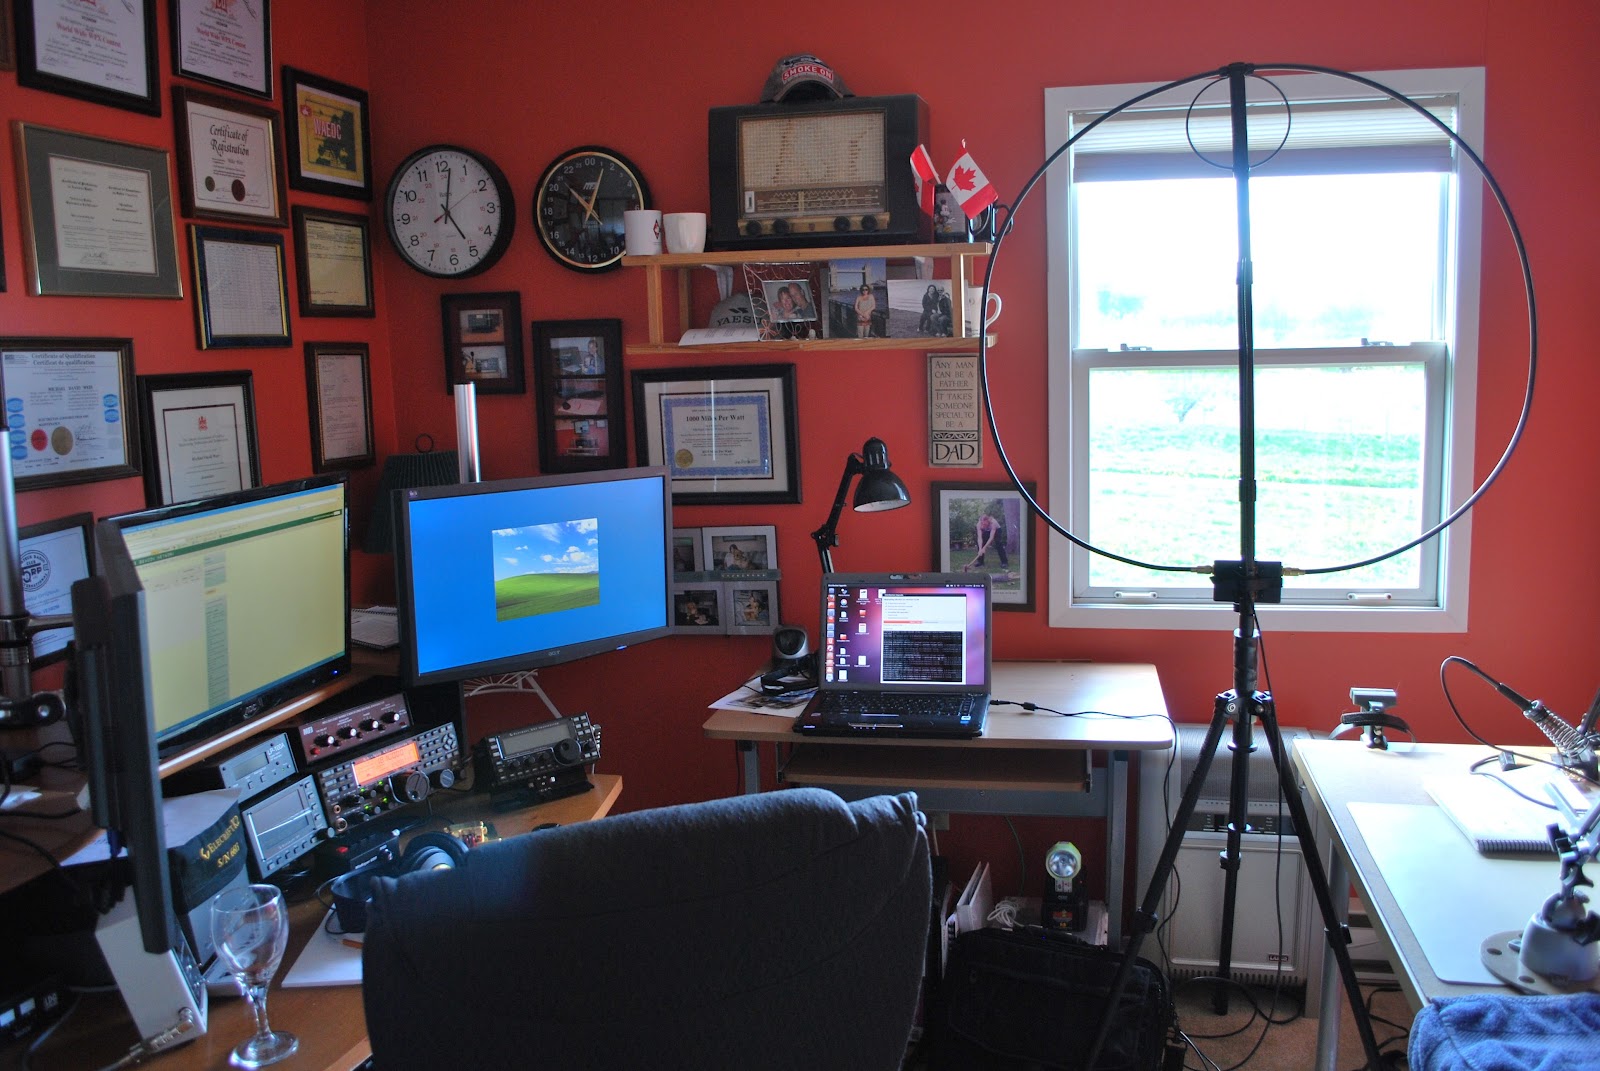
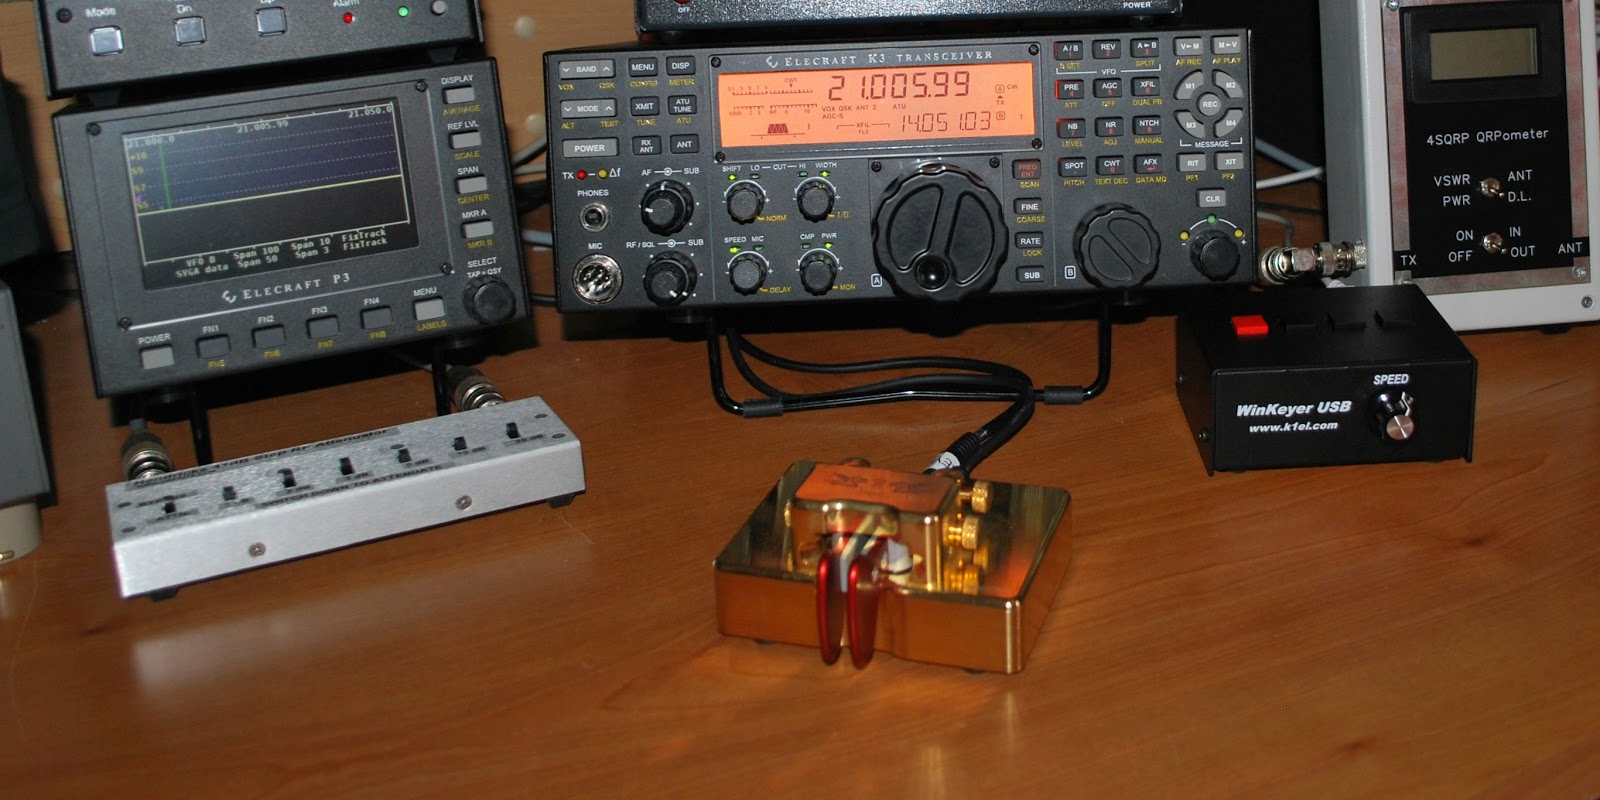
Setup for test. (Laptop running Ubuntu update)
The propagation conditions have not been all that great over the last couple of days so what a better time to do some on air Alexloop vs attic dipole comparisons! Here is the setup I used my Elecraft K3 putting the Alexloop in antenna 1 on the K3 and left the dipole on antenna 2 on the K3. This way I can use the internal tuner for the dipole and remove the antenna tuner for the Alexloop with just the push of a button on the K3. The power output was 5 watts, figured I would go to the top end of QRP considering the atmospheric conditions being not so hot. The Alexloop was up in my radio room facing West out the widow and East through my house walls. The Dipole is in a "Z" configuration in the attic so it kinda is facing most all directions. The Alexloop frequency was 14.061 and the dipole was 14.059 and I was using CW along side the Reverse Beacon network. The current atmosphiric conditions at the time of the test were:
A-5
K3
SFI 157
SN 173
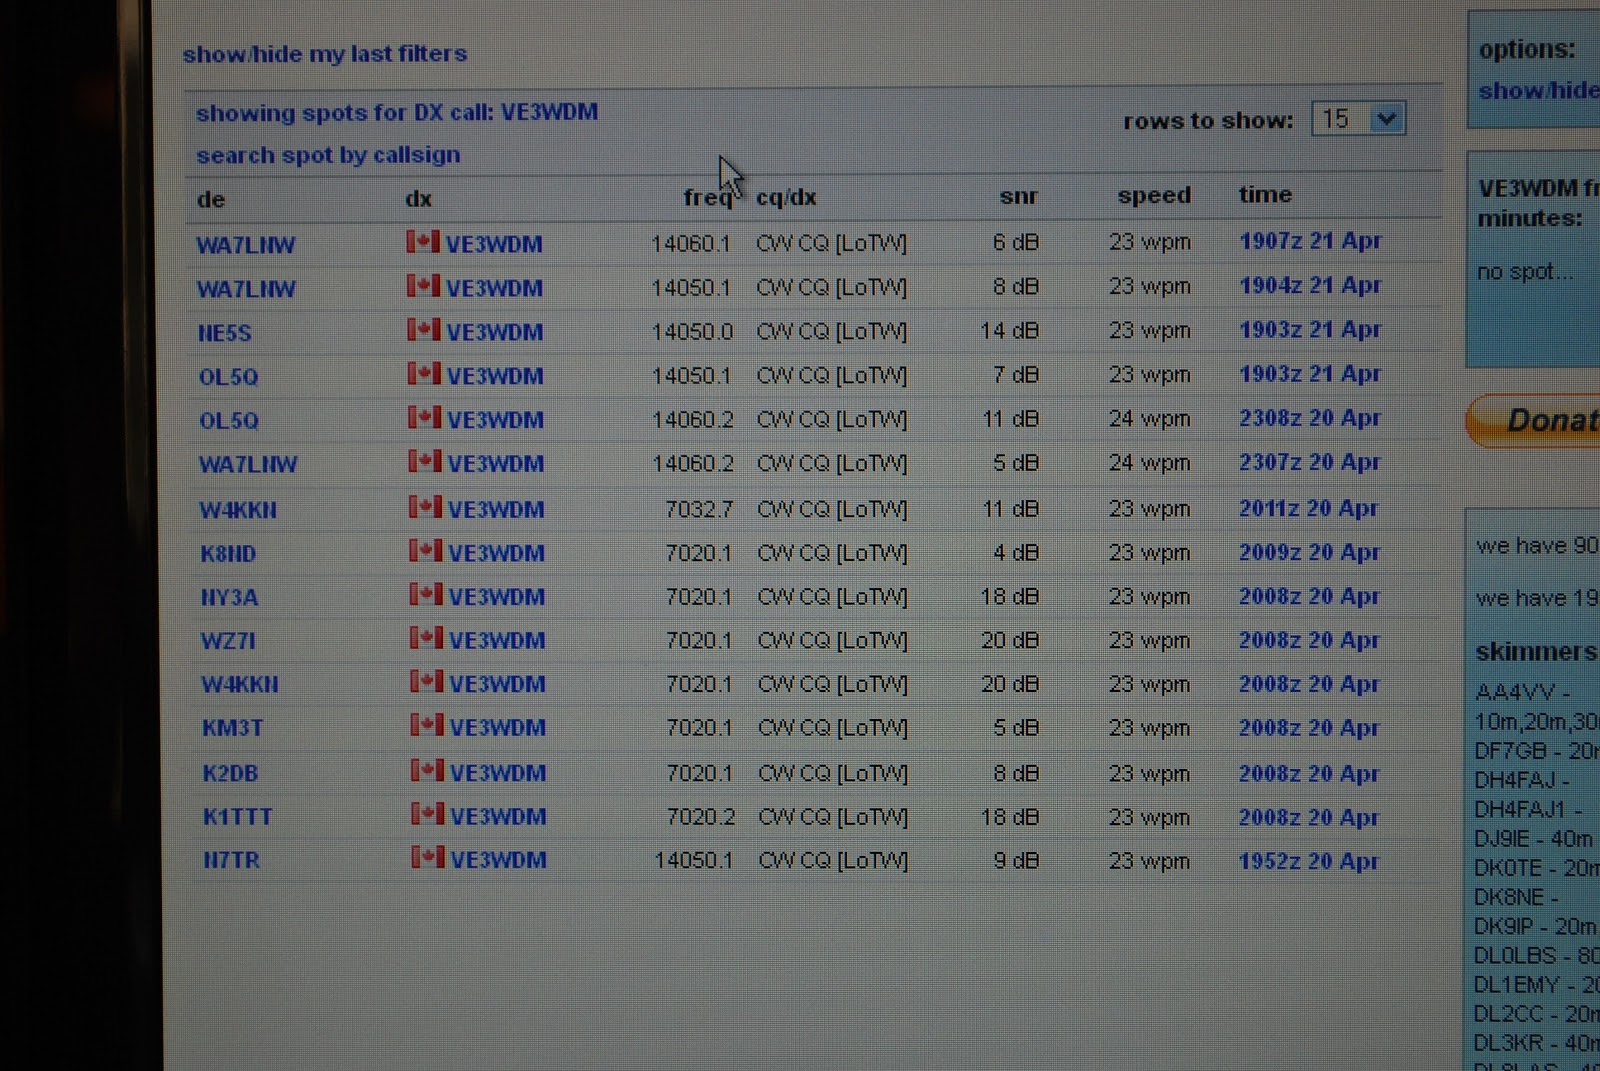
Below is the results of the test.....not so well it would seem the Alexloop netted zero and the dipole only one. So is seems for a more acurate comparison better conditions are needed.

The Alexloop vs my attic dipole

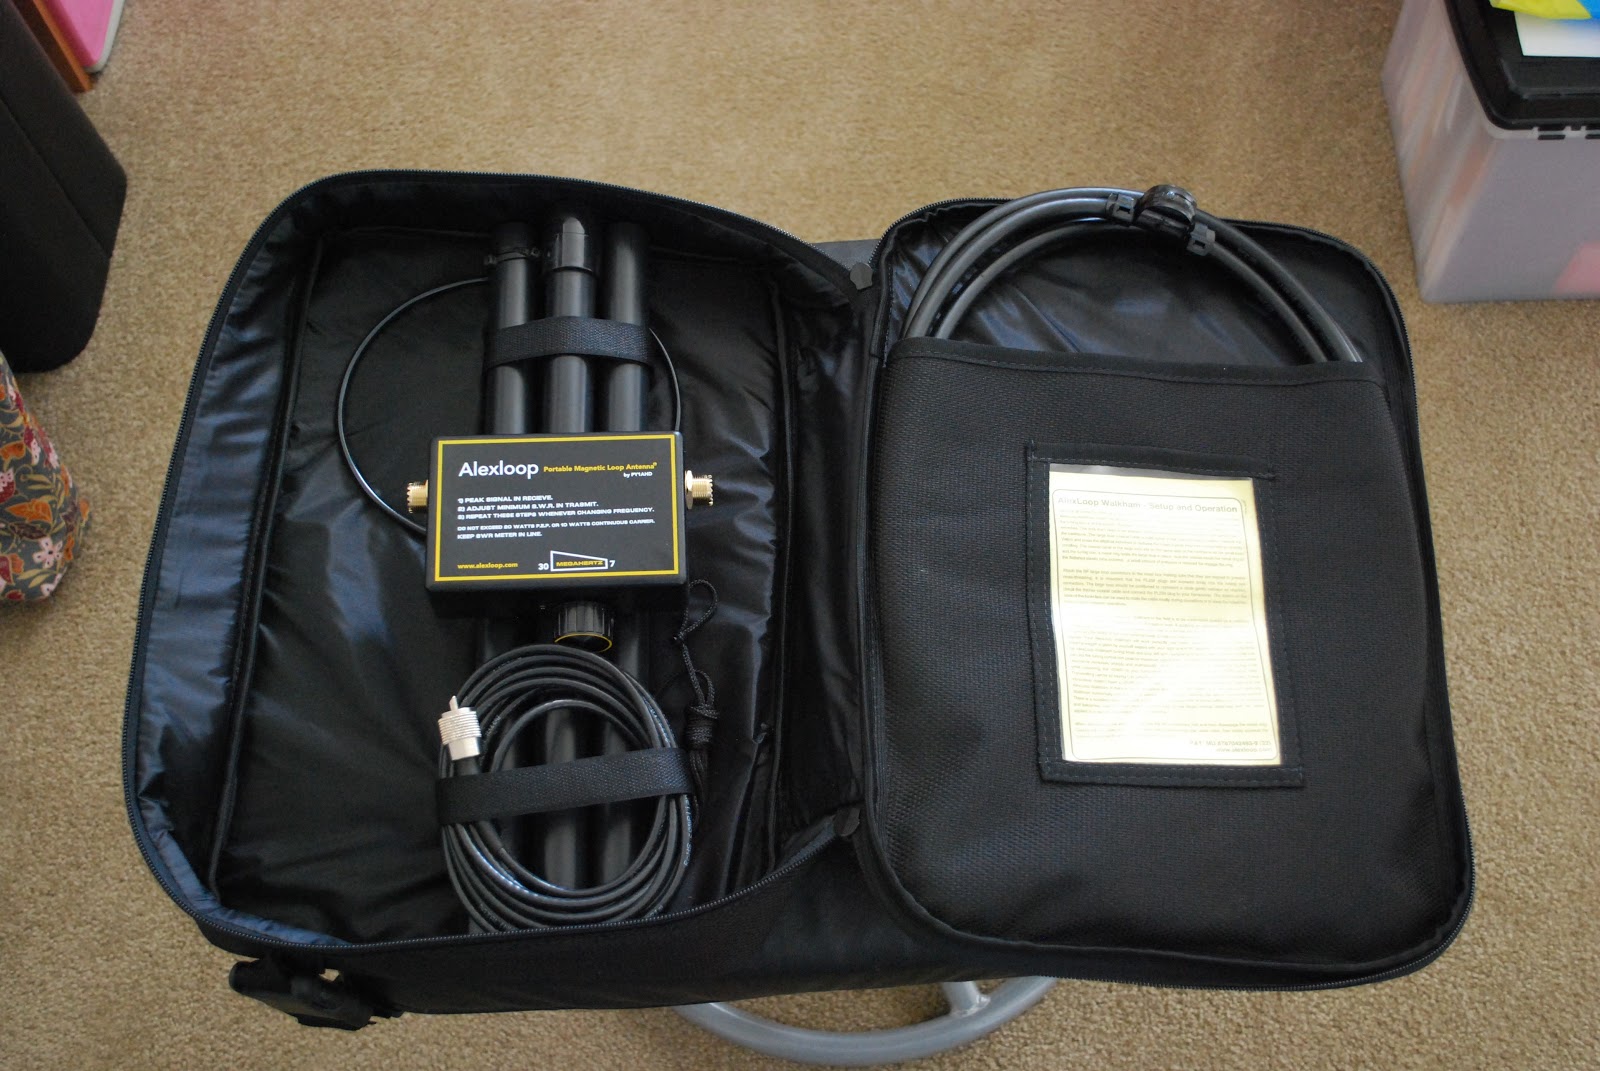
The new Alexloop antenna
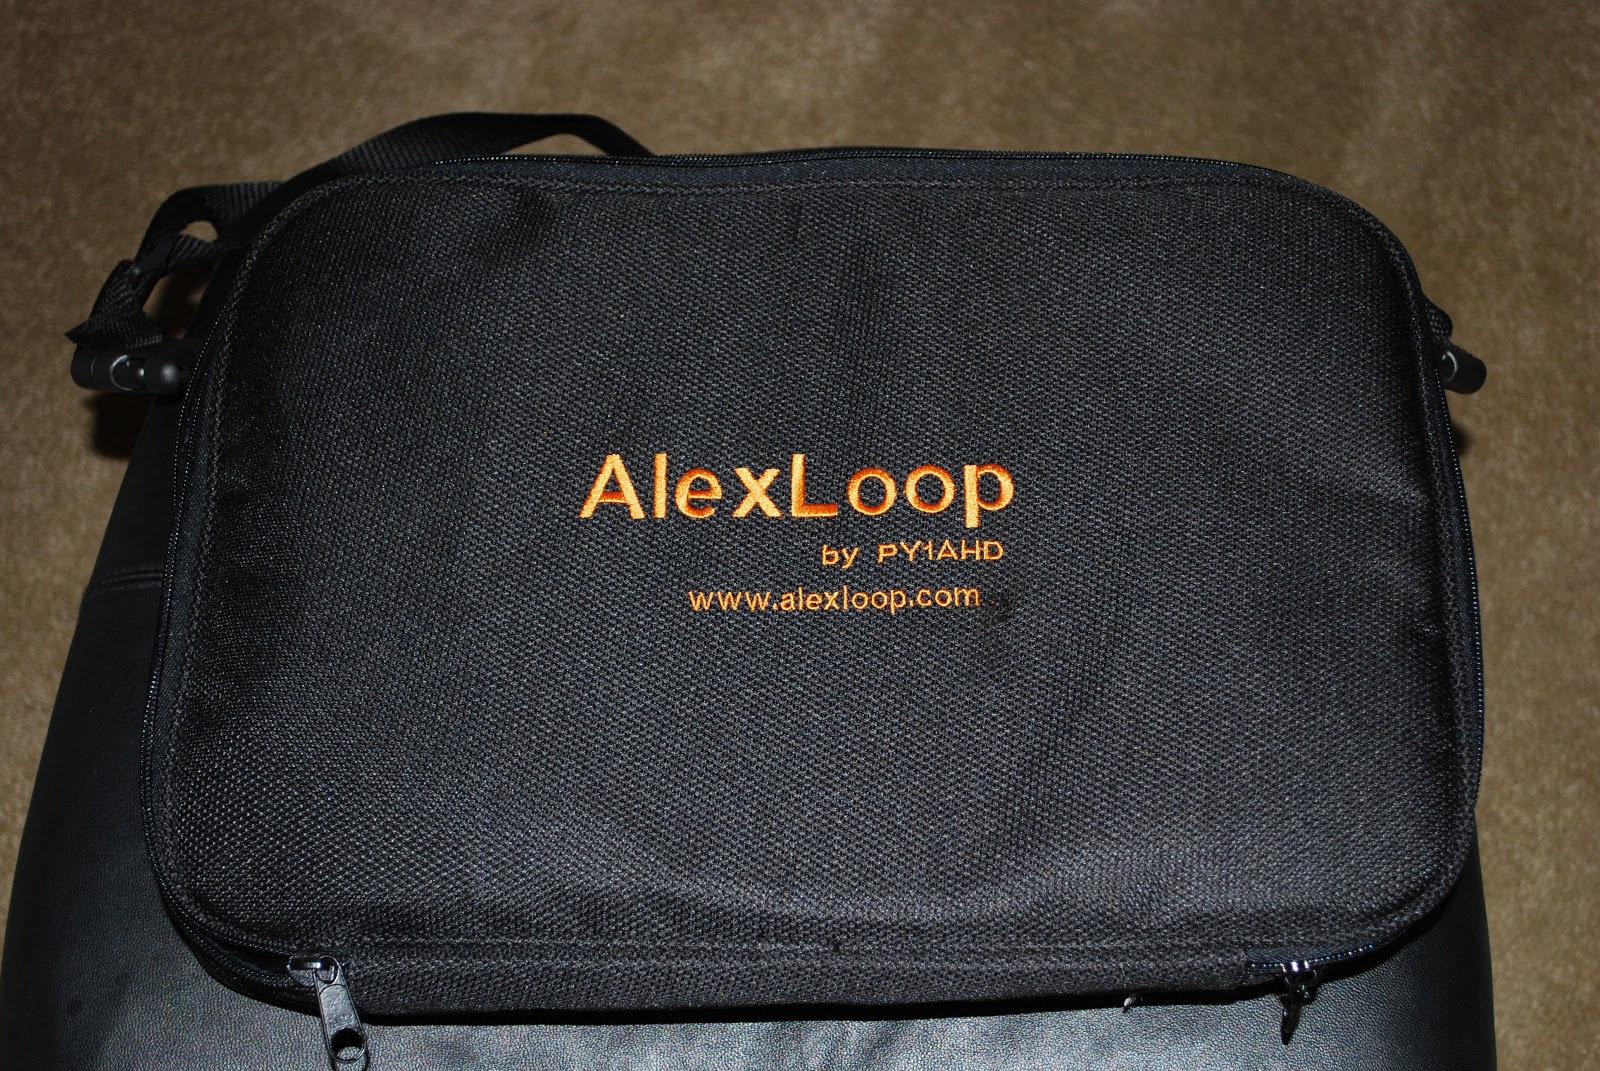
Just over 2 weeks ago I placed an order for the Alexloop,  For some time I have been debating what antenna to use when I was out and about with my KX3. I looked at the Miracle whip, Par end fedz antennas and the Alexloop. For my needs it boiled down to the Alexloop. I did have a miracle whip in the past and it is a great antenna but just not worth the money for the performance you get. The Alexloop was ordered and arrived within a week and a half!! I was very impressed with the reviews online and the testimonials at Eham. . The antenna comes in a very well made carry case that can be taken into the field with all parts contained for your setup......well almost all parts...a tripod is one of the recommend ways to setup the antenna for field work. There are other ways it can be deployed including holding it by hand (not as young as I used to be so this method my not work for me). You can clamp it to a pic-nick table or attach it to a chair....just for starters.  The unit cost's 299.00 and I will say this is not cheap but it's very well made and portable as well. The case that holds the unit is about 1.5 by 1 foot in total. I also want to add that the case is very well made with a shoulder strap and carry handle.

A quality case

So lets get to the nuts and bolts.....how does it work....sure anyone can say anything about their antenna but the proof is in the radio waves!!
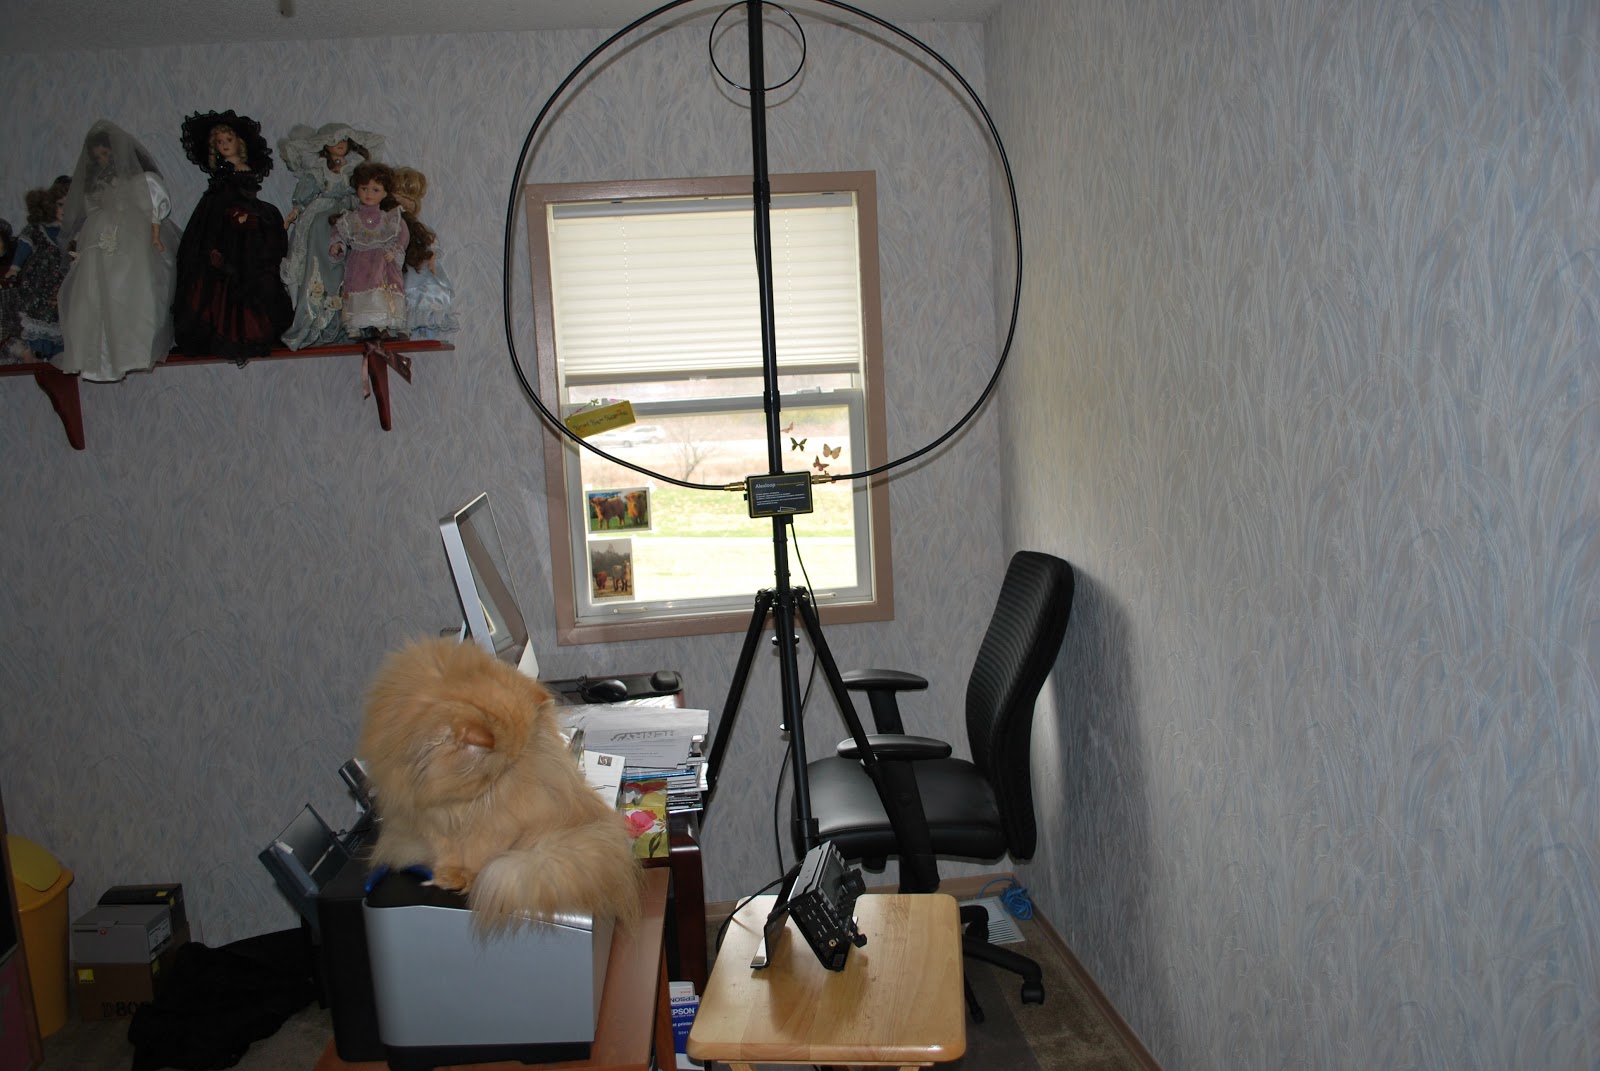
Antenna location..cat standing guard

I wanted to do a comparison between my attic dipole which is the Alpha Delta DX-EE up about 30 feet in the attic and the Alexloop set up in my XYL's office just opposite my radio room. Let me state that this is not a comparison to see which antenna preforms better as that is not a fair comparison....but I wanted to see how well the loop did compared to my attic dipole. The Alexloop was mounted on a tripod....well ty-wrapped to it as the the Alexloop would not fit over the tripod center pole section. This is something I will have to work out later. Each of these antennas have their disadvantages....the dipole is in the attic, this means a wooden roof above, rafters all over and insulation below. The Alexloop is in a second floor room, it's a small loop antenna and very close to the ceiling. So really both antenna are far from ideal when it comes to location.
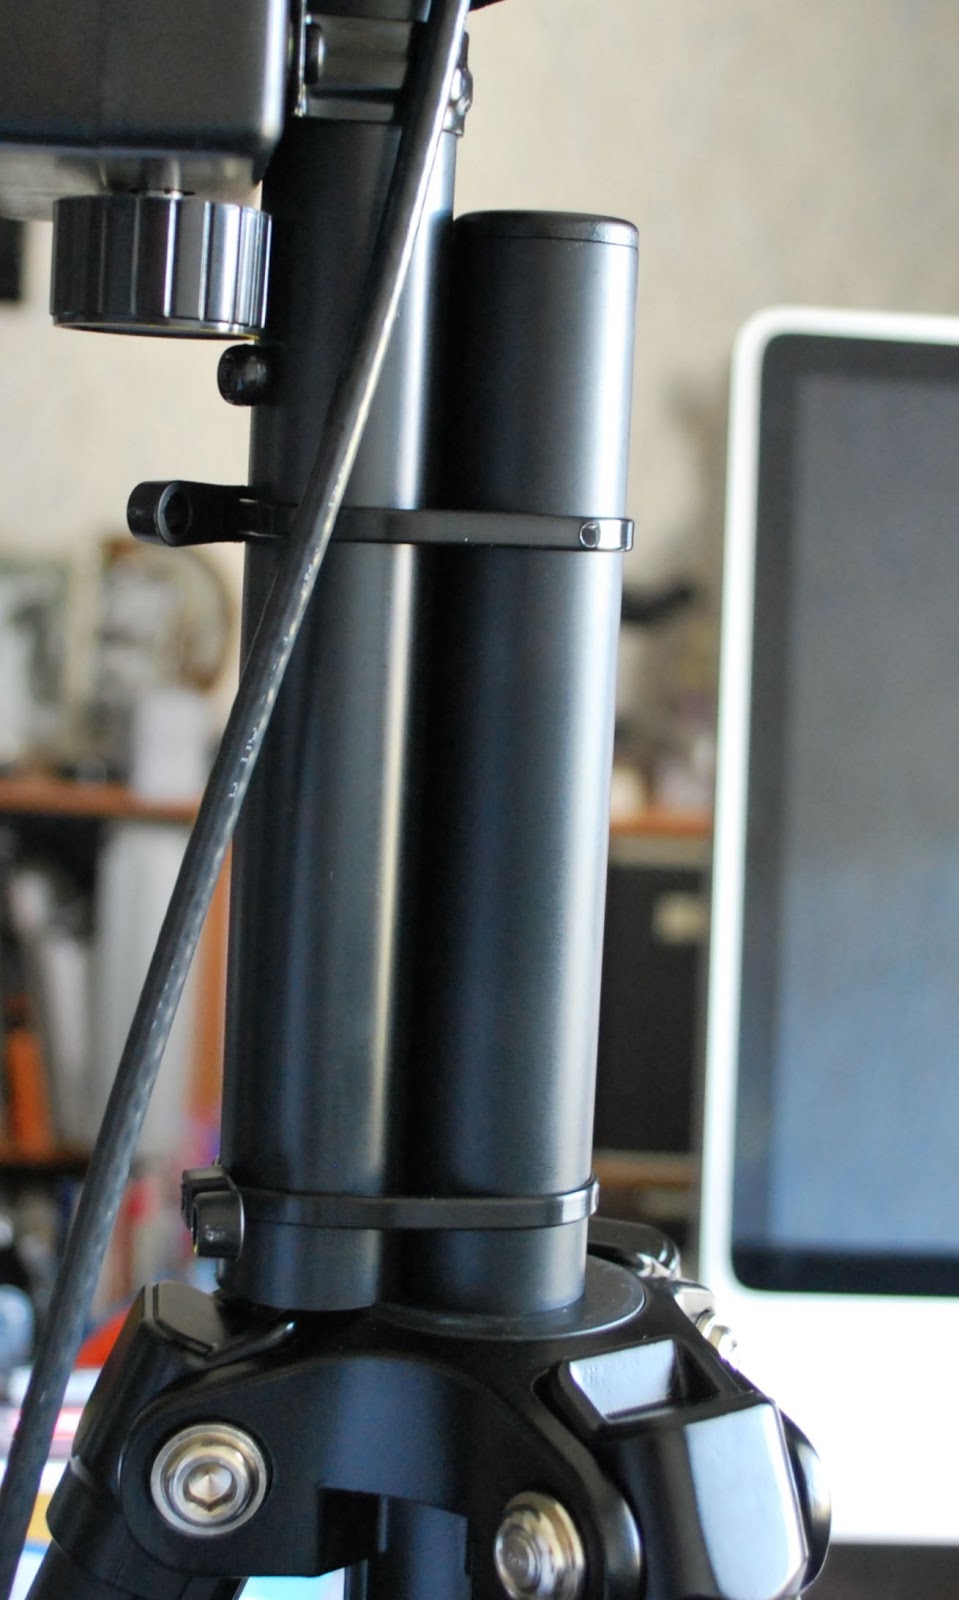
Temp tripod mount
For the rig I used my Elecraft KX3 (as this is the rig I will be using when in the parks, backyard and where ever else I decide to go!) The power output was set to 5 watts and the bands I chose were 20m and 40m. The plan was to run coax from the Alexloop to a 2 position antenna switch and switch between the two antennas. The Alexloop did not seem to take a liking to the added coax. I was not able to get the SWR down below 2. Once I used the length of coax that came with the loop (about 10 feet) all was well. This just meant I was going to have to connect and disconnect the KX3 from one antenna to the other for the comparison. I was calling  CQ on 14.060 and 7.020 on the attic dipole and call CQ on 14.050 and 7.032 on the Alexloop and check out the Reverse beacon network to see who was picking up the CQ call. Not sure if the conditions were not all that great but both on 20m and 40m the attic dipole just got hits in the U.S as did the Alexloop. There was one big surprise when the Alexloop had a hit with OL5Q (along with the attic dipole) I was very impressed that a loop antenna in a bedroom was able to get a report from OL5Q!!
My overall impressions of the Alexloop are as follows:
1. Shipping was fantastic, this antenna got here from South America faster than products I have ordered from the U.S.
2. The support is great, I had a question about the loop when it arrived and it was answered within 30 minutes!!!!
3. This unit is quality quality quality from the carry case to antenna!!
4. The tuning was a cinch, turn for peak noise and then transmit and tune for lowest SWR....takes about 20 seconds!
14.060, 7.032 Alexloop
5. Assembly is done in 4 minutes for a first timer and I imagine with practice I can cut that time in half.
6. Antenna foot print is very low profile and can be used vertical or horizontal.
7. The SWR on 20m and 40m (only bands used so far) was 1.4 at 14.060 and 1.7 at 7.032.
The bottom line is I am very very impressed with this antenna and I will be taking it to the field and updating the blog on how it does.  Up to this point would I recommend this antenna.......dam right I would it's support is excellent, quality of the product is way above par and so far the results have been very impressive.
 

Time to do some kit building

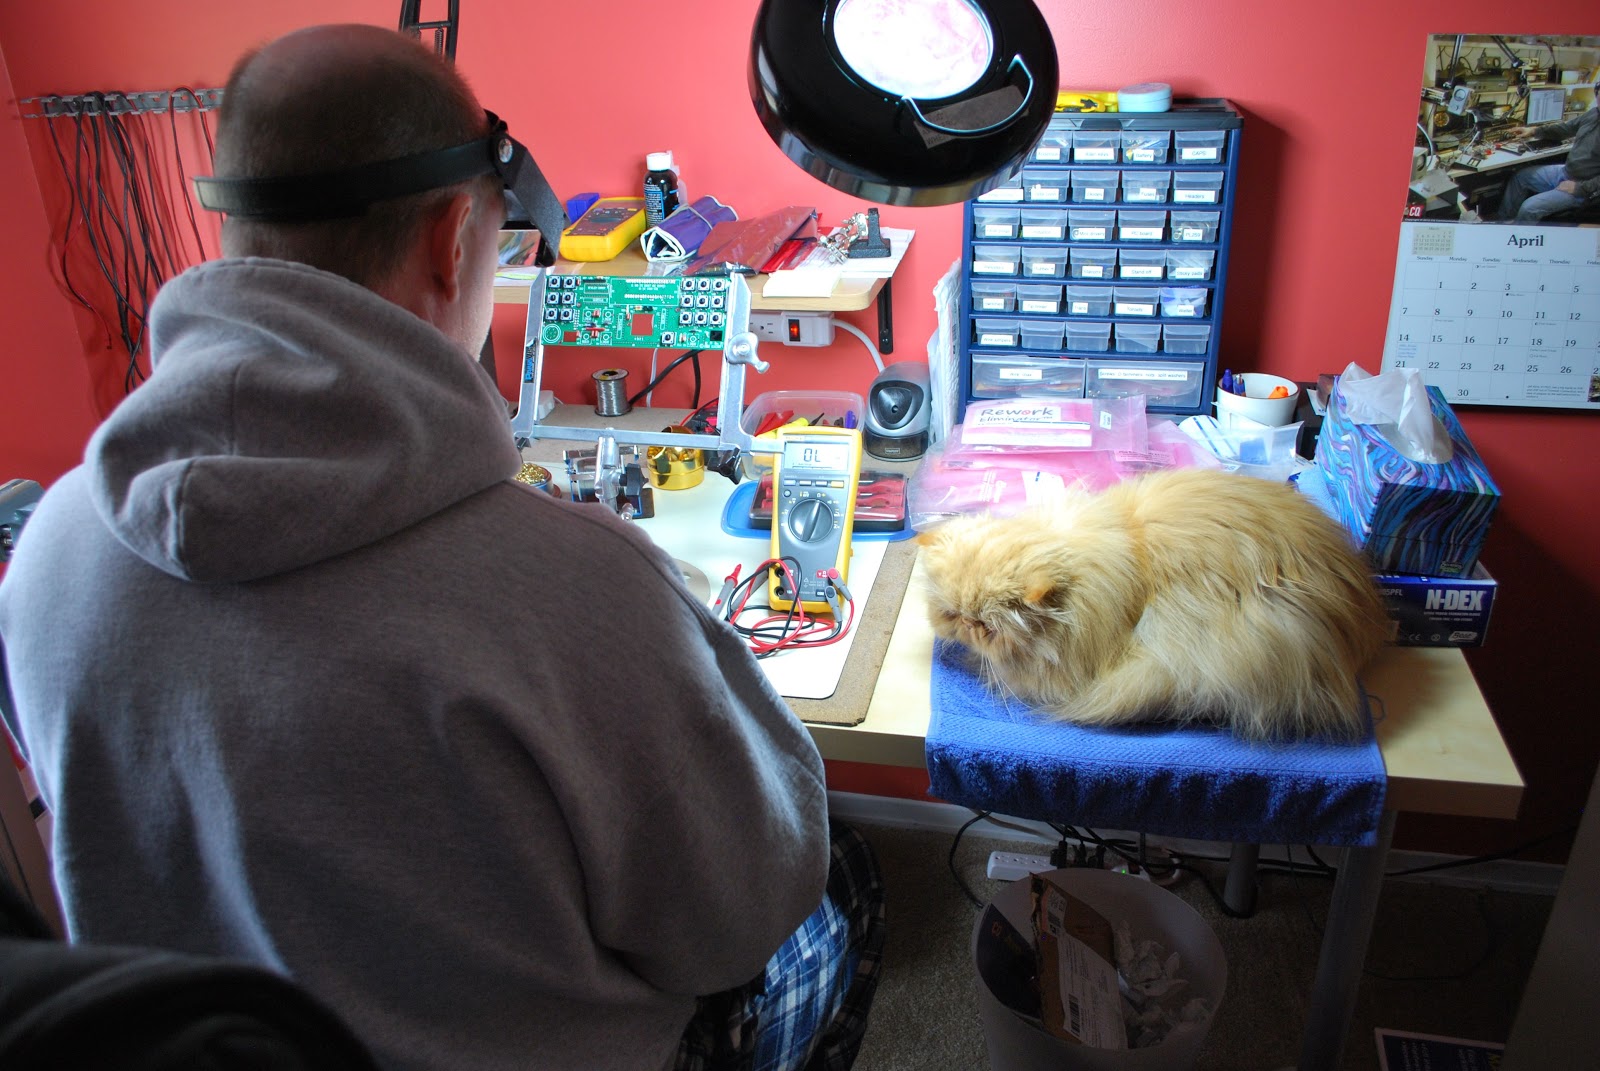
Oliver is keeping an eye on things
I was on the radio this afternoon and not much was on the WARC bands   (CW contesting on the other bands) it was time to spin my chair 180 degrees to the project desk. I am in the process of building another Elecraft K2 that when done will be put up for sale. This was supposed to be a winter project but the bands were busy and I was on the radio and not the soldering iron. Now the K2 build has become a spring project. A few years ago if I was asked about kit building I would not ever considered it....BUT...I have been bitten by the bug!! Along with my QRP and QRPp operating I also find kit building to be a very relaxing way to spend time. There are some kits which I have sold such as my Elecraft KX1 and
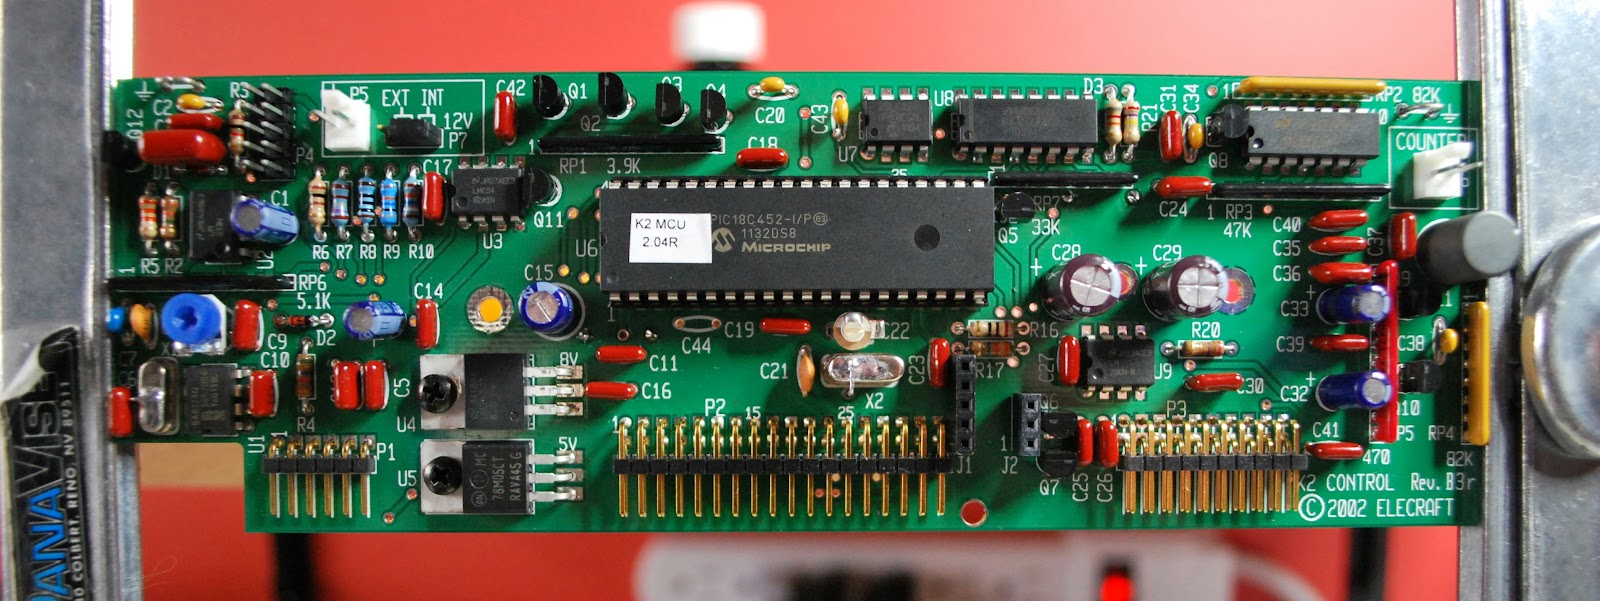
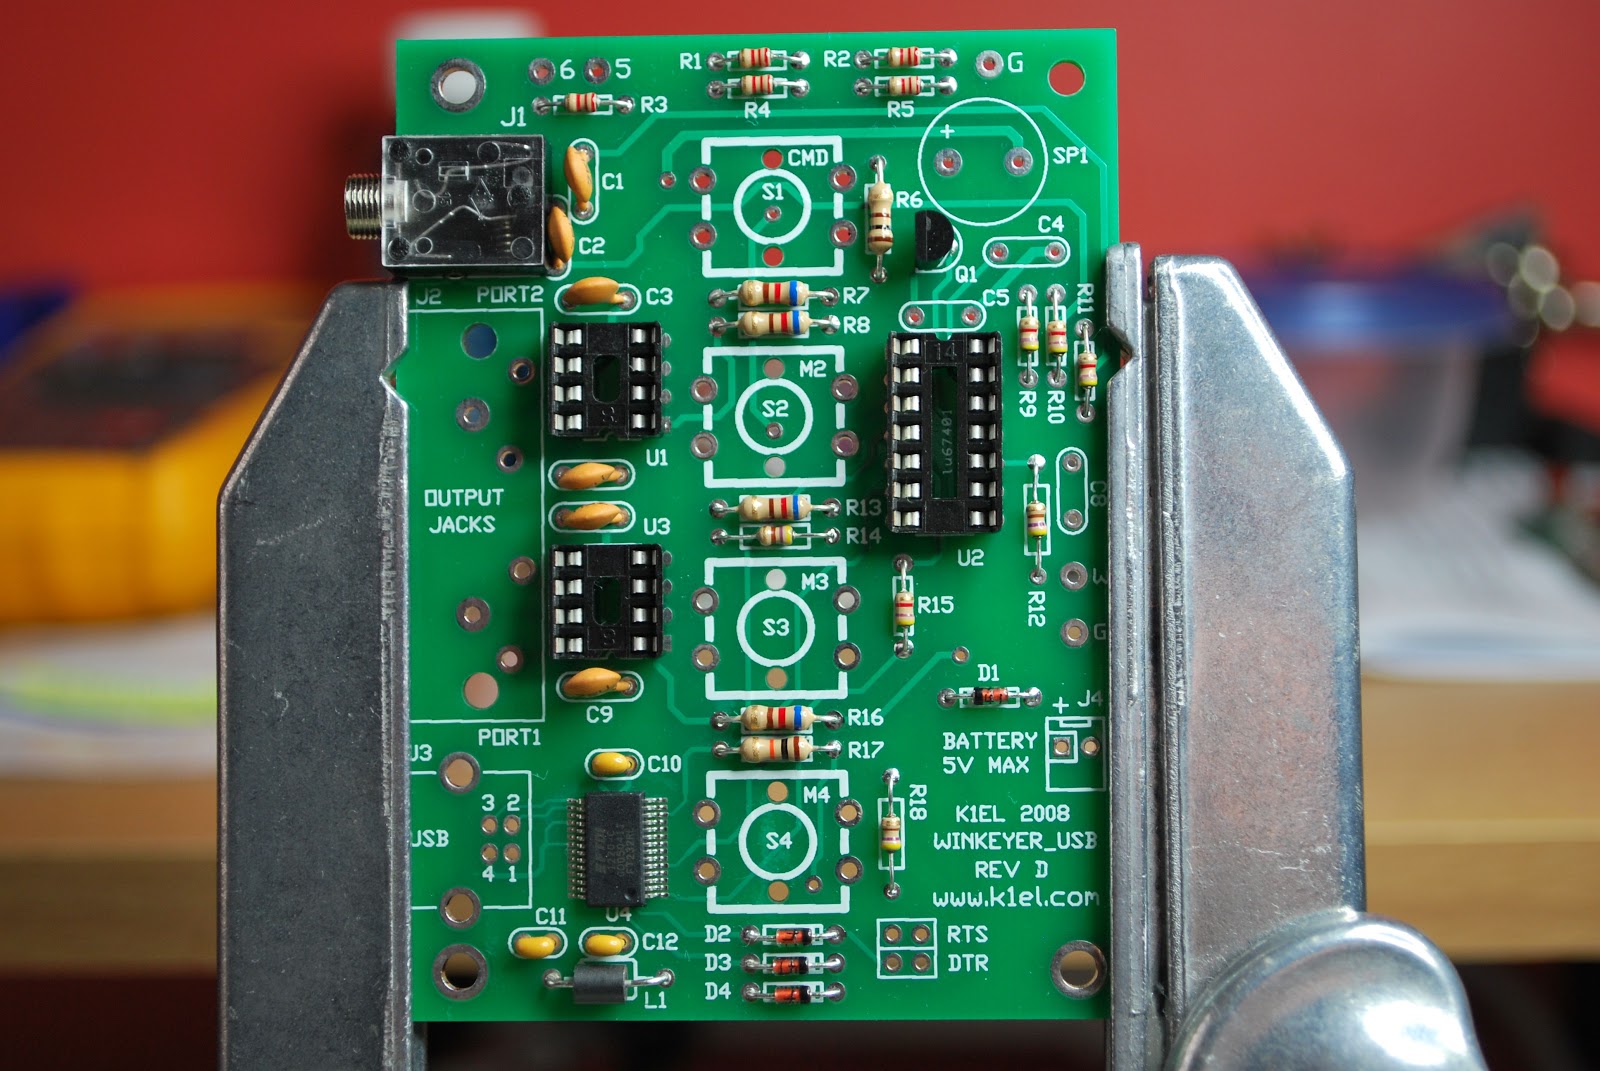
Control board completed
Some tricky lead forming
LP-Pan. Funny thing is after building something you attach a personal ownership to it that over the counter commercial equipment does not have. I have sold many items purchased but not built and thought nothing of it (other than it was money to get another kit with...maybe time for kit builders anonymous). As for the kits when it came time to say goodbye to make some coin it took some thought before they were put up for sale.
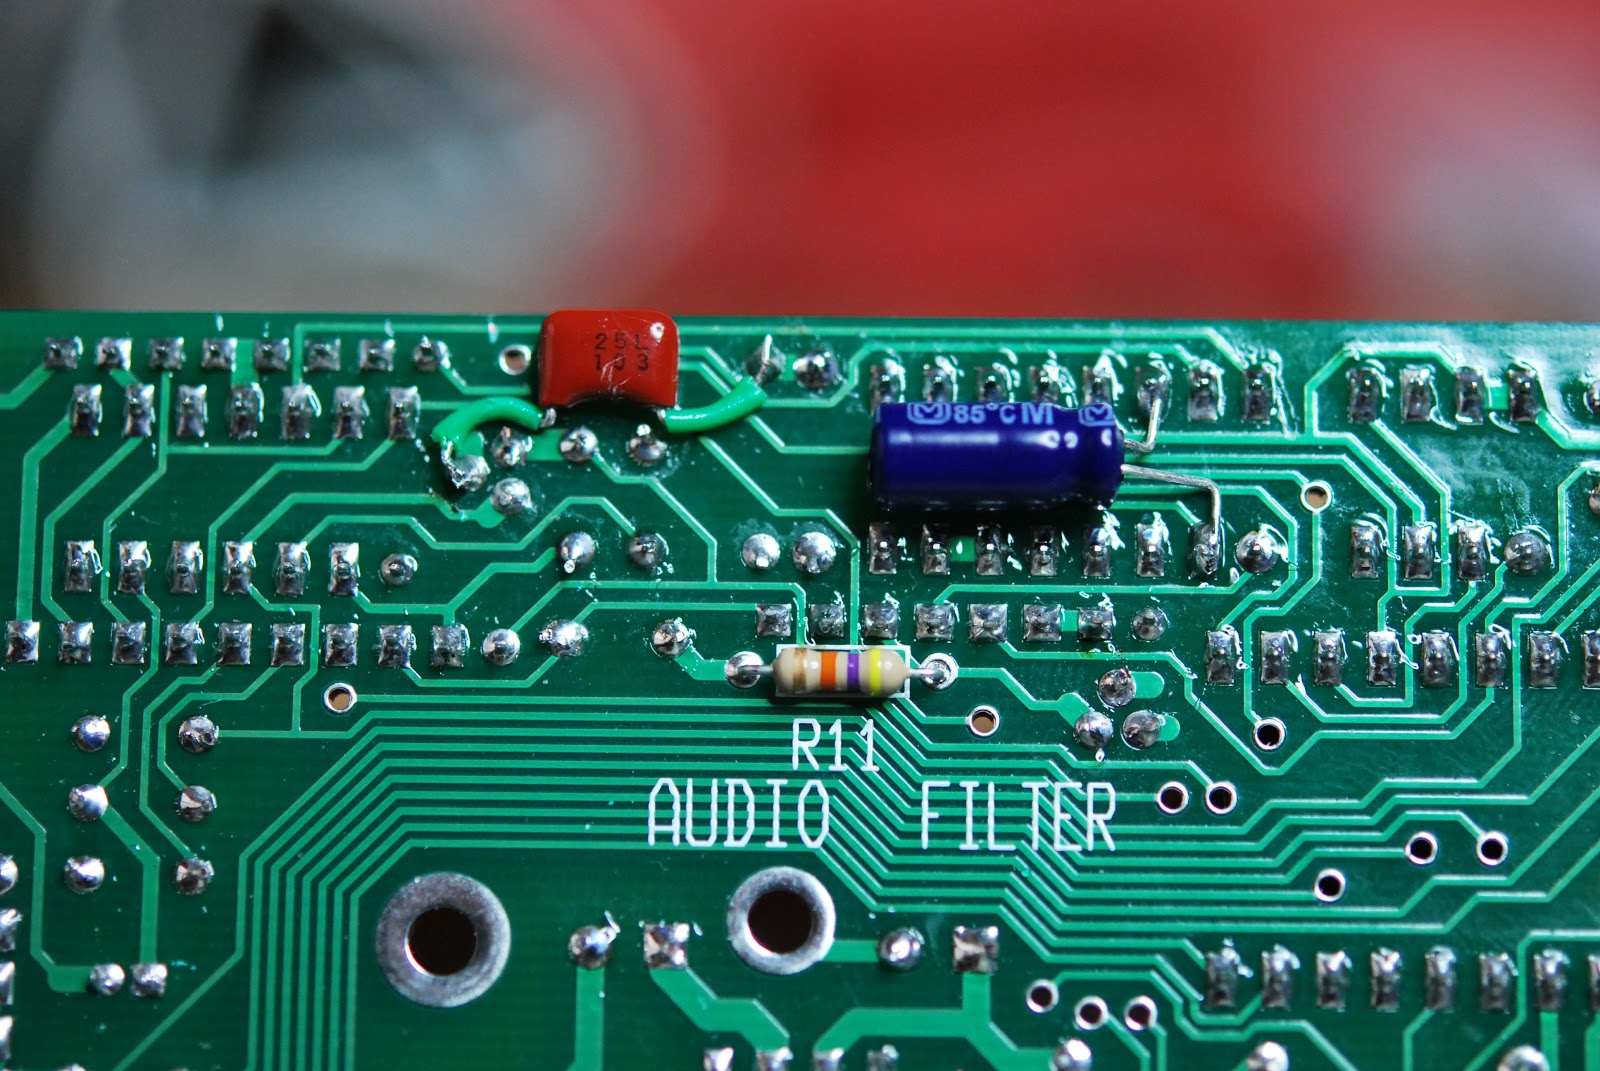
As was said I am in the process of building another Elecraft K2 and I have another blog that deals with the build. I wanted to blog the progress but also highlight other areas such as toroid winding, what was needed to be a kit builder and so on. There are specific posts about the K2 build it self making mention of tricky sections of the build and how it was handled. It's now time to see if the bands have come alive!!

MFJ 1026 noise canceling unit…for today ham!

Things don't seem to work  when you really need them
I have been reading on many blogs of fellow hams who have had an increase in QRN due to many electrical sources and routers just to mention a few. The enjoyment of ham radio has been for many cut short due to devices blowing a hole in the spectrum!! Yes the companies are suppose to adhere to regulations regarding emissions. BUT both the adhering and the enforcement are very much lacking. We as hams are left to somehow deal with the hash that many modern items produce. I have this feeling it is not going to decrease as time goes on but increase. I have found this is were in my case the MFJ 1026 shines for me. I have a Plasma TV on the main floor and when Julie is cooking, surfing the net or relaxing the TV is on with some music playing in the background. I could go down and ask her to turn the TV off....but....I am a married man not a foolish man. Below is a YouTube video I did today showing how effective the MFJ 1026 is. It was done with my Iphone so some movement will be noticed. (note to self....get a proper recording device)

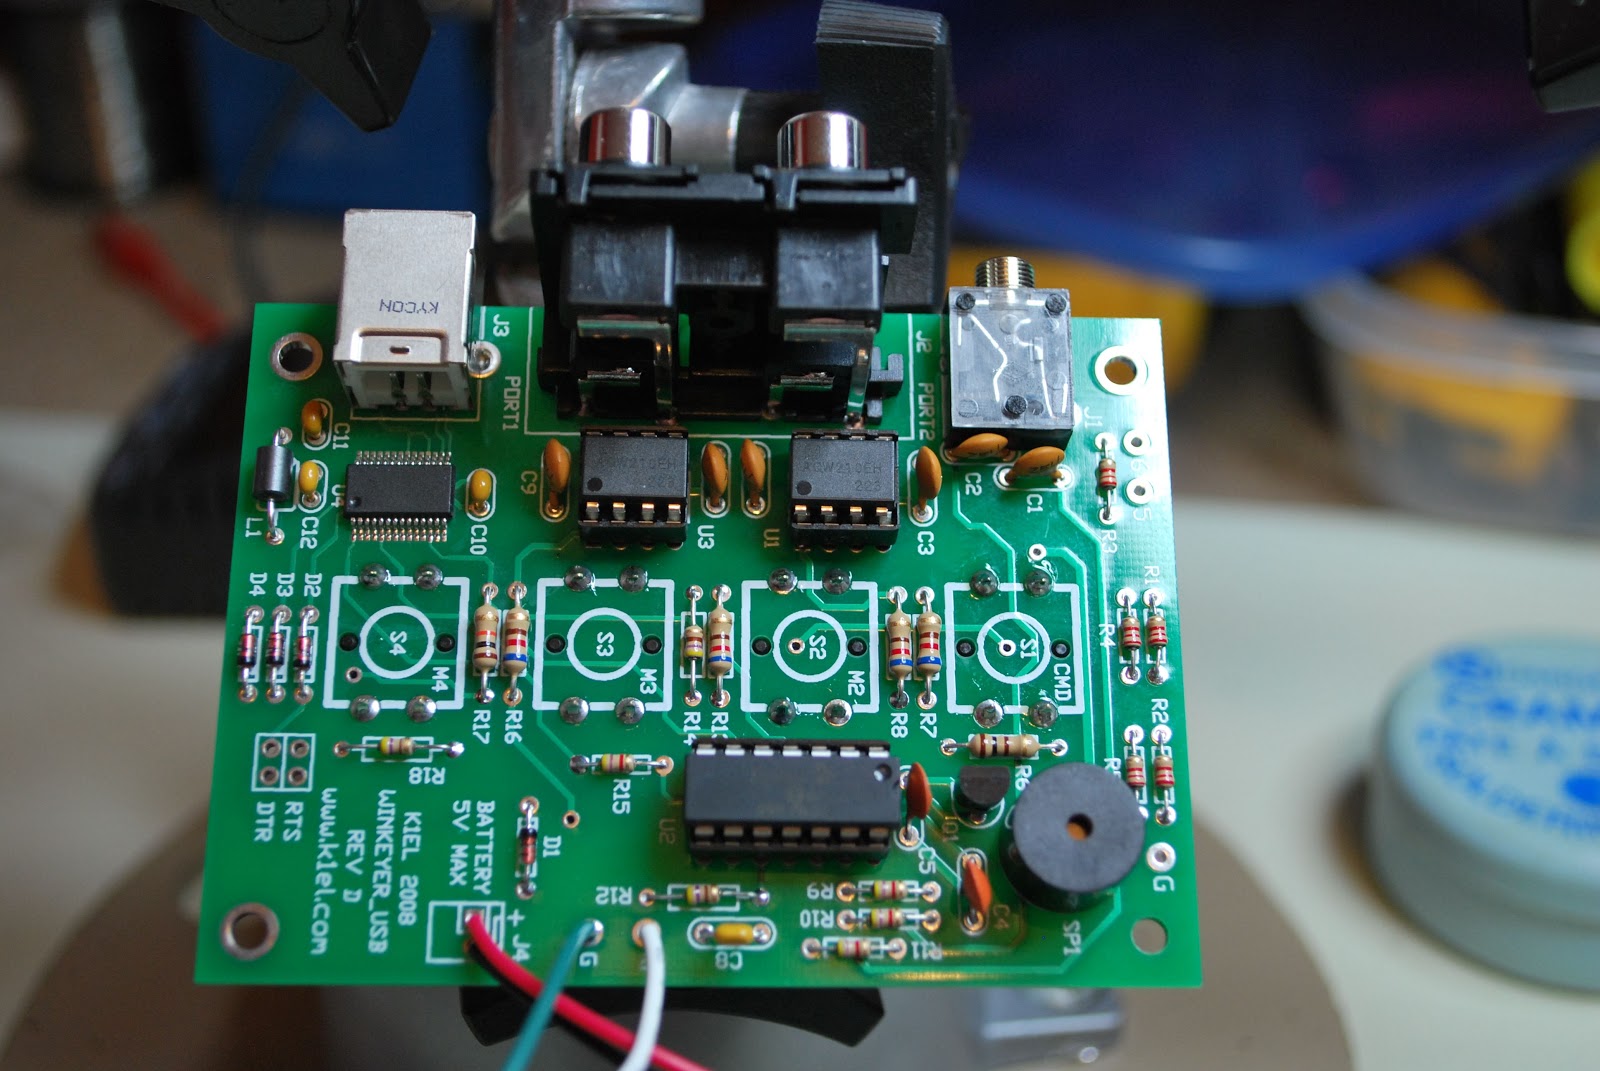
K1EL Winkeyer USB complete

K1EL Winkeyer ready for action
For some time now I have wanted a stand alone keyer as well as one that integrated with my PC allowing me to change and update messages.  The Winkeyer USB is the perfect match as I am able to add 3 AAA batteries and take the keyer with me on outings or keep it at the desk hooked up to the PC via a provided USB cable. The unit comes as a kit with all SMD components already on the board so there is no worry about having to deal with super small parts and the soldering headache that goes along with it. The kit was shipped out and delivered very fast and very safely boxed for the ridge to my QTH. 
The first day of assembly
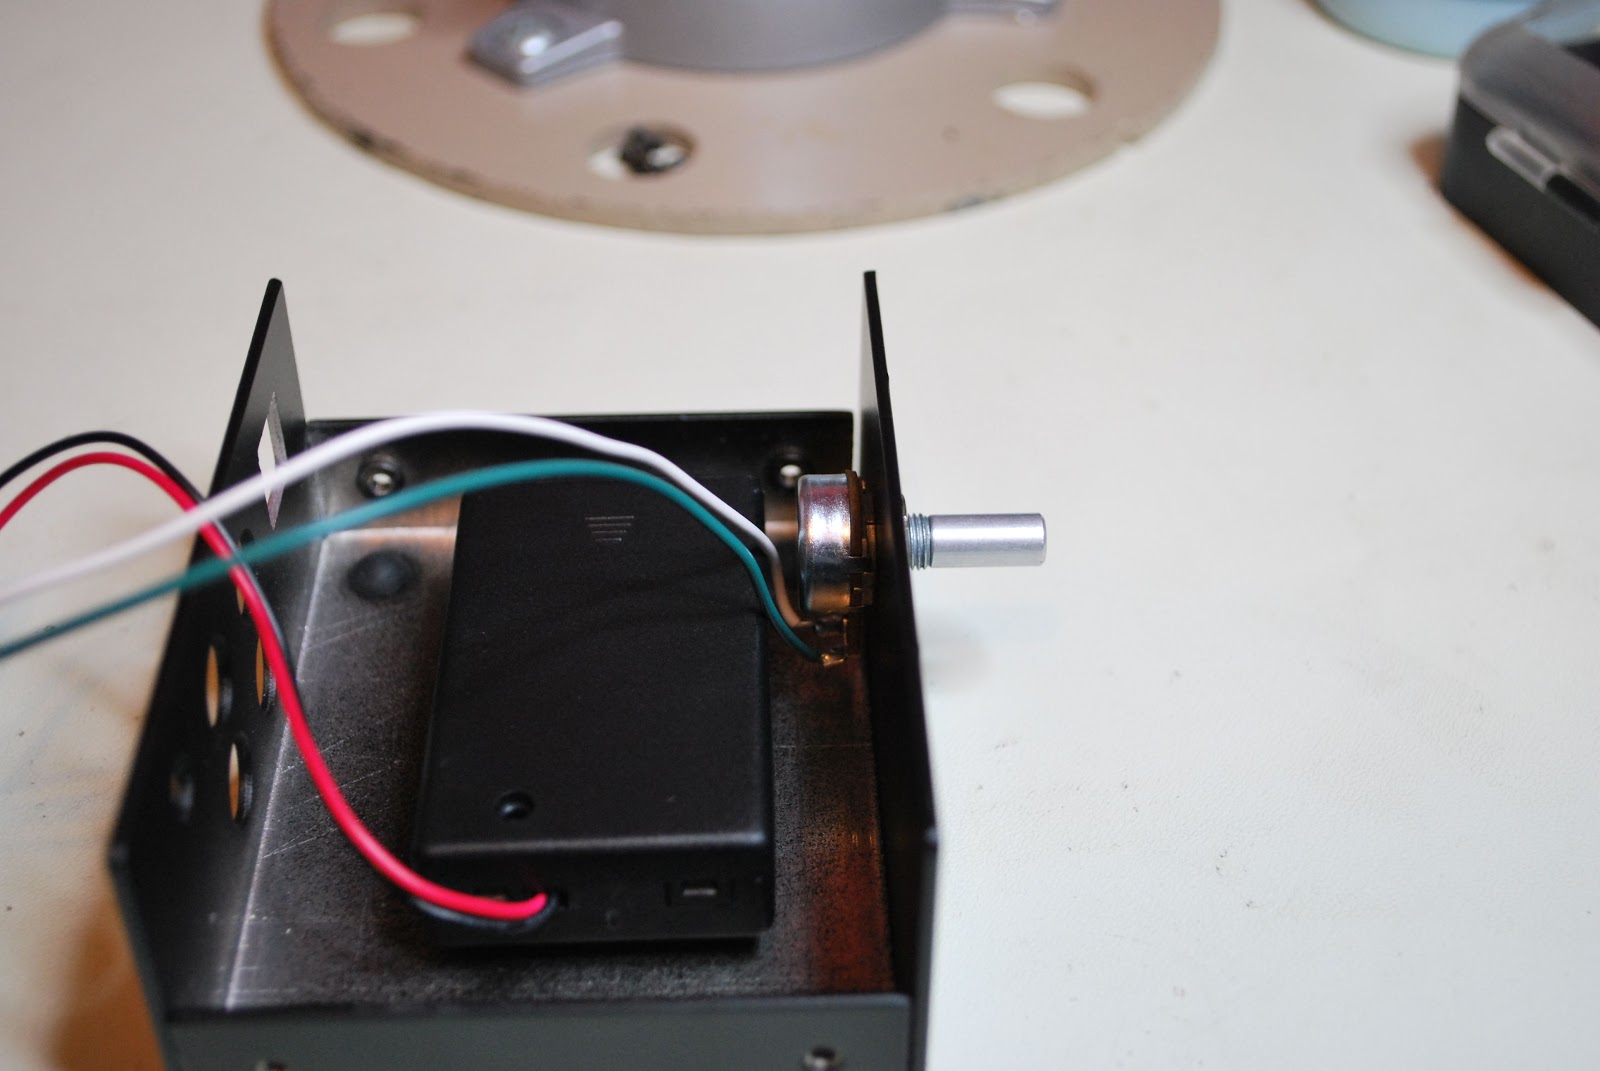
 The only thing that has to be downloaded is the instructions. I find this to be a fantastic way of doing things. If there are updates to the build then it's a simple update on the website and you are downloading the current assembly instructions. Take the time to print off the instructions that way you can check components off as you do the inventory.  Do yourself a favor and print the instructions in color as there are some great pictures to assist you. The kit went together very smoothly and KE1EL put thought into the order of  assembly. Follow the order and the kit
Battery holder

 building will be a smooth experience. Take your time building the unit, it's not a race as certain components such as USB connector, 1/8 jack and 4 way RCA jack should be mounted with care. This makes the final assembly of the two metal covers fit without any surprises.
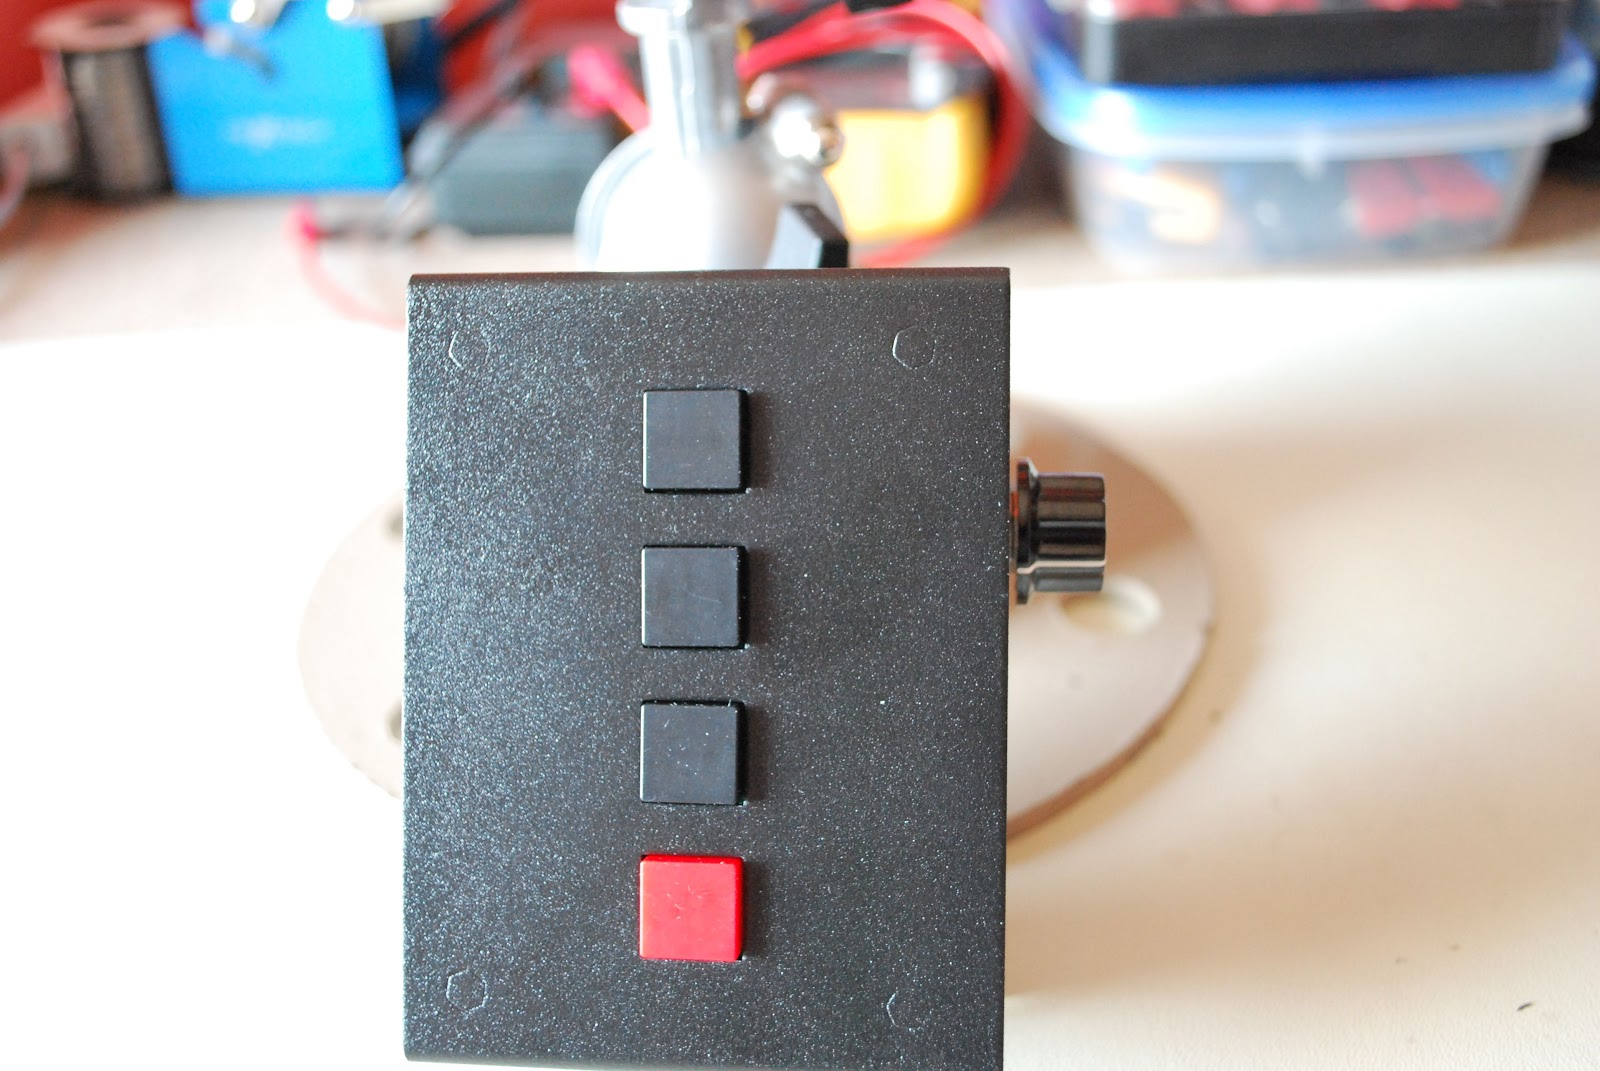
Kit complete
Once the kit is done there are some checks to be done to make sure all is working well. Once that is done you are on your way to hooking up to your PC. Easy to follow documentation is provided instructing you how to have your PC recognize the keyer and what to do if things don't go as planned. The kit also comes with a CD containing programs that will allow you to program the keyer from your PC and download the messages to your keyer. Not to mention all the settings one could imagine for setting up a key as well. The only 2 issues I had with the kit and by no means are they show stoppers.
1. There is a 10k potentiometer and the shaft was just a bit to long and I had to trim it. This was only for looks as I did not like the knob extended away from the keyer.
 2. No hookup wire was provided to go from the potentiometer to the board. This is no big deal either as I did have the wire...but.....it would had been nice to include it in the kit.
Pot before mod
Pot after mod

K1EL WKUSB keyer

About a month ago a new kit arrived and is still sitting waiting to be built. With some thought and over time I ended up selling my Logikit CMOS4 keyer that I built. I sold it not because it's a poor keyer but  being a stand alone keyer made it for me a hassle to program.  I missed just starting up the PC opening a program typing in what I wanted the keyer do and simply saving that sequence.  I do a lot of CW contests and have to keep changing the exchanges. With the CMOS4 keyer I was always taking out the manual and refreshing my poor memory with the proper sequence of buttons to push on the keyer to enter and save morse code in the CMOS 4 memory.
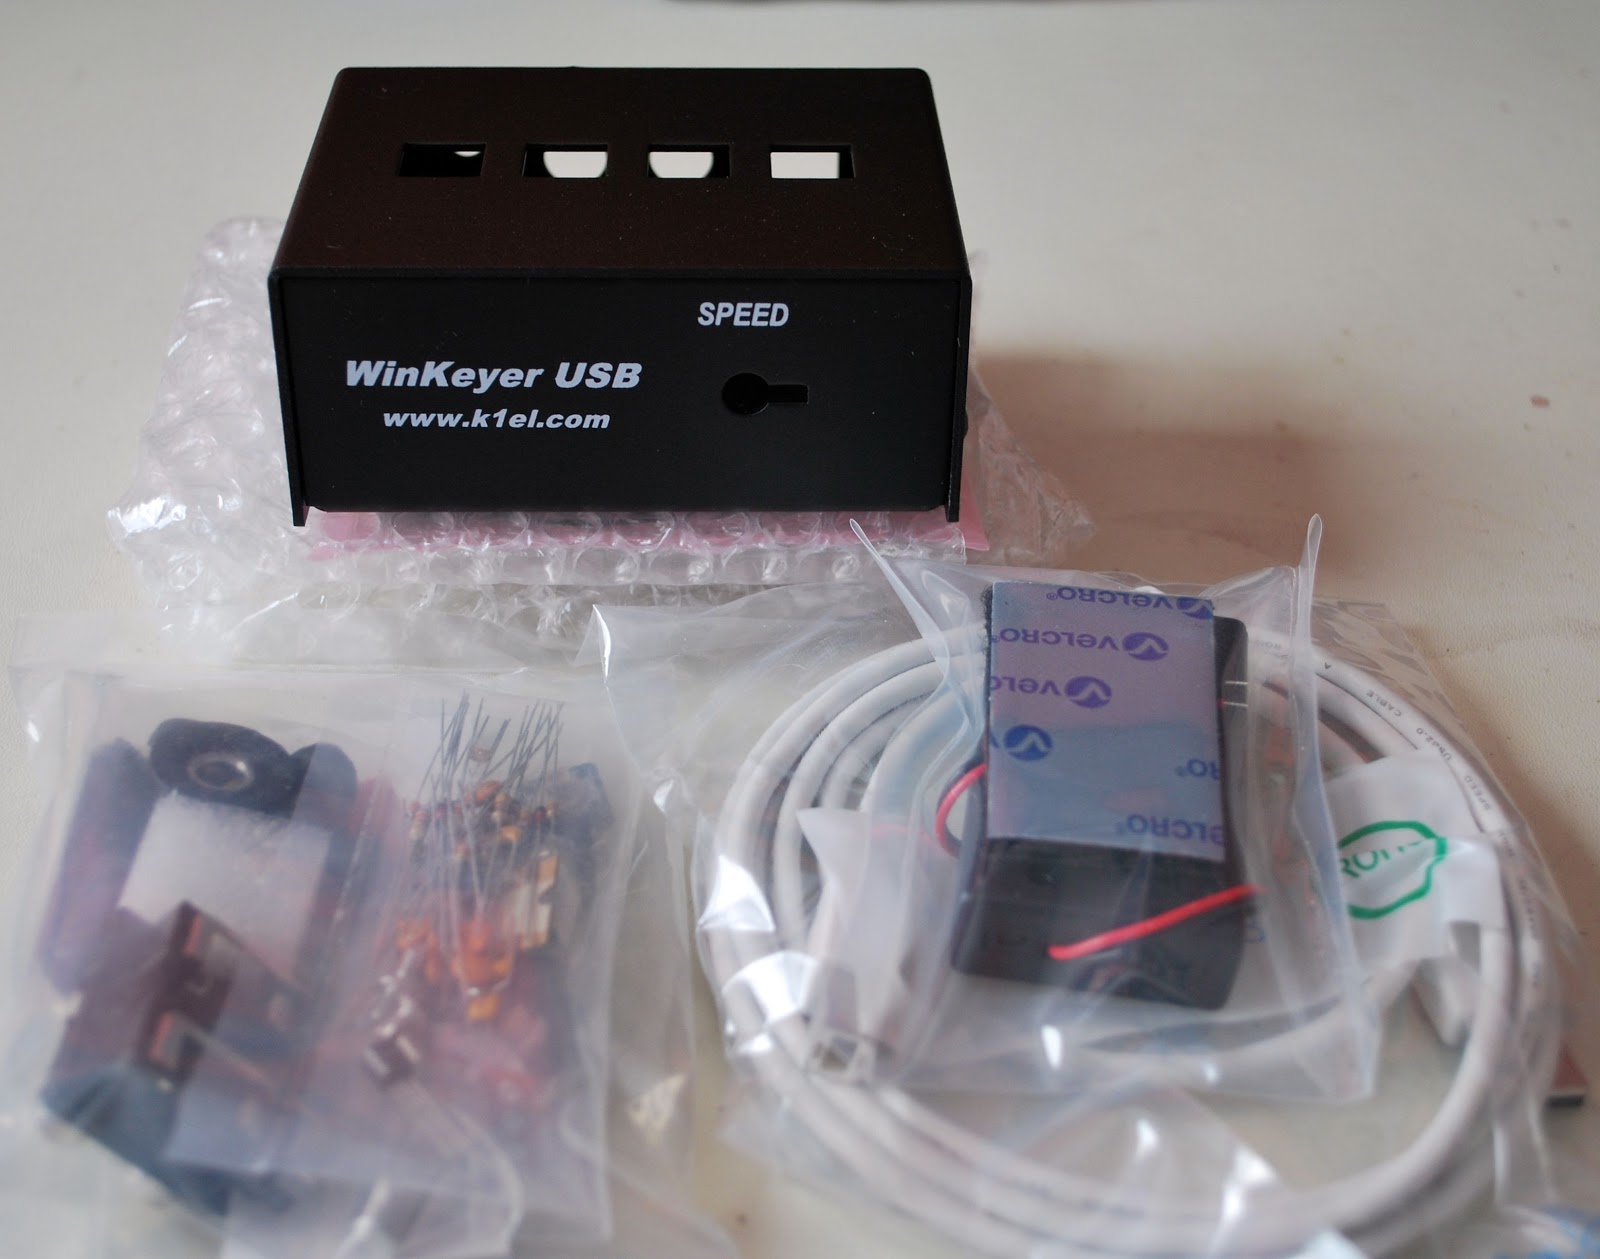
So I sold the Logikit keyer CMOS4 and Julie had purchased me the K1EL WKUSB keyer kit. I am familiar with the WKUSB keyer as some years ago I did purchase a built unit and it worked great. At the time it did seem to have some issues with my contest program N1MM. I ended up selling the unit and as they say hind sight is 20/20 and if I knew then what I do now I would still have it. This keyer has been around for some time now and improvements have been made. To hook it up to the PC is a simple USB cable along with some software and you are off to the races. To change the CW messages you open a program on your PC enter your new message then save to the key and that's it. You are able to enter four separate messages (just great for contests or DXepedtion contacts) The keyer can be connected to two rigs, my K3 and K2 can use the same unit without cable swapping. So back to the software for just one more moment.....not only can you program messages BUT there is a slew of custom settings you can enter such as spacing, weight and tone just to mention a very few extras. I hope this weekend to heat up the soldering iron and point it in the direction of this kit!!

Subscribe FREE to AmateurRadio.com's
Amateur Radio Newsletter

 
We never share your e-mail address.


Do you like to write?
Interesting project to share?
Helpful tips and ideas for other hams?

Submit an article and we will review it for publication on AmateurRadio.com!

Have a ham radio product or service?
Consider advertising on our site.

Are you a reporter covering ham radio?
Find ham radio experts for your story.

How to Set Up a Ham Radio Blog
Get started in less than 15 minutes!


  • Matt W1MST, Managing Editor


Sign up for our free
Amateur Radio Newsletter

Enter your e-mail address: