Posts Tagged ‘Portable operation’
 The Alexloop vs my attic dipole
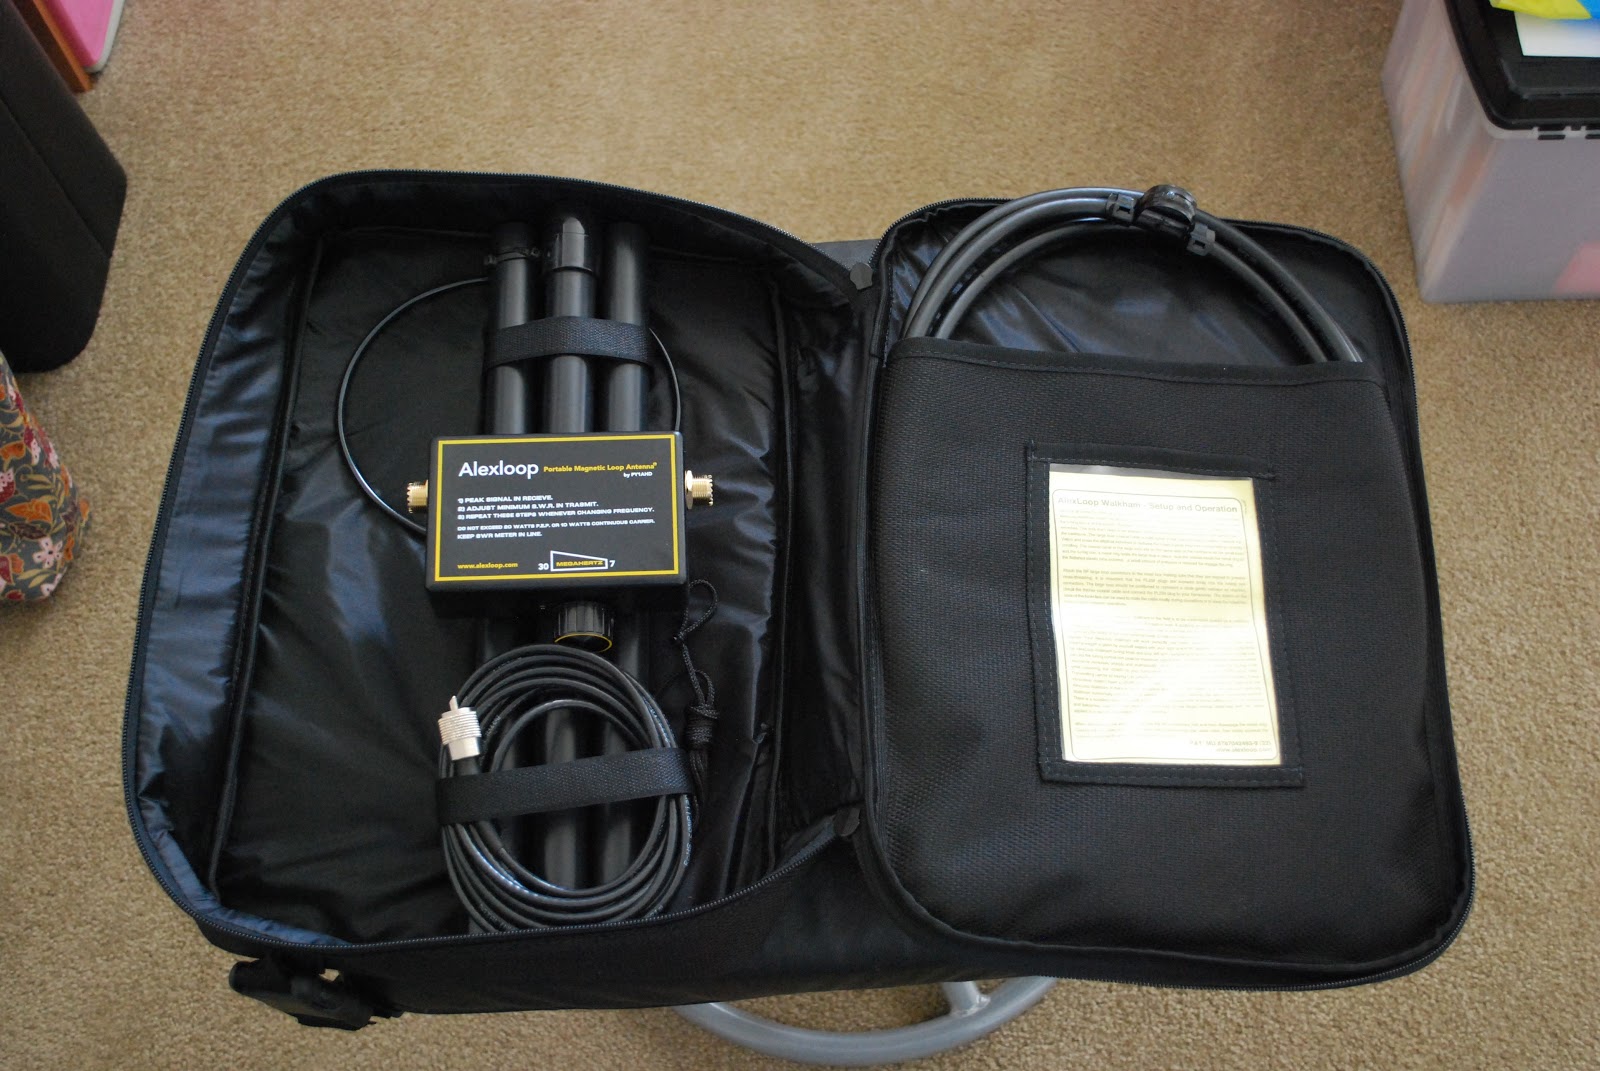 |
| The new Alexloop antenna |
 |
| A quality case |
So lets get to the nuts and bolts.....how does it work....sure anyone can say anything about their antenna but the proof is in the radio waves!!
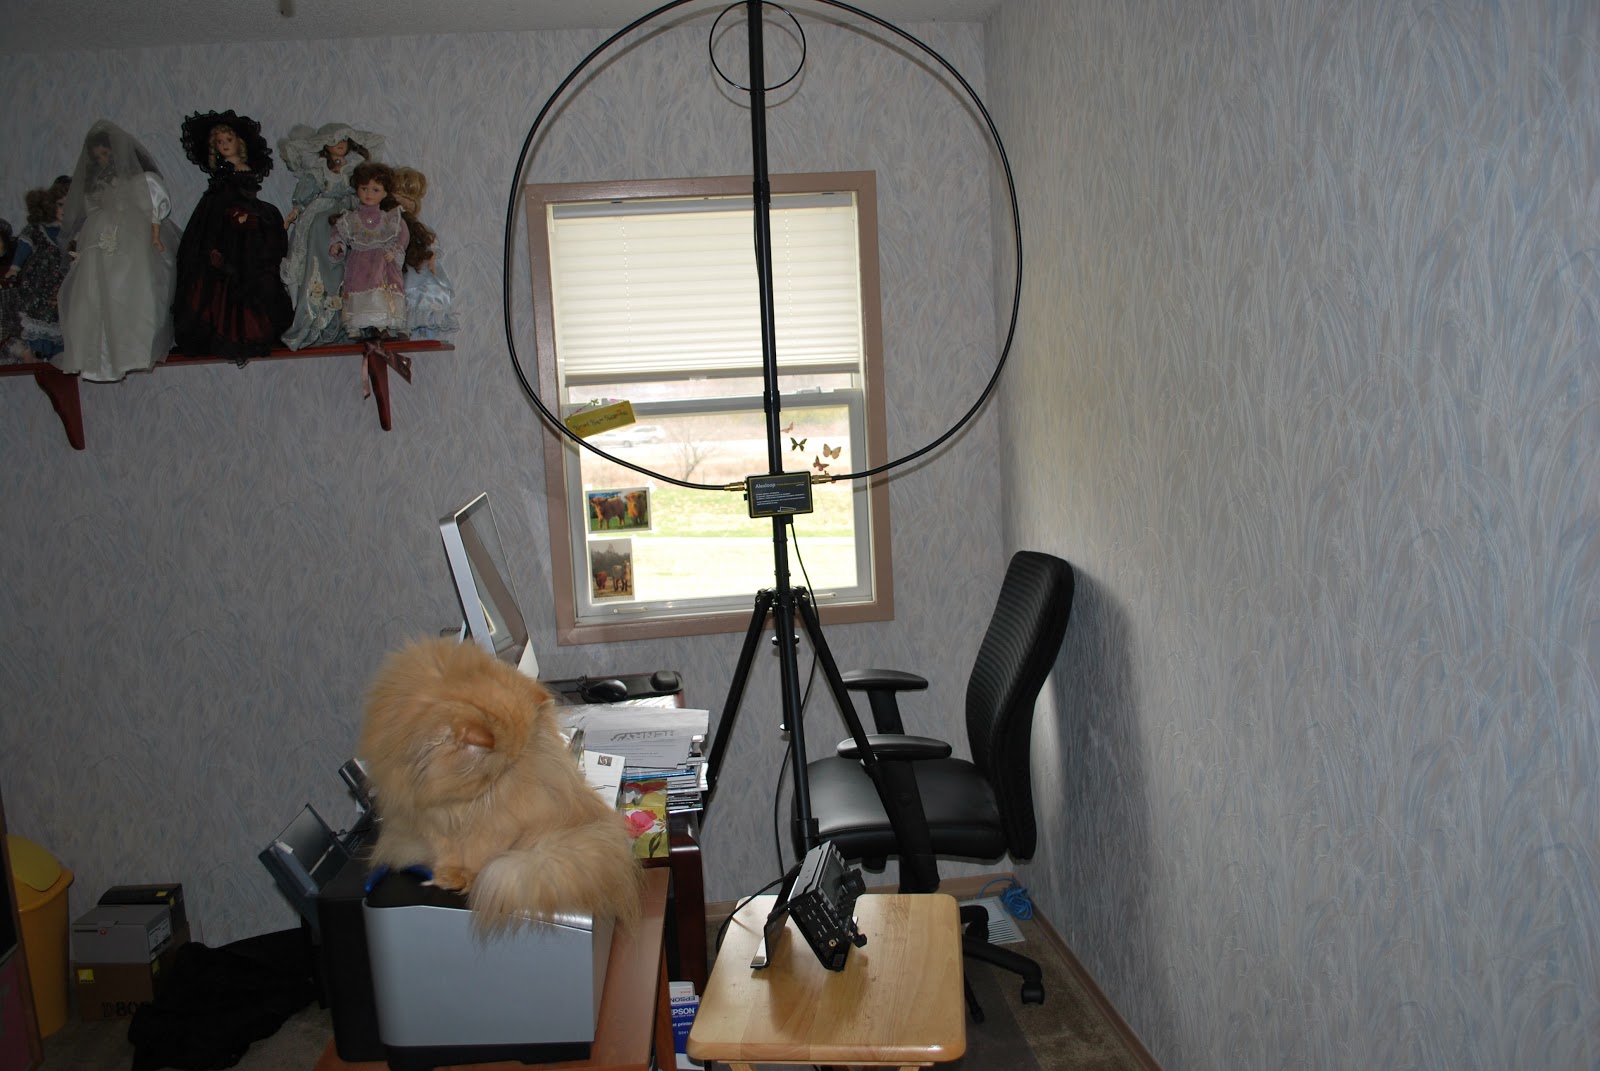 |
| Antenna location..cat standing guard |
I wanted to do a comparison between my attic dipole which is the Alpha Delta DX-EE up about 30 feet in the attic and the Alexloop set up in my XYL's office just opposite my radio room. Let me state that this is not a comparison to see which antenna preforms better as that is not a fair comparison....but I wanted to see how well the loop did compared to my attic dipole. The Alexloop was mounted on a tripod....well ty-wrapped to it as the the Alexloop would not fit over the tripod center pole section. This is something I will have to work out later. Each of these antennas have their disadvantages....the dipole is in the attic, this means a wooden roof above, rafters all over and insulation below. The Alexloop is in a second floor room, it's a small loop antenna and very close to the ceiling. So really both antenna are far from ideal when it comes to location.
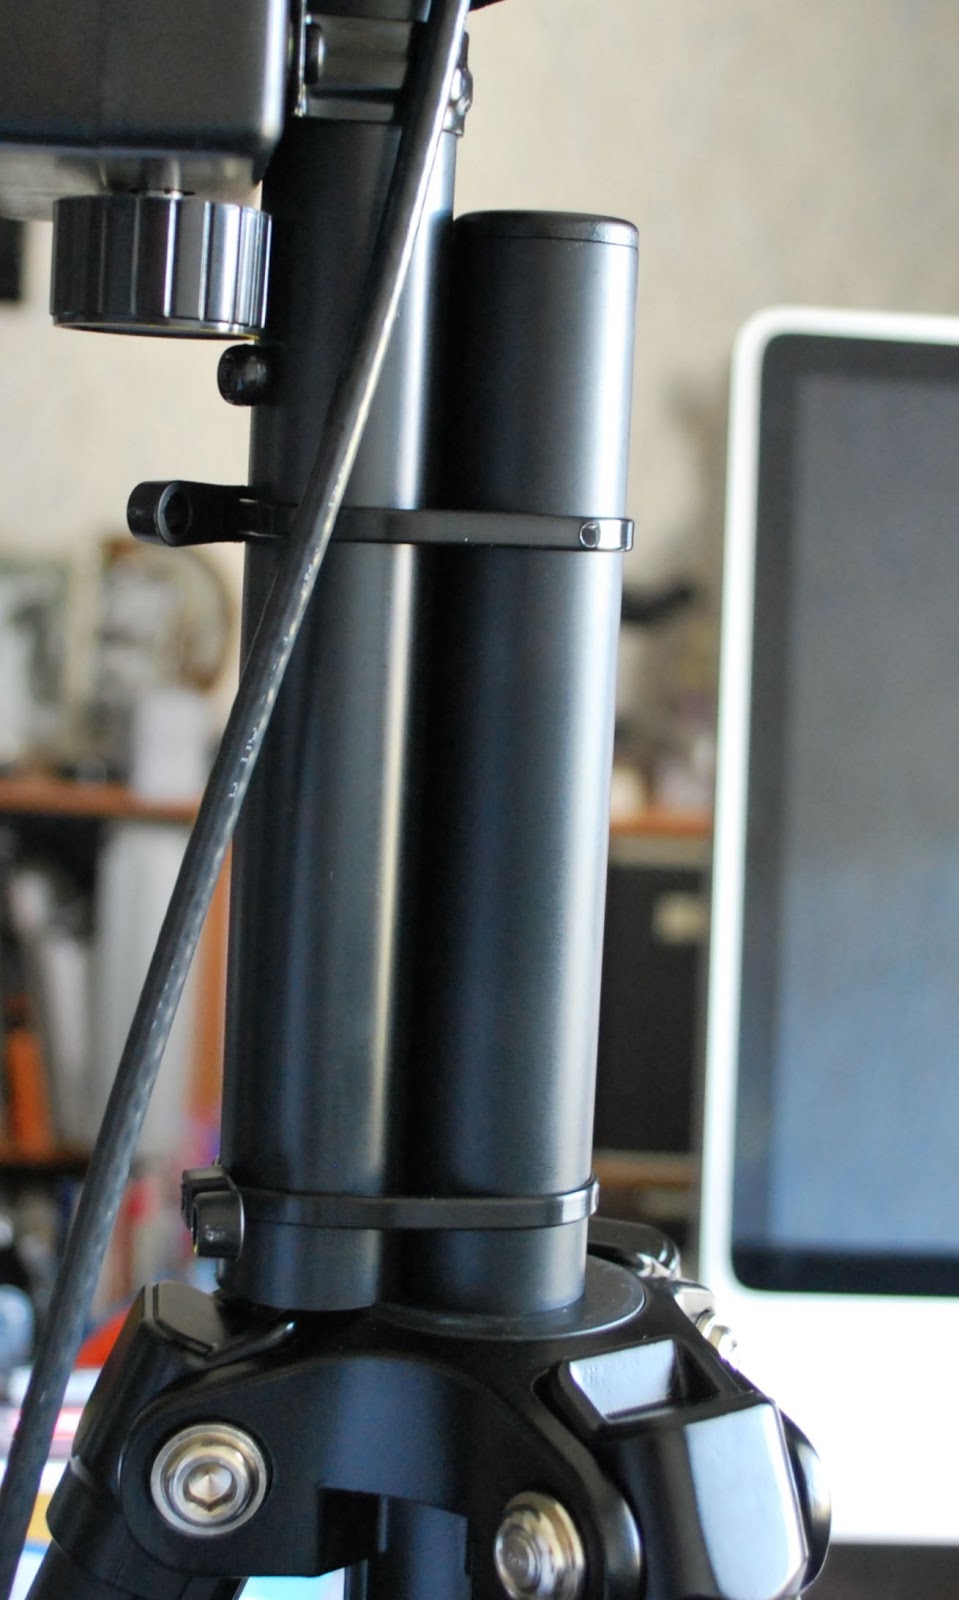 |
| Temp tripod mount |
My overall impressions of the Alexloop are as follows:
1. Shipping was fantastic, this antenna got here from South America faster than products I have ordered from the U.S.
2. The support is great, I had a question about the loop when it arrived and it was answered within 30 minutes!!!!
3. This unit is quality quality quality from the carry case to antenna!!
4. The tuning was a cinch, turn for peak noise and then transmit and tune for lowest SWR....takes about 20 seconds!
 |
| 14.060, 7.032 Alexloop |
6. Antenna foot print is very low profile and can be used vertical or horizontal.
7. The SWR on 20m and 40m (only bands used so far) was 1.4 at 14.060 and 1.7 at 7.032.
The bottom line is I am very very impressed with this antenna and I will be taking it to the field and updating the blog on how it does. Up to this point would I recommend this antenna.......dam right I would it's support is excellent, quality of the product is way above par and so far the results have been very impressive.
Too close for CW comfort

So why did I title this post "To close for CW comfort" this has to do with the other CW "events" that I was exposed to! I have read about this in other blogs from other op's which are CW operators who seem for some reason to blend letters together regarding their call. I had at least 6 op's who's call I had a very very hard time making out. There was one DX station who's call ended in WVR BUT for the longest time I was not sure if it was W##, even the code reader on the KX3 was having a real hard time. I then ran across 10+ on the S meter European station but I could not give him a call as I had (and I mean NO CLUE) what his call was!! It was very hard to tell were the CQ stopped and the call was being sent. Now folks for any of you reading my blog and who also have had a CW QSO with me I know my code elegance has left you scratching your head at times.....but I just can't understand how code that has no spaces and just runs as one long word how these op's ever get answers to their CQ requests.
When I got home I put my Elecraft k3 into test mode (meaning no code is sent over the air) and tried to send some sloppy code and watched to see if the K3 was able to decode. (you can setup the K3 to not only show incoming code but also your code as you send it) The only reading the K3 would give me were not letters or numbers just lots of *****......translation...the K3 also has no idea. As with most CW op's out there you also have your code being sent to you through your headphones. Does the code not sound odd to these op's???
Anyway time to get off my soapbox now.............
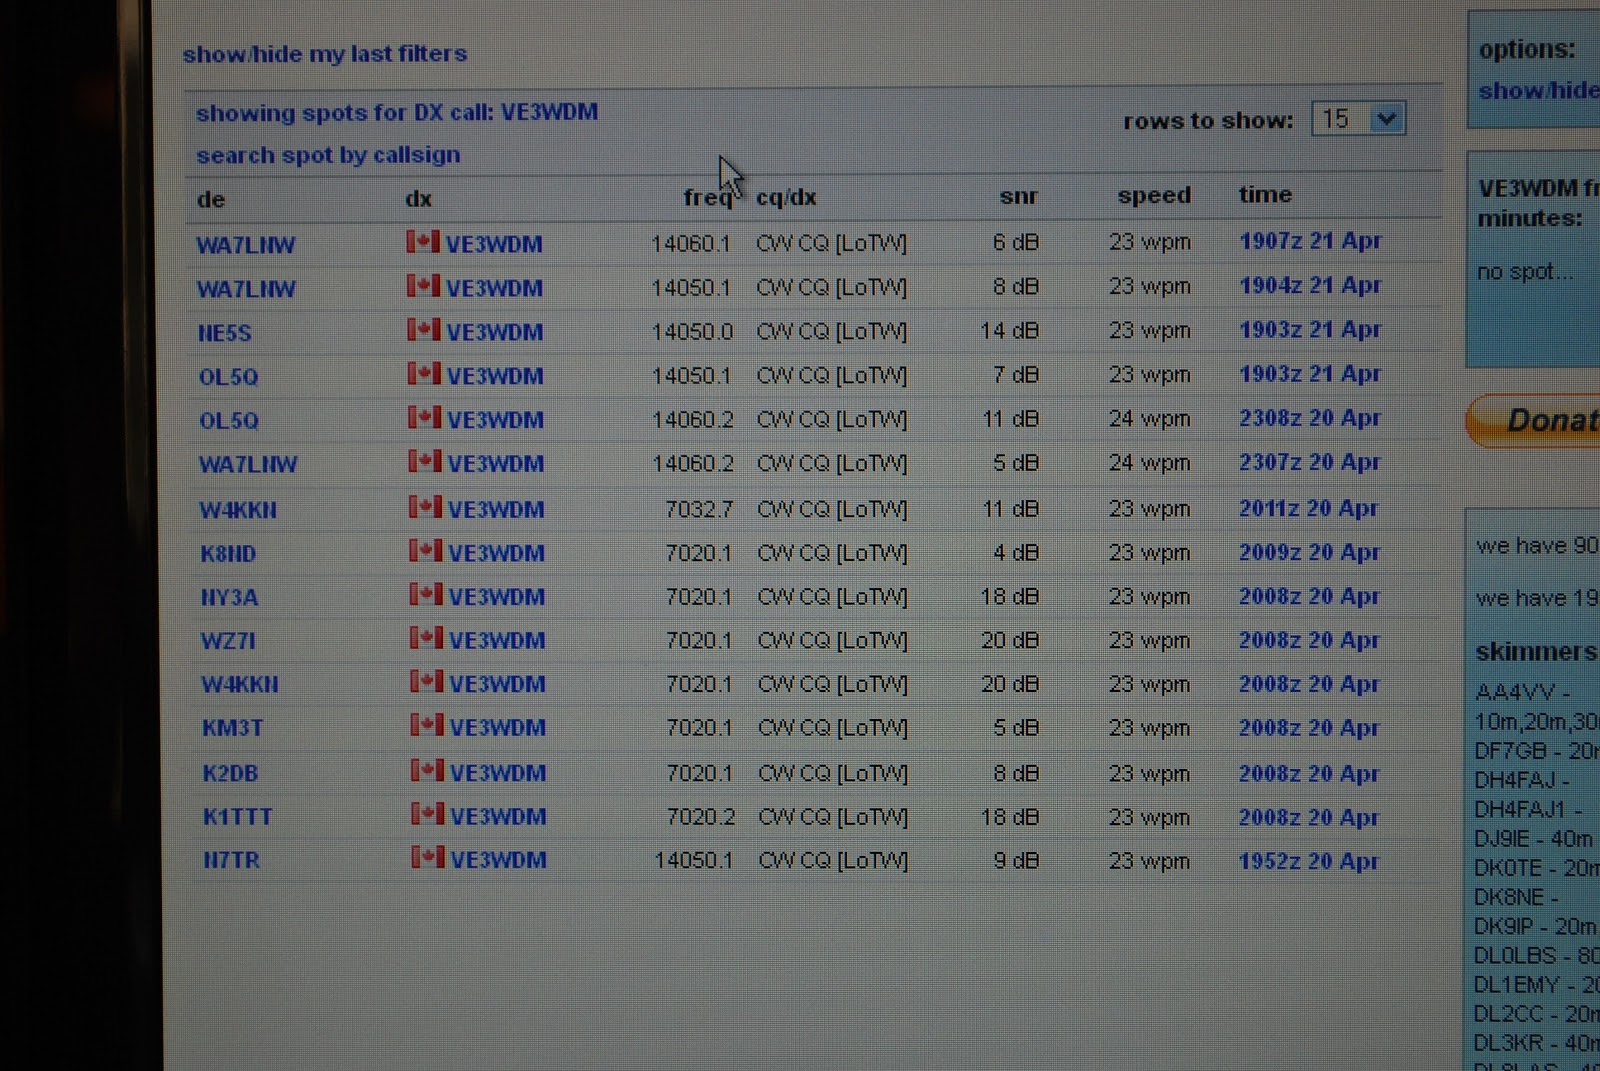
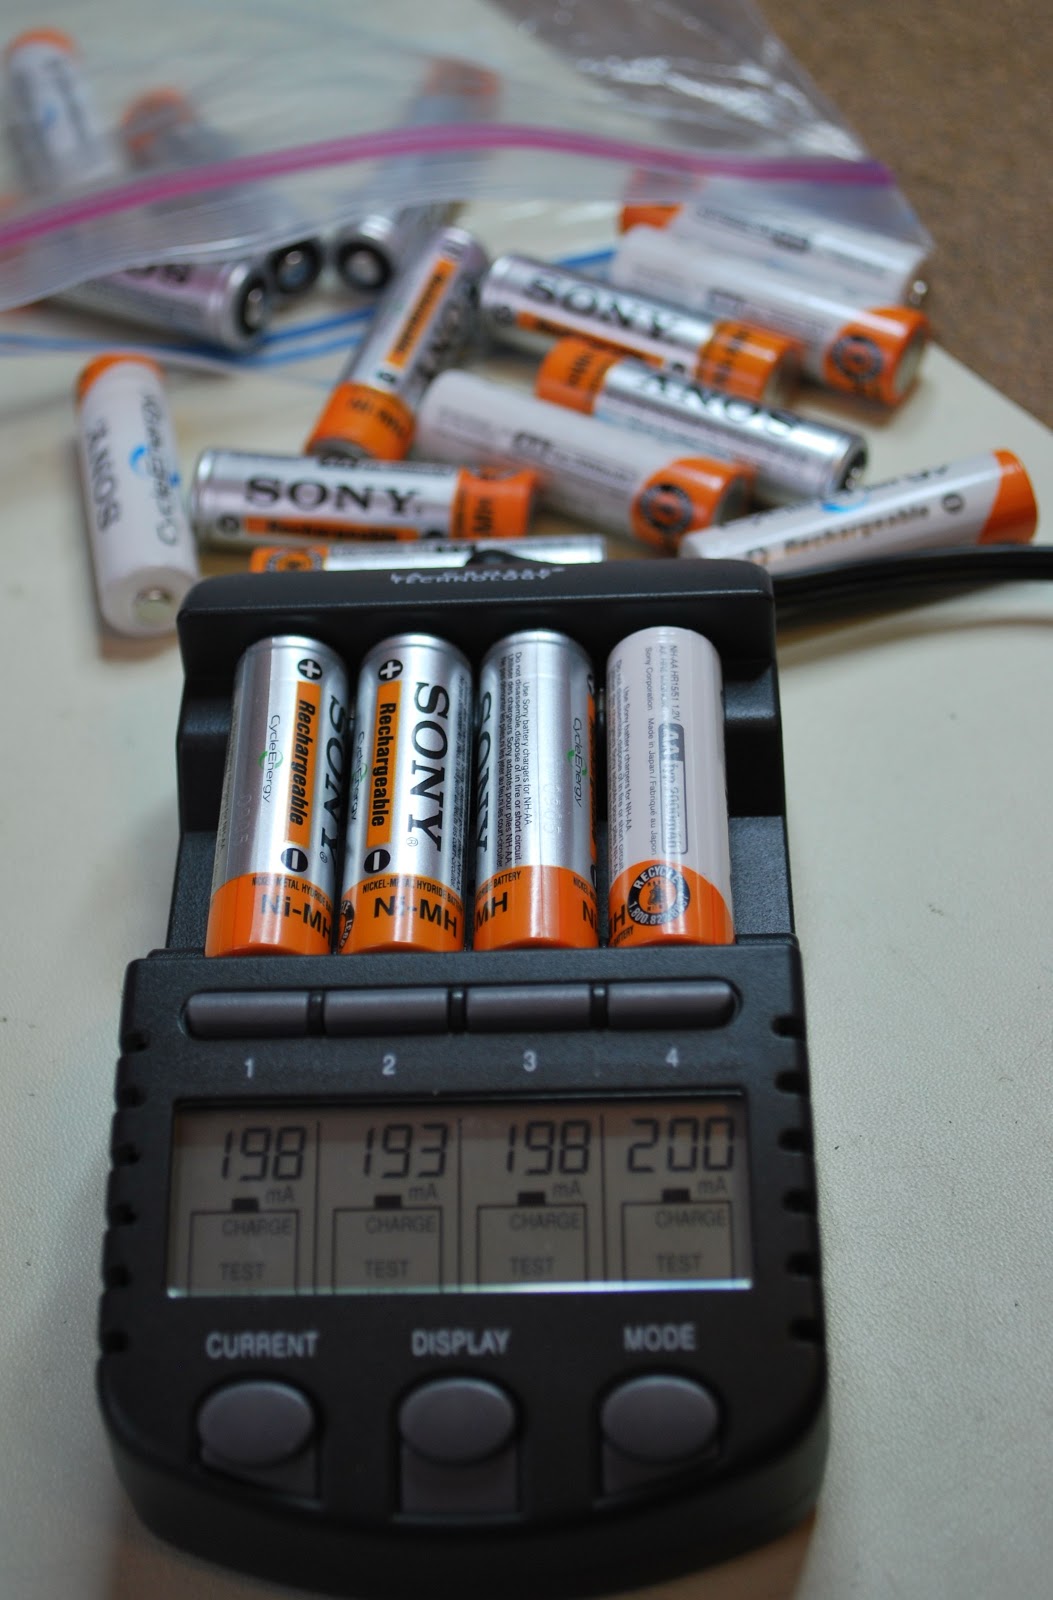
A new battery charger……………
 |
| It came with all this |
unit....not bad for 60.00 and 2 day shipping to boot.
So what is so great about this charger, each cell can be charged, discharged/charged, refresh/charge or finally test/charge. Each cell can have it's own custom type of charge done to it. The charging rates can chosen from 200mA to 1800mA and again each cell can have it's own charge rate. The unit will let you
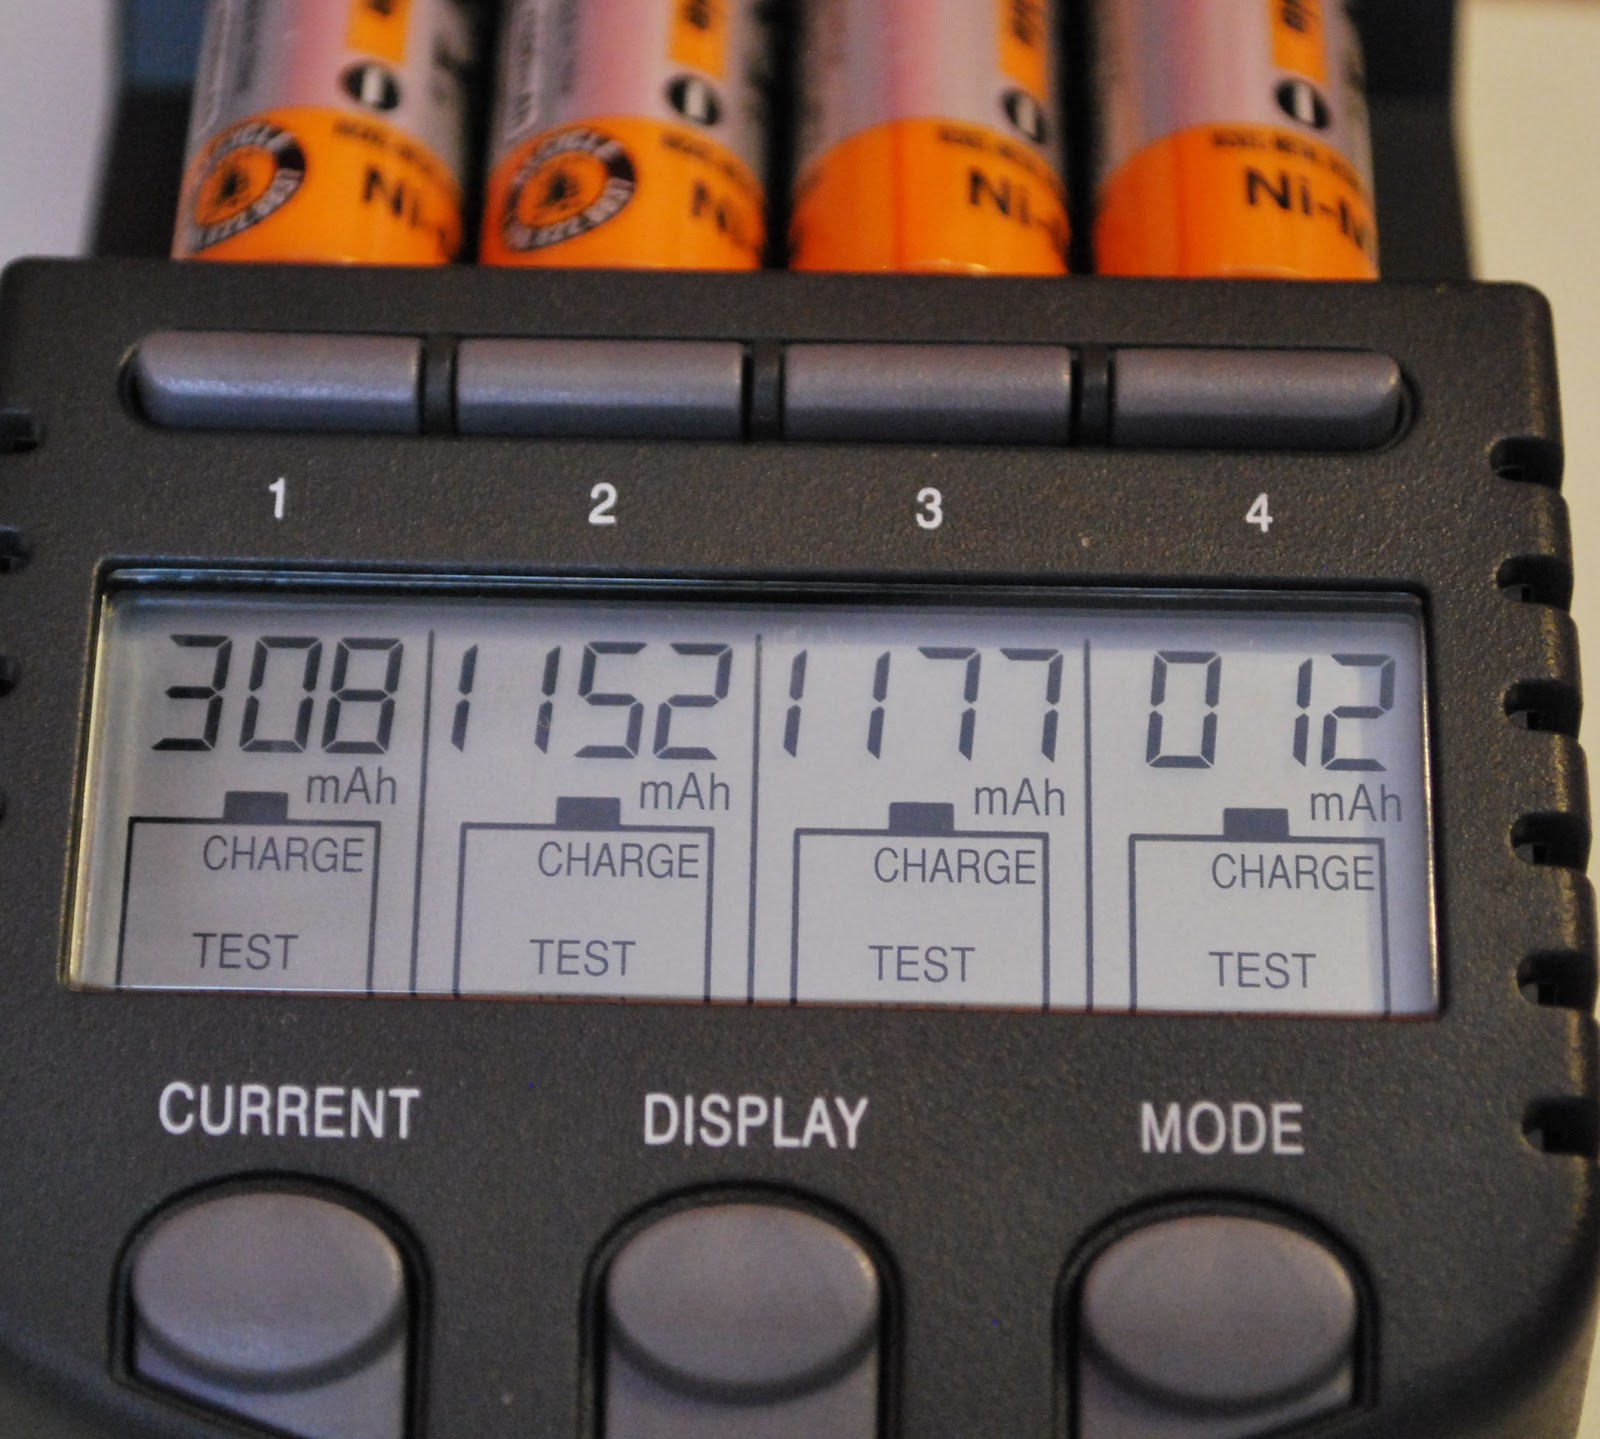 |
| Charge and test mod results |
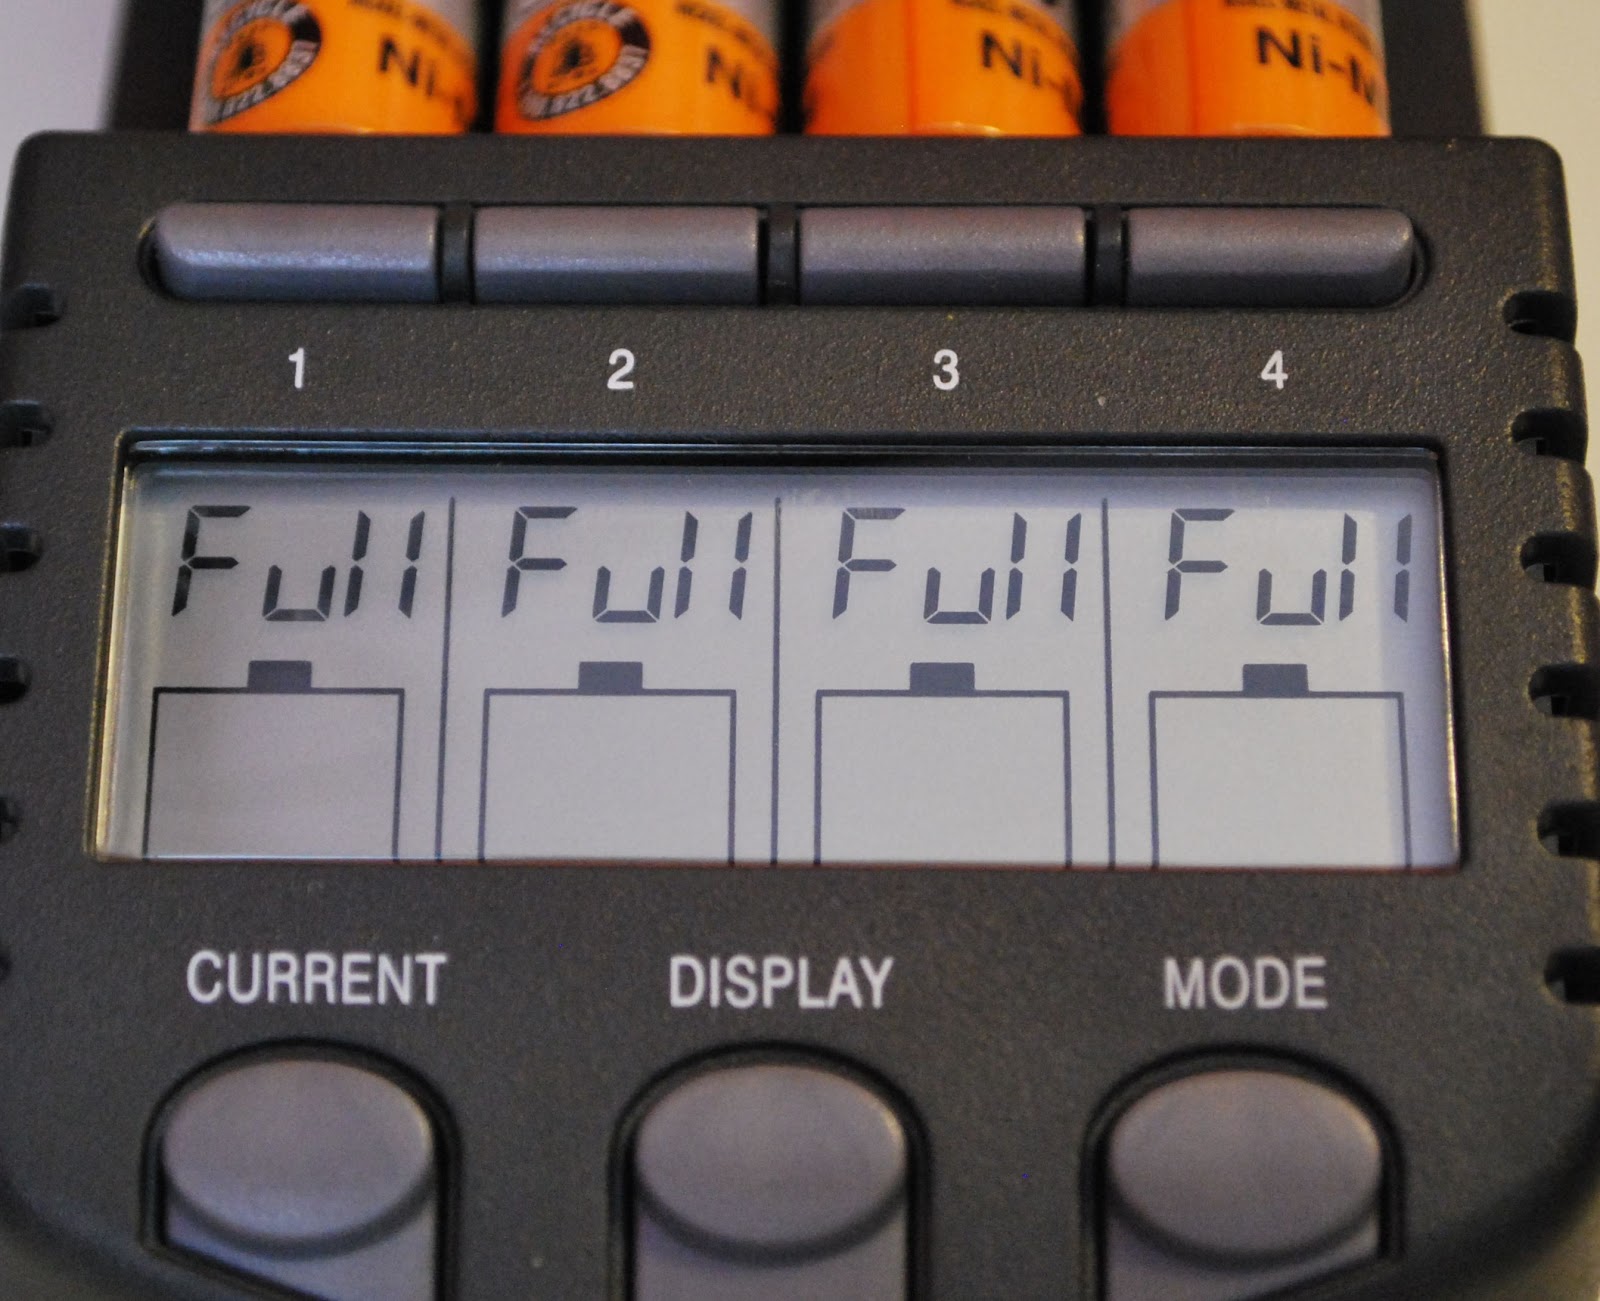 |
| TEST/CHARGE complete |
With this charger you are able to get the most out of your not so cheap rechargeable batteries and make your hard earned money go as far as it can.
 |
| And the testing goes on |
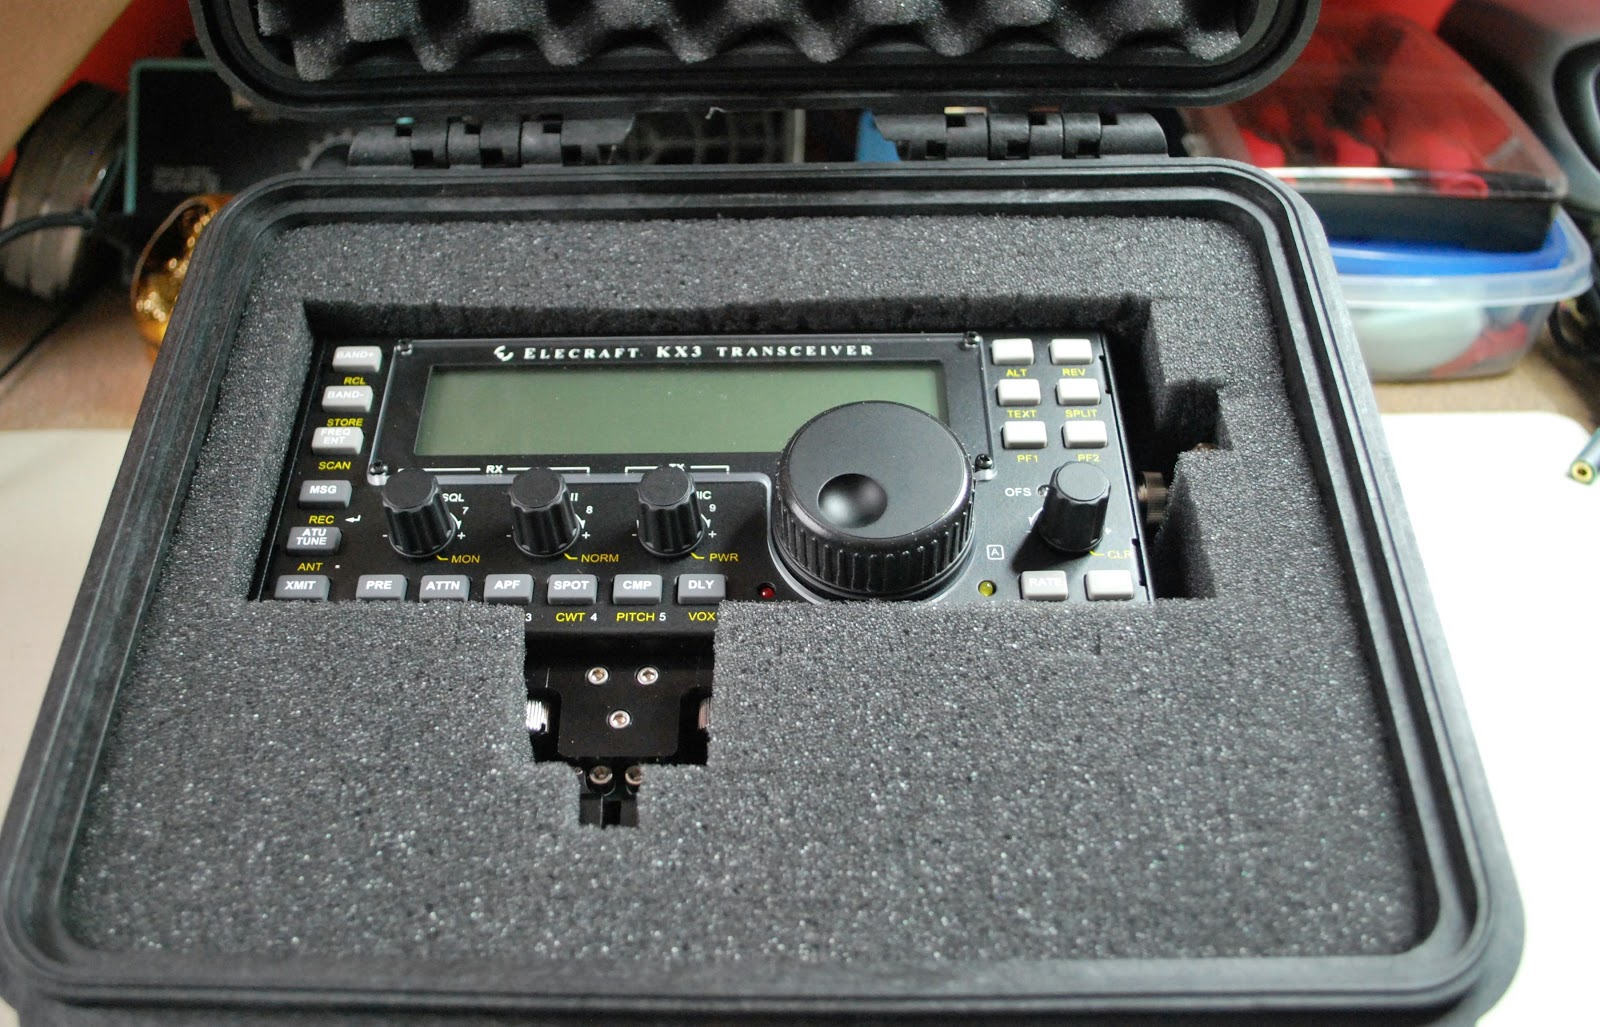
KX3 is working and so is QRPp
Yesterday when I got home from my failed out door op's adventure with KX3 I found out what I did. It was operator error on my part. The night before I failed to understand the KX3 charging procedure fully and I was rushing to get the battery charged for the next day. I thought I had put the batteries on a 16 hour charge by misunderstanding the simple procedure I inadvertently stopped the charge cycle. So in the morning I did try my KX3 on battery power and it did not work but I discovered in the manual that the radio power on thresh hold had to be lowered when using NiMH batteries. I did this and the KX3 came to life. Little did I know that was all the life the batteries had in
them most likely a very small factory charge.....Yesterday when I got home I looked over the instructions this time more slowly. As I went through each step at the end a time count down appeared along with "BAT CHG". I never saw this the night before! This meant is was WORKING and charging. New next few day here the temps are
going to rise into the +12C or more so I may take my KX3 into work and maybe get on 40m in the morning before I start work.
Today was a snow day for me here at VE3WDM we had a large and non forecast snow fall last night. I have over an hours drive to work on a good day and when I went out to the car at my normal 4 a.m ( not a spelling error yes 4.am) funny I call it the morning and others in my family call it the middle of the night.....I digress.....It was snowing like crazy and I did try to make it in but no roads were not cleared so it was to dangerous.
I got on the radio for some time today and snagged me some QRPp contacts. On 15m this morning I heard Rudy IK4VFD calling CQ. He was in and out at times but I gave him a go with 500mW's of K3 power and I got through to him!! He gave me a 539 report and did not seem to have any trouble getting through our exchange of QTH, Name, RST and a few pleasantries. I sent Rudy an email with more info about my station and the power that I was running as at the time I told him it was QRP. He got back to me with an email thanking me for our QSO. So that contact was 8467 miles per watt!!
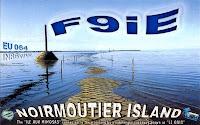
I then found F9IE calling CQ from France and it sounded like he was just outside my window. So it was time to switch in the Hendricks attenuator and drop my power down to 150mW's. It took a few calls but Bernard was able to give me a report of 449 along with EU-064 as he is on Noirmoutier Island to boot!! So that contact gave me 24,261 miles per watt of a contact.
 |
| It's charging!! |
going to rise into the +12C or more so I may take my KX3 into work and maybe get on 40m in the morning before I start work.
Today was a snow day for me here at VE3WDM we had a large and non forecast snow fall last night. I have over an hours drive to work on a good day and when I went out to the car at my normal 4 a.m ( not a spelling error yes 4.am) funny I call it the morning and others in my family call it the middle of the night.....I digress.....It was snowing like crazy and I did try to make it in but no roads were not cleared so it was to dangerous.
I got on the radio for some time today and snagged me some QRPp contacts. On 15m this morning I heard Rudy IK4VFD calling CQ. He was in and out at times but I gave him a go with 500mW's of K3 power and I got through to him!! He gave me a 539 report and did not seem to have any trouble getting through our exchange of QTH, Name, RST and a few pleasantries. I sent Rudy an email with more info about my station and the power that I was running as at the time I told him it was QRP. He got back to me with an email thanking me for our QSO. So that contact was 8467 miles per watt!!
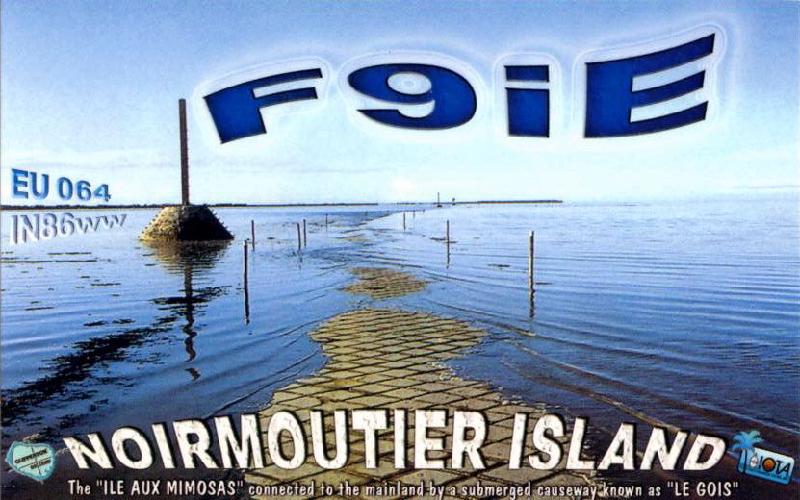
I then found F9IE calling CQ from France and it sounded like he was just outside my window. So it was time to switch in the Hendricks attenuator and drop my power down to 150mW's. It took a few calls but Bernard was able to give me a report of 449 along with EU-064 as he is on Noirmoutier Island to boot!! So that contact gave me 24,261 miles per watt of a contact.
A day in the park………
 |
| Packed and ready to go |
 |
| Powering up..and NOTHING |
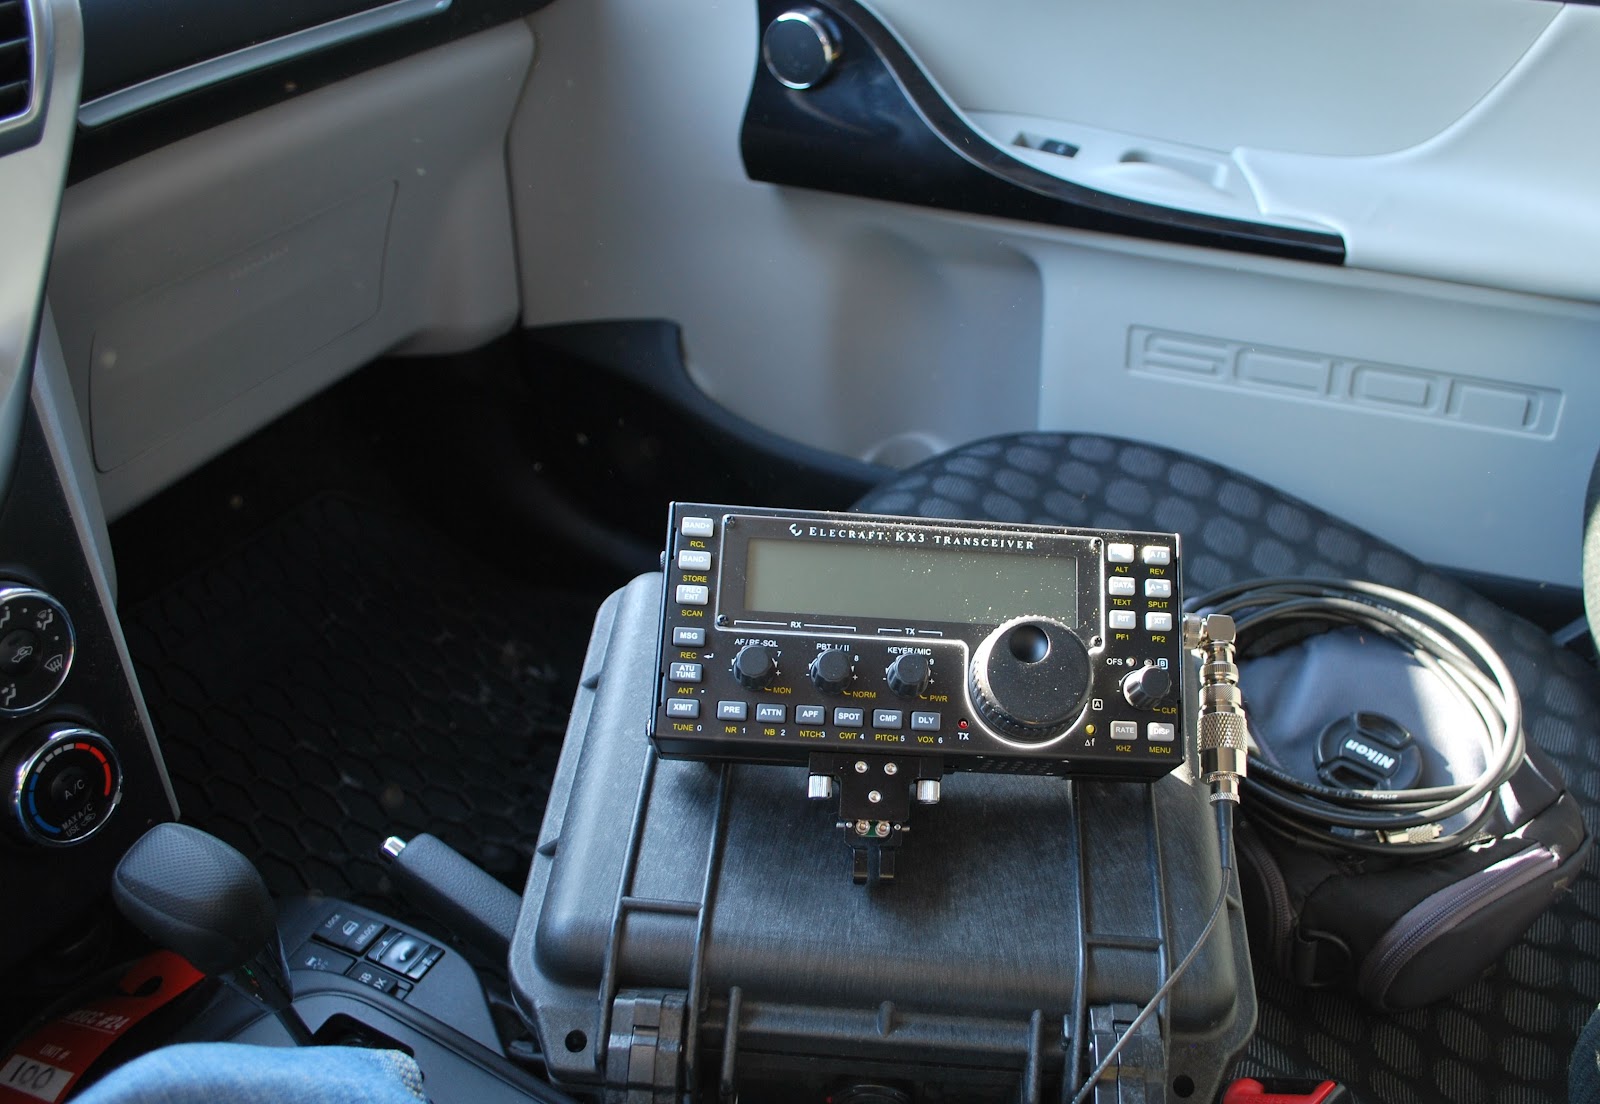
Julie had a
great idea the other day, I could get my new Elecraft KX3 some on air
time from the car. The plan was we go to a park, me with the radio and
Julie with her camera. While she was off taking photos I could operate
QRP from the car. First my KXBC3 (to use NiHM batteries and charge then)
had to be installed in the KX3. That was done yesterday evening
without any problems (I did a YouTube video
of it soon to be posted) I then placed my Ansmann 2850 MaH batteries in
of it soon to be posted) I then placed my Ansmann 2850 MaH batteries in
 |
the radio and set it for a
16 hour charge. I tried the radio at home today on The internal
batteries and the KX3 was dead!!!! Off to the manual were I found out
the rig is preset if the voltage is not over 10 volts the rig will not
start. ( Rig holds 8 AA batteries) No problem I was told to drop the
threshold to 8.5 volts if using
NiMH batteries. That was done and on
came the rig all was well. Off to the park ......Julie helped me get
setup and off she went. I'm ready to go.....powered up the KX3
NOTHING!!!! Very frustrating to say the least. I packed everything up
and
now waiting for Julie's return and composing this blog post on my
IPhone in the parking Lot.
NOTE....UPDATED POST TO ALLOW CANADA GOOSE PHOTO TO BE VIEWED IN LARGER FORMAT.
 |
| Julie had more success than me |
NOTE....UPDATED POST TO ALLOW CANADA GOOSE PHOTO TO BE VIEWED IN LARGER FORMAT.
A new antenna coming soon………
I was going through my QST this week an had notice an add for a new antenna by SteppIR. In the past I would had just passed by the add but this antenna in the
picture had an eye catching look to it. It's called the CrankIR vertical
and can be used from 2m to 40m or another unit that goes from 2m to 20m
(an 80m unit is in the works) The antenna is great for portable ops,
field day, emergency and neighborhood restricted antenna areas...and the
list goes on!! For me this antenna can easily fit into a nap-sack and
carried out into
the great outdoors, placed in the truck of my Scion IQ and hauled to a park and setup at a picnic bench were I have done many a mini contest from.
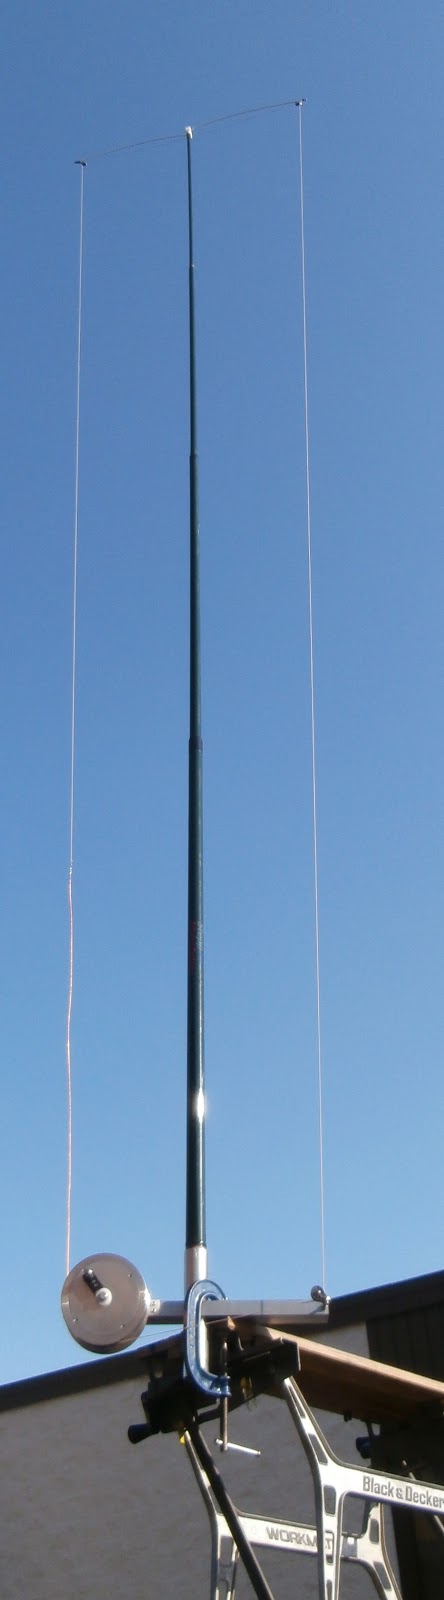
So lets look at the nitty gritty of the antenna first off it's made by SteppIR who has a GREAT reputation and has been the choice of many DXpeditions. The 20m version extends to 9 feet and when folded up is only 26 inches. The 40m version is 18 feet and reduces to 30 inches. As far as I am concerned both sizes are very manageable for transporting. I am not gong to high light evey detail as there is a link on this post to the SteppIR CrankIR page with limited info but more to come!! This antenna is due to make its purchase date in the spring of this year. I did send an email to SteppIR with some questions about the antenna and Bart was very prompt to get back to me.
My Questions were........
1. I did not notice any radials are there any? (I asked this because for portable ops sometime radials can become a pain especially if you are in a park where the public is.)
Bart's answer was.....
The antenna will be designed to work with a single, elevated, tuned radial (included)
THERE HAS BEEN SOME COMMUNICATION
BETWEEN MYSELF AND STEPPIR SINCE THE POST.....IT WOULD SEEM I
MISUNDERSTOOD AN EMAIL. THE CABLE YOU SEE IN THE PICTURE DOES RAISE AND
LOWER THE ANTENNA ELEMENT TO THE DESIRED BAND TO WHICH YOU WANT TO
OPERATE IT'S NOT A COUNTER POISE. (MY MISTAKE) BART TOLD ME THERE IS A
COUNTERPOISE THAT WILL (THIS IS THE PLAN) EXTEND AND RETRACT FROM THE
BASE WITH ANTENNA AS YOU GO FROM BAND TO BAND.
 |
| Mounted on bench |
So lets look at the nitty gritty of the antenna first off it's made by SteppIR who has a GREAT reputation and has been the choice of many DXpeditions. The 20m version extends to 9 feet and when folded up is only 26 inches. The 40m version is 18 feet and reduces to 30 inches. As far as I am concerned both sizes are very manageable for transporting. I am not gong to high light evey detail as there is a link on this post to the SteppIR CrankIR page with limited info but more to come!! This antenna is due to make its purchase date in the spring of this year. I did send an email to SteppIR with some questions about the antenna and Bart was very prompt to get back to me.
My Questions were........
1. I did not notice any radials are there any? (I asked this because for portable ops sometime radials can become a pain especially if you are in a park where the public is.)
Bart's answer was.....
The antenna will be designed to work with a single, elevated, tuned radial (included)
Now what I get from this answer is the
radial is the crank up wire that is surrounding the antenna I had
thought this was for the cranking of the antenna up and down.
Note...see green section below for correct after the fact info.....
My next question was....
2. Was the cable and crank up device
part of the antenna or a separate piece?
Bart's answer was......
The crank is for extending or retracting the element around the frame of
the antenna. It does not raise/lower the antenna or support tube. 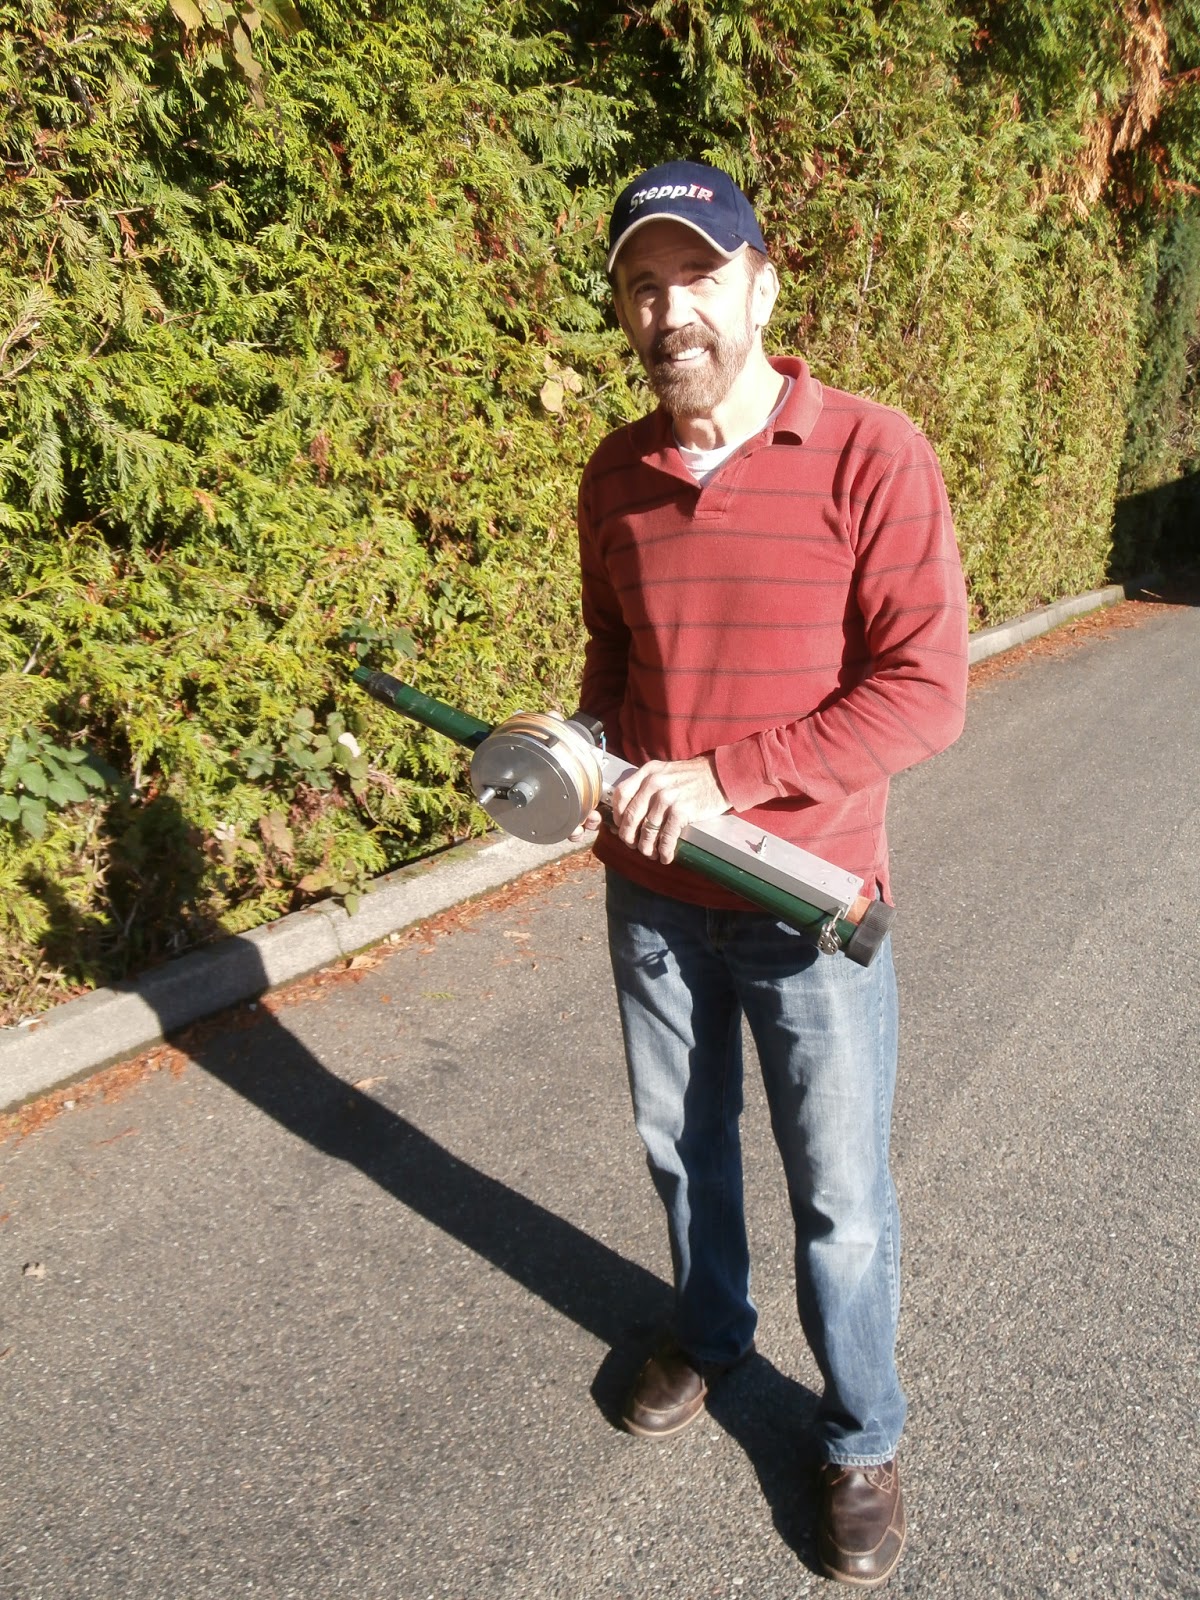 |
| The 40 to 2m retracted |
This is were I got the impression the
cable was not to raise and lower the antenna element and was the
elevated tuning radial he spoke of. As for the whether or not it was
attached to the antenna was not sure what his answer was...BUT
the picture to the left seems to look like it is attached to the base
of the antenna. There looks to be a bolt just below Mike's hand.
Bart's answer was........
Prices have not been set, but we do expect them to start at about $250.
So there yo go just some tidbits of
info about what seems to be a very nice antenna from a very reputable
company!!
Contest Skeeter Hunt wallpaper
 |
| Just waiting to be framed and hung on the "I love me" wall |


