Posts Tagged ‘Elecraft’

A day in the park………

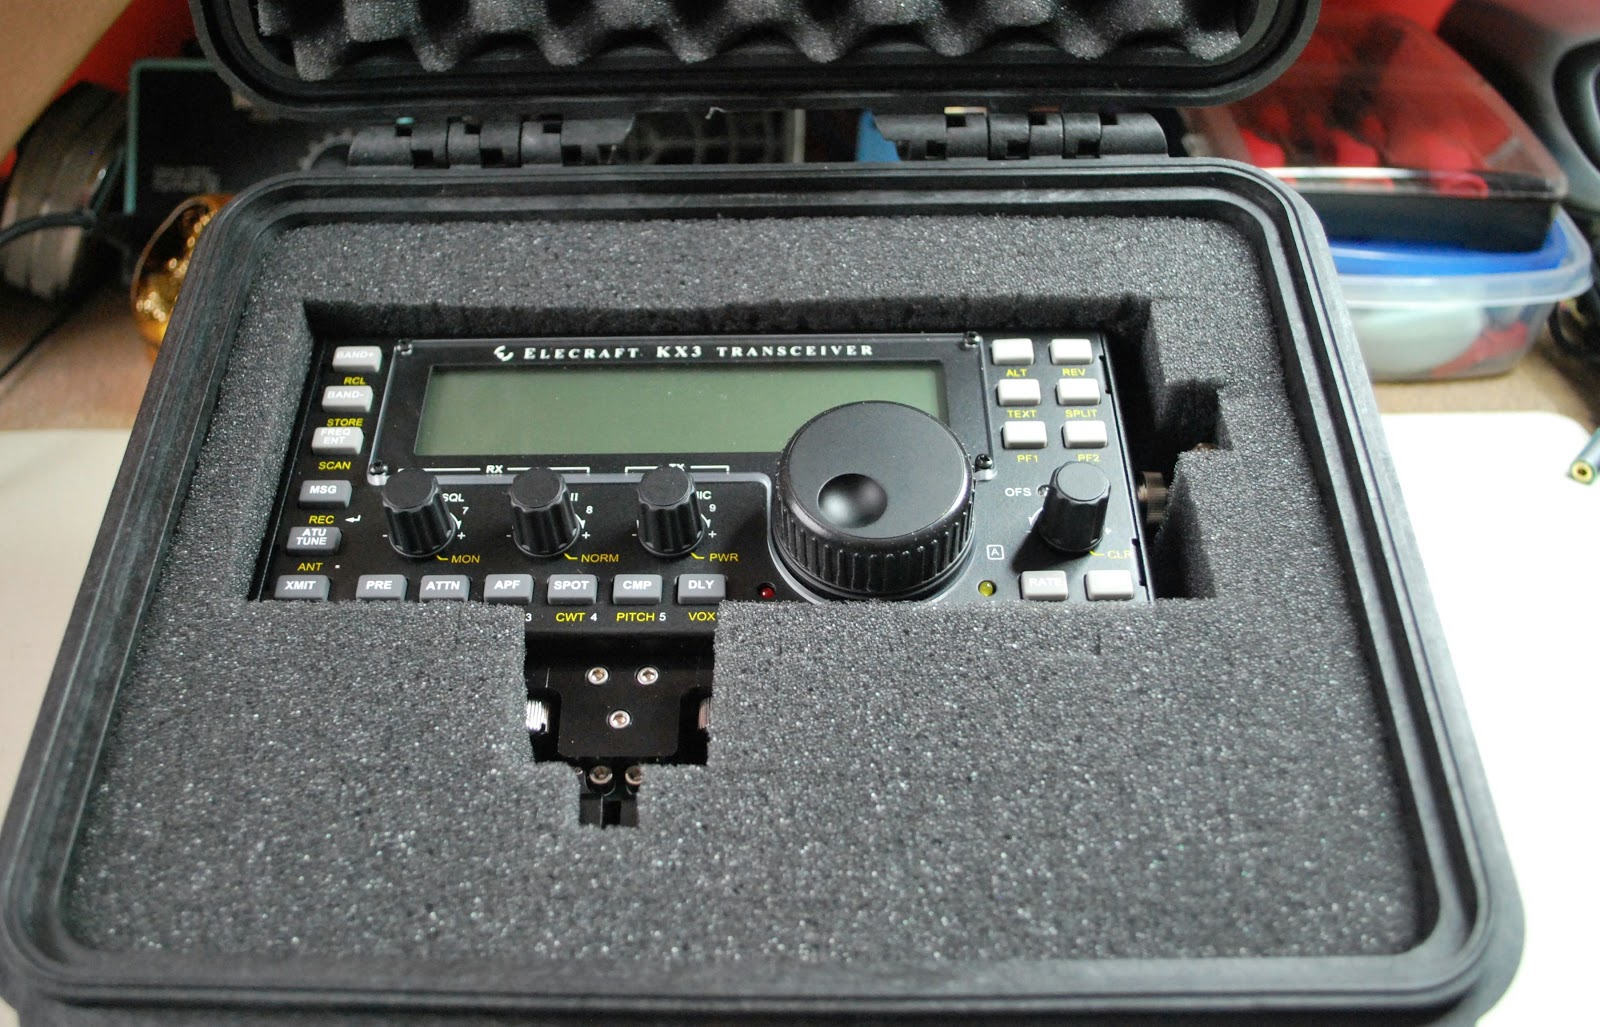
Packed and ready to go
Powering up..and NOTHING
Julie had a great idea the other day, I could get my new Elecraft KX3 some on air time from the car. The plan was we go to a park, me with the radio and Julie with her camera. While she was off taking photos I could operate QRP from the car. First my KXBC3 (to use NiHM batteries and charge then)  had to be installed in the KX3. That was done yesterday evening without any problems (I did a YouTube video
of it soon to be posted) I then placed my Ansmann 2850 MaH batteries in 

 the radio and set it for a 16 hour charge. I tried the radio at home today on The internal batteries and the KX3 was dead!!!! Off to the manual were I found out the rig is preset if  the voltage is not over 10 volts the rig will not start. ( Rig holds 8 AA batteries) No problem I was told to drop the threshold to 8.5 volts if using  
NiMH batteries. That was done and on came the rig all was well. Off to the park ......Julie helped me get setup and off she went. I'm ready to go.....powered up the KX3 NOTHING!!!! Very frustrating to say the least. I packed everything up and
Julie had more success than me
now waiting for Julie's return and composing this blog post on my IPhone in the parking Lot.
NOTE....UPDATED POST TO ALLOW CANADA GOOSE PHOTO TO BE VIEWED IN LARGER FORMAT. 

Elecraft KX3…stand, CW key and battery charger.

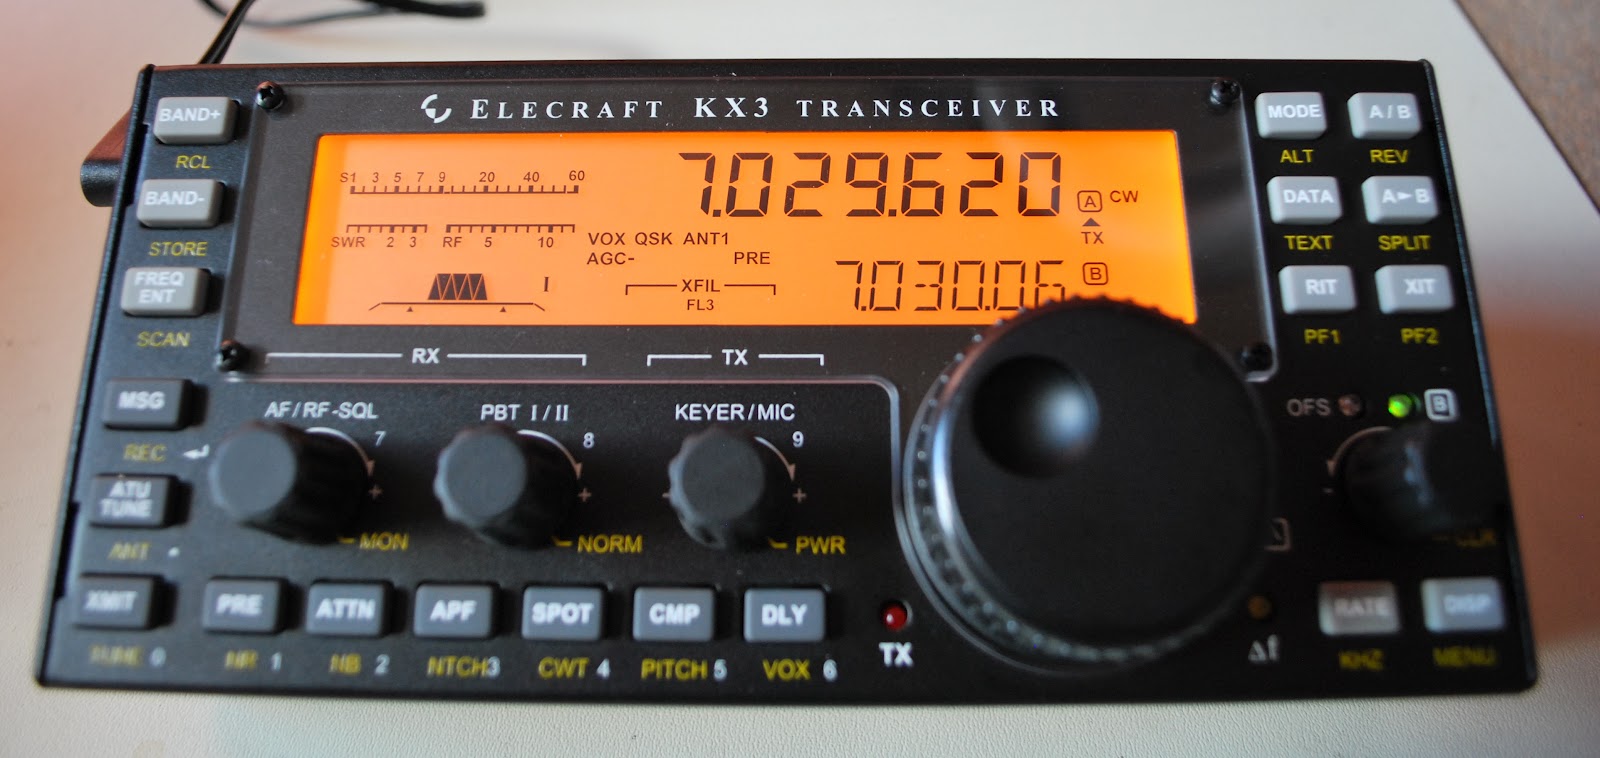
KX3 on the new Nifty stand viewed at same angle as below pic

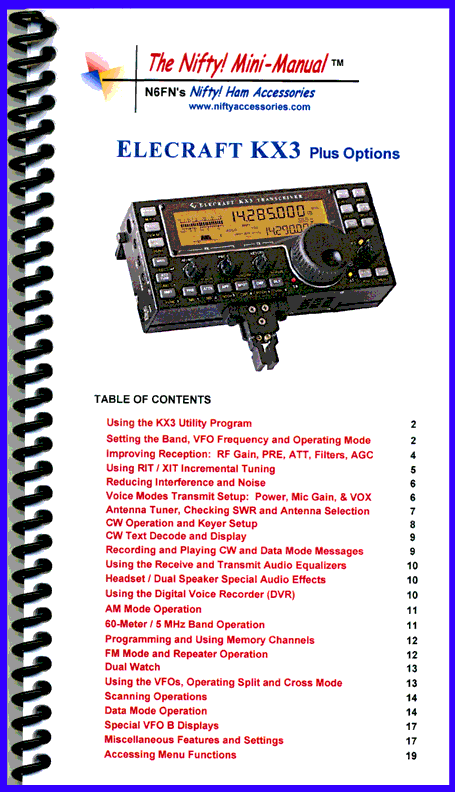
Last week I ordered a stand for my KX3 radio I had seen it on the Nifty ham radio site. I was there looking at their new KX3 radio guide. I have one of their guides for each of my radios and they are great. If you want to find a "how to" with your radio instead of searching through your manual these Nifty manuals have it all set out at your finger tips. So back to the KX3 stand.....I was surprised to see they were
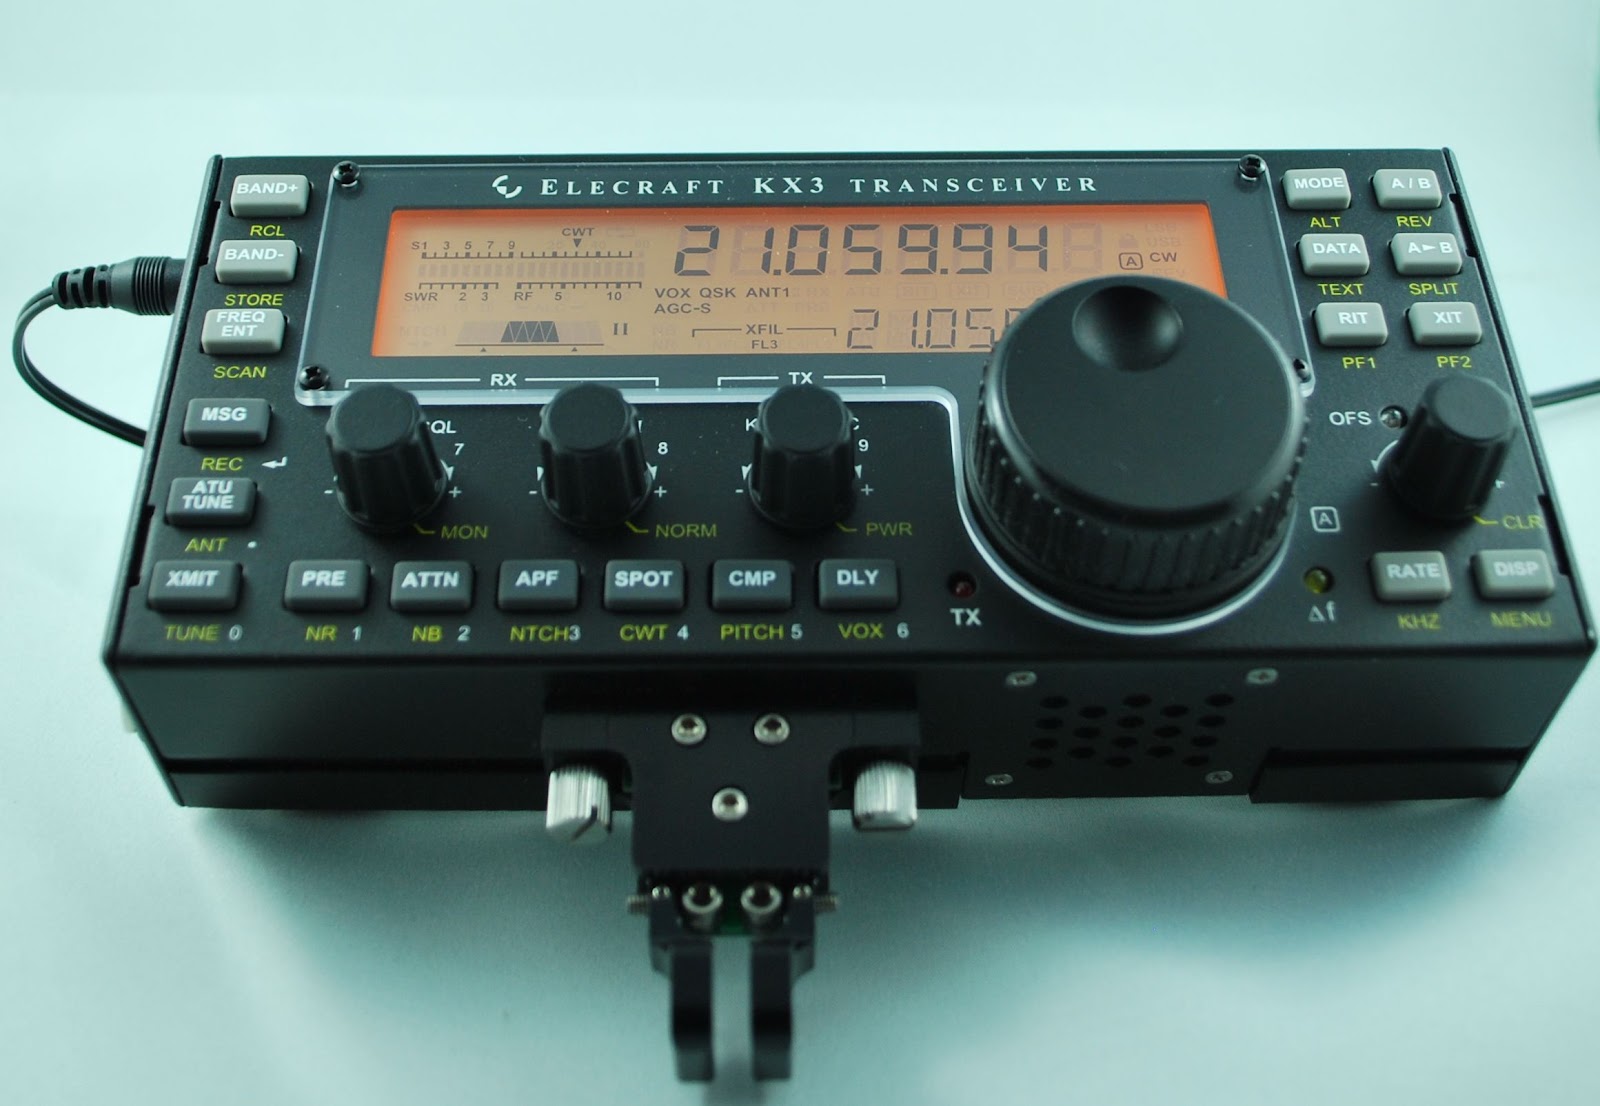
KX3 on it's own legs
 offering a stand for the KX3. I have found here in the shack that when the radio is supported by it's own legs for me it sits on a funny angle still. The Nifty stand uprights the radio to a very easy to operate position......for me anyway. I have read some postings about this stand with some saying they didn't notice any real difference between the rigs legs and the new stand from Nifty.
  Also a week or so ago my KXPD3 keyer and KXBC3 NiMH battery charger came in. I have not yet had the time to install the KXBC3 charger. I have mounted the Key and it worked great right great out of the box. The key does come with other springs to change
the tension of the key. Up to this point I have not changed the key spring tension it works fine as it is.
My Begali key that I have was (I thought) giving me problems with extra dit's and dah's at times. It became very frustrating and even after adjusting the key as well as cleaning the contacts I would still have the same
New KX3 key
 problem. The Elecraft key was great and no extra code was being sent at all........it did not take me long to figure it out and for you CW buff's out there you may know what I mean when I say.......The Eleraft key was "loose", that is the best way I can describe it and the Begali is more "tight" The contact spacing on the KXPD3 is wider and in the past I would had seen this as sloppy spacing. BUT..it seems this works best for me and my joy with the code has come back. I then took my Begali key and opened up the contact spacing, now it too works fine for me. For some reason it never occured to me to open up the contact spacing on the key. I thought the tighter the contact spacing the better the keying ability....don't ask me where I got that idea!!

Elecraft KX3 NaP3 Configuration Highlights

In mid November I sold my Kenwood TS-590 to finance the purchase of an Elecraft KX3 and become a full time QRP operator.  One of the advantages of the KX3 is SDR I/Q output, which can be used to drive a panadapter.  After some fidling around, I have a configuration that works with the popular NaP3 software and thought I would share the highlights in hope of saving you some effort.  This is by no means an exhaustive setup and configuration guide for NaP3, but it should be enough to get you started.  Remember you can click on the images to enlarge them.

For this example I have used the integrated sound card in my PC and have not yet put a ground loop isolator inline which are both opportunities for improvement.


NaP3 Audio In Advanced Tab

NaP3 Audio In Advanced Tab

We begin by manipulating the input sound card port configuration as shown above.  This will vary somewhat from sound card to sound card, but we want to be sure that we are capturing two channels and that the sampling rate is set at the maximum your card supports, which may take some experimentation and is not necessarily the highest sampling rate shown in the drop down.


NaP3 Setup Tab

NaP3 Setup Tab

Here on the setup tab of the NaP3 configuration, we need to select the sound card input we are using and where we would like NaP3 to output decoded audio.  Once again we have the option to manipulate the sampling rate, which as you can see is 48k for my sound card.  In addition, we need to select “Elecraft K3” for the Rig Type and specify our CAT parameters.  I began this adventure trying to use the “Elecraft KX3” Rig Type, but I found it to not work very well.


NaP3 IF Tab

NaP3 IF Tab

Here is the “fun” part, at least it was for me until I started banging my head on the desk.  Be sure to set your “Global Offset” to 0 and select “Swap I/Q Channels”.  The “IF Frequency Offsets” is where you will have to spend some time playing.  The method I used was to tune to WWV in CW mode on the KX3 and determine the differential between the frequency displayed on the KX3 and the panadapter display.  I then set the offset to compensate.  To configure the offset for USB and LSB modes, I reduced the offset by the amount equal to my CW sidetone.  This should get you pretty close, but may still require a little tweaking.  Feel free to try my numbers, but I am unsure if they are valid from KX3 to KX3.

If you determine some other method to set the offsets, please let me know as this is the most time consuming portion of the configuration.


NaP3 Spanadapter View

NaP3 Spanadapter View

When it is all over, this is similar to what you will end up with, a nice broad view of the spectrum centered on your rigs current frequency!

Fourth and final KX3 video………
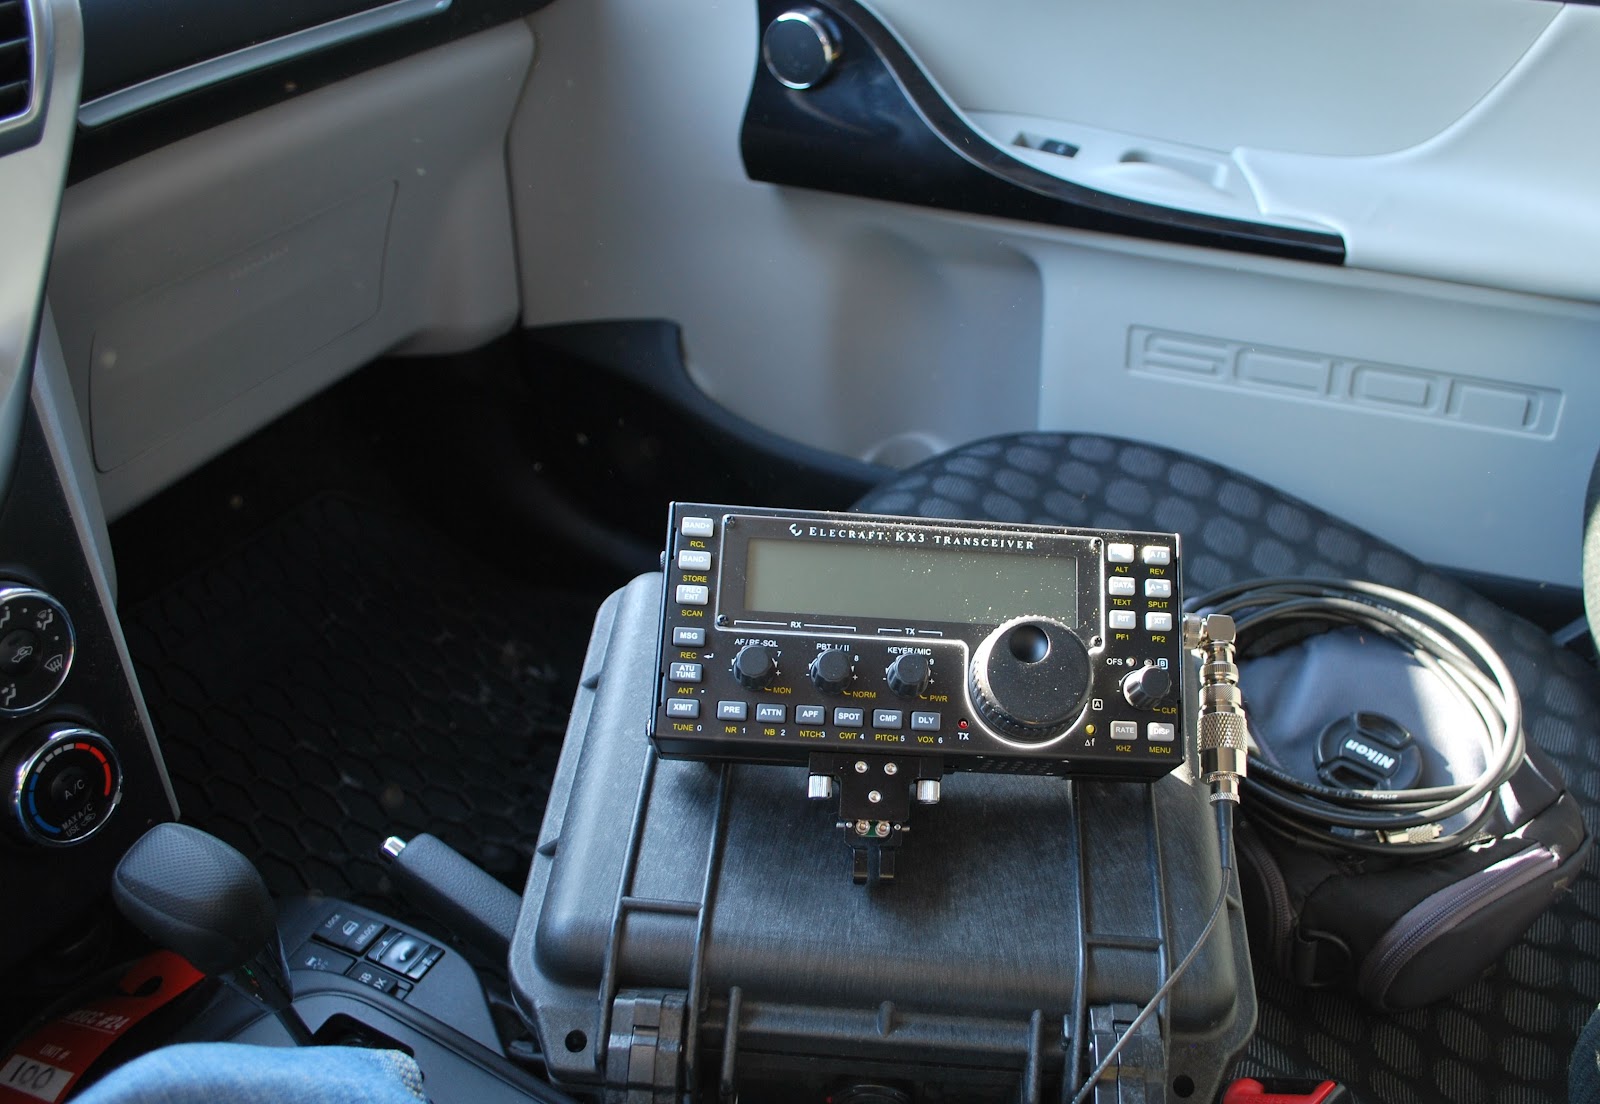
Up and running
I have decided to add an additional page to my blog giving access to the KX3 videos. This way they are available for anyone who is interested. This way you do not have to go and search all through the blog to find them. For that reason the 4th video is not on the front page of my blog but rather on the KX3 video page and you will find the tab at the top of the blog if you wish to go there for a look.

Elecraft KX3 part 3 youtube assembly video

Well the KX3 is almost completed and this is the 3rd of a 4 part assembly video of the radio. In this YouTube video I go over the problems I had with the ATU installation, the roofing filter board issue and the battery holder oops I had and needed to correct before there was damage. The build is almost complete but have a look and either get excited about purchasing one or pick up some pointers before you do  your build.


Part two of the KX3 video………

Part two of the KX3 build is up on YouTube, in this video I go over some of the troubles I encountered and how they were solved. The radio begins to take shape and looks more and more like a KX3.

My KX3 assembly video part one

This is my first time using Imovie  with my Mac computer to edit a video. There are many great things that can be done using this program, things that over time I am going to have to learn. This is part ONE of a four part series. I am working on the editing of part two now and hope to add more flavor the the movie. Part ONE is a little long but now I have the hang of how to edit and shorten them.


Subscribe FREE to AmateurRadio.com's
Amateur Radio Newsletter

 
We never share your e-mail address.


Do you like to write?
Interesting project to share?
Helpful tips and ideas for other hams?

Submit an article and we will review it for publication on AmateurRadio.com!

Have a ham radio product or service?
Consider advertising on our site.

Are you a reporter covering ham radio?
Find ham radio experts for your story.

How to Set Up a Ham Radio Blog
Get started in less than 15 minutes!


  • Matt W1MST, Managing Editor