 |
 New and Improved 9:1 Un Un
My latest antenna uses a 9:1 Un Un. That’s a funny word isn’t it. It means Unbalanced to Unbalanced. It matches an unbalanced coax feed to an unbalanced antenna. The bonus here is that I can operate on 7 different bands using the same 35 foot wire antenna!
I had to change antennas every time I changed bands the old way. I guess this means I’ll have 7 single band antennas for sale soon!

Un Un Mounted on my porch rail
Note the bungee cord in the back. It allows for strain relief when this antenna is mounted over a tree limb.

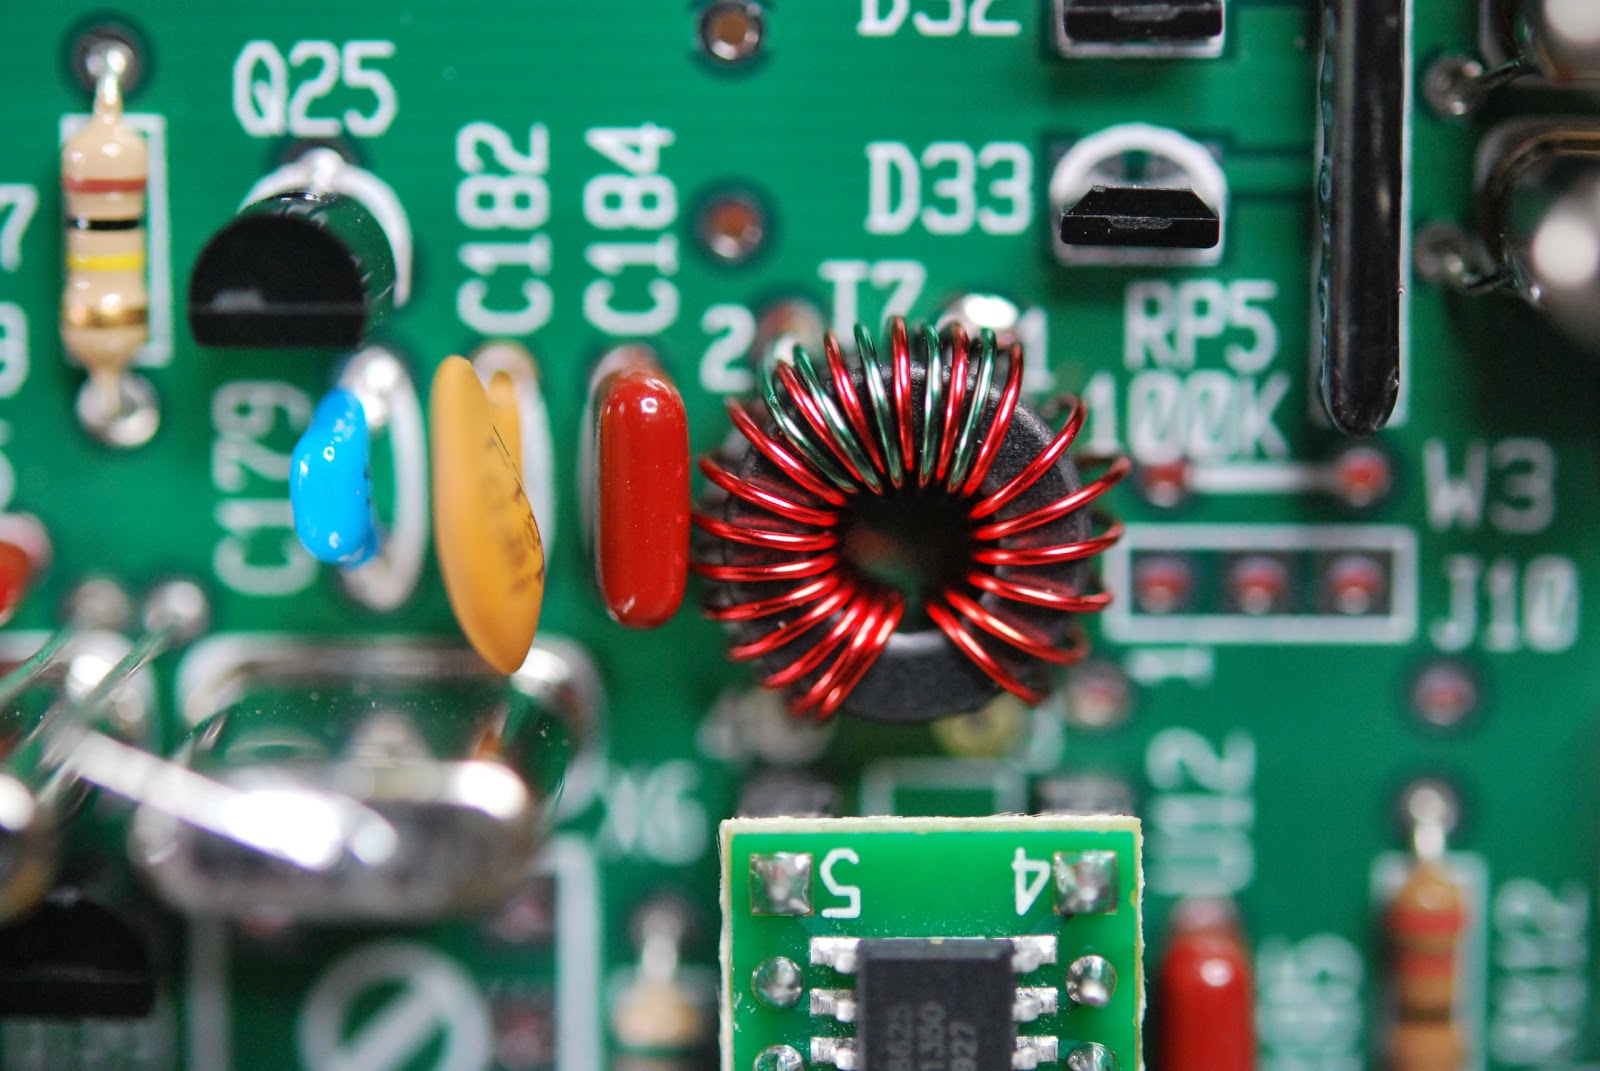
Torroid on the left and PL 259 on the bottom.

Reinforcing block at the wire end of the Un Un. Note the hot glue holding the block.

Strain Relief for the wire lug.
I’ll use this antenna in the park, portable. Strain relief keeps the wire lug from separating from the antenna wire.
http://www.earchi.org/92011endfedfiles/Endfed6_40.pdf
I got the diagram and physical layout here. I added the bungee for strain relief and the reinforced ends. The Reinforced ends allow me to mount this antenna horizonatally, from my condo porch to the nearby Live Oak Tree.
Jim Cluett, W1PID mentioned this un un kit in a recent post. Thanks Jim. Thank you to the ‘Emergency Amateur Club in Honolulu for the PDF for this project.
73 de AA1IK
Ernest Gregoire
Ernest Gregoire, AA1IK, is a regular contributor to AmateurRadio.com and writes from Florida, USA. Contact him at [email protected].
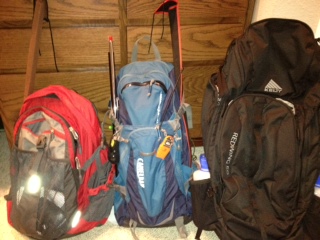
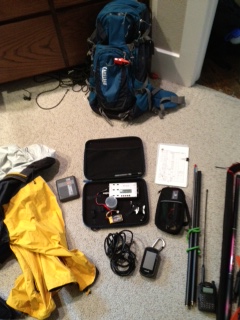
My Backpack Progression
As with any activity the more experience you get, the more refined your approach becomes and so it has been with me. My first activation was last March. I took my KX3 with an FT-817 as backup, an Alexloop, a Buddistick, several coax jumpers (BNC - PL-259, BNC - BNC and other combinations just in case), a pound of trail mix and several bottles of water. All this for a 3.5 mile round trip. I didn't even want to weigh it.
Mike Crownover, AD5A, is a regular contributor to AmateurRadio.com and writes from Texas, USA. Contact him at [email protected].
The dreaded “Conflict”
As you all know from my near constant and annoying yammering since last August, the 2013 NJQRP Skeeter Hunt is tomorrow. This is a huge event for me, and it gives me a lot of joy to not only operate in it, but to manage it as well. It is my sincere wish that all of you who have chosen to participate this year enjoy yourselves and have the best of times. You folks are the life blood of the QRP hobby, and without all of you, this niche of Amateur Radio would not be thriving like it is – and thriving it is!
Unfortunately, I will only be able to join with you all for a limited amount of time at the beginning and at the end of the contest. A few months ago, without paying attention to the date, I agreed to volunteer at the St. Mary’s Soup Kitchen in Plainfield from 2:00 to 4:00 PM (the middle two hours of the hunt) tomorrow afternoon. When I discovered the conflict, I have to admit that my first reaction was the human one, I thought of trying to find a substitute, or possibly make an excuse and just back out all together.
But as important as the Skeeter Hunt and Amateur Radio are to me (and they are VERY important!) some things are more important. The people that are served, who are down on their luck, depend on this facility for a decent meal. And even though my presence isn’t mandatory for the kitchen to open or run, it wouldn’t be right to blow off a commitment to people who are in need. Besides, the Amateur’s Code reminds us that the Radio Amateur must be “Balanced – Radio is an avocation, never interfering with duties owed to family, job, school or community.” In the end, I had to ask myself, “What’s more important, my fellow man or my hobby?” I think you’d all agree with me as to the answer.
Still, I can’t begin to tell you how much I want to be on the air for the entire event, but this year, that’s just not possible. So for as much as I can manage to squeeze in out of the first and final hours, Skeeter #13 will be in the basement shack, handing out as many contacts as possible. And believe me, I am going to squeeze in every possible last nano-second that I can, so keep your ears peeled for W2LJ.
Now, with all that said and done, I have a huge favor to ask of all of you who are participating. Along with your log summaries and soapbox comments (and photos … please, plenty of photos!) please let me know what changes if any, you would like to see for next year’s Skeeter Hunt. We added SSB this year – digital modes, next year perhaps? Would you like to see that? Different time of the day, i.e. a later start? Anything that you would like to see modified will be taken under thoughtful consideration.
For those of you who are not participating for one reason or another, but just might in the future, I’d be very happy to read your comments and suggestions, too. Just send an e-mail titled “Skeeter Hunt Suggestions” to either [email protected] or [email protected].
Once again, thanks for participating and for making the NJQRP Skeeter Hunt the success that it is – signups for Skeeter numbers exceeded last year’s requests! And a very special thanks to the NJQRP for sponsoring this event – with out them, this wouldn’t be possible.
72 de Larry W2LJ
QRP – When you care to send the very least!
Larry Makoski, W2LJ, is a regular contributor to AmateurRadio.com and writes from New Jersey, USA. Contact him at [email protected].
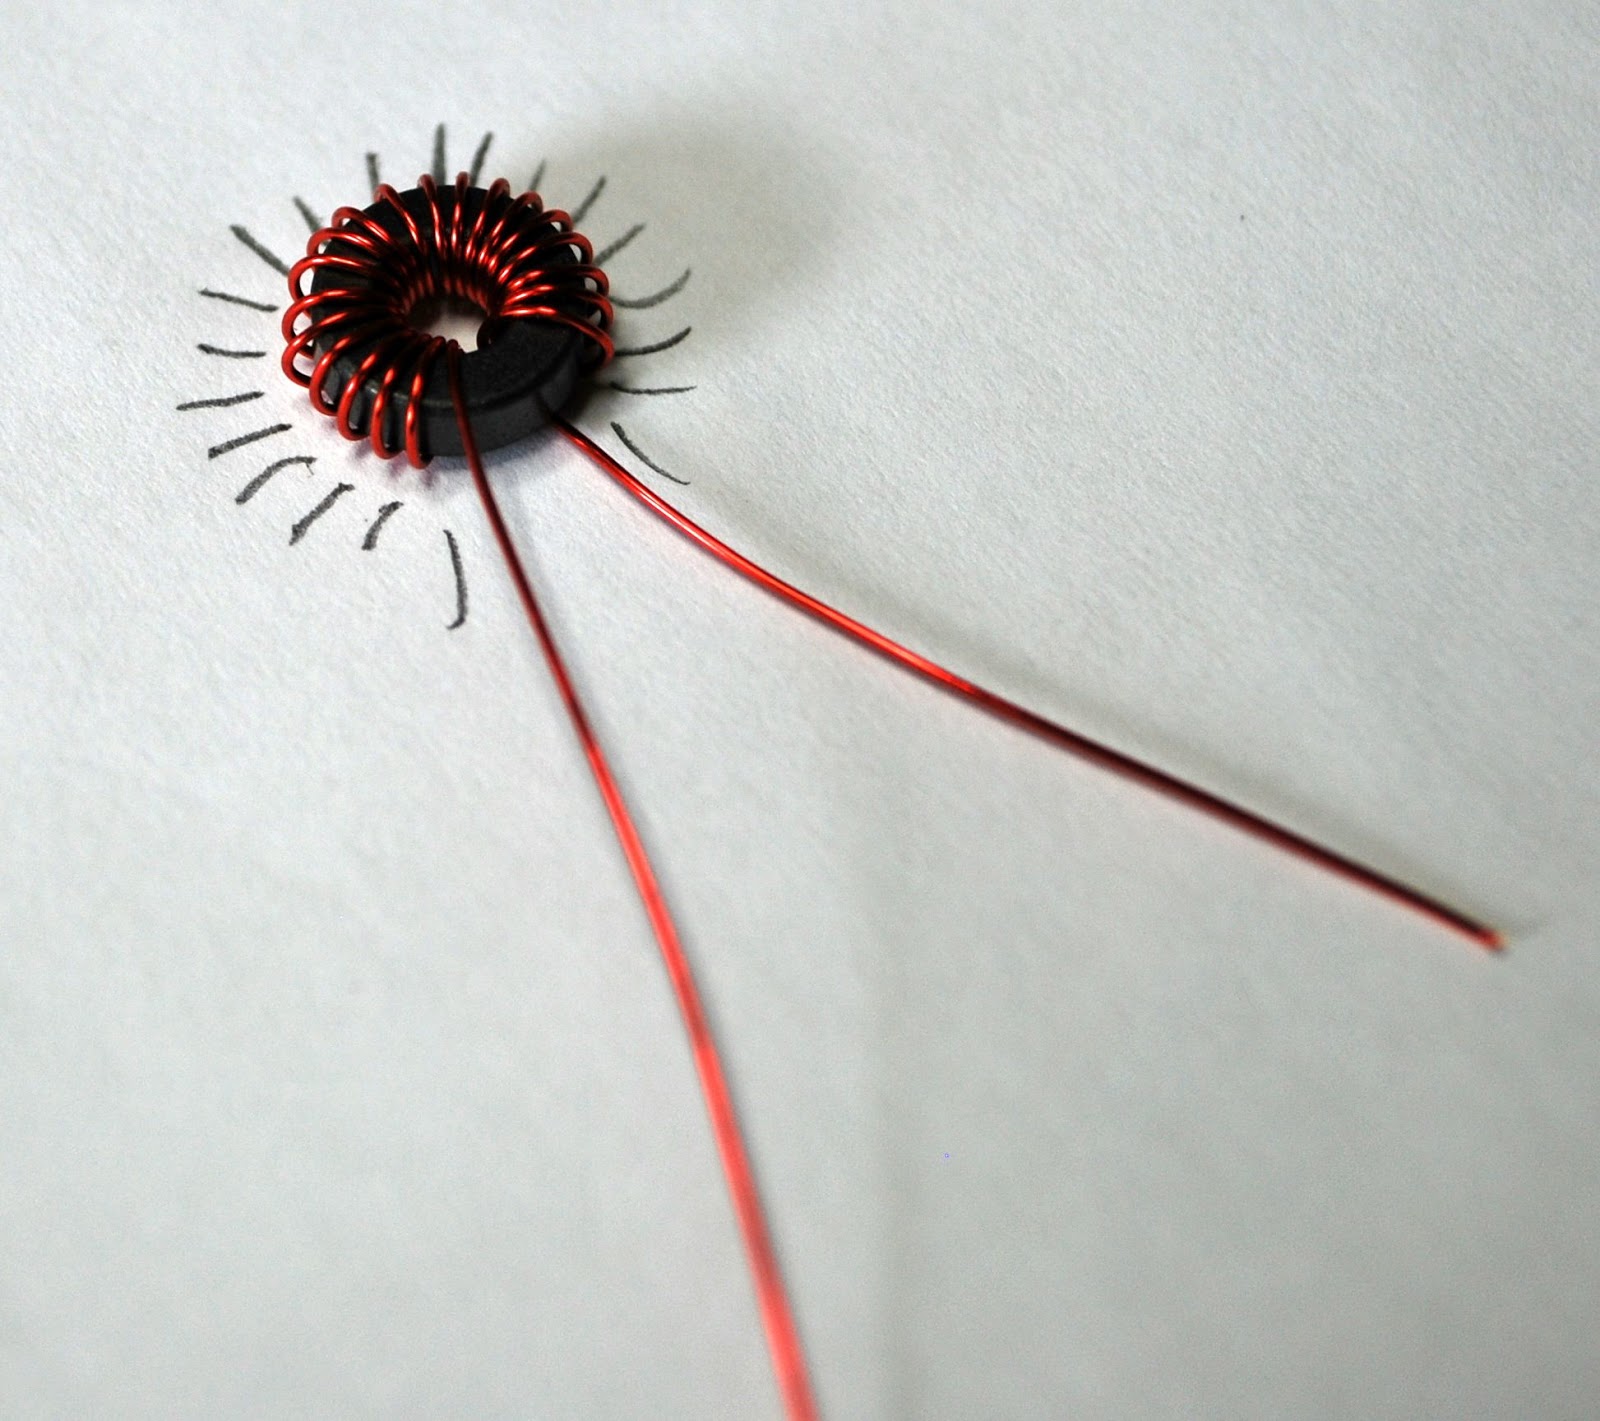
Toroid winding can be fun…..well almost.
 |
| The dreaded toroid... |
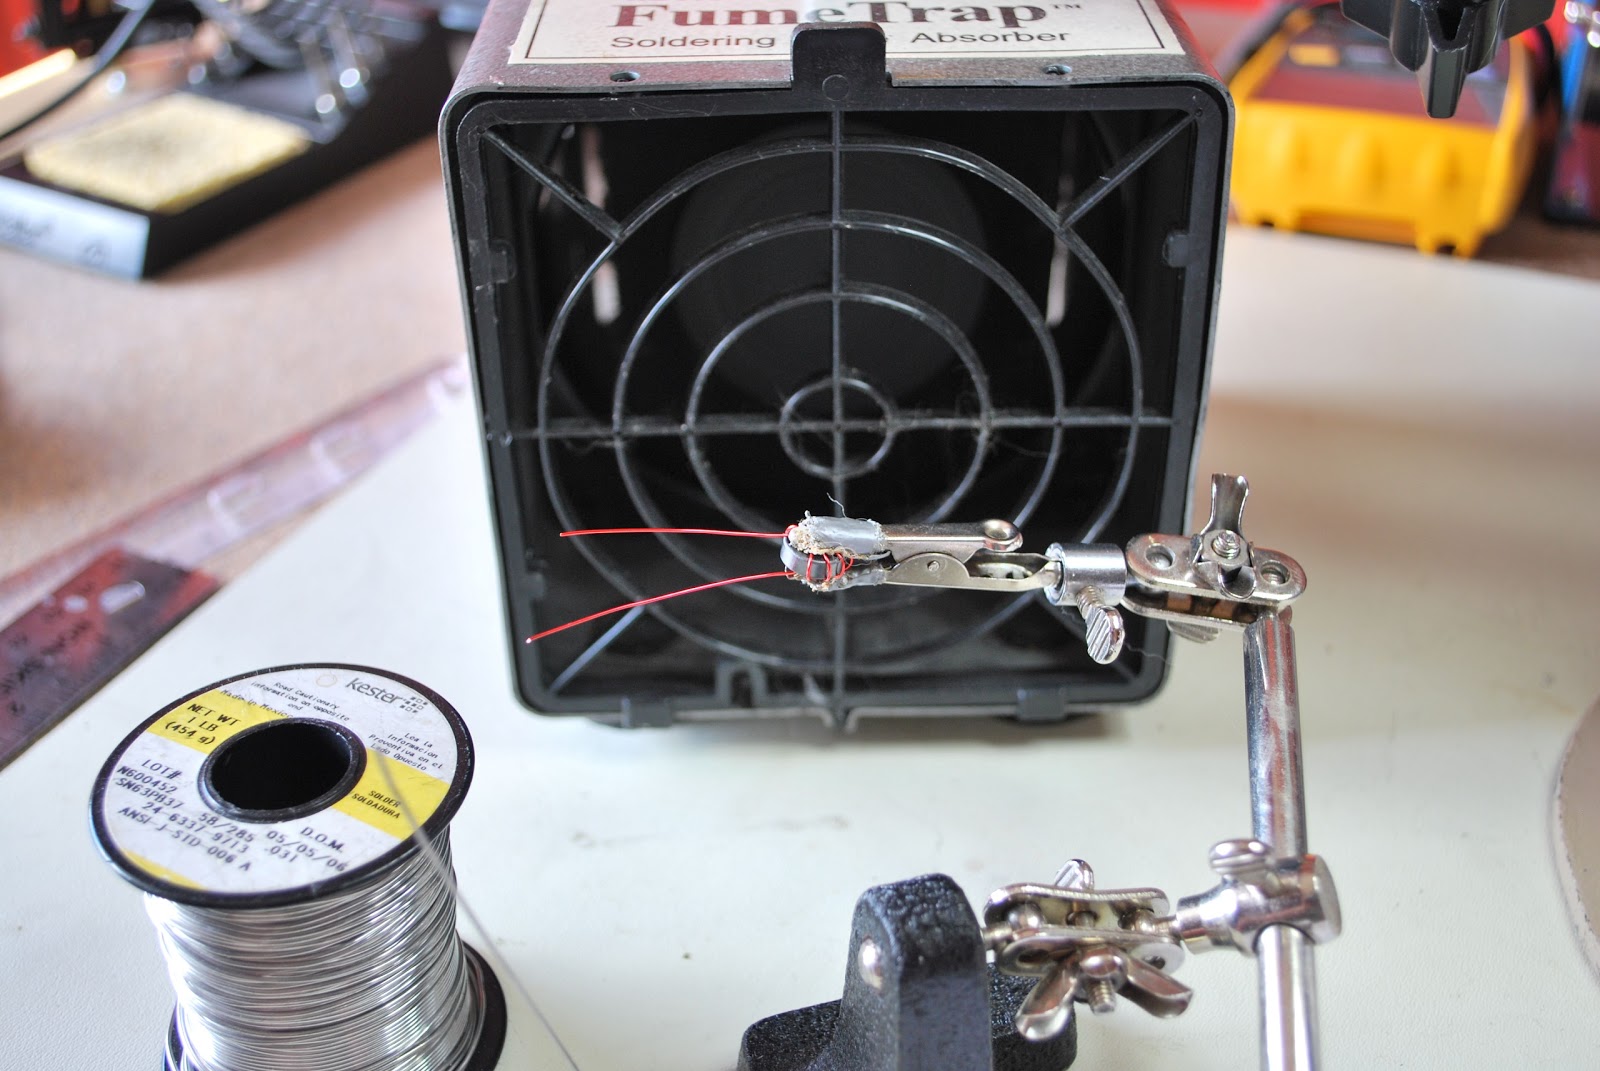 |
| Getting ready for solder blob |
B. Use sand paper.
C. The solder blob method.
D. Use a razor knife to scape the coating off.
E. I have heard some dipping the wire in var-sol....would not recommend it.
I use the solder blob method and I have tried the sandpaper (find it just to rough for the delicate work that is needed) I have tried the lighter method but found on the smaller toroids I am not able to control the heat and end up burning off to much insulation. The razor blade scraping I have not tried and really don't want a razor knife that close to my fingers. SO....it's the solder blob for me!! I find if I put the toroid in an alligator clip to hold it I can in a very controlled fashion remove the right amount of enamel from the toroid.
I change the tip on my Weller soldering iron to a larger tip and use a .030 diameter solder. Most of my board work is done with a .020 diameter solder.
DO NOT SKIP STEP 7.....
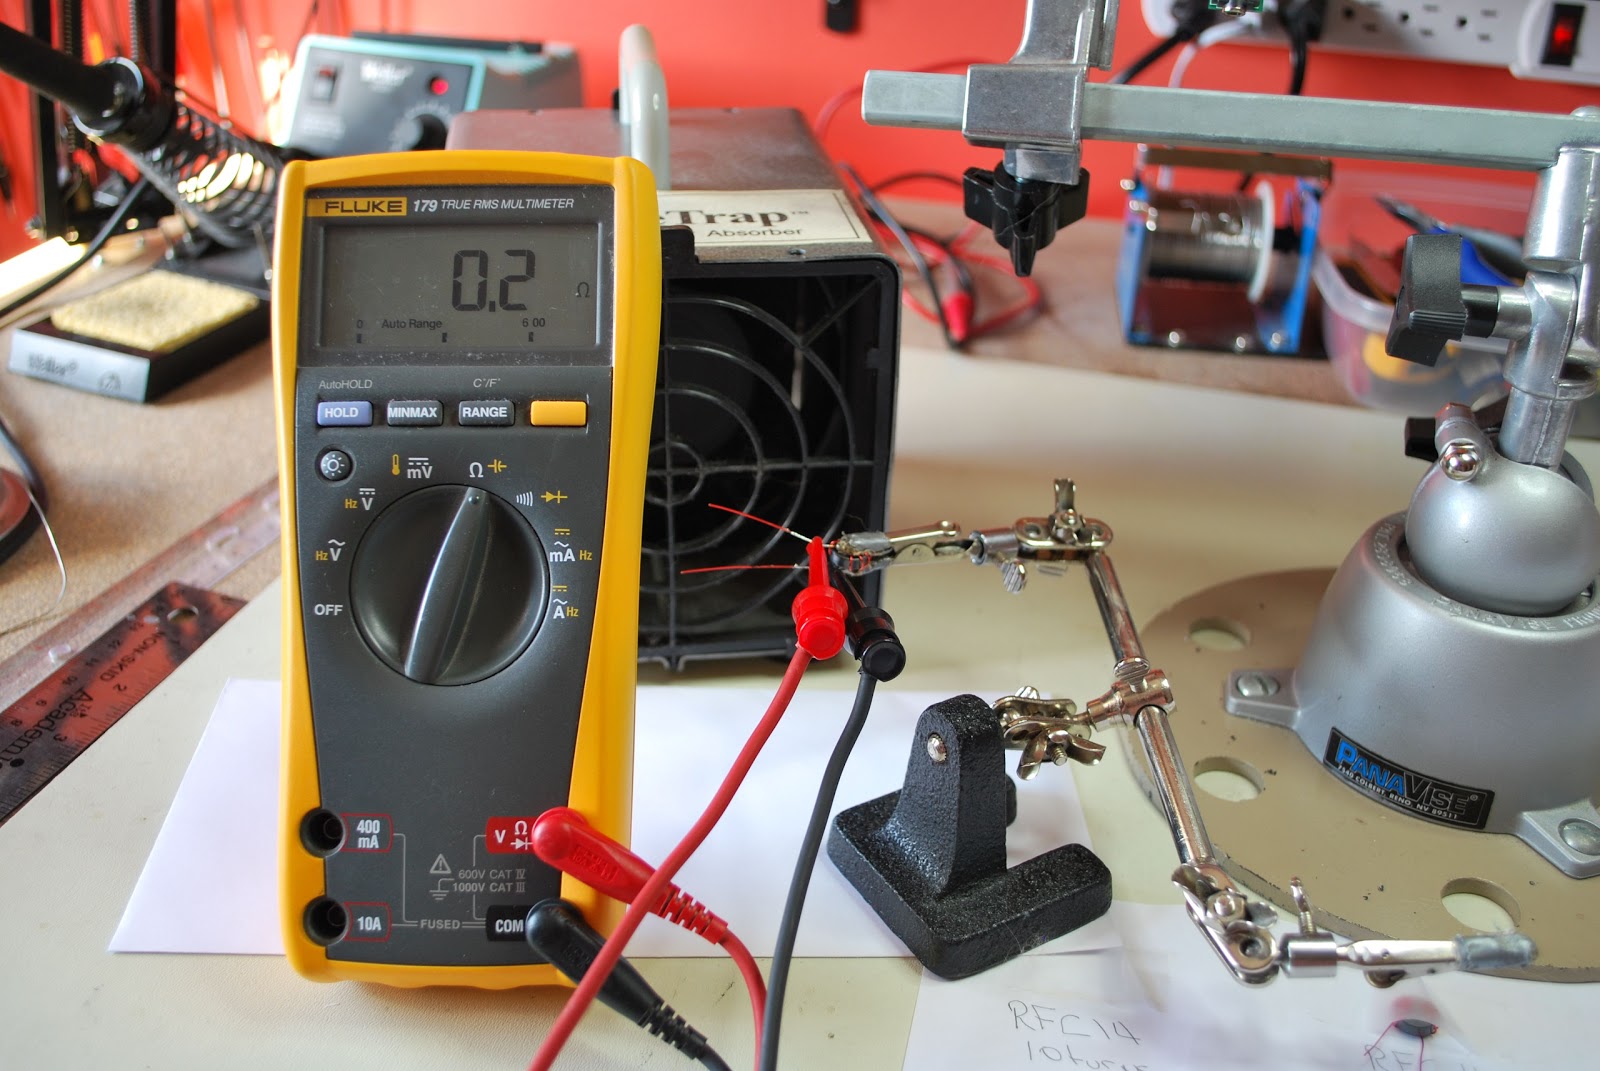
7. Once the toroid wire has been stripped I use my DMM to check to make sure the coating has been removed and there is good continuity. Oh and for toroids that have more that one winding I check to make sure there is not shorts between the windings as well.
8. It's now time to solder the toroid in place and I find once the toroid is soldered in place before the leads are trimmed you can heat each solder blob up again and give each lead a LIGHT pull with a pair of pliers. This will allow the toroid to sit firmly on the board.
Some tips
1. Practice practice practice......it's like CW it's an art and over time you will get the idea and look forward to it.
2. Some toroids have nice rounded edges but be aware of those with sharp 90 degrees edges. These toroids can if your not careful remove the insulating coating from your wire and potentiality cause a short.
 |
| Using a paper and pencil to count |
4. Use two sizes of soldering tip's one (I use the Weller ETC 1/8 tip) for the solder blob used to melt the insulation off the wire. Then a thinner tip (I use the Weller ETR 1/16 tip) for soldering the toroid to the board.
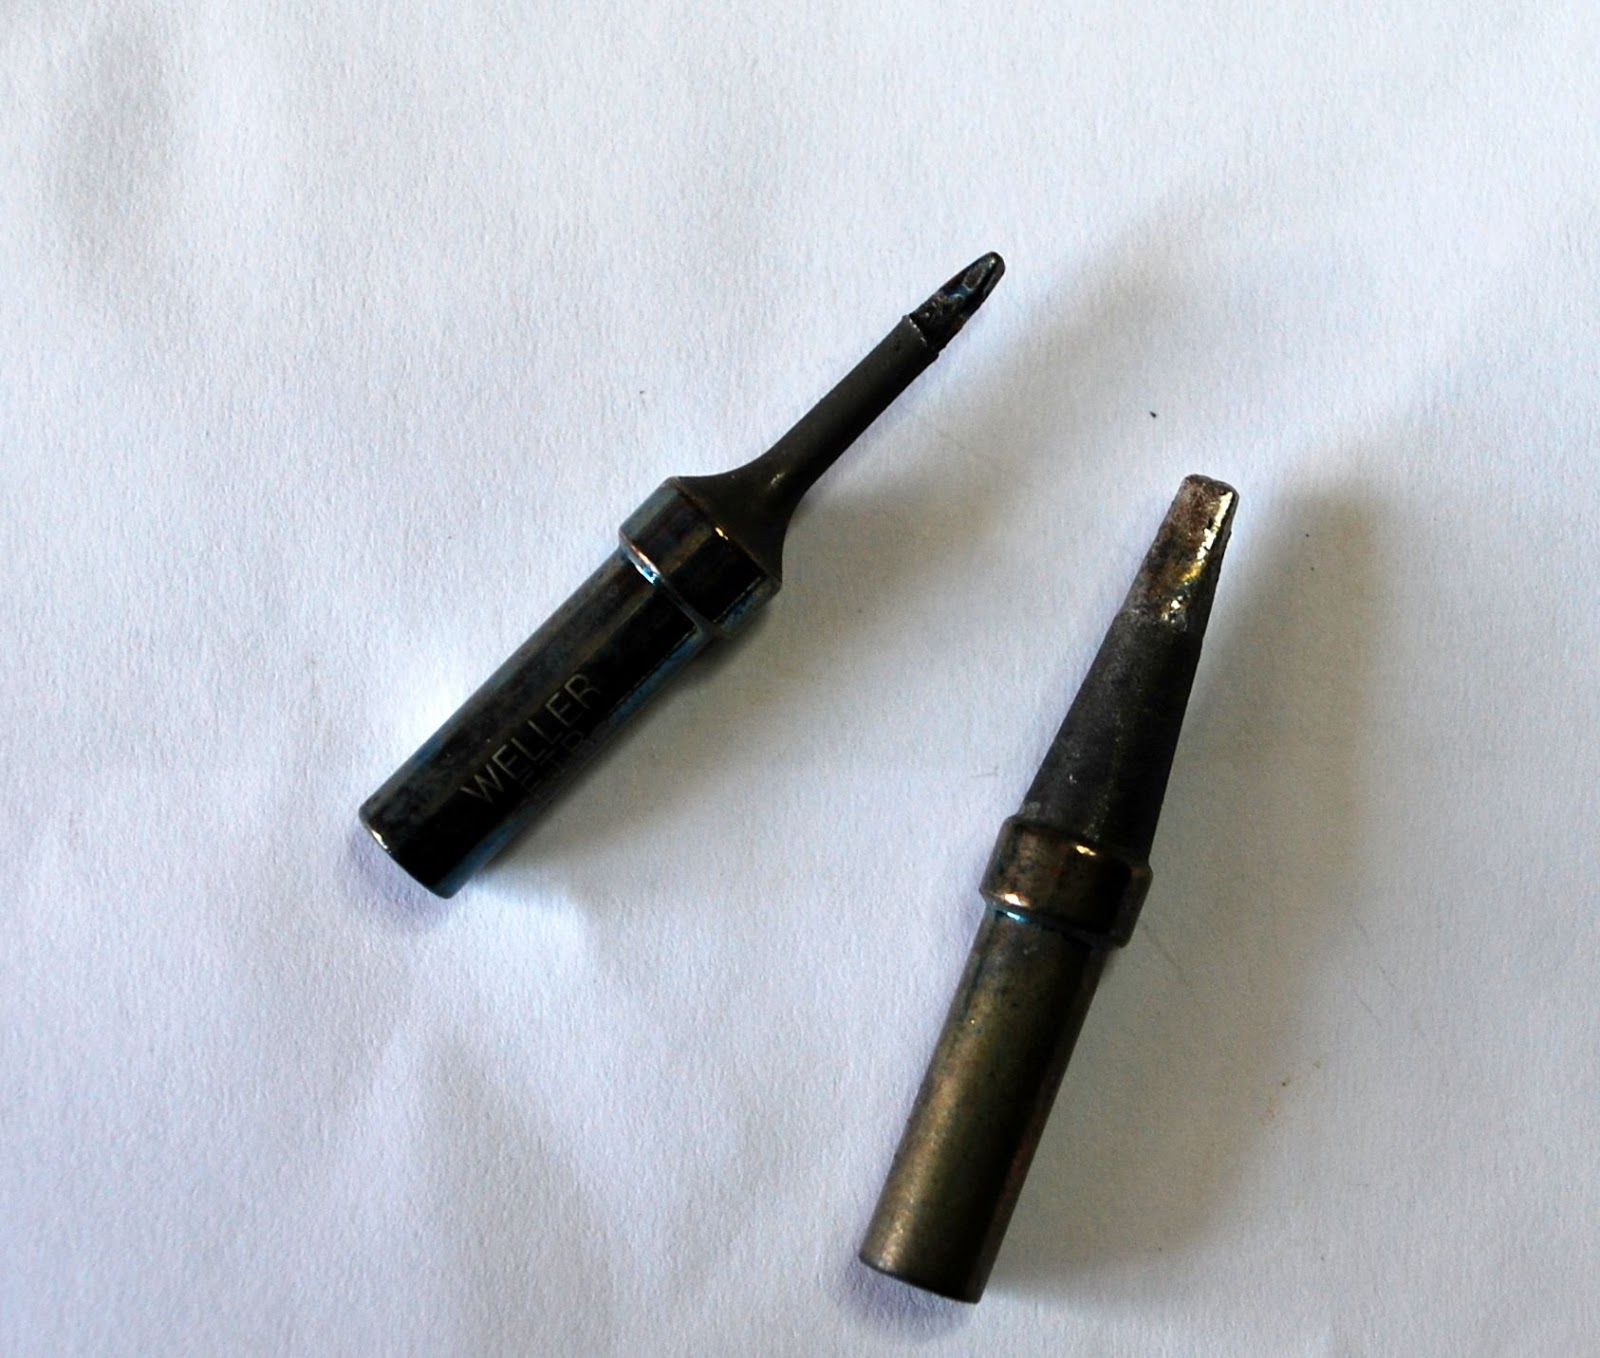 | |||
| ETR and ETC tips |
Coming soon how to wind the bi-filar toroid and transformer toroid.
Mike Weir, VE9KK, is a regular contributor to AmateurRadio.com and writes from New Brunswick, Canada. Contact him at [email protected].
30°+ in the shack
It’s been almost a year since I wrote something for Amateurradio.com. We all go through rough times and I certainly had my share of downs in the last 11 months (and not many ups to compensate those). I am even a bit ashamed to say that I didn’t surf over here for a while, so I did miss out on a lot of posts from Larry, Paul, Julian and the others.
This coming teaching season is going to be a little less stressful and so my good intention is to write at least one article each month. In the mean time you can visit my newly revised website with my radio blog, logbooks and weather. Yes, I did manage to put the 1-Wire weather station back in operation again. All the sensors are out on the balcony, with the pressure and a temperature sensors in the shack. Being high summer in sub-tropical Taiwan daytime temperatures usually hover around 34 degrees, with 26 degrees at night. The shack heats up so much in the daytime and stays hot at night that the temperature hasn’t dropped below 30 degrees for the past few weeks. Still, I am quite active at the moment, but more about that later….
Hans "Fong" van den Boogert, BX2ABT, is a regular contributor to AmateurRadio.com and writes from Taiwan. Contact him at [email protected].
Skeeter Hunt DX
According to the “official” Skeeter Hunt rules, working any DX station during the hunt is worth 3 QSO points. This year, like last year, the Worked All Europe coincides with the Skeeter Hunt. So working DX is definitely possible. In fact, just going from memory (not consulting my log as I write this) I know that last year I worked at least one European station, and it might have been two.
This year, we have an Amateur Radio op from South Africa who has requested and received a Skeeter number. Eddie ZS6BNE is Skeeter #114. Even though the Hunt occurs in his local evening time, he is going to go out, set up and try to make contact with as many of us as he can.
To recognize his special effort, anyone who makes contact with Eddie can count that QSO for 4 points, instead of the traditional 3 points for normal DX QSOs (The rules have been amended to reflect this) Please make sure to listen for him at or near the QRP Watering Holes on 20 and 15 Meters. If propagation is with us, those bands will probably provide your best shot.
I’d like to take this opportunity to thank Greg N4KGL, who talked up the Skeeter Hunt with the RApid Deployment Amateur Radio group (RADAR). It was via Greg’s post that Eddie found out about the Skeeter Hunt. Also, a tip ‘o the call sign cap to Pickett AD4S, who talked up the Skeeter Hunt on the NOGAQRP reflector.
A special “thank you” to anyone who has talked up the event and spread the word via e-mail, word-of-mouth, smoke signals or whatever means. Your help is appreciated more than you will ever know!
72 de Larry W2LJ
QRP – When you care to send the very least!
Larry Makoski, W2LJ, is a regular contributor to AmateurRadio.com and writes from New Jersey, USA. Contact him at [email protected].
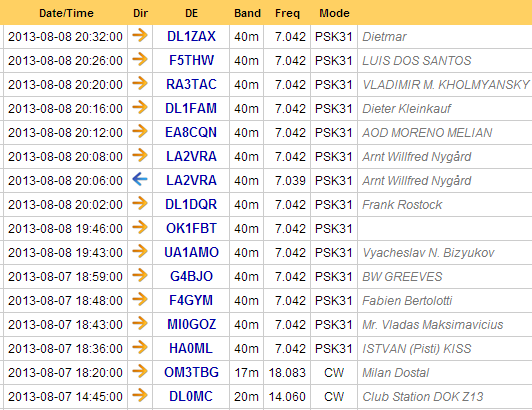
40 meter revisited
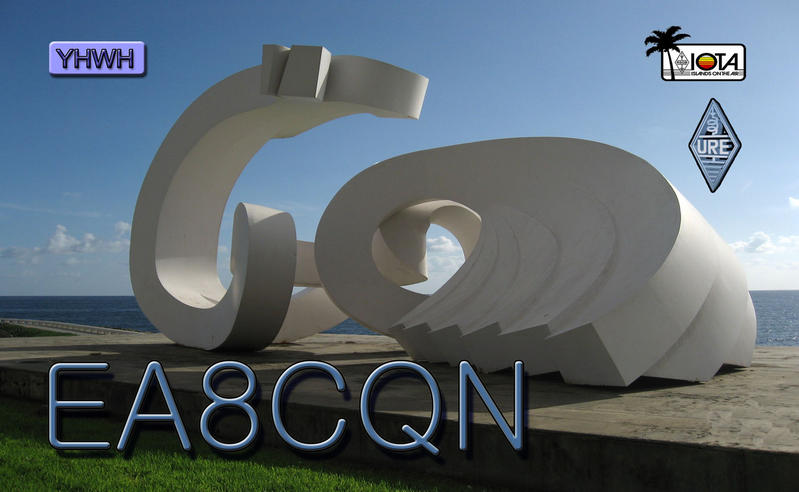
It was a long time ago I worked on 40 meter. With BPSK31 I had some luck. Best DX was EA8CQN Aod from Acuras - Las Palmas, Canary Islands (3195 km). I was running 20 watts into my end fed wire.
Paul Stam, PC4T, is a regular contributor to AmateurRadio.com and writes from the Netherlands. Contact him at [email protected].
 Ham Radio Deluxe |
 W5SWL Electronics |
 Ham Radio Prep |
 KB3IFH QSL Cards  Hip Ham Shirts  HamRadioAuctions HamRadioAuctions Reliance Antennas Reliance Antennas Enigma Shop Enigma Shop |  morseDX  Ni4L Antennas  R&L Electronics R&L Electronics antennas.us antennas.us QRV QRV |
- Matt W1MST, Managing Editor
