 |
 Dipping a toe into SDR waters
The big shack renovation meant I had to put all my stuff back into boxes. No problem spending some time without my rigs and tools, but I didn’t want to spend a couple of months without any form of radio. So I left out the RTL-SDR dongle and a mobile whip to see if I could get some more out of it than digital TV. I have had the dongle for a while now, but I was never impressed by it. Lots of white noise and very few signals to be seen on the waterfall. I even boxed it up nicely to avoid EMI.

The first step was to see if the dongle still worked by scanning the DVB-T bands. After installing the necessary RTL-SDR packages I fired up VLC to see if it would decode signals. There are packages like MythTV and MeTV that can let you watch DVB-T, but I don’t like cluttering up my system especially since VLC is such a versatile piece of software. For it to work you need to open an console though, but the internet is awash with good tutorials to help you get it done.
Step 1: install dvb-apps with sudo apt-get install dvb-apps
Step 2: use the scan application that comes with dvb-apps: scan /usr/share/dvb/dvb-t/tw-All > channels.conf
Step 3: open the channels.conf file with VLC
Step 4: choose your favourite channel and enjoy
Most of the time Linux provides an alternative and in this case it’s w_scan: w_scan -X -c TW
substitute your own country code in place of TW; a list can be retrieved by issuing the command w_scan -c ?
Before I knew it I was watching the WBSC Premier 12 baseball games and found out Taiwan’s public broadcaster is airing Person of Interest. Usually I find that watching tele is just a big waste of time, but I do also find that it is the only time I am not physically active and I do need to rest more. My wife likes PoI too, so now we have a date every Monday through Wednesday at 10.

The FM band was another check to see if the RTL-SDR dongle works as advertised. On Windows the prevalent SDR software is SDR#. On Linux this is GQRX, which is based on GNU Radio, a very powerful but complex piece of software. Before you can start GQRX you need to deactivate the dvb_usb_rtl28xxu driver as this conflicts with the rtl2832 driver. Issue the following command: sudo rmmod dvb_usb_rtl28xxu. If you never watch TV then blacklist the driver in order for it to be never loaded when you insert the dongle.

I could indeed receive FM broadcasts, but as many as I could with my Sangean ATS-909, so no big win there. GQRX also has a build in AFSK demodulator and I tried to decode some APRS signals on our local frequency of 144.640 MHz. I could hear signals and see them on the waterfall, but not decode them. After trying some other antennas and even taking everything outside in the open I grew a bit frustrated and searched for some other signals to decode. Tracking aircraft using ASD-B seemed fun (G4VXE wrote about it before here on AmateurRadio.com ) so I tried to set that up. And in doing so I got a big surprise.
[to be continued]
Hans "Fong" van den Boogert, BX2ABT, is a regular contributor to AmateurRadio.com and writes from Taiwan. Contact him at [email protected].
Join us for the December show live
The annual AmateurLogic Christmas Extravaganza is this Friday night at 8:00 CDT, 0200 UTC at www.live.amateurlogic.tv . You don’t want to miss it.
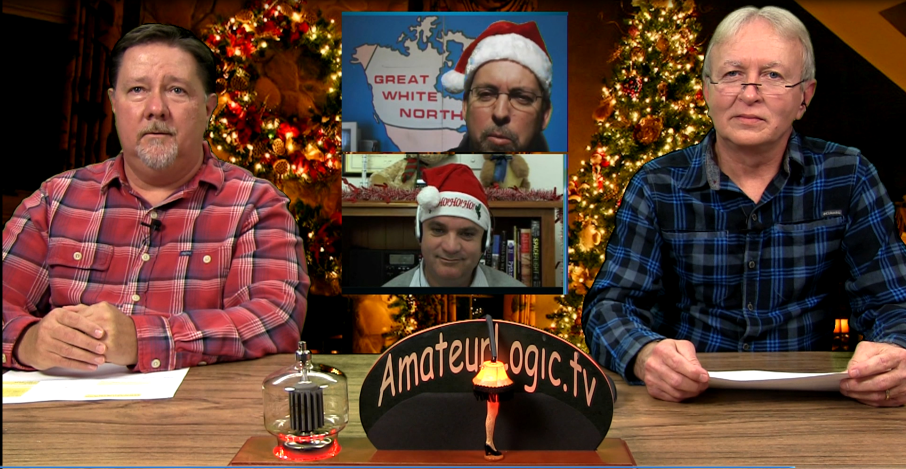
George Thomas, W5JDX, is co-host of AmateurLogic.TV, an original amateur radio video program hosted by George Thomas (W5JDX), Tommy Martin (N5ZNO), Peter Berrett (VK3PB), and Emile Diodene (KE5QKR). Contact him at [email protected].
’29 BK QSO Party – Night #1
 |
| Harold - KB0ROB |
This past Friday night's wonderful propagation during the ARRL 160m CW Contest, pretty much went into the dumper for Saturday night's 1929 Bruce Kelley QSO Party, sponsored by the Antique Wireless Association.
In spite of the auroral-like conditions, with the K-index reaching level '5', the melodic tones from many of the old (and new) clunkers could be heard pounding out their annual 'CQ AWA' invitations.
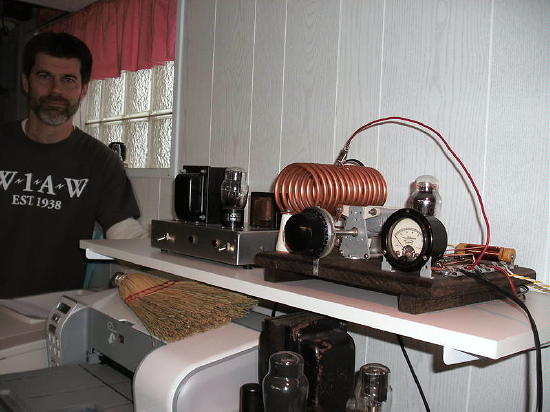
Among my 19 contacts (8 on 40m and 11 80m), the highlight of the night was working W2ICE/1 in Maine on both 40 and 80m. In reality, this was Paul, N1BUG, operating Bruce Kelley's original 10 watt TNT, which rose to almost S9 levels on 40m, once the sun had set. The Kelley transmitter is moved to various locations each year, a new AWA tradition.
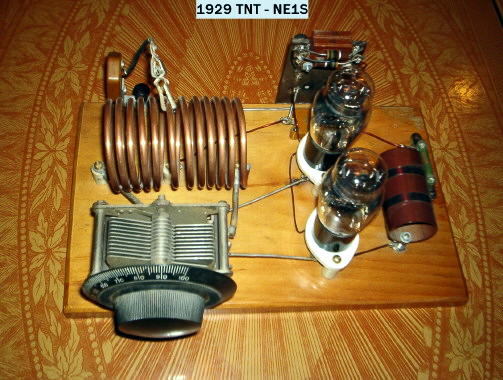
As well, Larry (NE1S), also in Maine, was worked on 40m with his 10W TNT.
A new station for my '29 logbook was George (N3GJ), in Pennsylvania. George was managing 8 watts input to his version of a 1929 TNT.
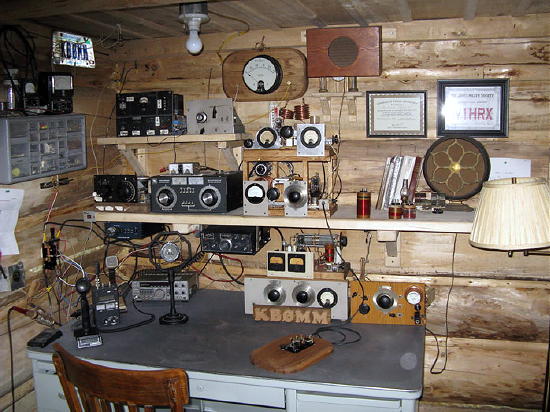
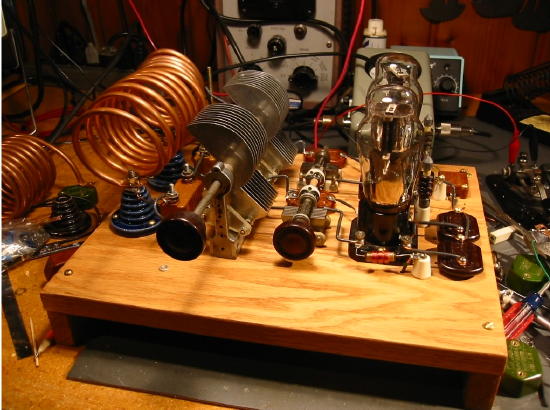
When I first tuned-in, several years ago, to hear what these 1929 signals sounded like, two of the best sounding signals were coming from KBØROB (Harold), shown at the top, and KBØMM (Burt), both in Minnesota. I could hardly believe they were using era-appropriate rigs as their signals sounded as good as many modern rigs. Thankfully nothing has changed, as these two stations continue to hand out 'MN' using their well-built 'MOPA'-style time machines.
Scott, WA9WFA, the BK score-keeper in charge of logs, faded up briefly with his fine-looking Colpitts.
Here is a list of the '29ers worked so far, along with their rig style and DC power inputs.
40m
KK7UV Hartley 10w MT
W2ICE/1 TNT 10w ME
NE1S TNT 10w ME
VE7BDQ Colpitts 8w BC
K7SF Hartley 10w OR
K4JYS Hartley 10w NC
WB2AWQ Hartley 10w NV
N3GJ TNT 8w PA
80m
KBØMM MOPA 8w MN
KBØROB MOPA 9w MN
W7LNG TNT 7w OR
K4JYS Hartley 10w NC
W2ICE/1 TNT 10w ME
WA9WFA Colpitts 20w MN
KK7UV Hartley 10w MT
W9TFC Hartley 10w WI
N2BE Hartley 10w NJ
KIØDB MOPA 10w MN
WØLGU MOPA 10w MN
As you can see, 'Hartley' construction takes a slight edge. Vintage 'handbooks' and magazine articles from the era, have always promoted the TNT as the best 'beginners' rig but in reality, the Hartley is much easier to build and to get working with a good-sounding signal. The TNT requires some finicky tweaking of the grid coil in order to have an equally stable-sounding note.
I'm happy to report that in spite of the very high winds (as usual), my new MOPA's tone remained virtually unmoving ... for the most part! This was its first real workout and after my first QSO on 80m, my frequency began making large jumps and suddenly sounding very unstable, along with fluctuations in power output. My initial thought was that one of the old original mica caps was starting to breakdown.
After disconnecting one lead of each capacitor (one at a time) and temporarily clipping in a modern substitute, I was no further ahead. I had originally isolated the frequency instability to the amplifier stage and there was only one thing left ... the amplifier's grid-leak resistor. It appeared to be slowly failing, by increasing resistance in jumps. The 12K resistor was now measuring ten times that value and quickly rising. A new 12K, temporarily clipped in place, cured the problem but it had cost me over an hour of operating time ... probably the best prop of the night as by the time I got back on the band, signals were weak and auroral-sounding.
Hopefully the bands will have mended themselves by next Saturday night, allowing some of the smaller eastern stations to make it back to the west coast for some memorable '29 'transcons'.
Steve McDonald, VE7SL, is a regular contributor to AmateurRadio.com and writes from British Columbia, Canada. Contact him at [email protected].
Just Another VHF SOTA Contact
On Sunday, I noticed that Brad WA6MM posted that he planned to activate Dakota Hill (W0C/SR-051) for Summits On The Air (SOTA). Dakota is not a good VHF shot from my house but I was planning to be mobile out east towards Black Forest that morning, so it was worth a try. I texted Brad to let him know I’d be looking for him on 2m fm.
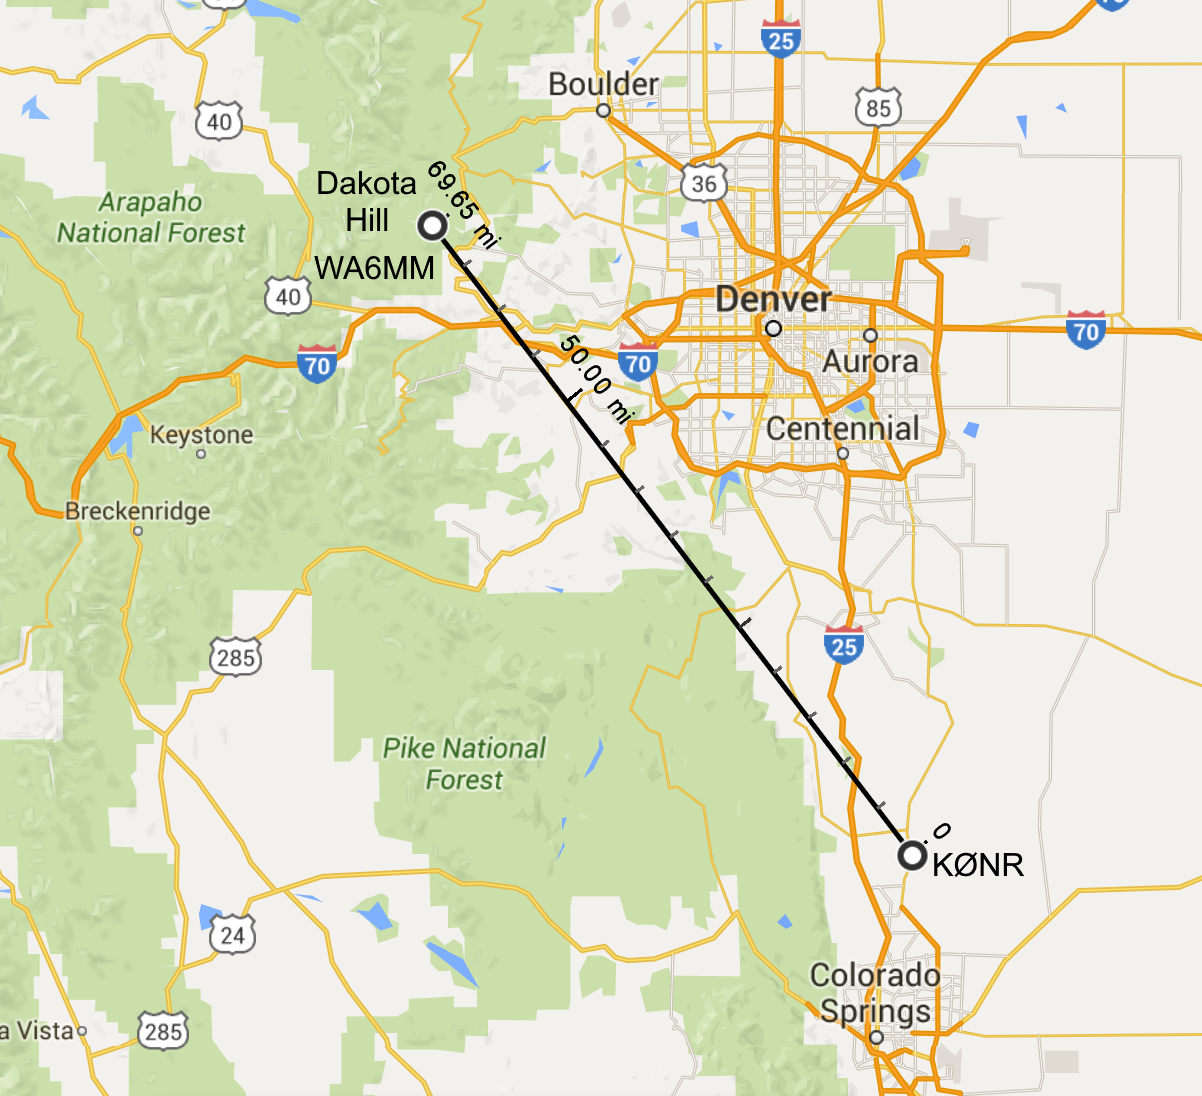 Heading south on Highway 83, the road was gaining elevation when Brad let me know he would soon be on the air. Dakota Hill is 10,929 feet and set back into the mountains, so I wasn’t sure if I could make the RF trip over Palmer Divide to work him. I pulled over at the crest of the hill and made a call. Brad had moved off 146.52 MHz due to some intermod interference and was on 146.55 MHz. Brad was using his trusty handheld radio running 5 watts into a half-wave antenna while I had a 50 watt mobile with a 1/4-wave antenna on the roof of the SUV. We made the contact without too much trouble…his signal was half scale on the meter. I listened to Brad work another station as I drove on, losing elevation and losing Brad’s signal on the other side of the hill. That was apparently THE SPOT to make the contact.
I put WA6MM into the log, scoring 6 SOTA chaser points for the 70 mile QSO. No, this wasn’t a rare DX station, no new record set, nothing that exceptional to report, actually. But it was a fun contact, with Brad hiking to a summit in December and me trying to find a location to work him.
This is why I like VHF on SOTA. Just another example of having fun messing around with radios.
73, Bob K0NR
The post Just Another VHF SOTA Contact appeared first on The KØNR Radio Site.
Bob Witte, KØNR, is a regular contributor to AmateurRadio.com and writes from Colorado, USA. Contact him at [email protected].
Weekly Propagation Summary – 2015 Dec 07 16:10 UTC
Here is this week’s space weather and geophysical report, issued 2015 Dec 07 0214 UTC.
Highlights of Solar and Geomagnetic Activity 30 November – 06 December 2015
Solar activity was at low levels. Regions 2458 (N10, L=356, class/area Dao/160 on 24 Nov), 2462 (N09, L=216, class/area Hax/40 on 04 Dec), 2463 (S11, L=205, class/area Dao/130 on 05 Dec) and 2464 (S12, L=189, class/area Axx/10 on 05 Dec) each produced C-class flares. The largest event of the period was a C4/Sf at 1702 UTC on 04 December. No Earth-directed coronal mass ejections were observed during the period.
No proton events were observed at geosynchronous orbit.
The greater than 2 MeV electron flux at geosynchronous orbit was normal levels on 30 November and reached moderate levels on 01 December. High levels were observed from 02-04 December before returning to moderate levels for the remainder of the period.
Geomagnetic field activity was quiet to active with an isolated minor storm period from 0600-0900 UTC on 30 November due to effects from a positive polarity coronal hole high speed stream (CH HSS). Quiet to active levels were observed on 01 December as HSS influence continued. Predominately quiet conditions were observed from 02-04 December with some unsettled periods on 02 and 04 December. Quiet to active levels returned on 05 December due to effects from a co-rotating interaction region (CIR) ahead of a second positive polarity CH HSS. Unsettled to active conditions dominated 06 December with an isolated minor storm period observed from 0900-1200 UTC.
Forecast of Solar and Geomagnetic Activity 07 December – 02 January 2016
Solar activity is expected to be at very low to low levels throughout the forecast period.
No proton events are expected at geosynchronous orbit.
The greater than 2 MeV electron flux at geosynchronous orbit is expected to be at normal to moderate levels for the majority of the period with high levels likely on 08-09 December, 11-15 December and 29-31 December following anticipated recurrent CH HSS events.
Geomagnetic field activity is expected to reach minor storm levels on 07 and 08 December due to continued effects from a positive polarity CH HSS. Predominately unsettled to active conditions are expected to from 09-13 December with minor storm periods possible as HSS effects persist. Mostly quiet levels are expected from 14-26 December. Quiet to active conditions are likely on 27 and 28 December due effects from a second recurrent CH HSS followed by quiet to unsettled conditions on 29 December as influence subsides. Quiet conditions are expected on 30-31 December. Unsettled to active conditions are expected on 01 January with minor storm levels likely on 02 January as a third recurrent CH HSS moves into a geoeffective position.
Don’t forget to visit our live space weather and radio propagation web site, at: http://SunSpotWatch.com/
Live Aurora mapping is at http://aurora.sunspotwatch.com/
If you are on Twitter, please follow these two users: + https://Twitter.com/NW7US + https://Twitter.com/hfradiospacewx
Get the space weather and radio propagation self-study course, today. Visit http://nw7us.us/swc for the latest sale and for more information!
Check out the stunning view of our Sun in action, as seen during the last five years with the Solar Dynamics Observatory (SDO): https://www.youtube.com/watch?v=zXN-MdoGM9g
We’re on Facebook: http://NW7US.us/swhfr
Visit, subscribe: NW7US Radio Communications and Propagation YouTube Channel
USB – Simple idea of attachment
The One and only micro USB socket is not only used for data, but also for charging the device. A lot of excess daily wear and tear, plugging in and out, switching between USB devices. Of course the idea of cutting down to one socket is to help keep costs down in production, but how long can the socket possibly last before something gives?
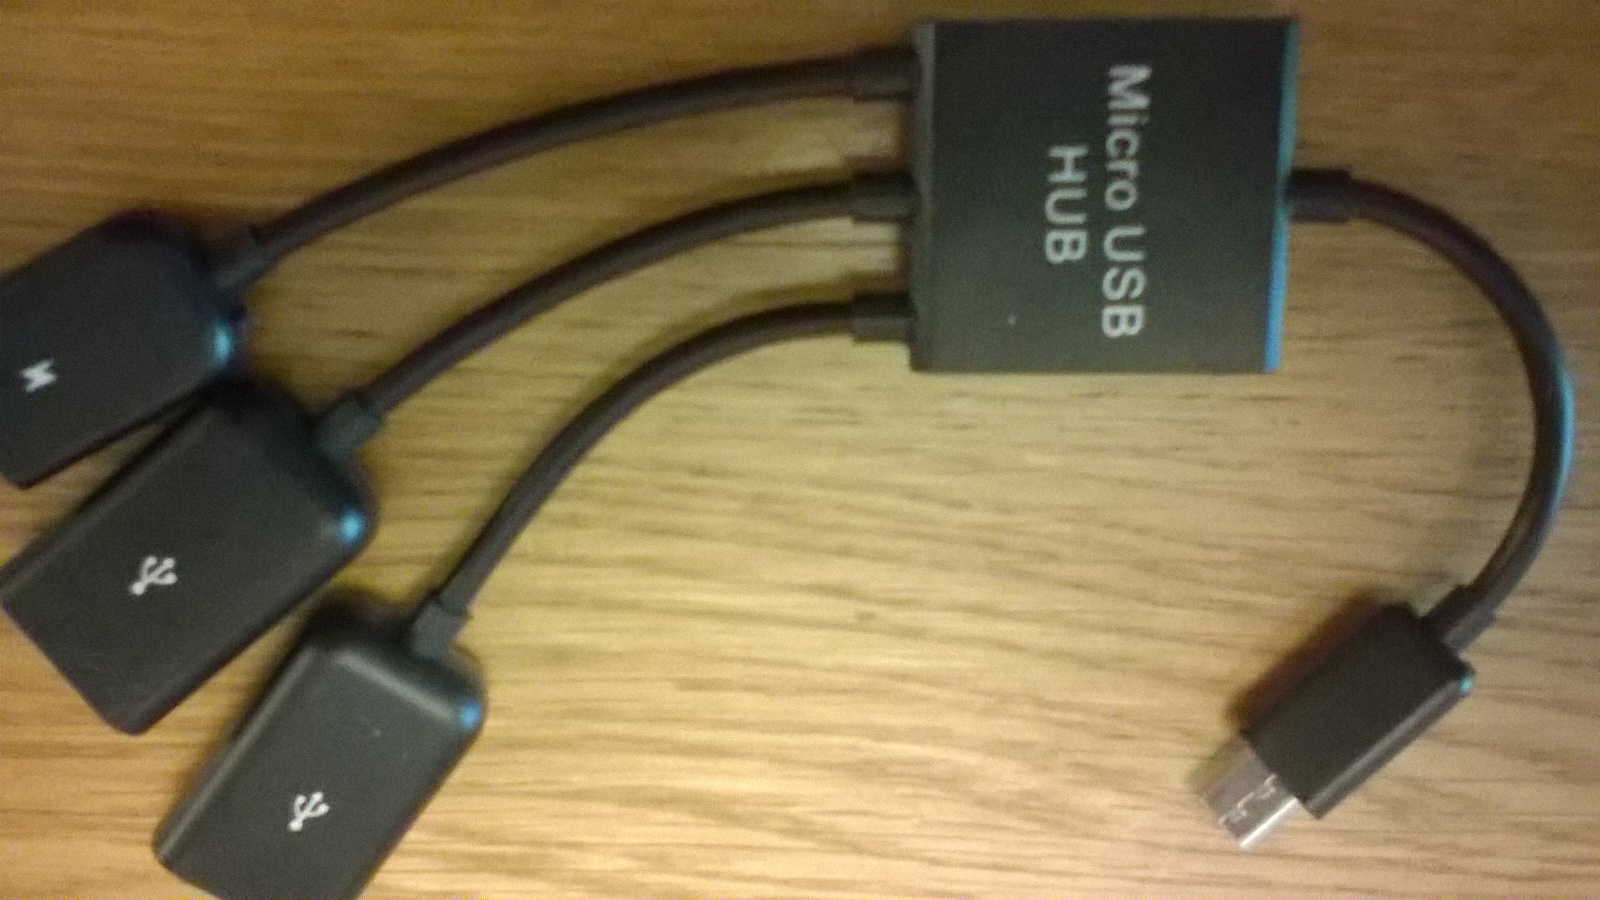
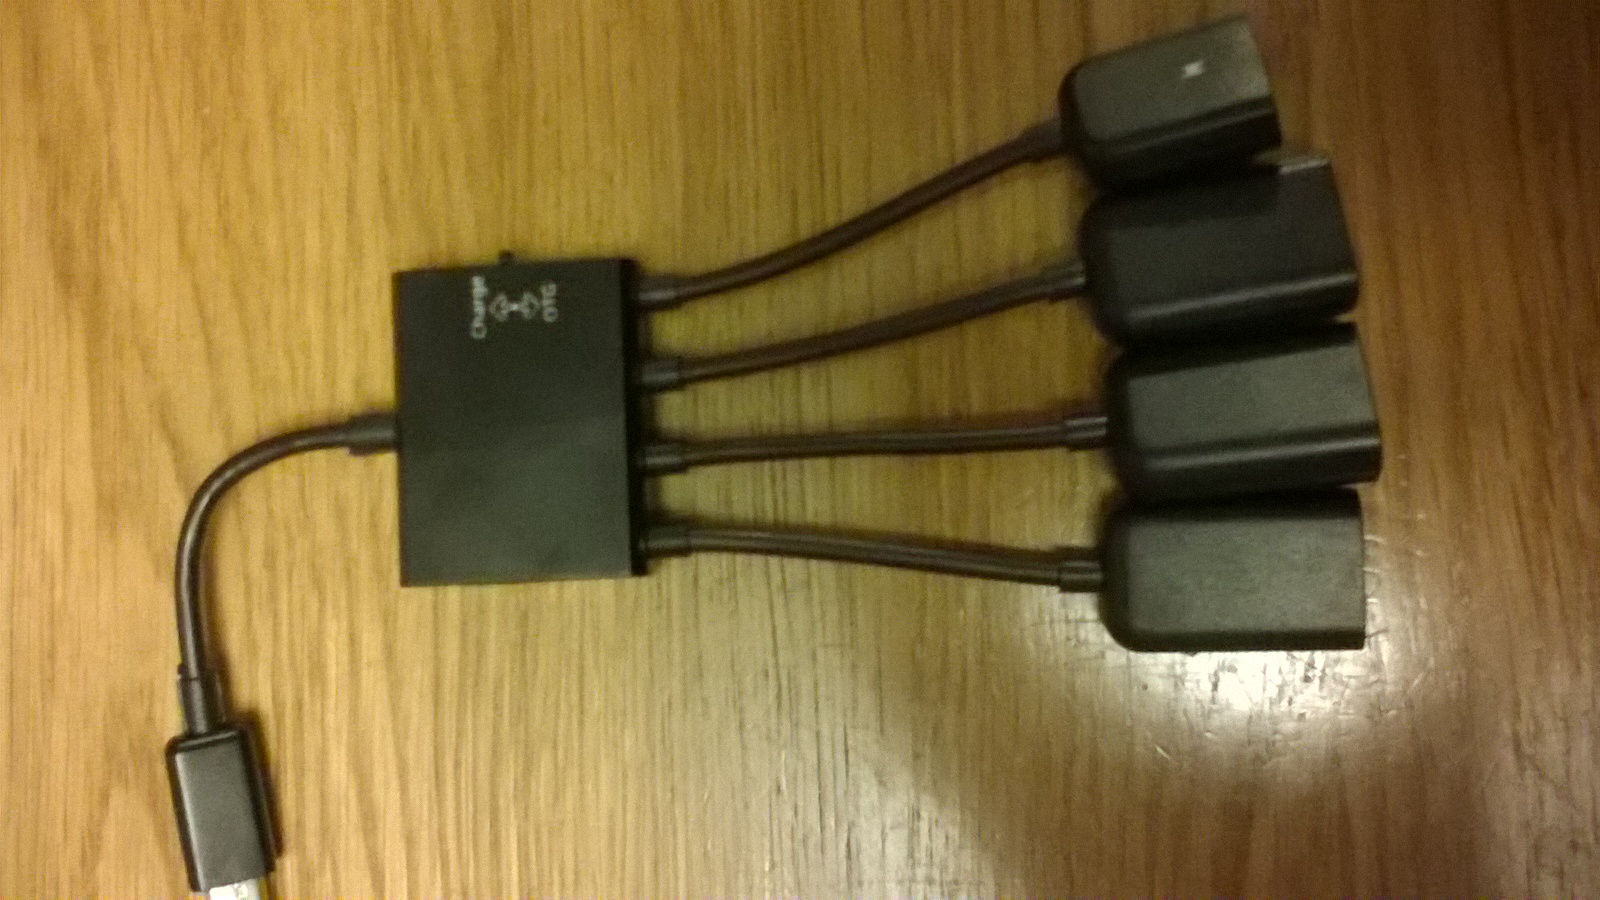
The best way is to expand by using a cheap USB Hub, and there are quite a few different types available for a couple of Pounds. These also allow conversion back to standard USB for other devices, and a seperate power feed via another micro USB socket which can be used to charge the device while the hub is connected in theory anyway, read on:
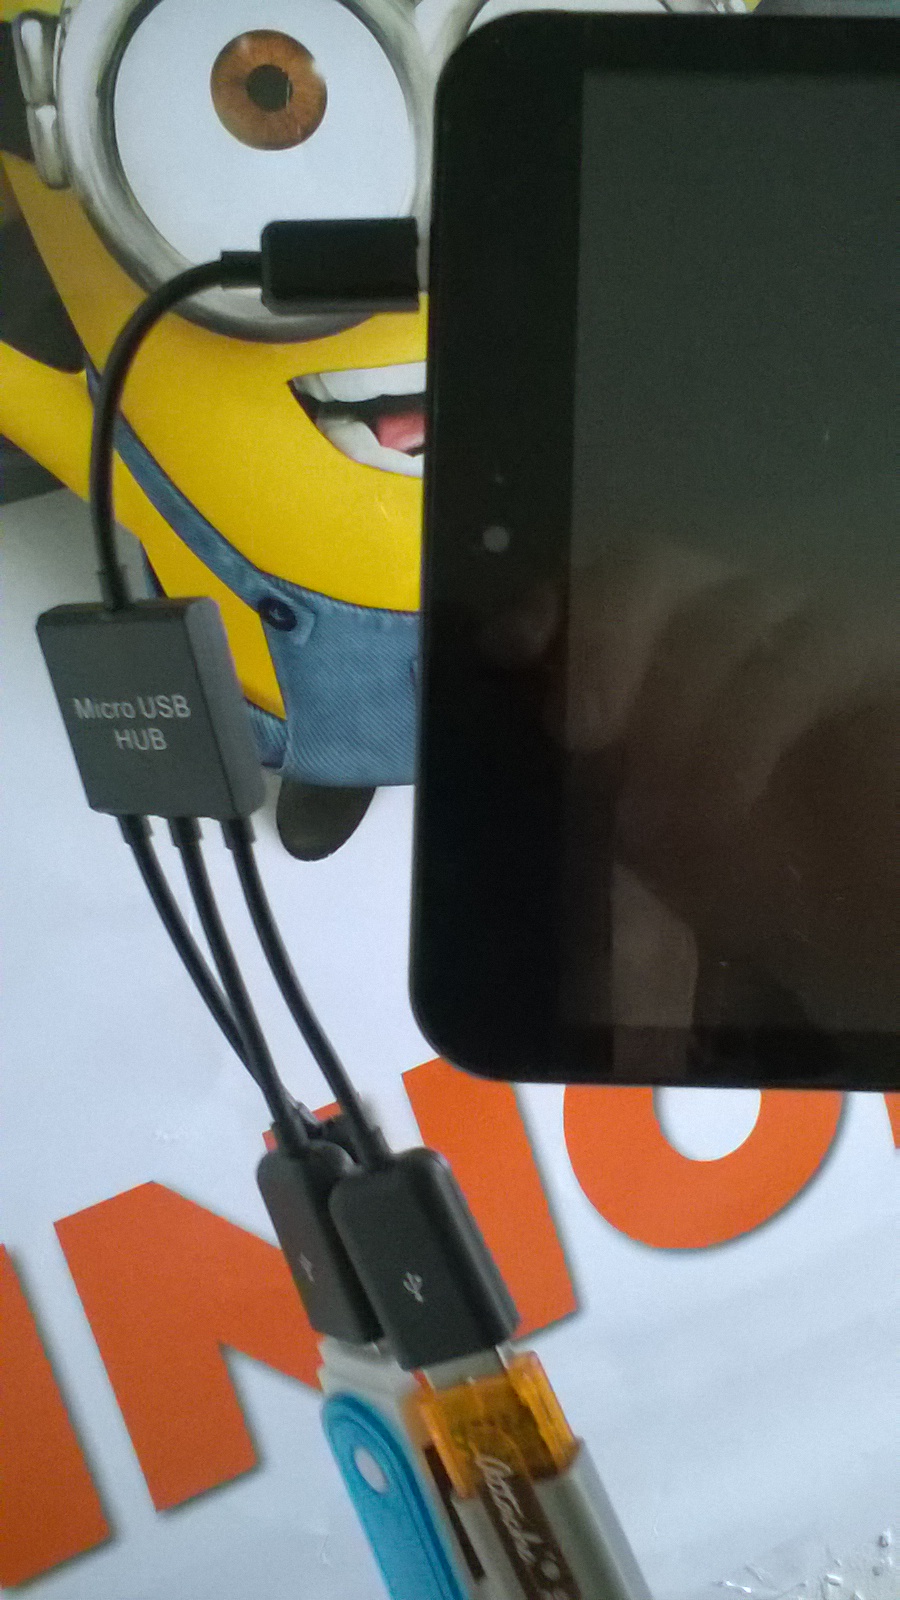
Although this solves the problem of USB connection. There is another problem with this arrangement, the weight of the hub and devices hanging on the end of the Tablet, putting unwanted stress on the USB micro socket on the side of the Tablet, there has got to be a be a better way of fixing this and tidying it all up.
I was lucky, I had a case that came with a USB Keyboard, could I work out some sort of method of attaching the hub to the case? I had an idea!
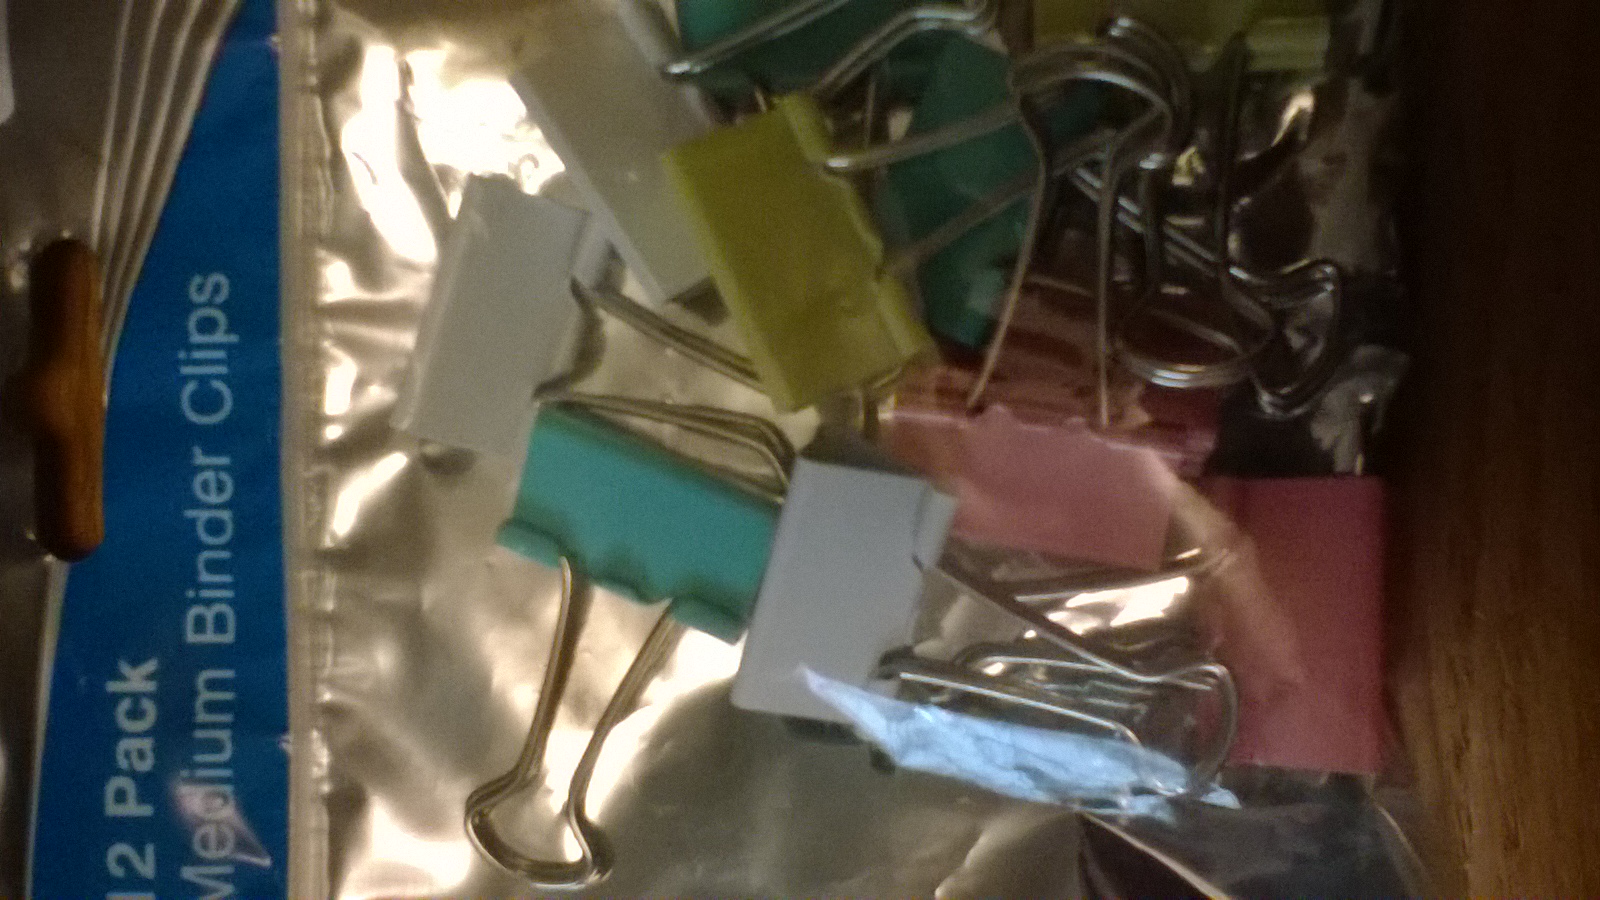
A visit to a discount stationary shop while I was in town, I came across a packet of medium sized binder clips. The sort you use for holding files of paper together and hanging up on a hook for reference. The clips came in a pack of twelve for 69p making the fix less than 6 pence!
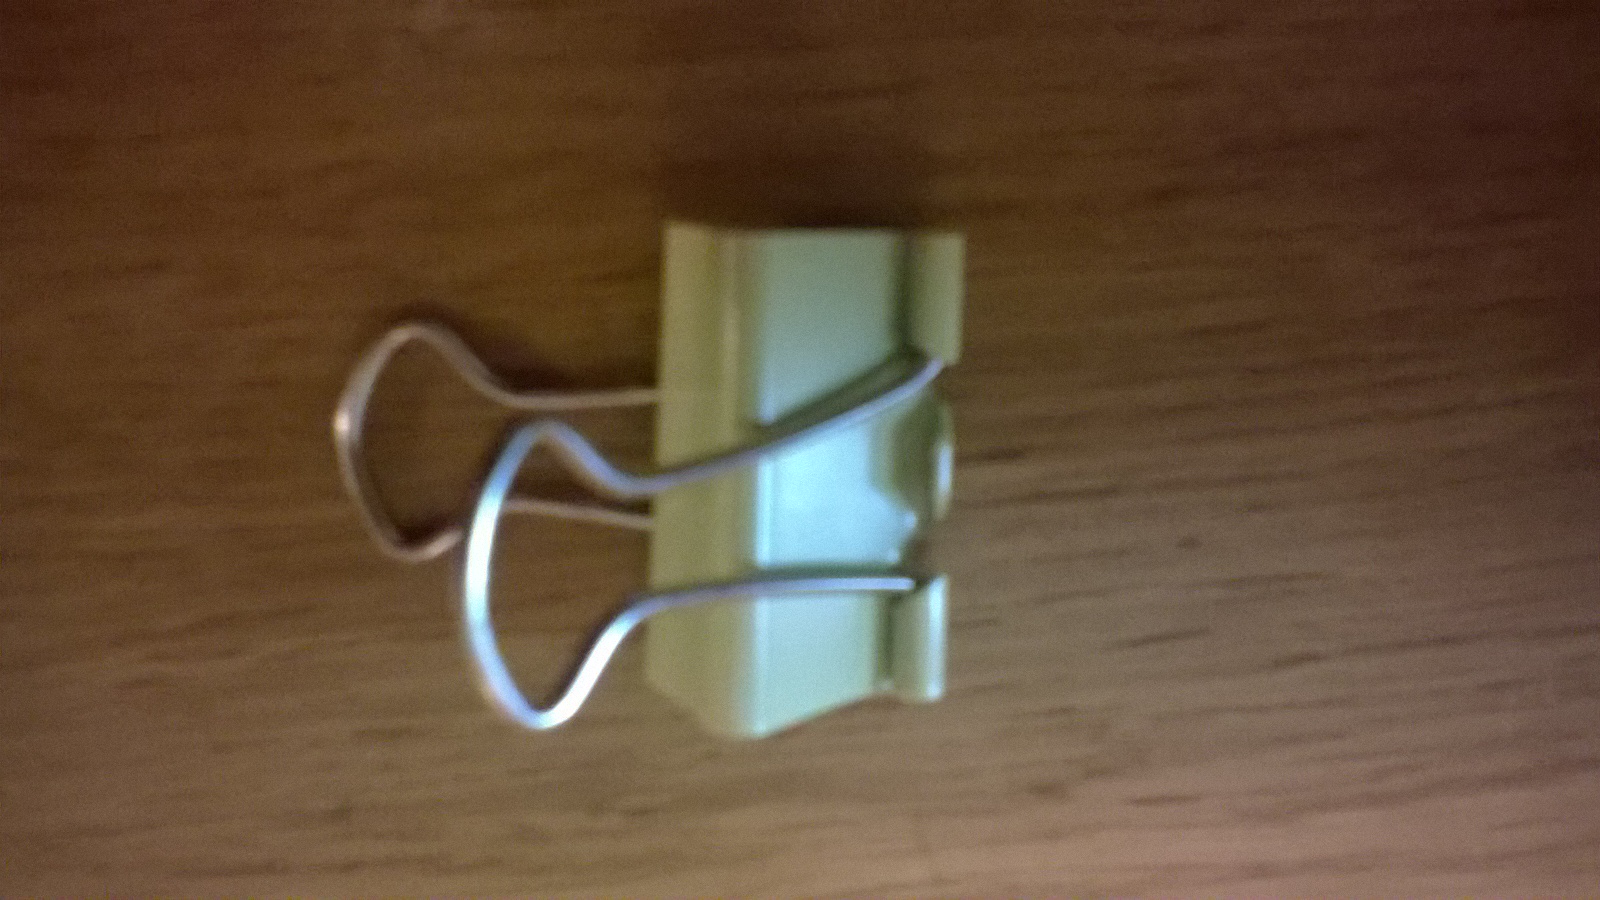
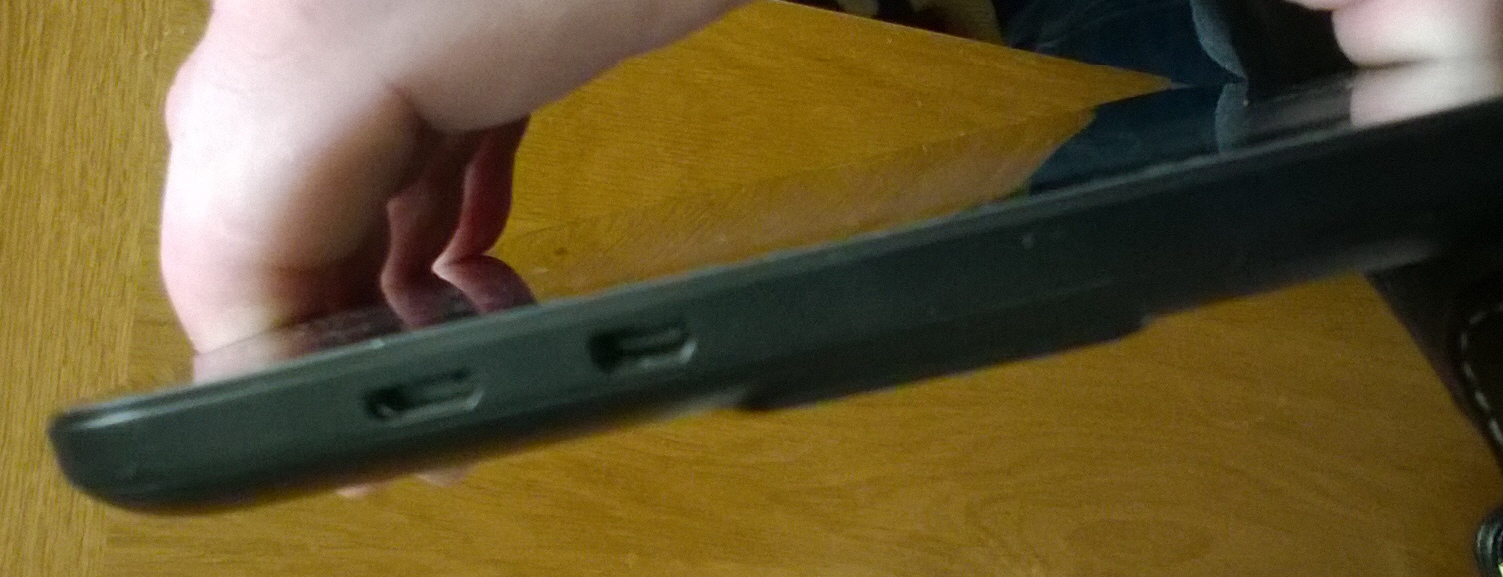
The clip provides an excellent amount of force suitable for the job of trapping the hub to the rear of the case. There is no movement and it is quite secure:
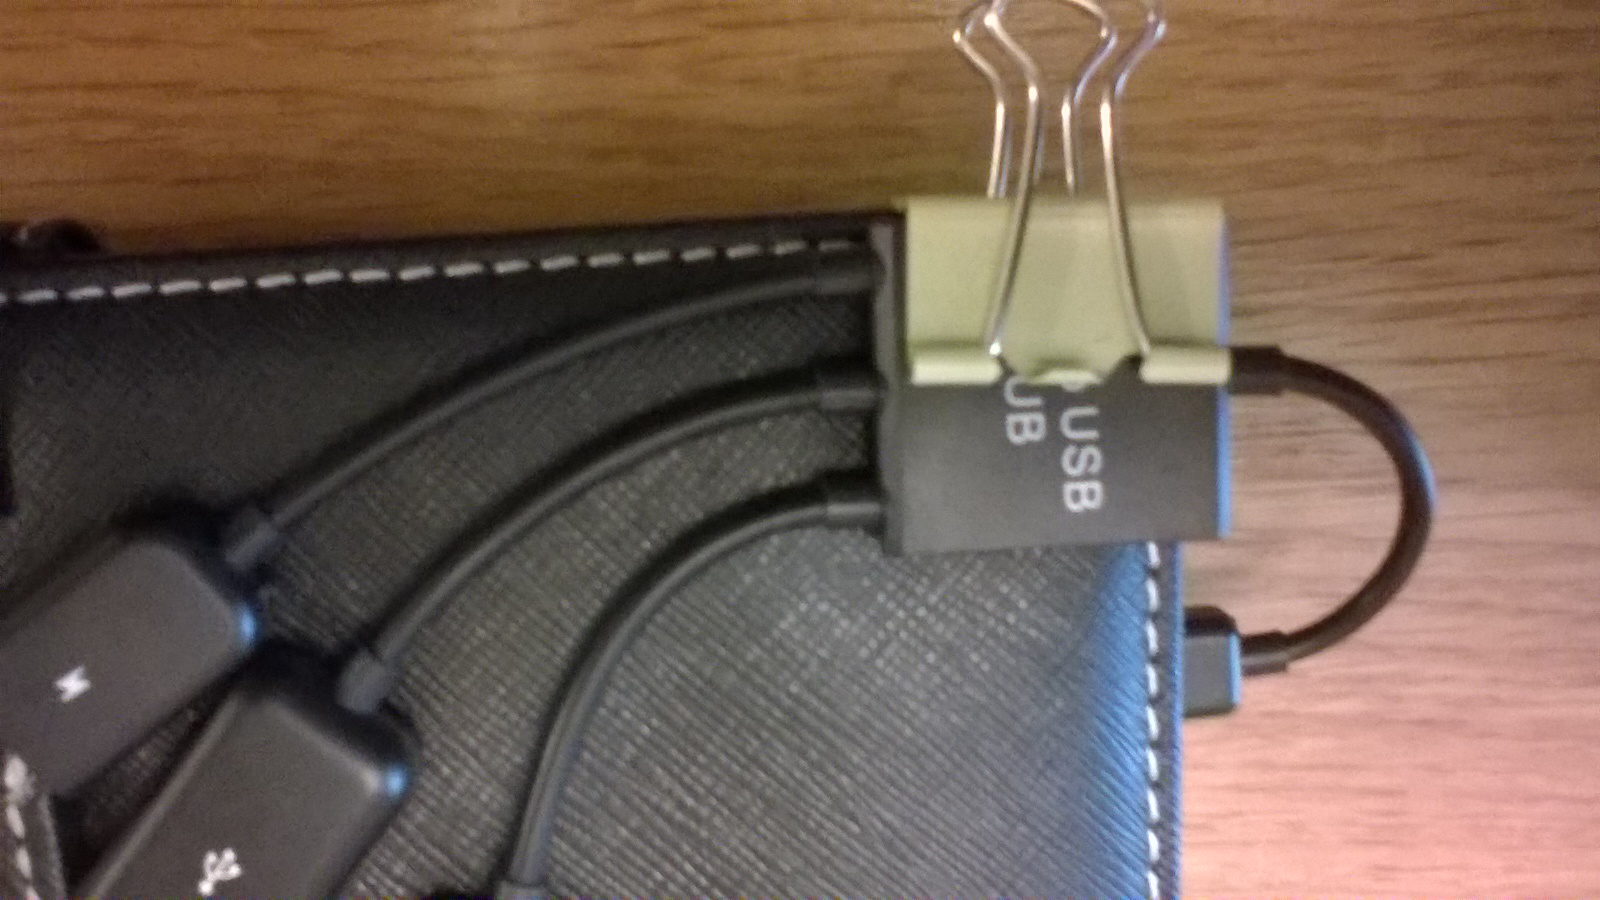
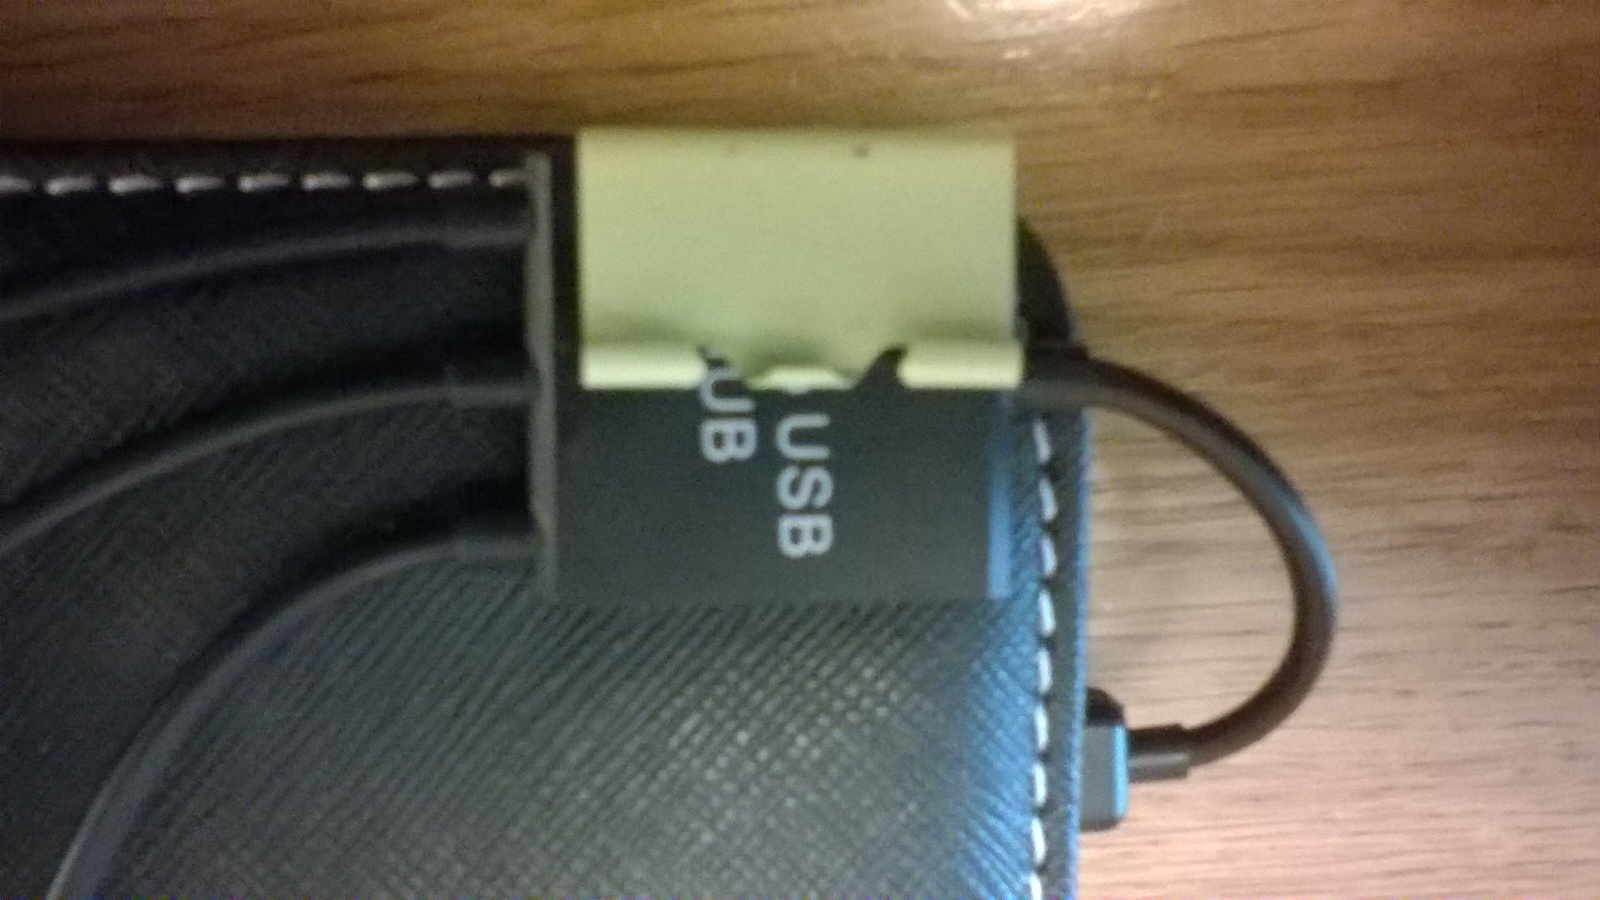
Once happy that it is square and fixed to the rear of the case, the two leverage arms, hooks or whatever you wish to call them can be detached from the main body of binder clip and discarded.
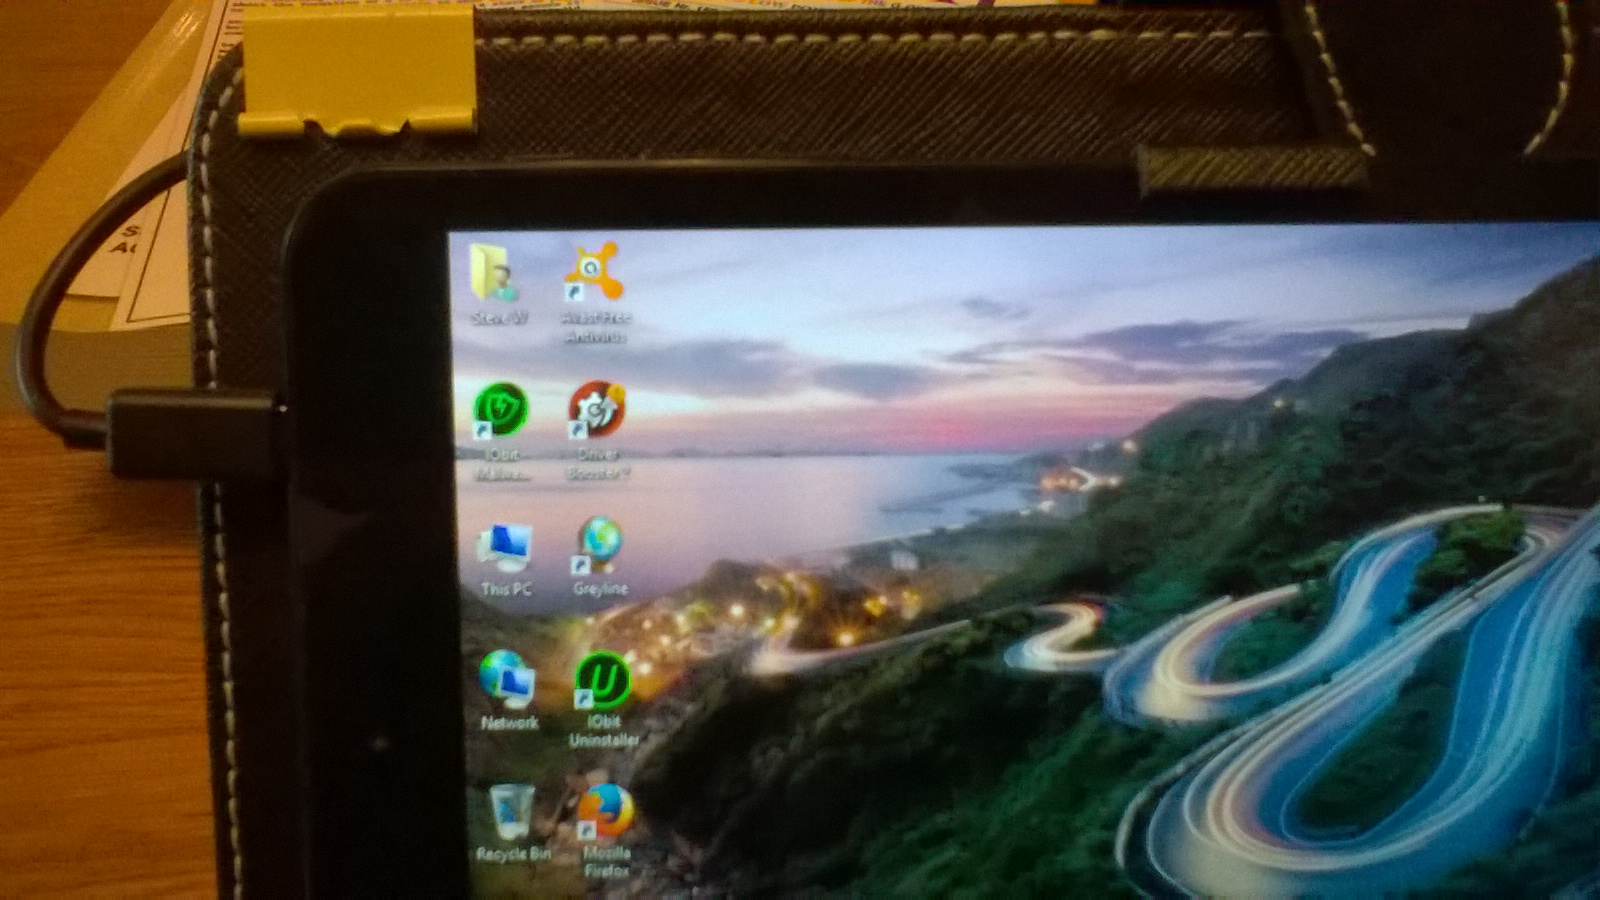
This provides the solution, and as you can see all the weight and stress is removed off the main cable and the micro USB socket on the tablet. With the sockets happy and tidy on the back of the case ready for use:
All seemed ok? I could then use the hub with various USB devices, but when I came to charge the tablet via the micro USB charging socket on the hub, this was found not to work? I came to the conclusion it was not wired into the hub or faulty in someway, I contacted the ebay dealer for a replacement he offered me $1, so I had to use the ebay tools to force his little Chinese hand to give me my full refund.
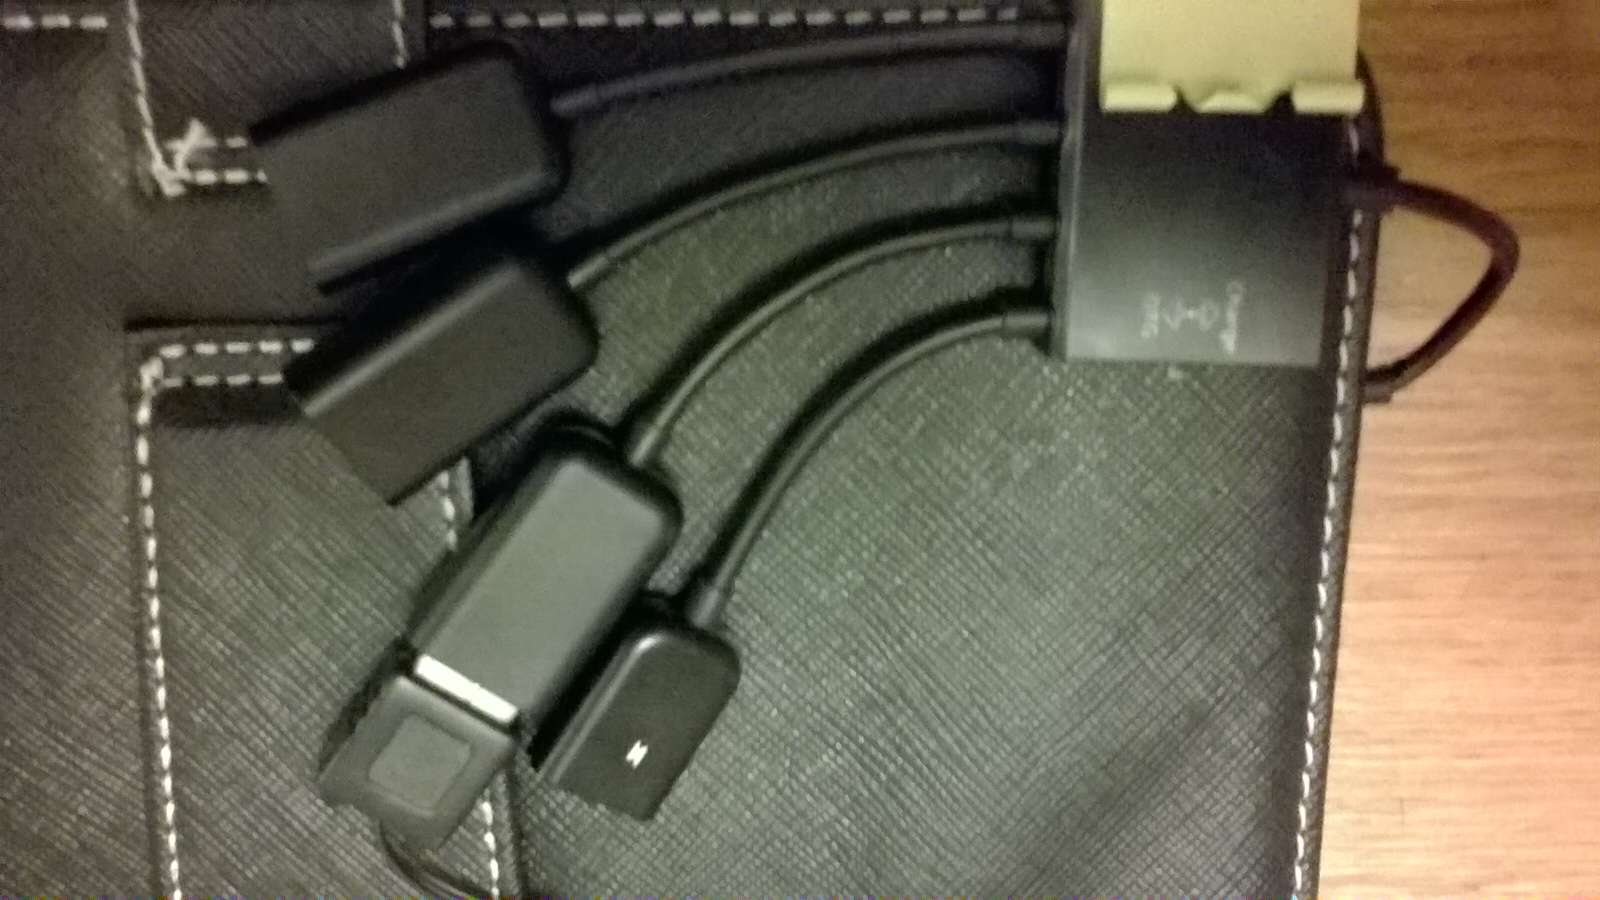
Shortly after, I found what looked to be a better USB hub from another "reliable" ebay dealer. This type has a switch to change between charge, or data, plus an extra USB Port:
This was a tighter fit under the binder clip due to the hub casing being slightly thicker, but all is now well, I can now charge the tablet without removing the micro USB from the side of the tablet, plus I have three USB sockets at hand, one which is taken up with the USB keyboard in the case:
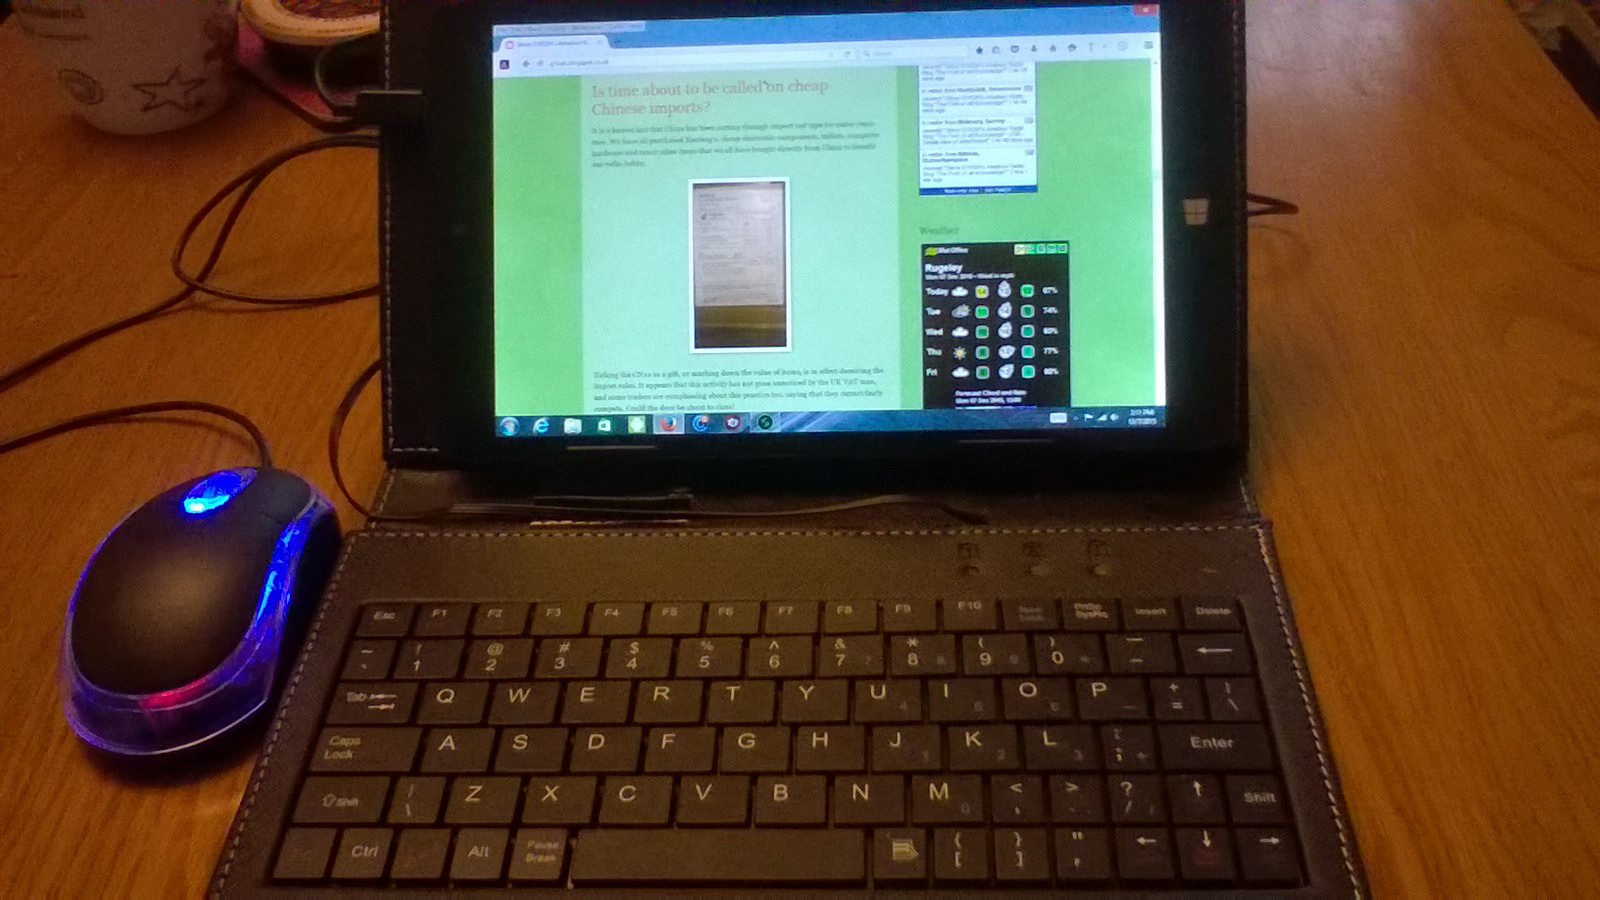
Problem sorted and all put to good daily use using keypad and mouse, all fed by the USB hub attached to the rear of the case:
Ref Cases with keypads:
http://www.ebay.co.uk/itm/Micro-USB-Keyboard-PU-Leather-Stand-Case-For-7-8-9-10-inch-Android-Tablet-Cover-/331700602824?var=&hash=item4d3ae587c8:m:m5pToynDbevJvNqycuFaZAA
Steve, G1KQH, is a regular contributor to AmateurRadio.com and writes from England. Contact him at [email protected].
USB – Simple idea of attachment
The One micro USB socket is not only used for data, but also for charging the device. A lot of excess daily wear and tear, plugging in and out switching between USB devices. Of course the idea of cutting down to one socket is to help keep costs down in production, but how long can the socket possibly last before something gives?
The best way is to expand by using a cheap USB Hub, and there are quite a few different types available for a couple of Pounds. These also allow conversion back to standard USB for other devices, and a seperate power feed via another Micro USB socket which can be used to charge the device while the hub is connected in theory anyway, read on:
Although this solves the problem of USB connection. There is another problem with this arrangement, the weight of the hub and devices hanging on the end of the Tablet, put unwanted stress on the USB Micro socket on the side of the tablet, there has got to be a be a better way of fixing this and tidying it all up.
I was lucky, I had a case that came with a USB Keyboard, could I work out some sort of method of attaching the hub to the case? I had an idea!
A visit to a discount stationary shop while I was in town, I came across a packet of medium sized binder clips. The sort you use for holding files of paper together and hanging up on a hook for reference. The clips came in a pack of twelve for 69p making the fix less than 6 pence!
The clip provides an excellent amount of force suitable for the job of trapping the hub to the rear of the case. There is no movement and it is quite secure:
Once happy that it is square and fixed to the rear of the case, the two leverage arms, hooks or whatever you wish to call them can be detached from the main body of binder clip and discarded.
This provides the solution, and as you can see all the weight and stress is removed off the main cable and the micro USB socket on the tablet. With the sockets happy and tidy on the back of the case ready for use:
All seemed ok? I could then use the hub with various USB devices, but when I came to charge the tablet via the micro USB charging socket on the hub, this was found not to work? I came to the conclusion it was not wired into the hub or faulty in someway, I contacted the ebay dealer for a replacement he offered me $1, so I had to use the ebay tools to force his little Chinese hand to give me my full refund.
Shortly after, I found what looked to be a better USB hub from another reliable ebay dealer which had a switch to change between charge, or data, plus an extra USB Port:
This was a slightly tighter fit under the binder clip due to the hub casing being slightly thicker, but all is now well, I can now charge the tablet without removing the mini USB from the side of the tablet, plus I have three USB sockets at hand, one which is taken up with the USB keyboard in the case:
Steve, G1KQH, is a regular contributor to AmateurRadio.com and writes from England. Contact him at [email protected].
 Ham Radio Deluxe |
 W5SWL Electronics |
 Ham Radio Prep |
 KB3IFH QSL Cards  Hip Ham Shirts  HamRadioAuctions HamRadioAuctions Reliance Antennas Reliance Antennas Enigma Shop Enigma Shop |  morseDX  Ni4L Antennas  R&L Electronics R&L Electronics antennas.us antennas.us QRV QRV |
- Matt W1MST, Managing Editor
