 |
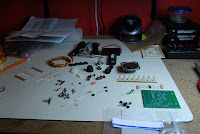
| Sorting the parts |
Good afternoon all, just the other week I finished building my
Idiom press CMOS-4 keyer. When I was investigating the keyers from Idiom press there was another keyer called the K5 which had 6 programmable memories. The K5 did not seem to come as a kit and it was more pricey as well so I settled for the CMOS-4 kit. I ordered it online with my credit card but unlike other kits I have ordered from other companies this time around I was never sent confirmation of shipment or a tracking number....nothing......it just arrived here at the
house one day. Anyway, I had read many great reviews about this keyer and has seen some YouTube demonstrations of it was well so I was eager to get it built and running. If you have read in
 |
| RCA troubles |
my blog in the past the first thing I like to do with any kit I get is do the inventory of parts. It lets me know all is here as well familiarizes me with the parts. This kit like all the others had part numbers for the parts but for some reason the list gave you a part number and told you it was a 15 ohm resistor for instance and that there were 20 of them and that was it!! So these 15 resistors were they R1, R20, R3 or what, as the kit had other resistors with other part numbers and values assigned to them. So for all the parts I had to go through the build
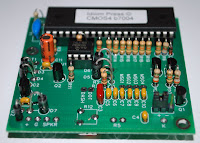 |
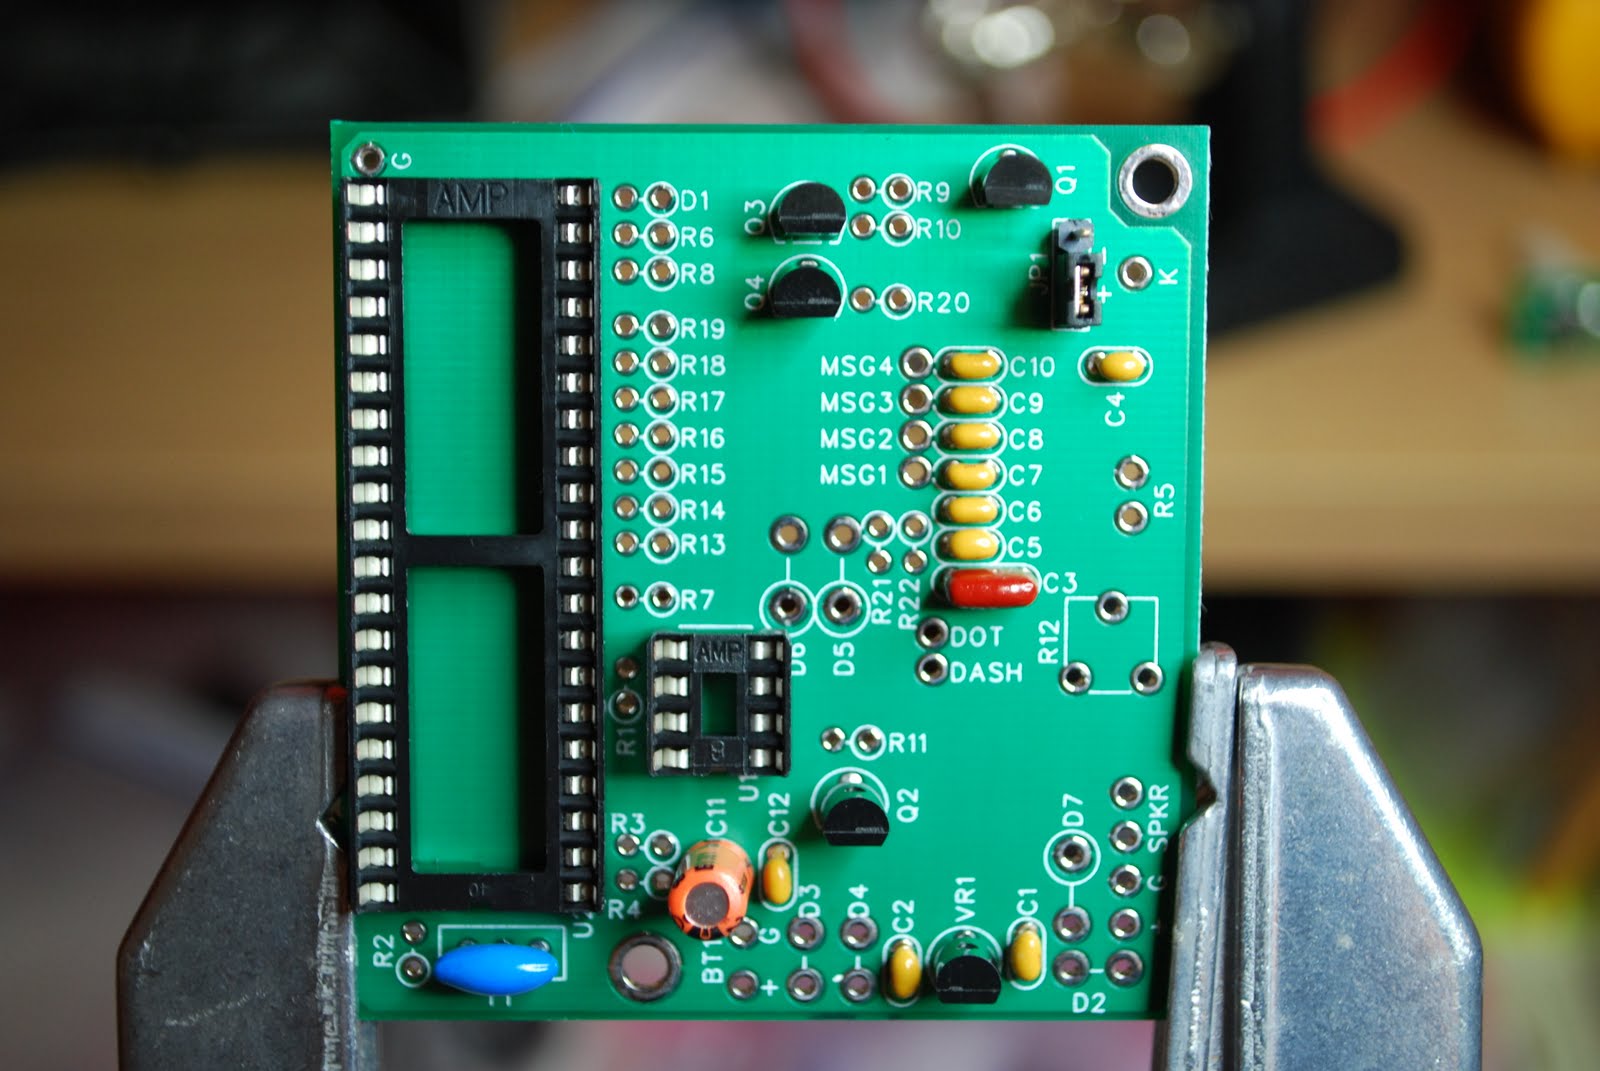
| Resistor and diode layout |
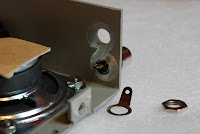
instructions and identify that transistor part number ZC4005 which was a MPSA92 transistor was in fact Q1 in the assembly instructions. Each part had to have this done and I then put the parts in a bag and labeled the bag with the assembly part number on it. The assembly instructions were very clear but more pictures would be very helpful during the build. Steps that involved an odd detail were marked out very clearly and at times in
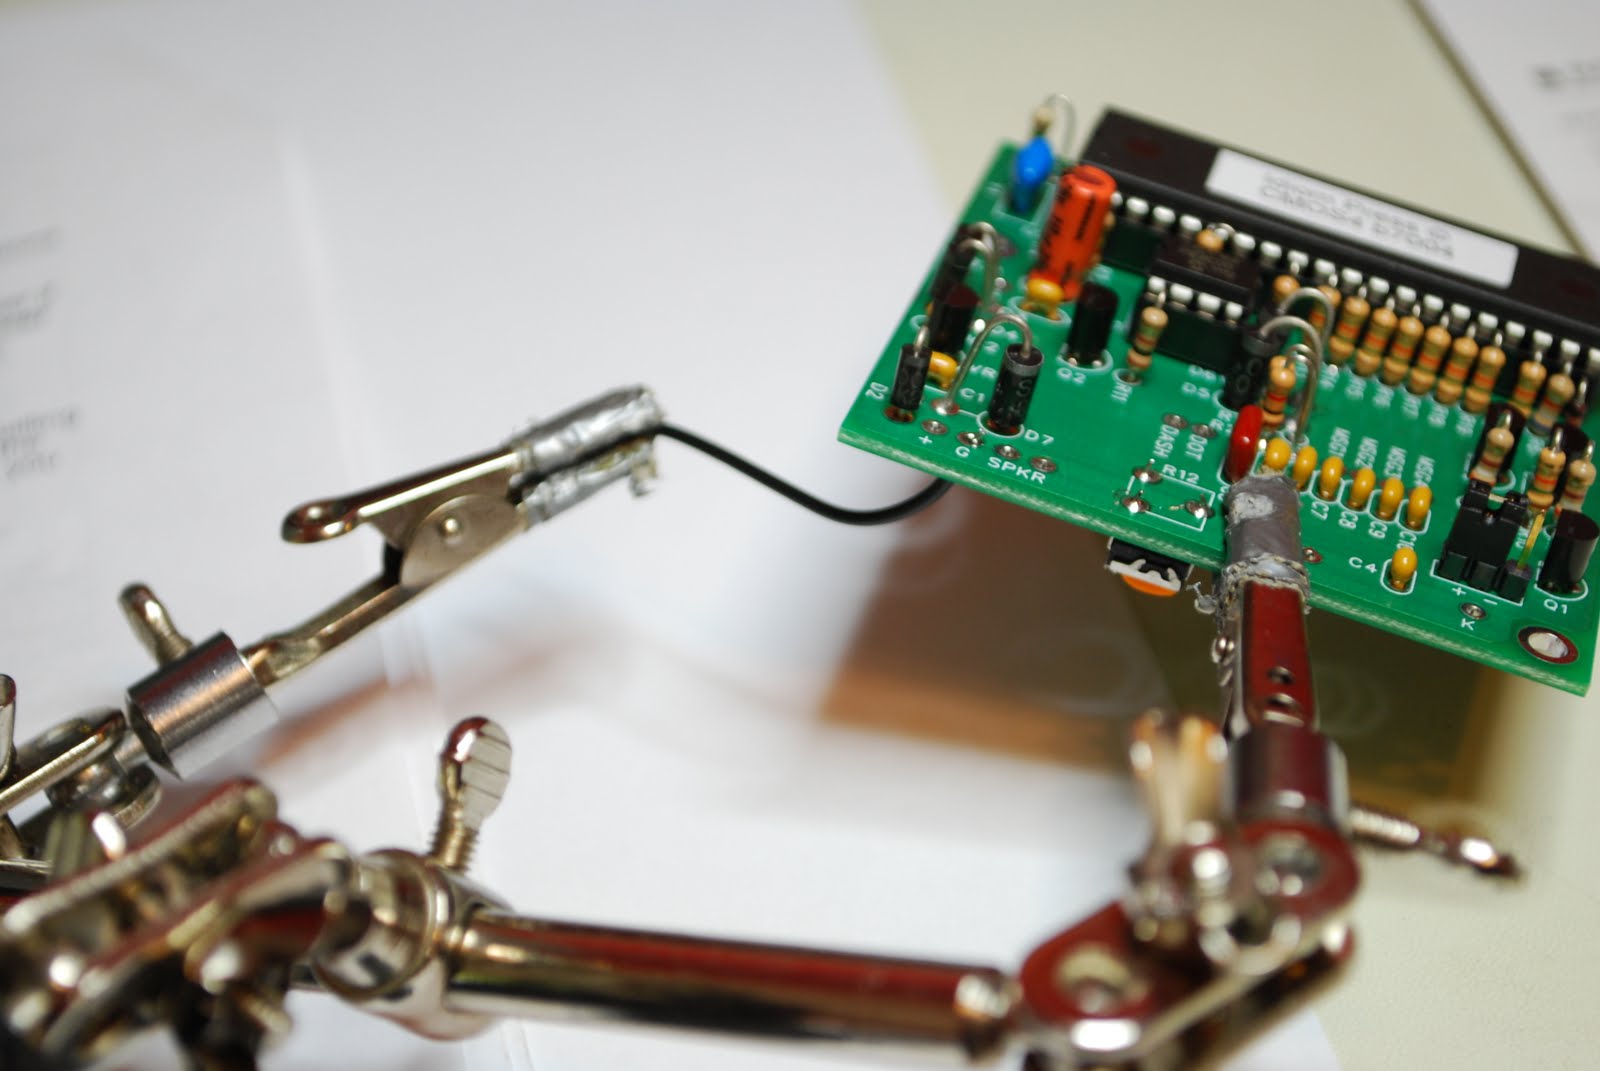
BOLD print. One part issue during the build was an RCA jack that would not fit through the per-drilled hole. This is not a disaster but a bit of a pain having to get the cordless drill out to open up the hole. The only other issue I ran into and should be rectified in my humble opinion is.....there are some diodes that have to be installed and there is a polarity to follow. To make this easier the
 |
| Diode circles missing at bottom |
silk screen on the PC board has a large circle place over one of the diode holes. This is to help with placing the diode on the PC board with the right polarity. Well for some reason there are 3 areas D2,D3 and D4 were the circle did not make it onto the PC board. You are told of this in the instructions and shown on a layout diagram with the proper polarity. How about fixing the boards as well.........Those were the only issues I had with the build. The kit tested great once it was done and if you do order the CMOS-4 as a kit or already built make sure you read the operating manual cover to cover. This is were the kit really shines great detail has been put into the manual. Because this keyer is a real stand alone keyer all programing is done with your key no computer is needed. In the manual you are given exercises to do and make sure you do them!!! This will get you accustomed how the keyer works and how to program it as well. If you are in the market for a keyer this is one to take a close look at.
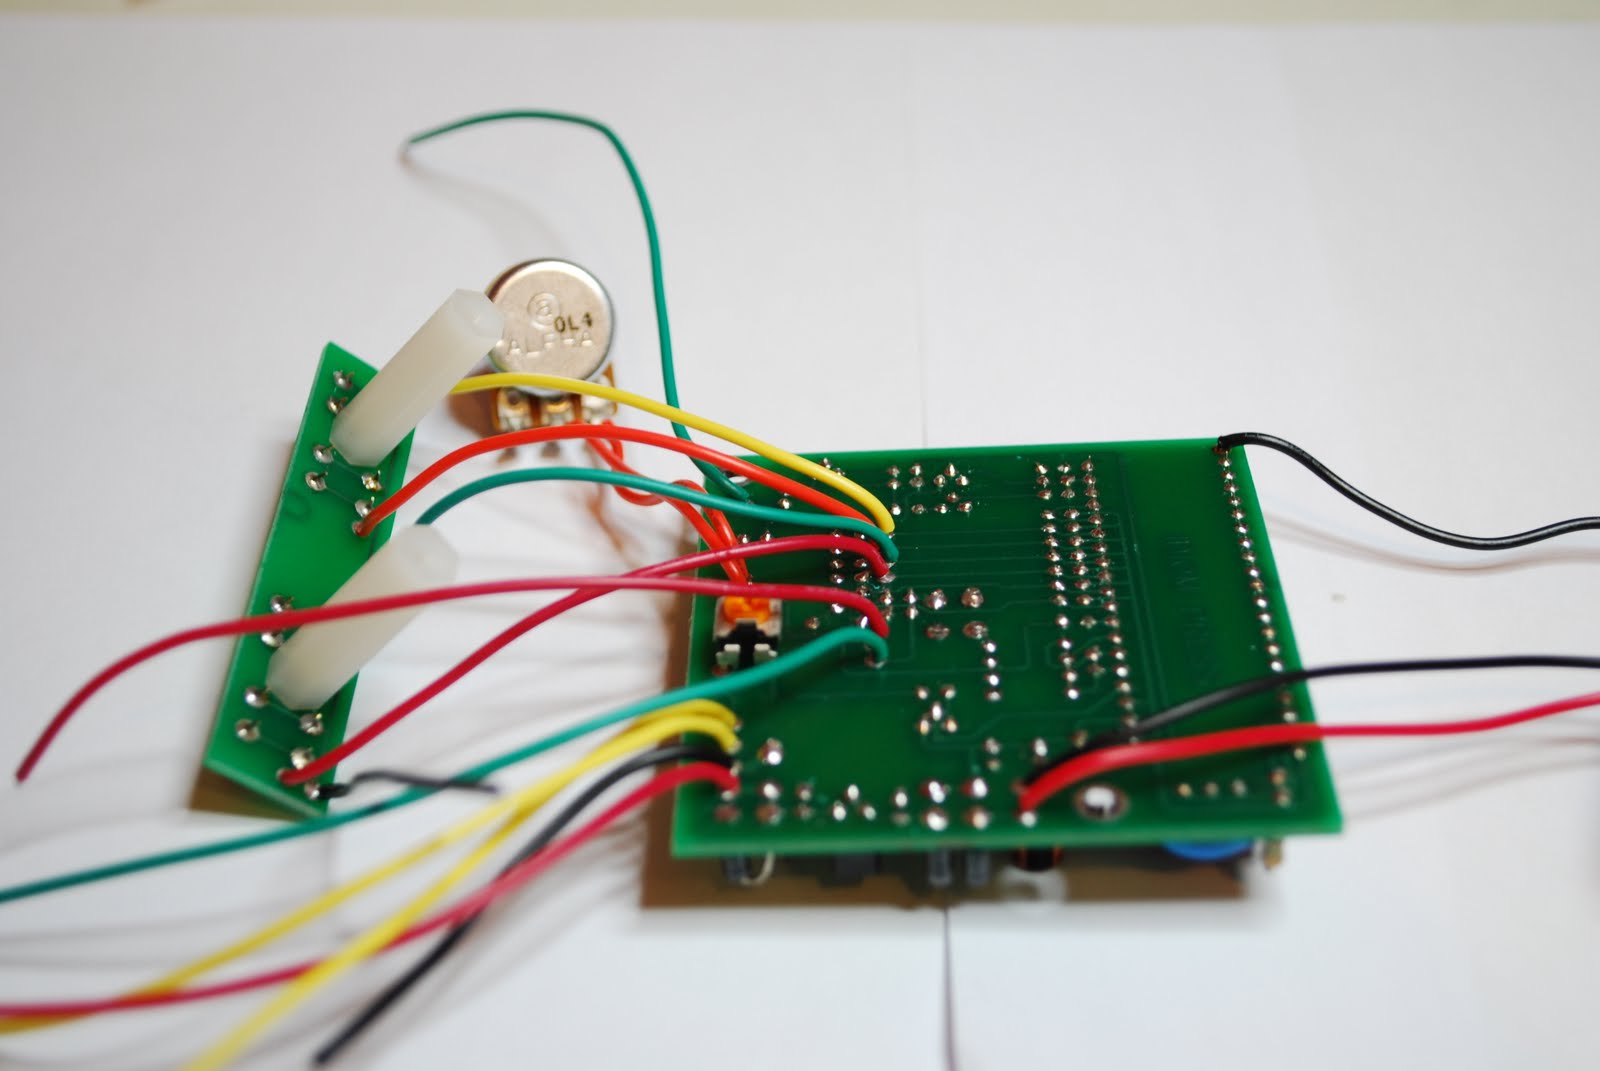
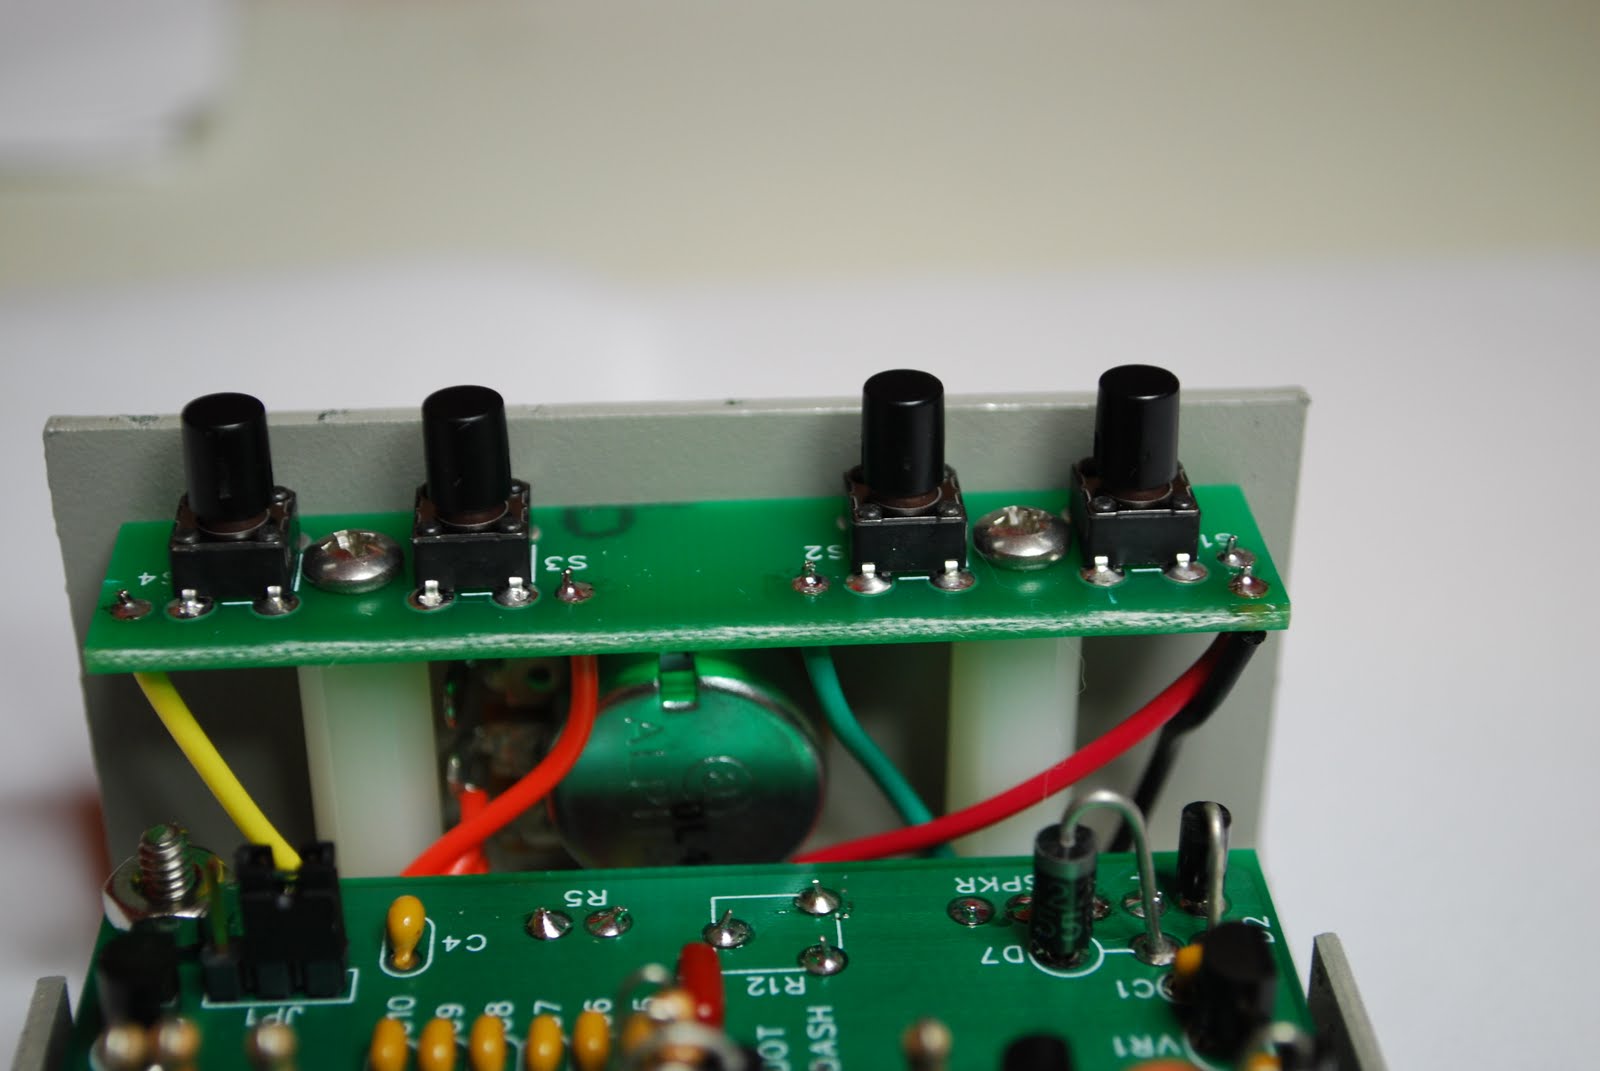
In this post I wanted to include some assembly pictures as I found on the internet there were very few. As you are going through the build a picture would really help at times. 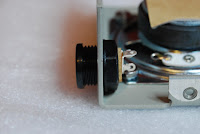 |
| DC power jack very close to speaker |
 |
| Adding wires to board |
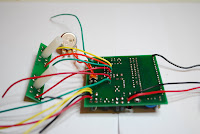 |
| All wires added |
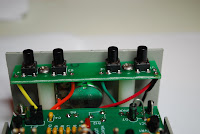 |
| Push button setup |
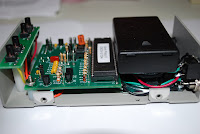 |
| Battery pack added |

 Idiom Press CMOS-4 Keyer………
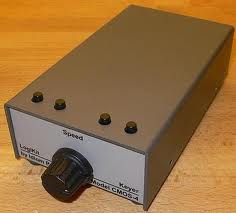


 HamRadioAuctions
 Reliance Antennas
 Enigma Shop

 R&L Electronics
 antennas.us
 QRV
QRV