Author Archive
 The bands are alive with the sound of CW
 |
| Action on 20 meters |
Do two wrongs make a right…..

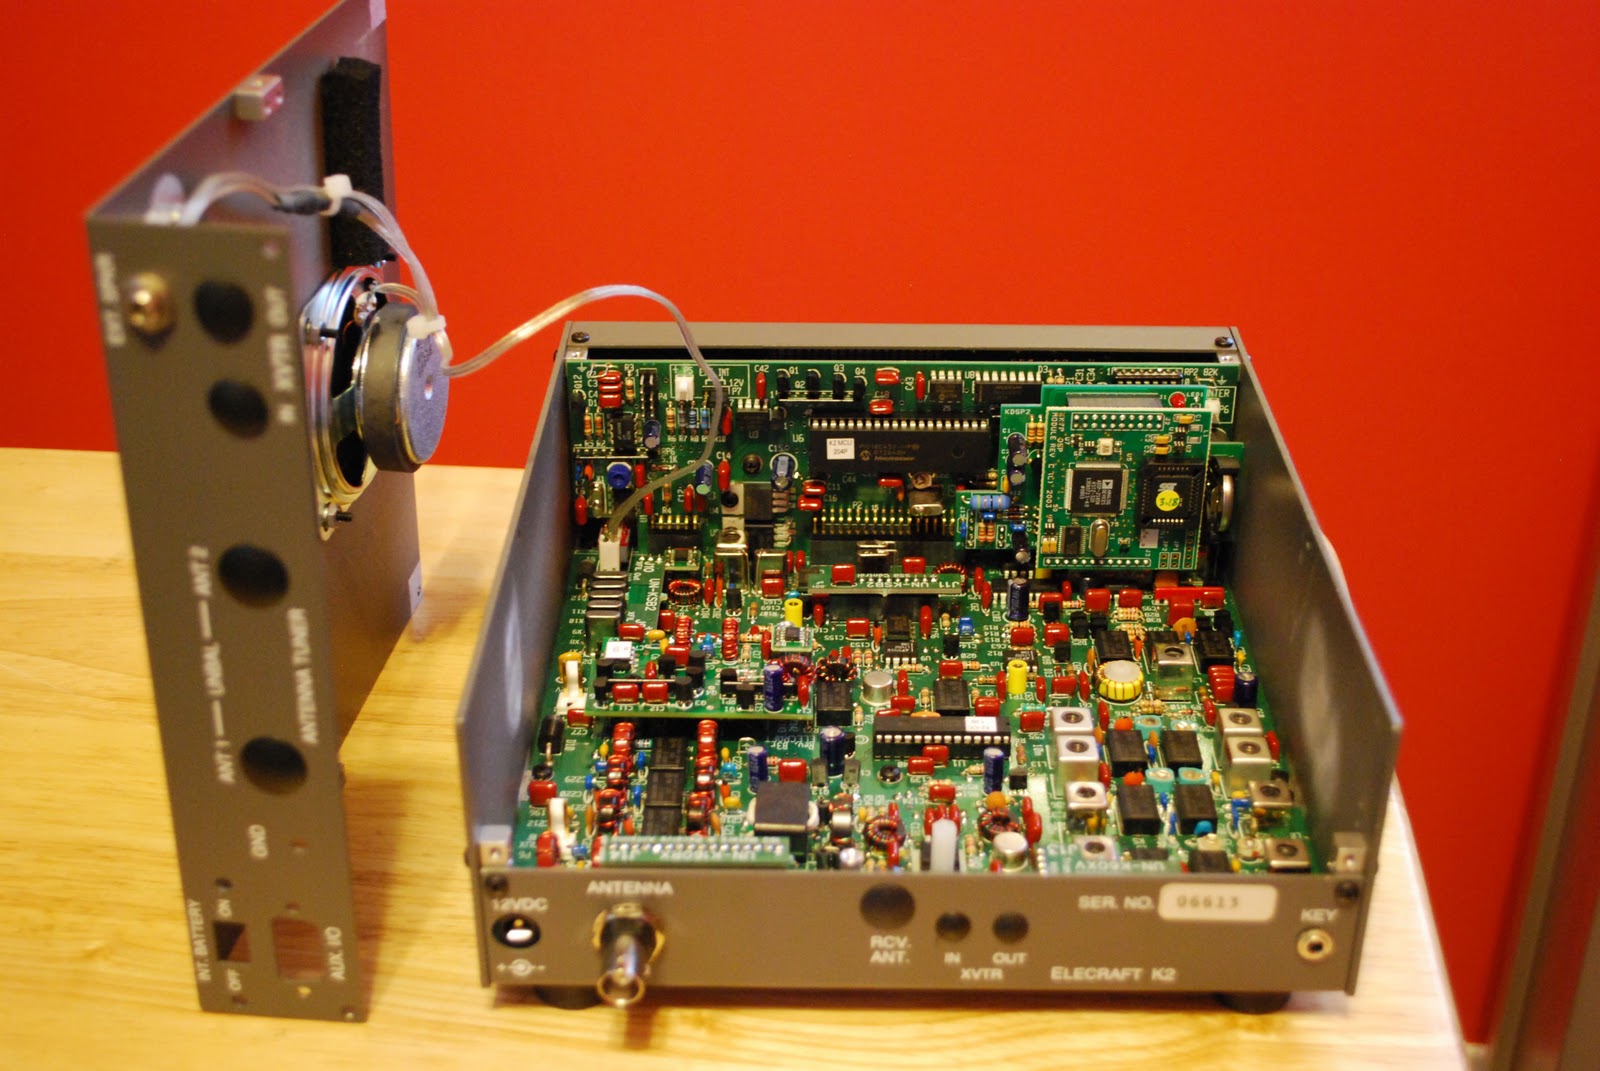
Making the K2 portable……..
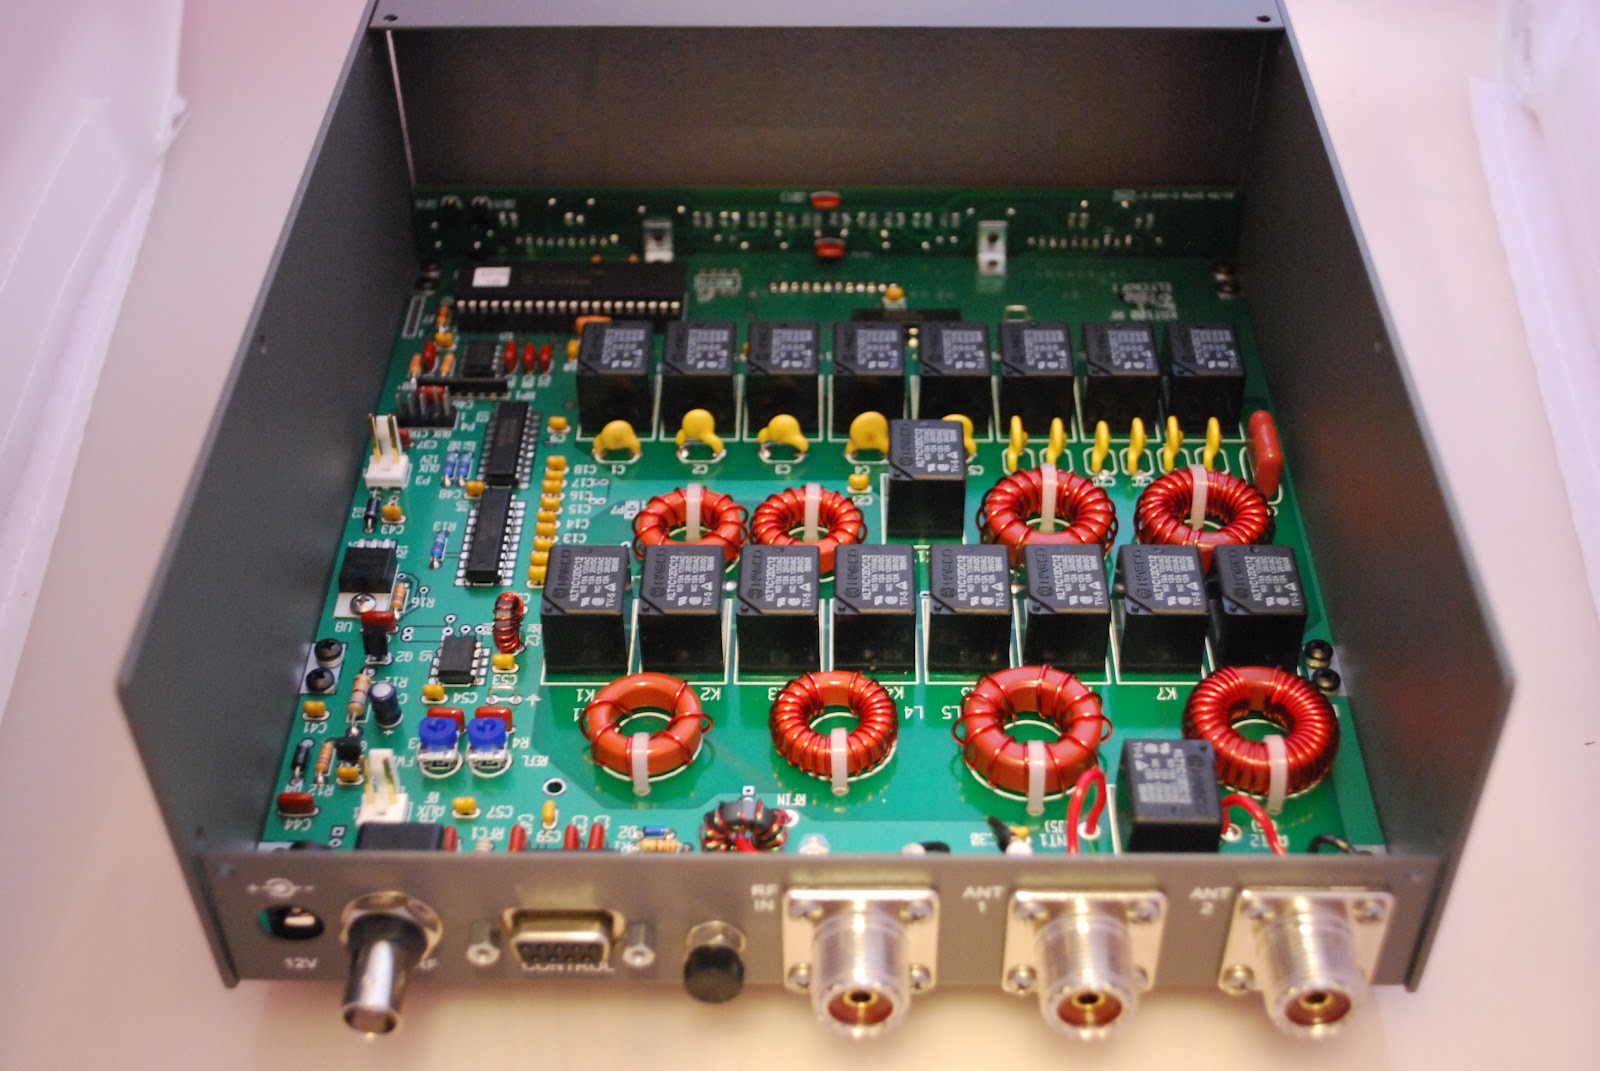 |
| KAT100 in new enclosure |
enclosure to house both the KAT100 and KPA100. I have completed the external antenna tuner. It went very smooth
 |
| Toroid lineup |
 |
| Bifilar winding |
 |
 below from panel assembly |
If you are ever thinking of doing this project with your K2 below are some links that helped me out.
KK7P offers some very good advice along with some excellent pictures as well.
Wilcox Engineering also have some nice pictures of the unit and advice.
Apple iOS 5 from grrrrr to purrrr
 |
| Getting started |
the new things with iOS 5. Off I went to iTunes to get the update all went smooth....so I thought. I then restarted my iPhone and ALL my purchased app's were GONE.....all music......GONE and email......GONE!!!!!
GRRRRRRRR
Great update eh.....iTunes would allow me to go back to the old OS so I logged in but was told that someone was already using that password and username!!!! At that point I started to do what I only heard others doing..."talking to my PC" it was not the warm fuzzy's I was conveying either!!!! Well it was getting late and I tried other ways to get into iTunes but nothing and it was time for bed. Home from work the next day and feeling refreshed I started again. I ended up changing the password and username went back to the old OS. After rebooting the iPhone all was still lost in Apple space, time for Apple support. That is another treat trying to find a phone number for support. It found a support number and off on another Mac adventure. To keep it short and sweet Apple support was FANTASTIC all my app's and music were restored, the iOS 5 was re-installed and working great. Finally my password and username was restored as well!
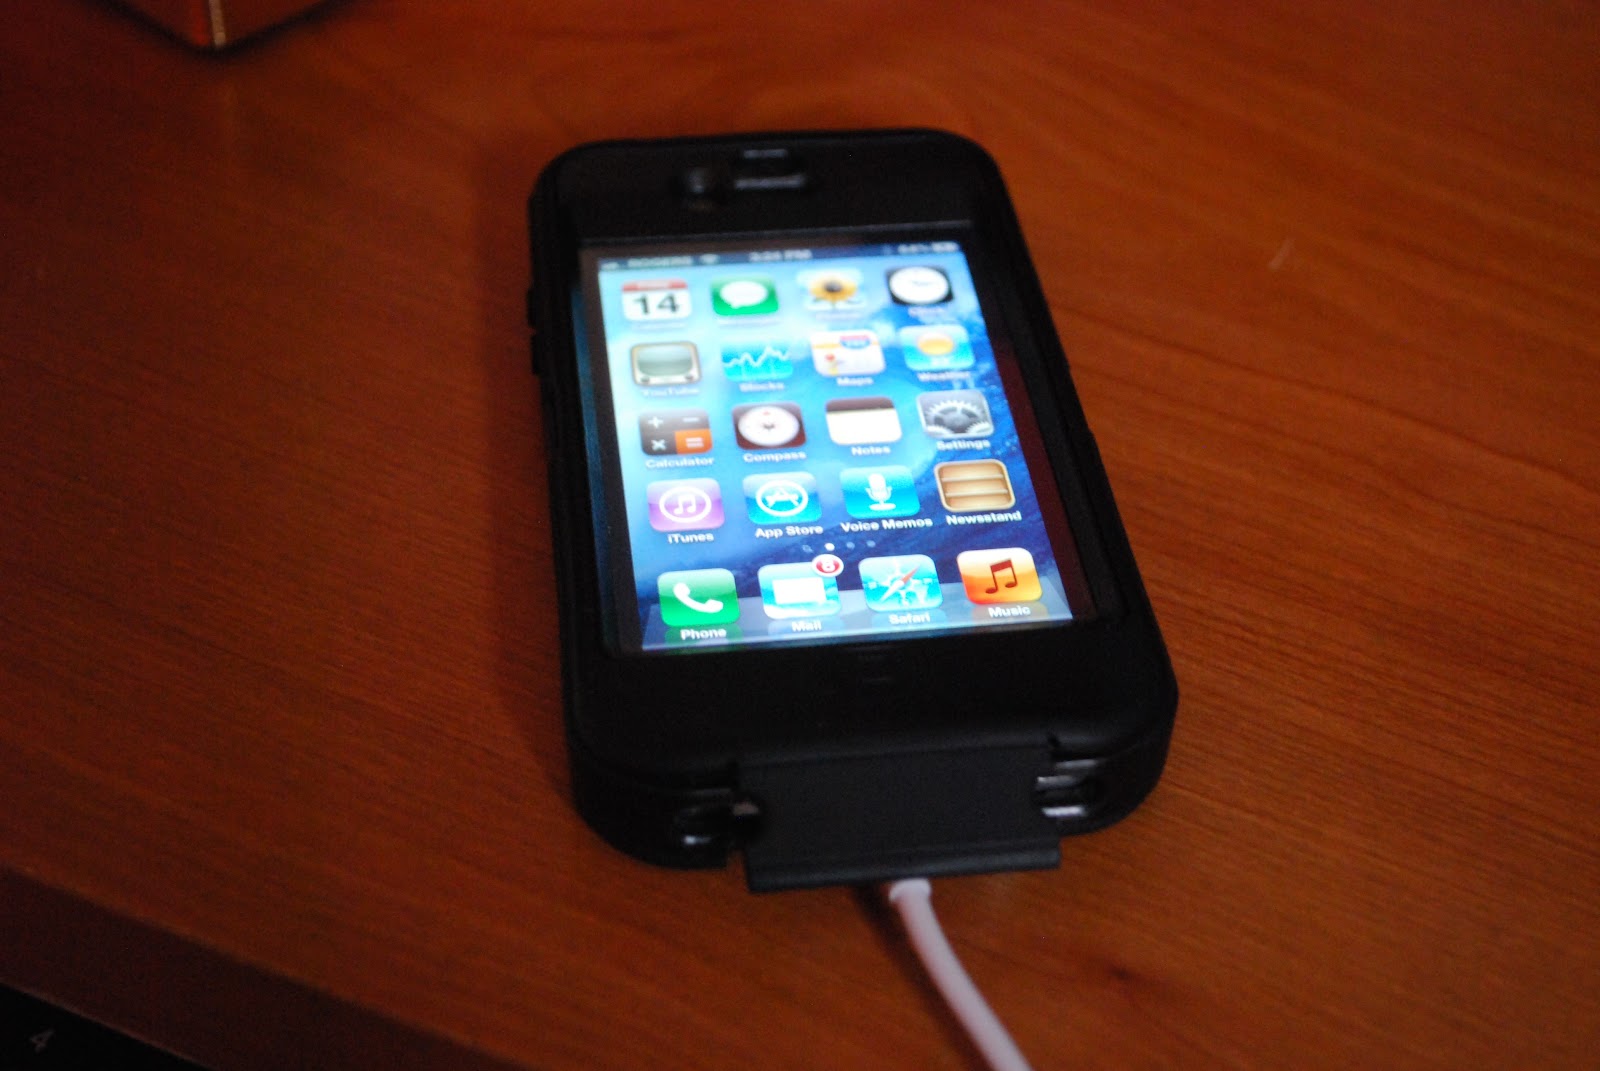 |
| All better....thanks Apple care |
Apple support = PURRRRRRRRRR
Recycling a post….Are Toroids getting you all wound up…..
Since the fall is coming and kit building will be on the rise I wanted to recycle this post from last year...
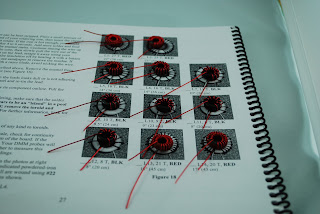
When I decided a few years ago to venture into a new area of amateur radio.....kit building. I did some research on the internet to see what I was up against. Having never built a kit and not really having any electronics background I did not want to get in over my head. So it was a simple kit to begin with but at the same time something I would use and not just become a home to dust bunnies. I decided on the Elecraft KX1 kit as it would I hoped turn out to be a functioning radio. One I could put to use in portable operation again this was another area of amateur radio I had yet to discover. So I practiced my soldering, put together some tools and one thing that kept waking me up at nights....(not really) was the TOROID WINDING!!!!!!! There is lots on the internet on how to go about winding a toroid. With the KX1 kit I found myself trying the different methods and at times having to rewind some toroids many times. A few weekends ago during slow times in the ARCI contest I decided to do some toroid winding for my on going KPA100 100 watt option for my K2 Elecraft radio.
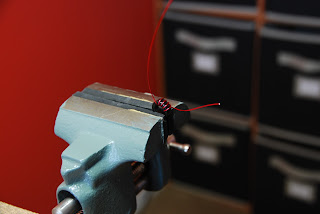
I just want to share some of the ideas I tried during my trial and error periods of toroid winding. Also the process I go through from start to finish. As with most any kit I have worked with you are given a recommended length of wire to cut and I have found at least with the Elecraft kits the total wire given is always more than enough to wind all the toroids. Now comes the fun part the winding, there was three methods I tried. The first was putting the toroid core in a vise and winding the wire through the core. I found this to be somewhat awkward for me, some may find it works for them but I was opening and
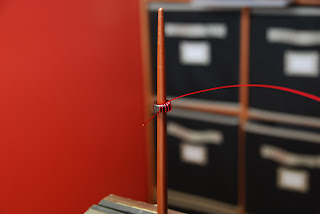
closing the vise and moving the core around more than winding the toroid. Using the vise seemed to take a very long time. But having said that if your hand is not steady the vise is a very good alternative. The vise did great to just hold the toroid for the later step of stripping the leads...more about that later. The next idea that came across my path was the use of a chopstick, I included a picture of what I am taking about and we all know how a picture is worth a thousand words.
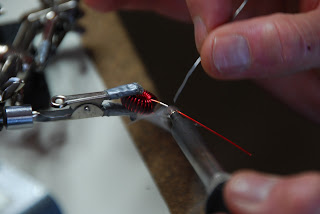
Using the chopstick I was able to form the turns of the wire nicely around the inside of the toroid. At the same time space the turns out so the toroid looked very balanced. I used this method with building my KX1 and as I wound each turn I inserted the chopstick and inspected the toroid. As I progressed to my next kit (Elecraft K2) I used the chopsticks for eating and not winding toroids. As it turned out this too was a method that just seem to complicate the winding process. As I gained confidence winding toroids I just put on my magnifying head set and wound them by hand!!! This proved to be the road for me in regards to gettin r done with the infamous toroid. See the link at the bottom of post to see how winding a toroid by hand is done. Once the toroid is wound you have to remove the coating of insulation on the wire. In this regard I read of sanding it off, using a lighter or flame of some type to bun it off or a hot solder blob. I tried the sandpaper method but I found it to be a little hard on the toroid windings and sometimes the sandpaper got to close to the turns of wire and removed some insulation there as well. I gave the open flame a go but found I was just heating up the wire and really did not have any control over removing the insulation and heat required to remove the insulation.
The method I settled on and works great for me is the
solder blob method. I use a type of mini vise with alligator clips on
the ends to hold the toroid in place I then change the solder tip to a
larger one. The soldering station is turned up to about 800 degrees
Fahrenheit the hot tip is placed on the lead to be tinned and solder is
applied to tip and wire until a small amount of smoke begins to form. At
that point the solder and soldering iron is moved slowly along the
toroid wire adding solder as I go along. At this point I also want to
mention that I also use a solder fume extractor when ever I am soldering and for sure when tinning the toroid leads. There are many on the market for a reasonable price.
SOME TIPS I FOUND HELPFUL
1. I always recount the number of turns just before the last turn is done. I find sometimes more turns are needed or I lost count and I have the correct turns already.
2. Just before placing the toroid into the circuit board one lead is cut shorter than the other. I find this makes placement of the leads into the board holes easier.
3. I ALWAYS use an ohm meter to check that my tinning job worked and the insulation is stripped.
4. Once the toroid is soldered in place before cutting the leads flush with the board I double check again with the ohm meter for continuity.
With practice I found the toroid winding can go smooth and it can be pleasurable as well.
Links that deal with toroid winding
The vise method Once you are at the web page click on the upper left link "Toroid winding"

When I decided a few years ago to venture into a new area of amateur radio.....kit building. I did some research on the internet to see what I was up against. Having never built a kit and not really having any electronics background I did not want to get in over my head. So it was a simple kit to begin with but at the same time something I would use and not just become a home to dust bunnies. I decided on the Elecraft KX1 kit as it would I hoped turn out to be a functioning radio. One I could put to use in portable operation again this was another area of amateur radio I had yet to discover. So I practiced my soldering, put together some tools and one thing that kept waking me up at nights....(not really) was the TOROID WINDING!!!!!!! There is lots on the internet on how to go about winding a toroid. With the KX1 kit I found myself trying the different methods and at times having to rewind some toroids many times. A few weekends ago during slow times in the ARCI contest I decided to do some toroid winding for my on going KPA100 100 watt option for my K2 Elecraft radio.
 |
| I added Soft rubber to jaws of the vise |
 |
| Chopstick method |
I just want to share some of the ideas I tried during my trial and error periods of toroid winding. Also the process I go through from start to finish. As with most any kit I have worked with you are given a recommended length of wire to cut and I have found at least with the Elecraft kits the total wire given is always more than enough to wind all the toroids. Now comes the fun part the winding, there was three methods I tried. The first was putting the toroid core in a vise and winding the wire through the core. I found this to be somewhat awkward for me, some may find it works for them but I was opening and
closing the vise and moving the core around more than winding the toroid. Using the vise seemed to take a very long time. But having said that if your hand is not steady the vise is a very good alternative. The vise did great to just hold the toroid for the later step of stripping the leads...more about that later. The next idea that came across my path was the use of a chopstick, I included a picture of what I am taking about and we all know how a picture is worth a thousand words.
Using the chopstick I was able to form the turns of the wire nicely around the inside of the toroid. At the same time space the turns out so the toroid looked very balanced. I used this method with building my KX1 and as I wound each turn I inserted the chopstick and inspected the toroid. As I progressed to my next kit (Elecraft K2) I used the chopsticks for eating and not winding toroids. As it turned out this too was a method that just seem to complicate the winding process. As I gained confidence winding toroids I just put on my magnifying head set and wound them by hand!!! This proved to be the road for me in regards to gettin r done with the infamous toroid. See the link at the bottom of post to see how winding a toroid by hand is done. Once the toroid is wound you have to remove the coating of insulation on the wire. In this regard I read of sanding it off, using a lighter or flame of some type to bun it off or a hot solder blob. I tried the sandpaper method but I found it to be a little hard on the toroid windings and sometimes the sandpaper got to close to the turns of wire and removed some insulation there as well. I gave the open flame a go but found I was just heating up the wire and really did not have any control over removing the insulation and heat required to remove the insulation.
 |
| Tinning leads |
SOME TIPS I FOUND HELPFUL
1. I always recount the number of turns just before the last turn is done. I find sometimes more turns are needed or I lost count and I have the correct turns already.
2. Just before placing the toroid into the circuit board one lead is cut shorter than the other. I find this makes placement of the leads into the board holes easier.
3. I ALWAYS use an ohm meter to check that my tinning job worked and the insulation is stripped.
4. Once the toroid is soldered in place before cutting the leads flush with the board I double check again with the ohm meter for continuity.
With practice I found the toroid winding can go smooth and it can be pleasurable as well.
 |
| 1 hour and 20 minutes of toroid wind. |
The vise method Once you are at the web page click on the upper left link "Toroid winding"
T32C DXpedition….

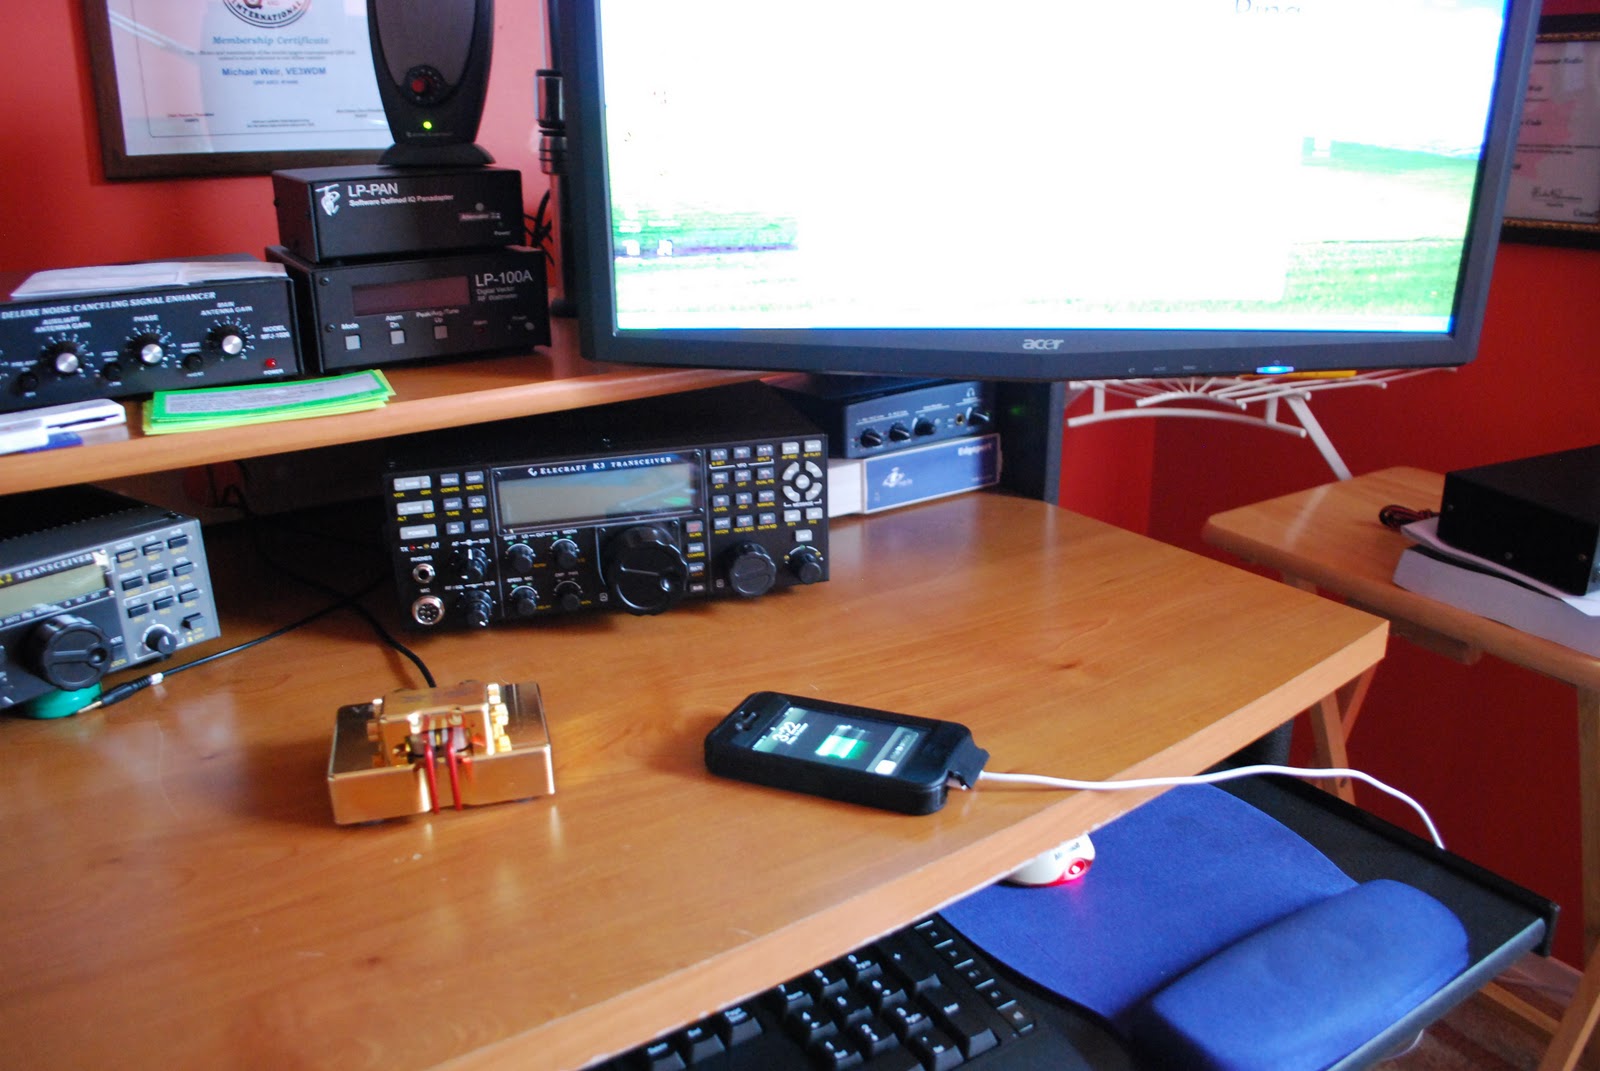
Seeing the big picture with PowerSDR
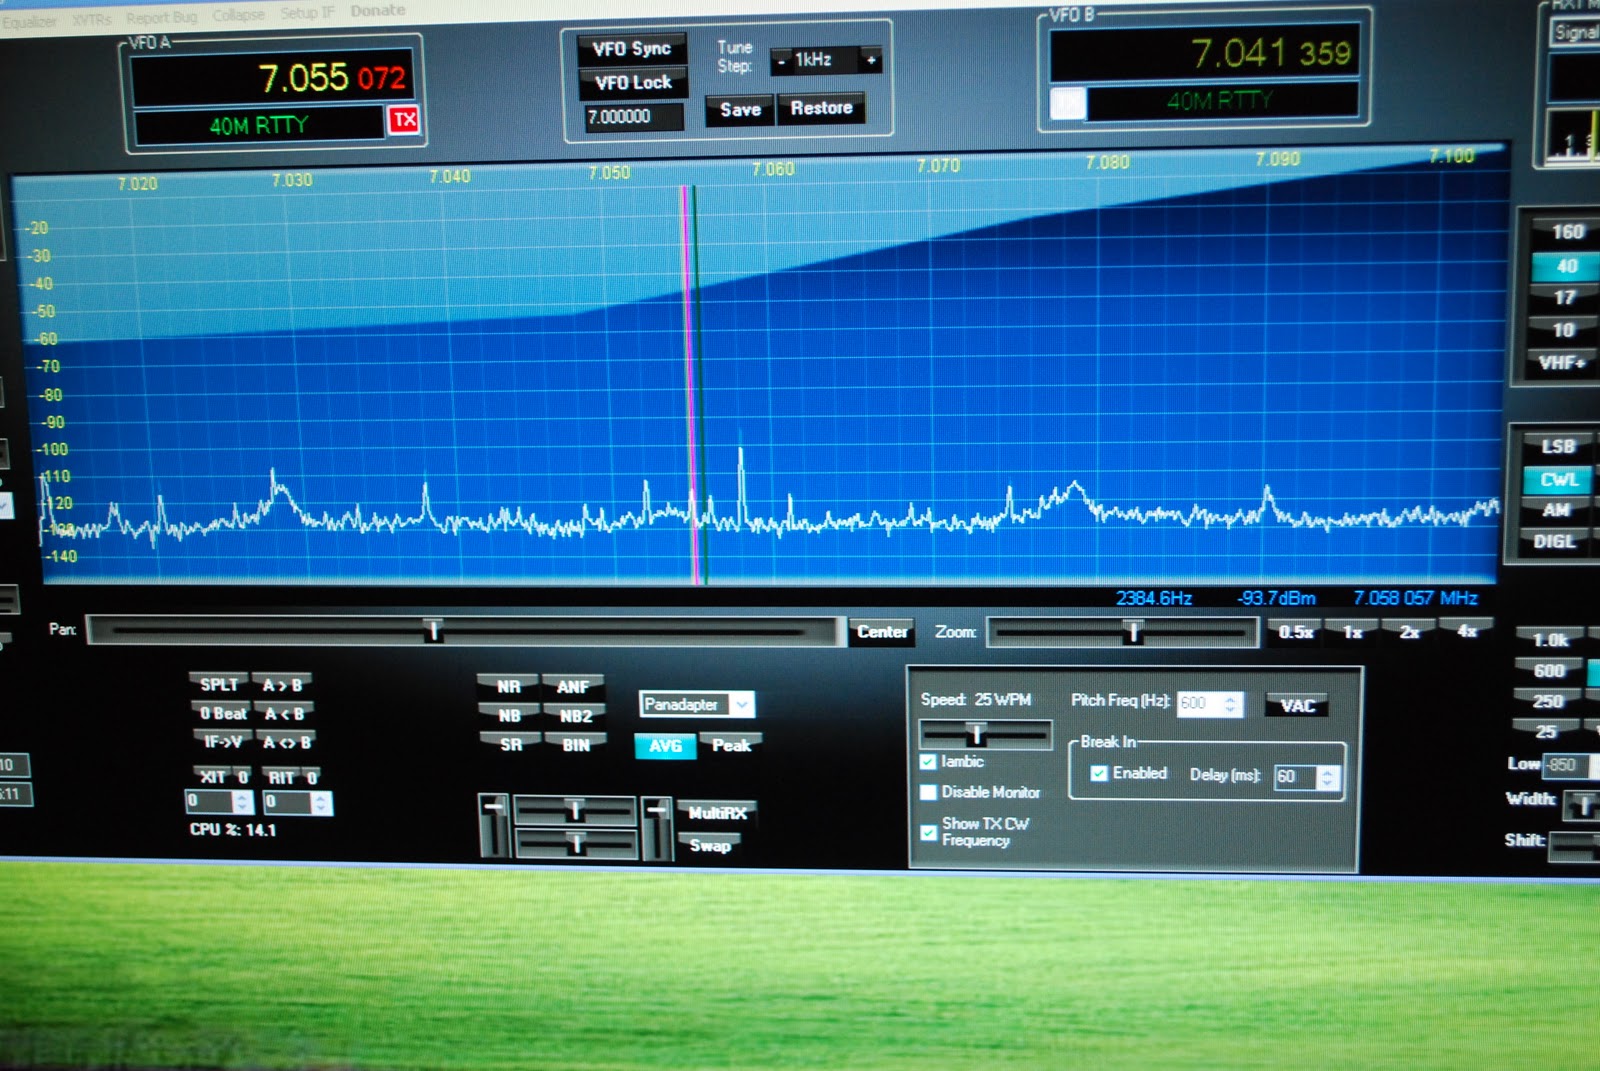 |
| PowerSDR screen |
the band that your radio is on. My setup is made up of the LP Pan, EMU 0202 Creative labs external sound card and the PowerSDR software. The pan-adapter gives my QRP station some nice advantages the main one is the ability to see the entire CW segment at one time. I can see a strong station or week station then point and click and I'm there. Before I would be spinning the VFO from on end of the band to the other. I may just miss a station calling CQ and is now waiting for a response but to me its static with no one there and I move on missing this station for his
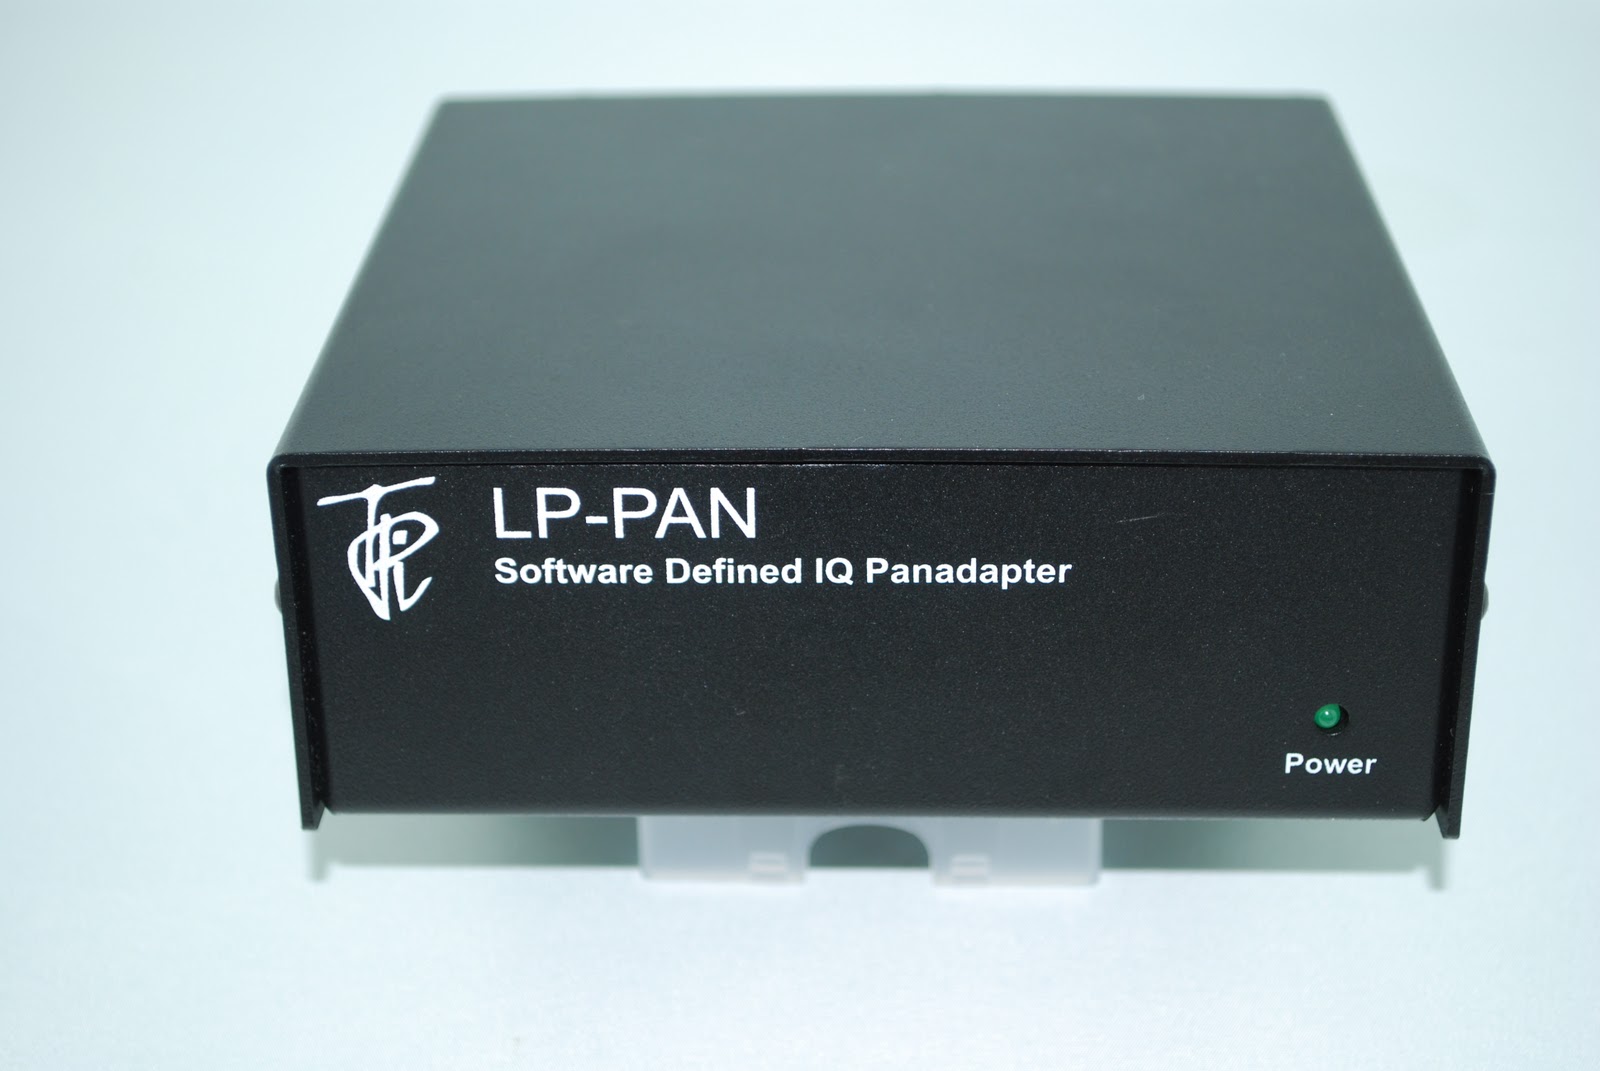 |
| My LP-Pan unit below, new TS-990s |
 next CQ call. Also I can flip to 10 meters and look at the pan-adapter to see if there is any action on the band or not....seeing if the band is open in a shorter time as opposed to spinning the VFO over the entire band. If you want to go down the Pan-adapter road at this time there are about 3 ways to do it. You can go all out and purchase a Flex radio system this is by far the most expensive way of going about it. Having said that it comes complete with all that is needed including a rig, processor for software and software all in one package. Or as I did you can order a pan-adapter, sound card and download the free software. Finally there is the stand alone Pan-adapter the only one at this time on the market I know of is the Elecraft P3. This unit is plug and play there is not need for software or a
computer...the only catch is you need an Elecraft K3. To be fair some
of Icom's rigs come with a band scope. I am not sure how interactive
they are. Also Yaesu has their DMU-2000 option that gives you more than just a band scope.
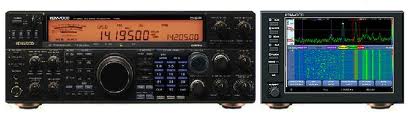
There is also some rumors of Kenwood coming out with a new rig.
I have seen some pictures and along side is an
next CQ call. Also I can flip to 10 meters and look at the pan-adapter to see if there is any action on the band or not....seeing if the band is open in a shorter time as opposed to spinning the VFO over the entire band. If you want to go down the Pan-adapter road at this time there are about 3 ways to do it. You can go all out and purchase a Flex radio system this is by far the most expensive way of going about it. Having said that it comes complete with all that is needed including a rig, processor for software and software all in one package. Or as I did you can order a pan-adapter, sound card and download the free software. Finally there is the stand alone Pan-adapter the only one at this time on the market I know of is the Elecraft P3. This unit is plug and play there is not need for software or a
computer...the only catch is you need an Elecraft K3. To be fair some
of Icom's rigs come with a band scope. I am not sure how interactive
they are. Also Yaesu has their DMU-2000 option that gives you more than just a band scope.
There is also some rumors of Kenwood coming out with a new rig.
I have seen some pictures and along side is an Elecraft type stand along plug and play Pan-adapter. Next question that most ham's ask is "how much for this toy" The option I chose I believe is the cheapest...the LP-Pan comes either as a kit or factory built unit. I chose the kit at 200.00. The EMU-0202 ran me 125.00 and the software is well what all hams want to hear....FREE!!! So for about 325.00 you can be in the Pan-adapter world. Oh and one last consideration is the speed of your PC. It is recommended on the LP Pan site the following be used for your PC:
2.8 GHz processor (the more the merrier), preferably Core Duo or Quad.
1 GB RAM (the more the merrier, limited to 3GB on 32-bit systems, which are recommended)
16-bit sound card, preferably not integrated into motherboard. 24-bit preferred (lower noise floor)
48 kHz sound card... 96 or 192 KHz preferred (display width is roughly equal to sampling rate)
Separate video card, or integrated video with sufficient dedicated memory. Most of the SDR applications are video intensive.
So there you have it a pan-adapter setup...Christmas is coming and maybe it might be something you would like under the tree??
JUST WANTED TO ADD A NEW ADDITION TO THE POST I WAS EMAILED BY JOHN AE5X. HE REMINDED ME OF ANOTHER OPTION I NEGLECTED TO INCLUDE IN THE POSTING. THE SOFTROCK AND IT'S A 20.00 KIT!!!! HERE IS A LINK TO GM0ELP'S BLOG DETAILING THE SOFTROCK.


