 |
 I will have a BLT please
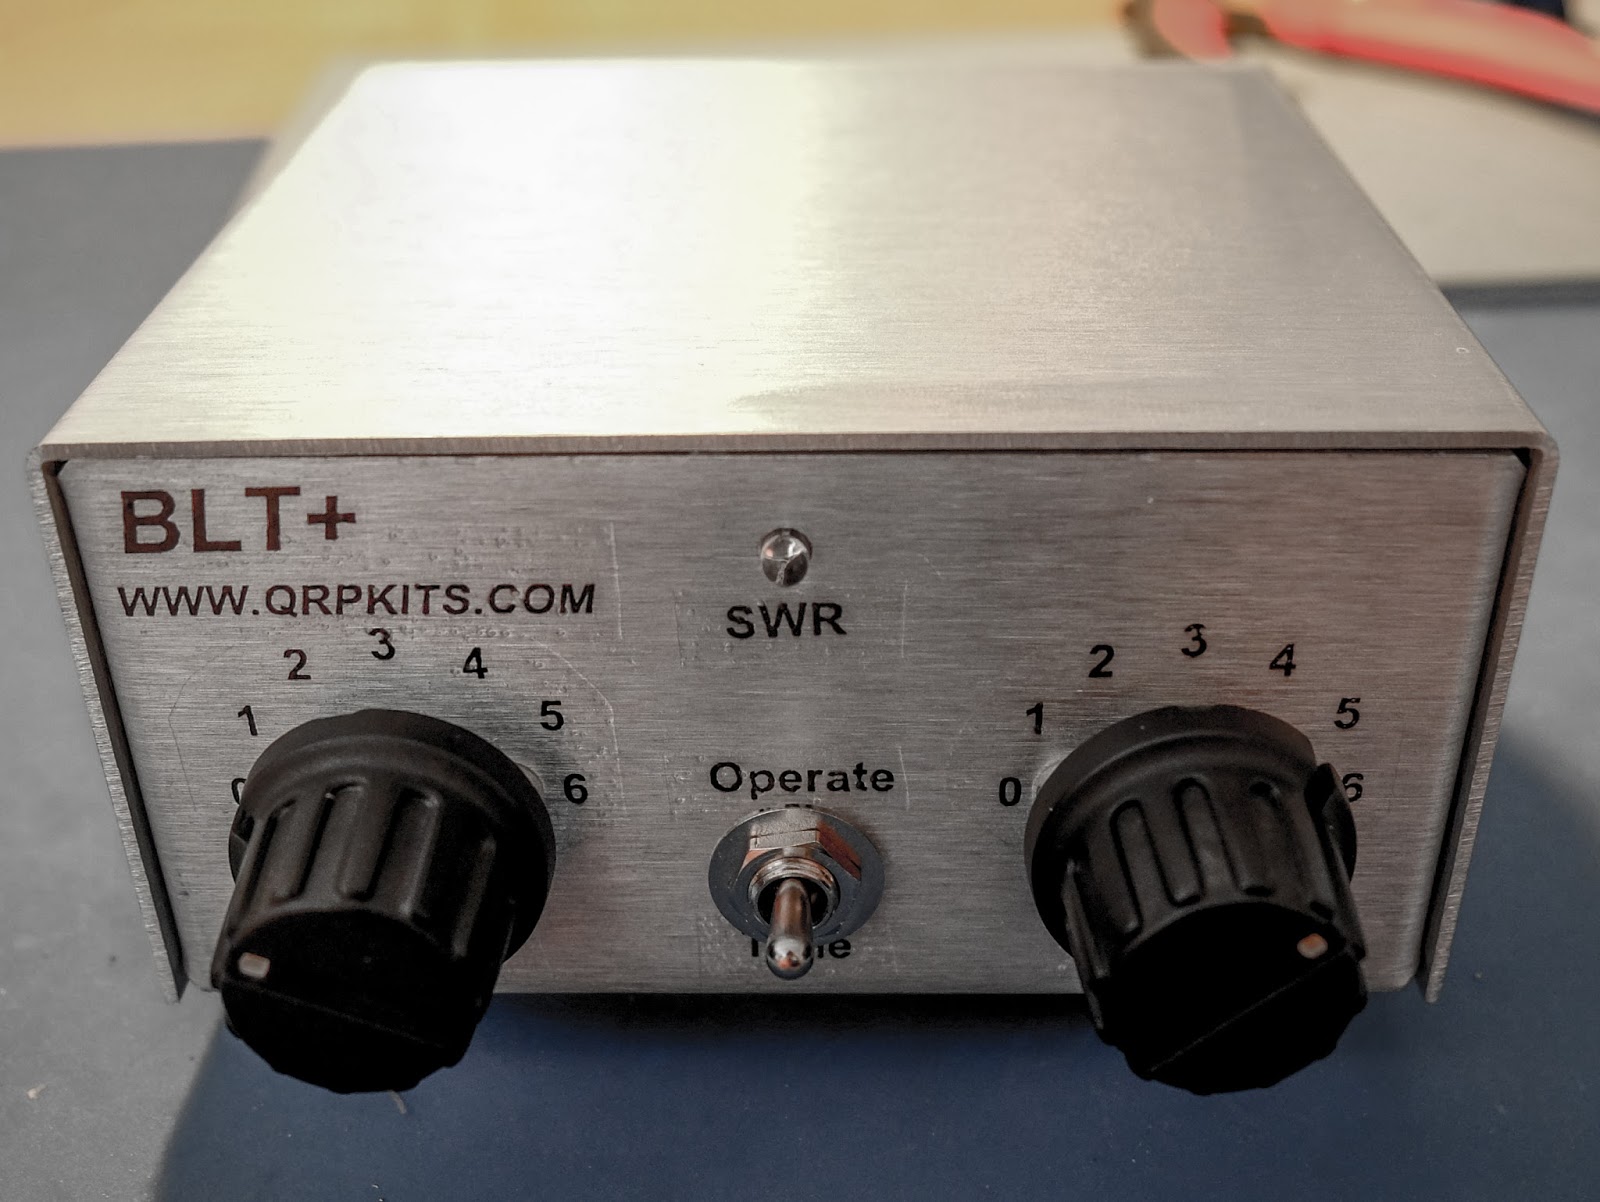
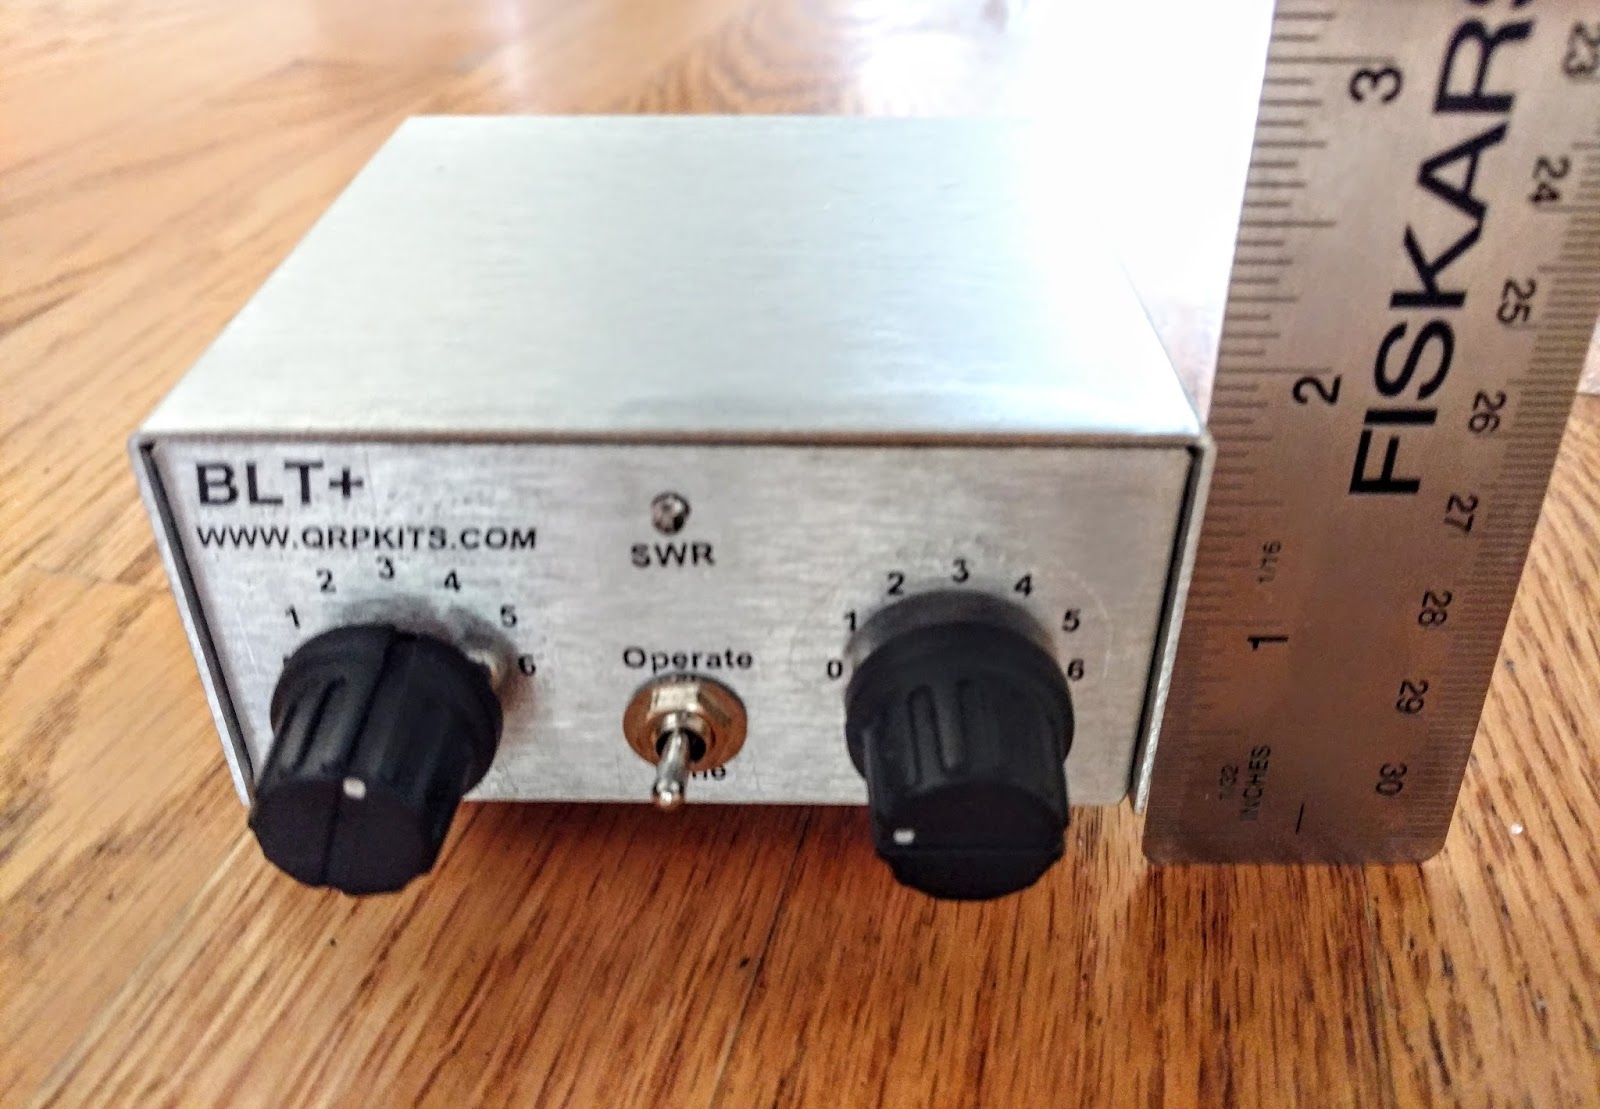
The BLT-Plus Balanced line QRP tuner
I was looking for a QRP tuner for the 1Watter 40m transceiver I am building that would work with both balanced feedline antennas as well as coax feedline. The traditional Z-Match tuner is quite efficient at tuning balanced line antennas and the built-in SWR bridge gives you an all-in-one tuner and SWR indicator without having to take a separate SWR meter along with its inherent mess of cabling a separate SWR meter. The BLT in the name stands for "Balanced Line Tuner". |
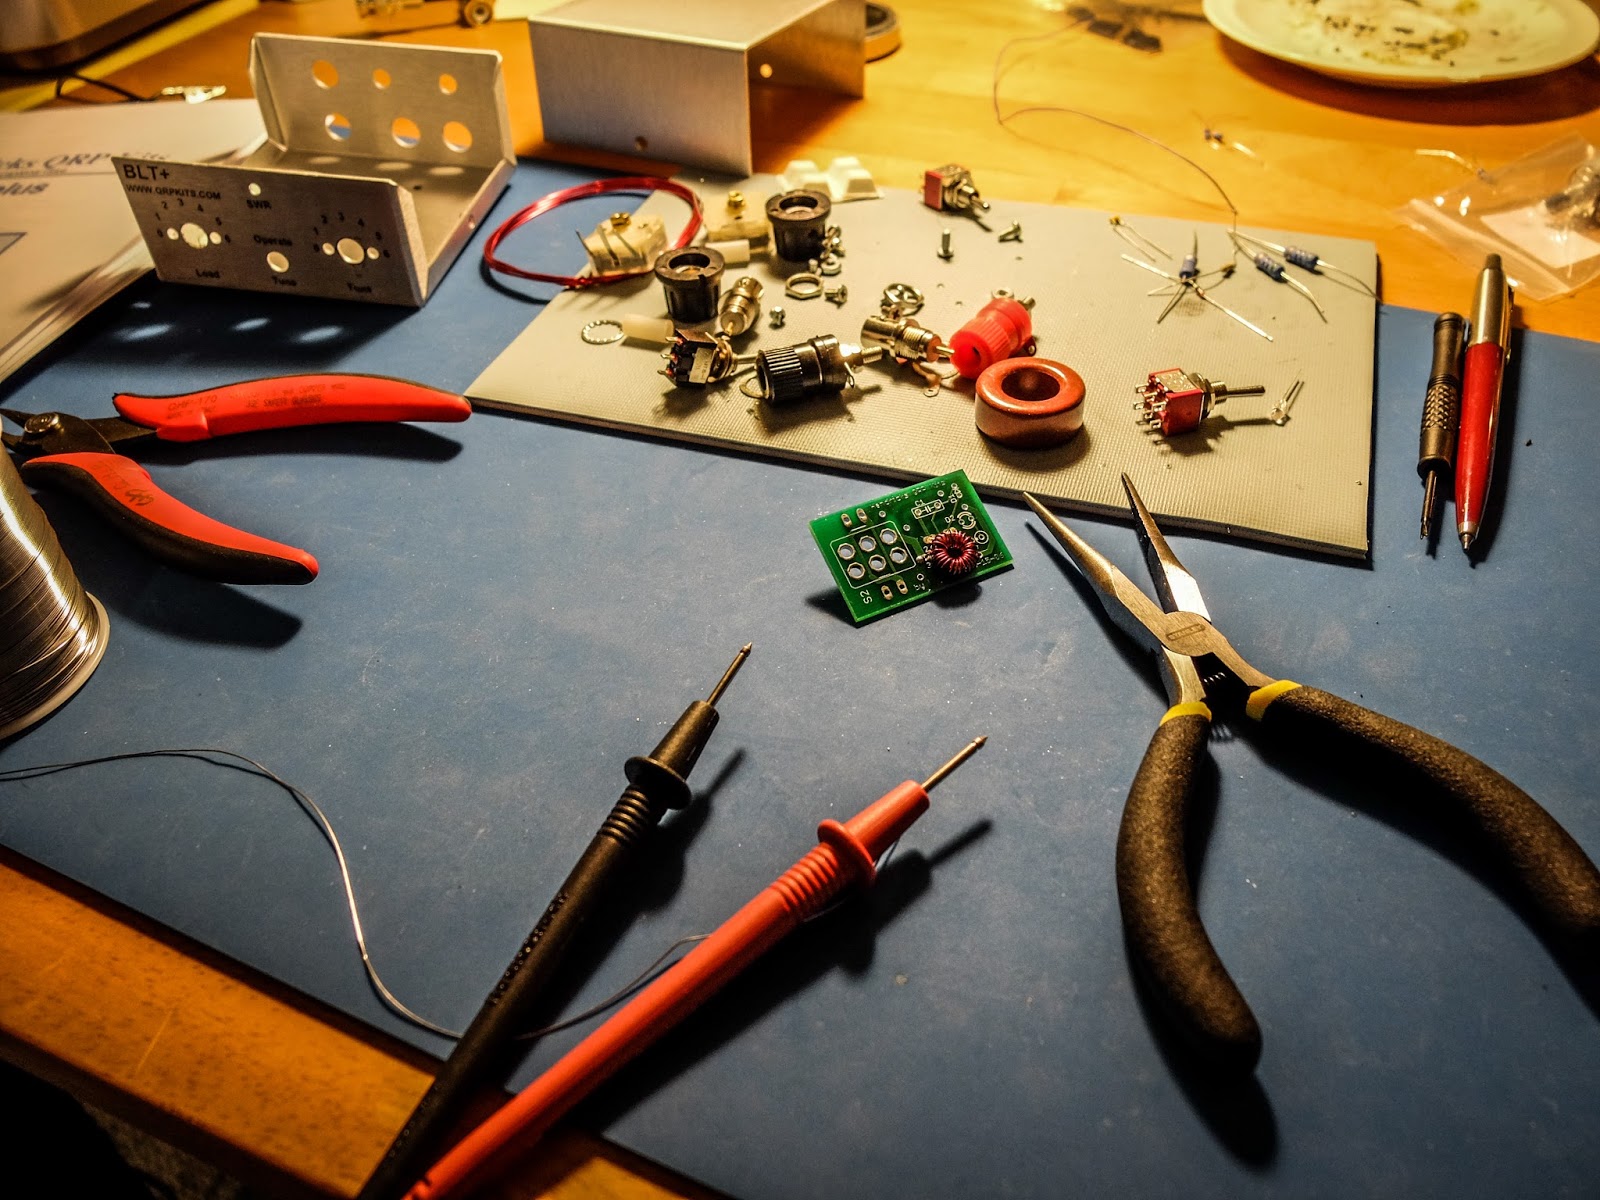
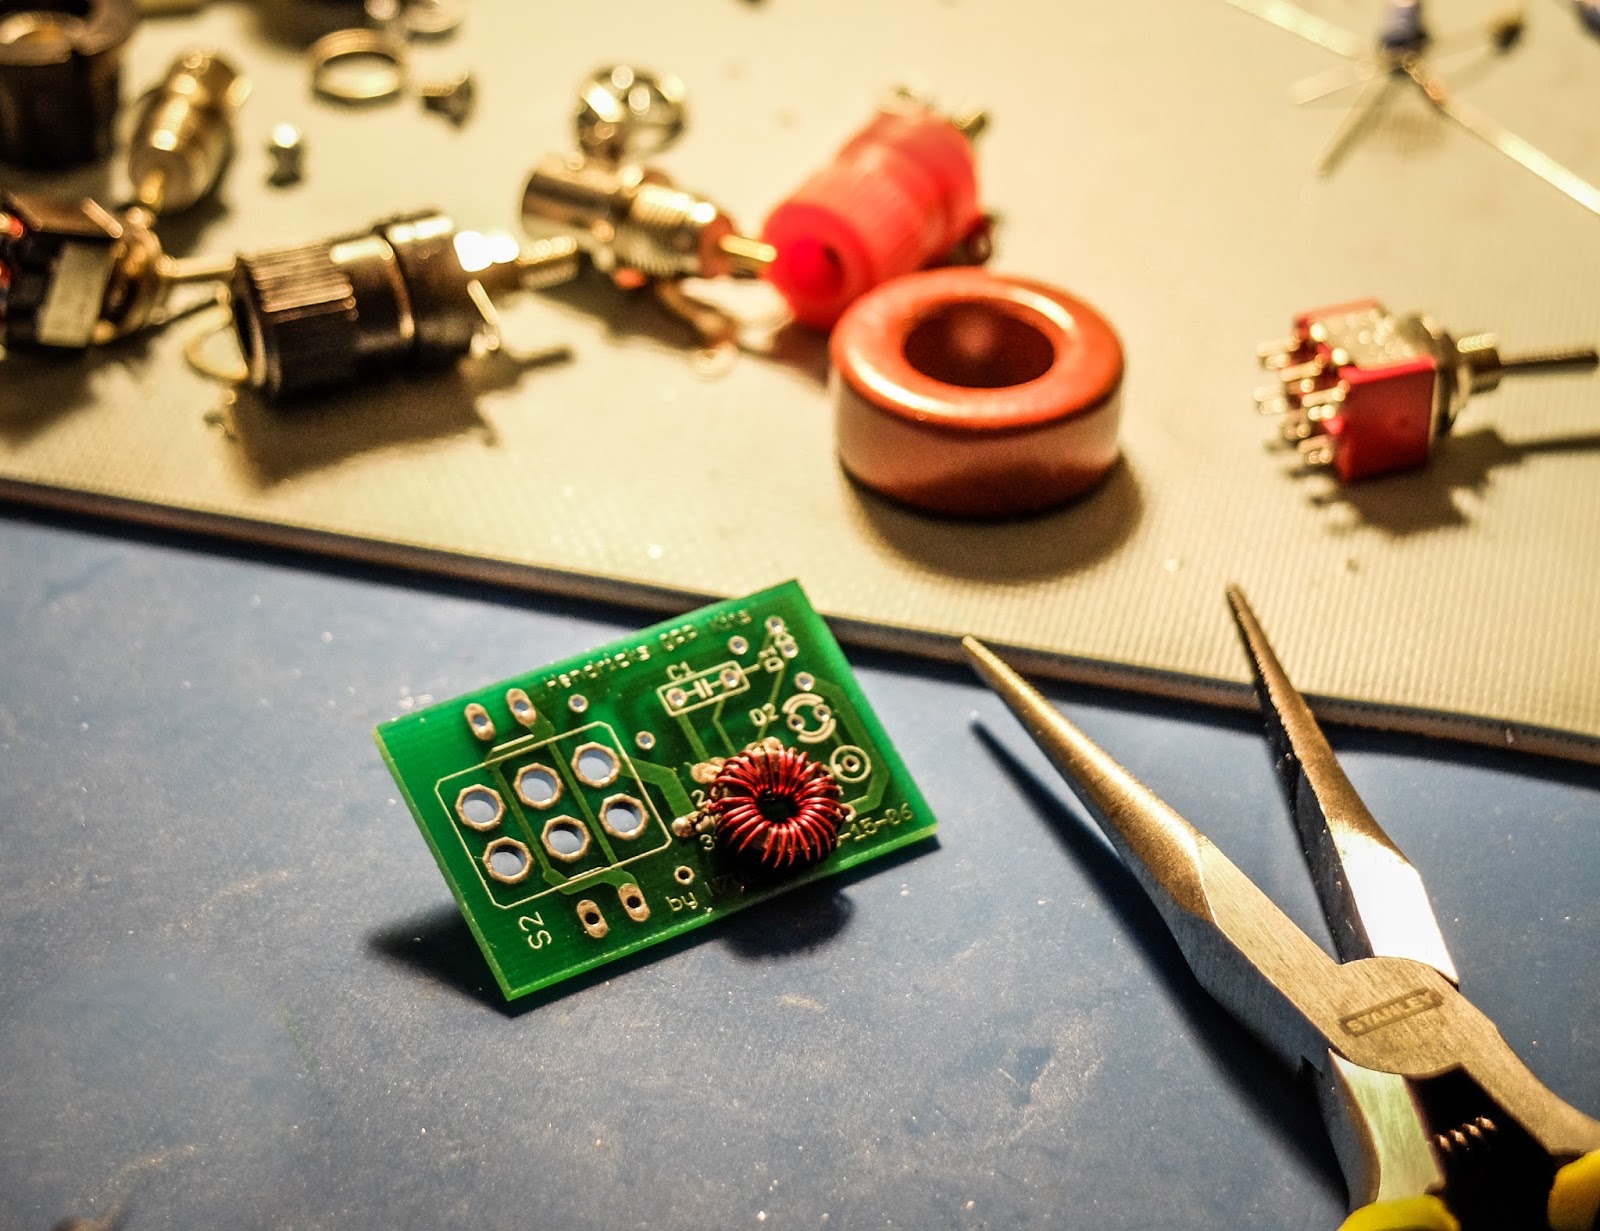
| The Kit as it comes out of the bag |
Why use a z-match ?
- Matches balanced loads without the use of lossy baluns.
- Being a parallel resonant circuit, the Z-match can provide some band-pass filtering for your receiver and harmonic attenuation for your transmitter.
- A well-designed Z-match tuner has a high Q and is more efficient (less lossy) than other types of tuners.
- The fixed inductor simplifies construction (no taps or rollers needed).
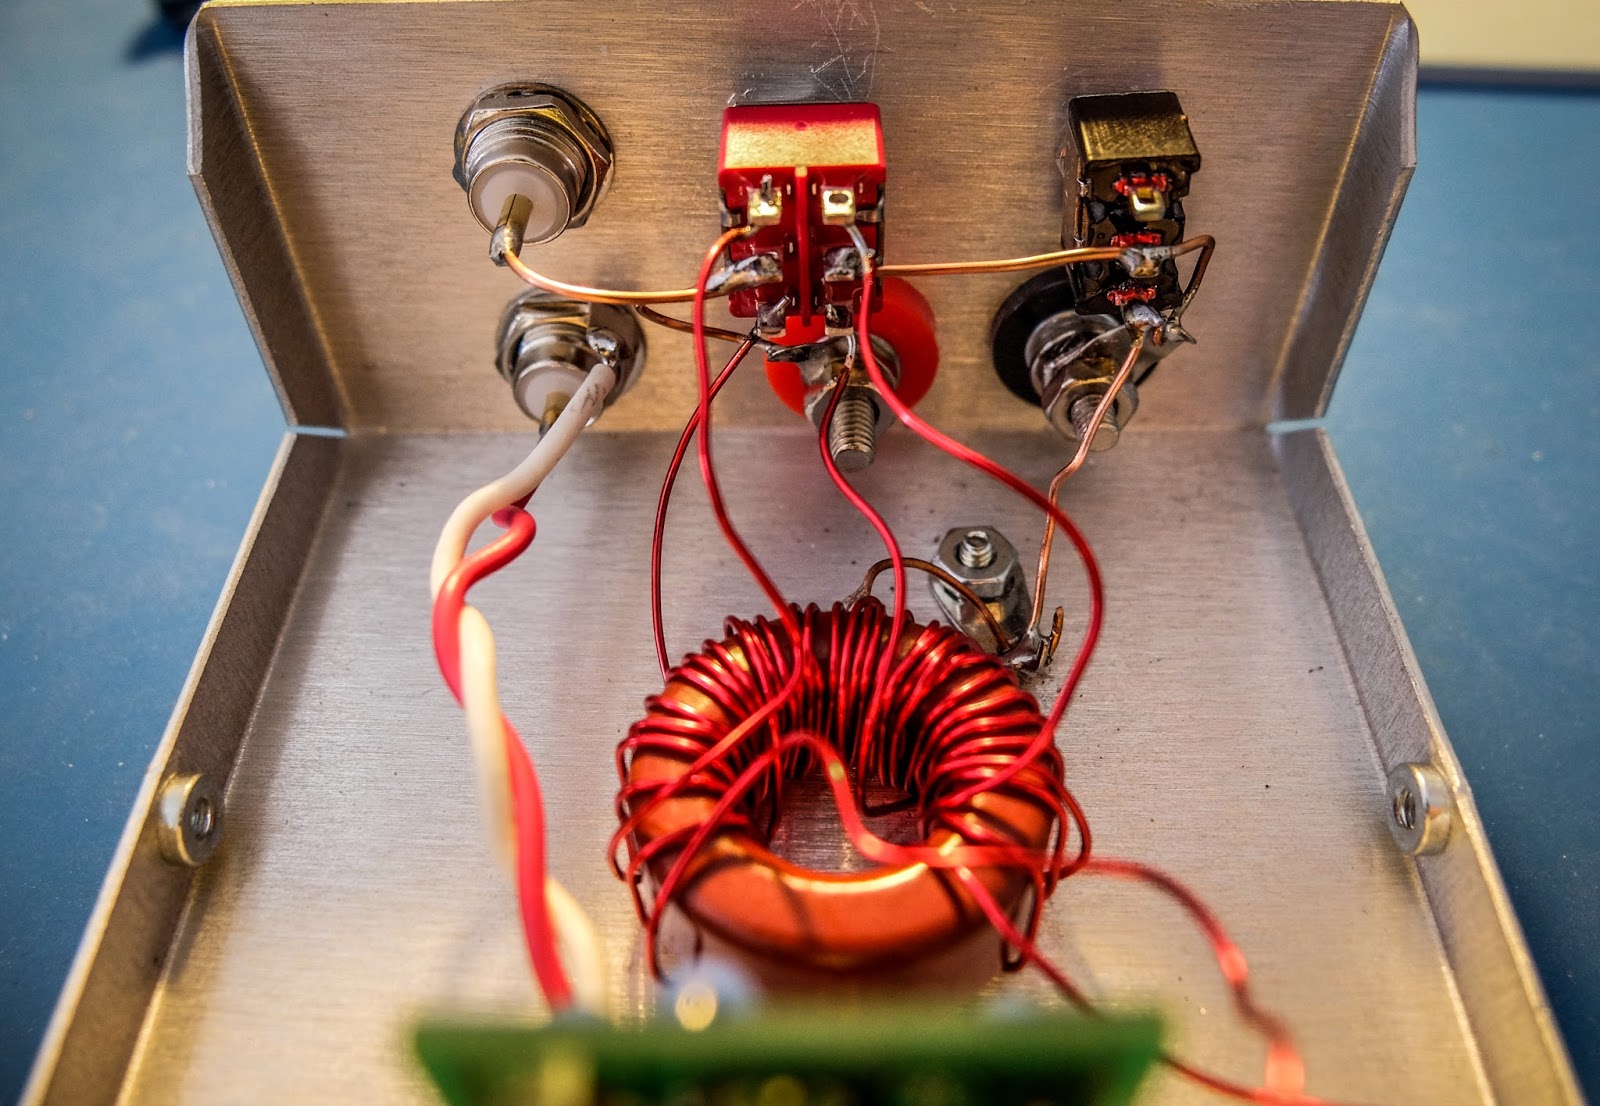
The secret sauce
Built in SWR indicator
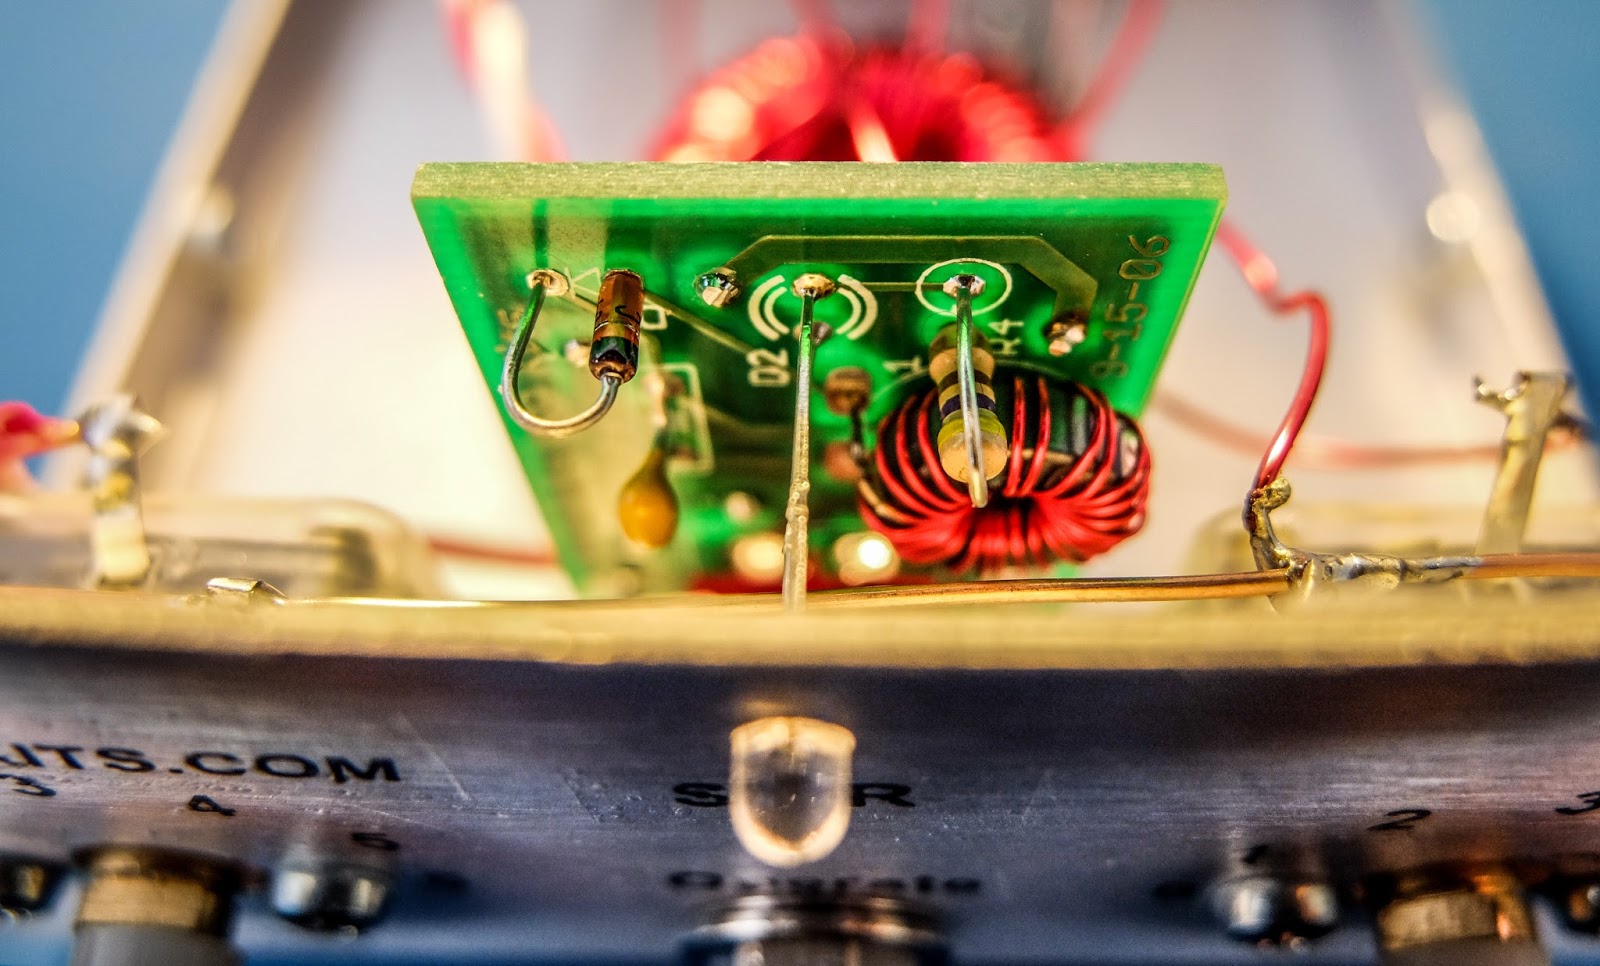 |
| SWR bridge with LED indicator |
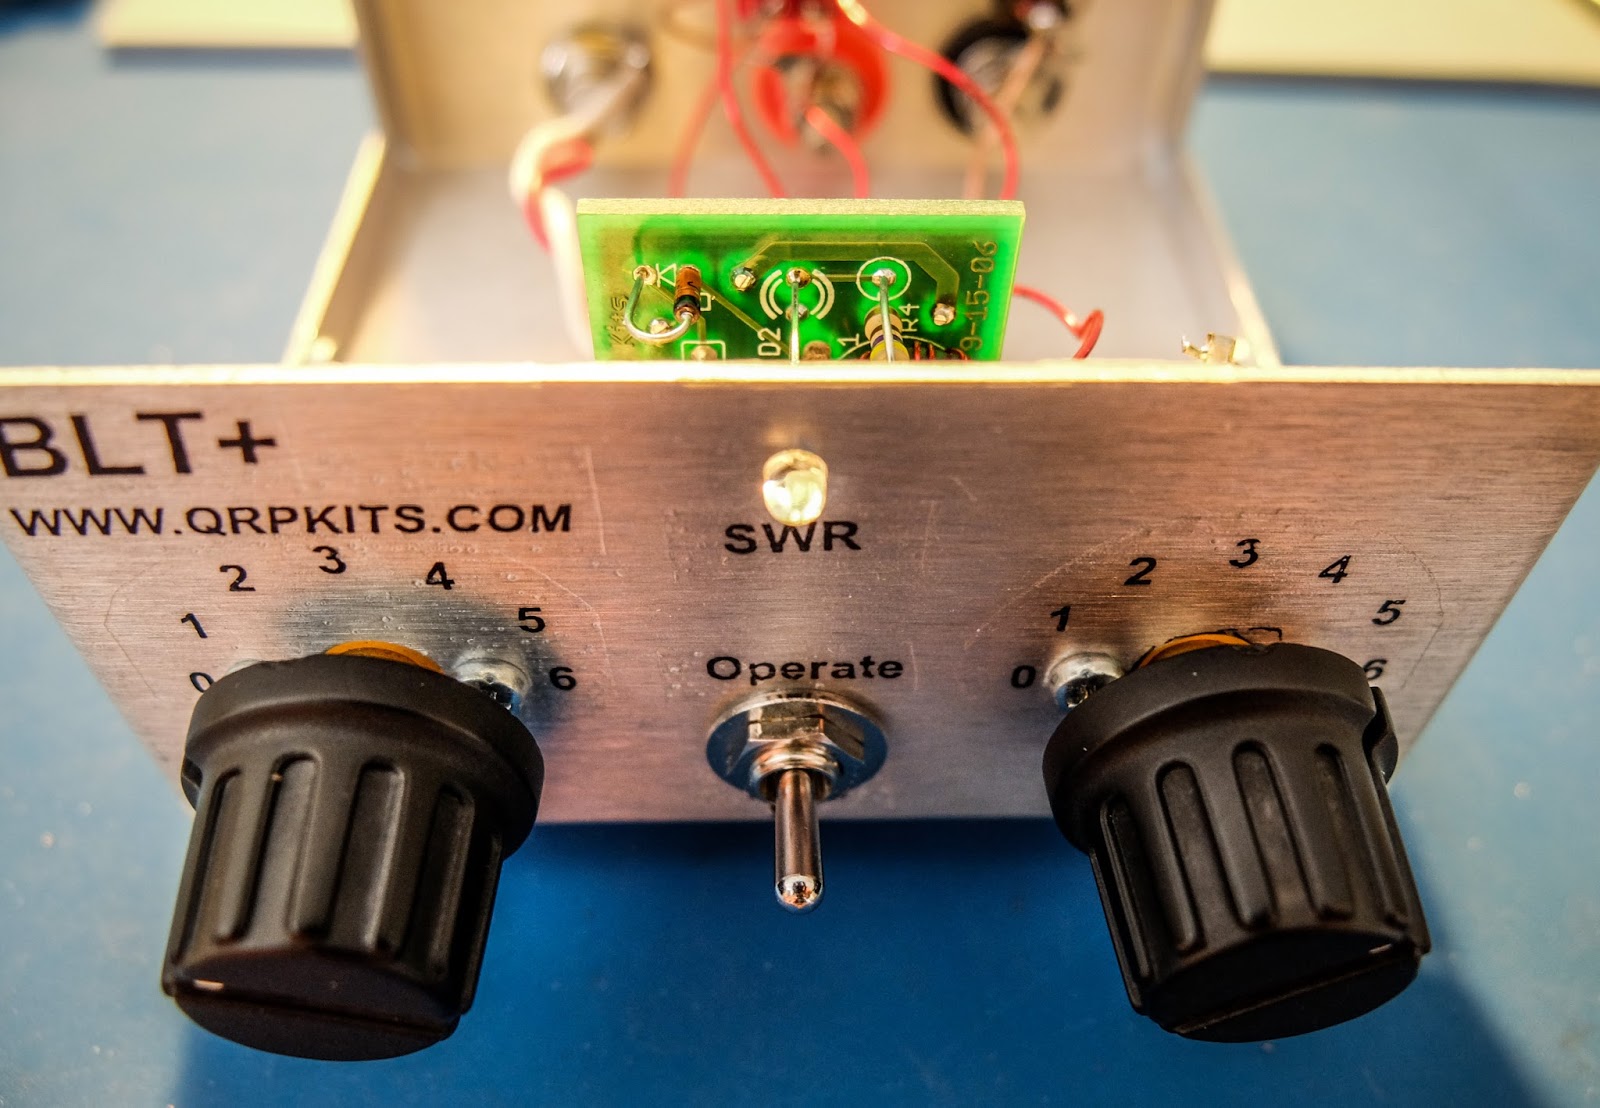 |
| Switch to Tune to present a low SWR to the transmitter while matching, switch to Operate when finished |
Building
- The kit is provided with really nice water slide decals that give it a commercial look (if you don't ruin them like I did). The instructions recommend applying a clear coat to the decals after they are applied. I used a Krylon matte finish clear coat which indicated it was fine for metals and plastics but it partially melted the decals and caused them to bubble. I'd suggest testing whatever you are going to clear coat them with first.
- Don't over tighten the plastic tuner shafts or you won't be able to slide the knobs on (yes I did).
- The binding posts have little plastic spacers that separate and it isn't obvious. If you install them and wonder how they don't ground themselves (like I did) you've done it wrong and will have to go back after it's together and try to remove them with all the wiring in place.
- The bolts for the binding posts are very soft metal and the nuts can strip them if you apply too much force (yep I did that too).
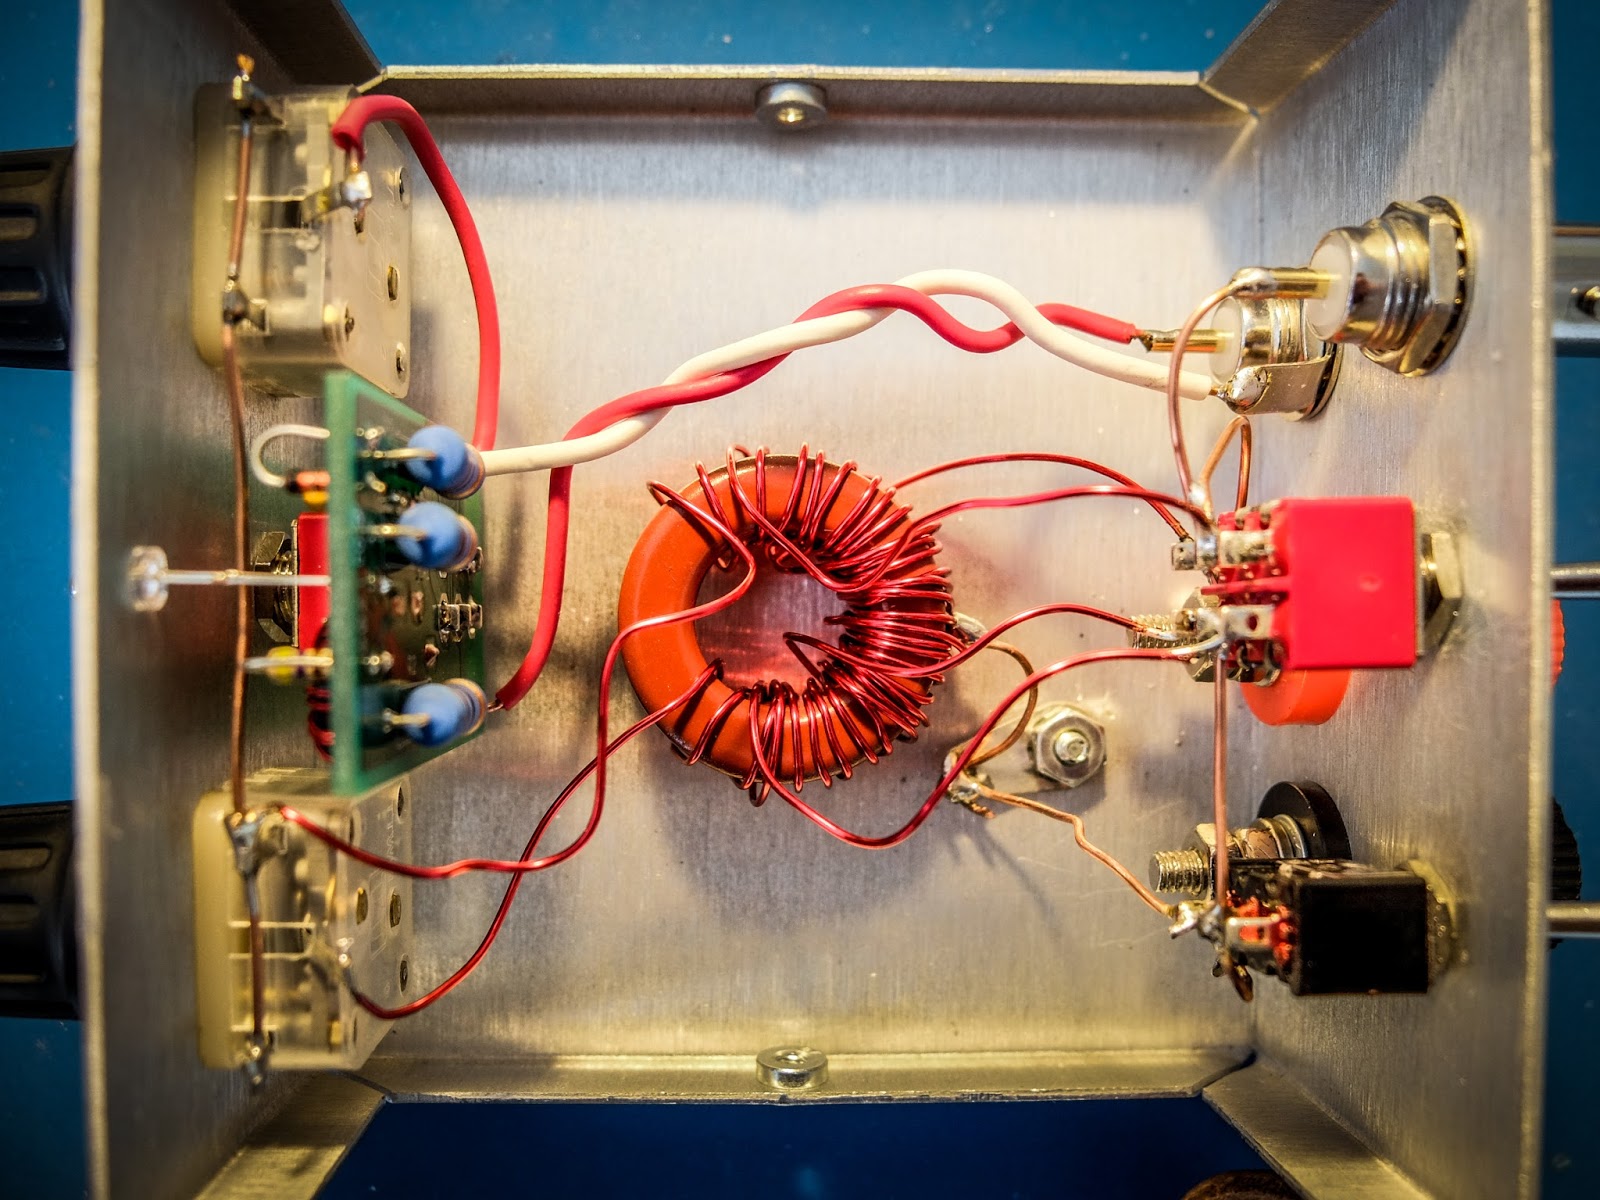
- The main toroid has three sets of windings and they overlap. Pay attention to the instructions about winding them all in the same manner (clockwise or counter clockwise) or you will have to rewind them (yep, I did that too).
- The 3 windings on the main toroid overlap so you won't be able to go back and verify your turns when doing the 2nd and 3rd winding so count carefully (ask me how I know).
- Temporarily attach the SWR bridge to the front panel to get the spacing correct to solder the LED leads.
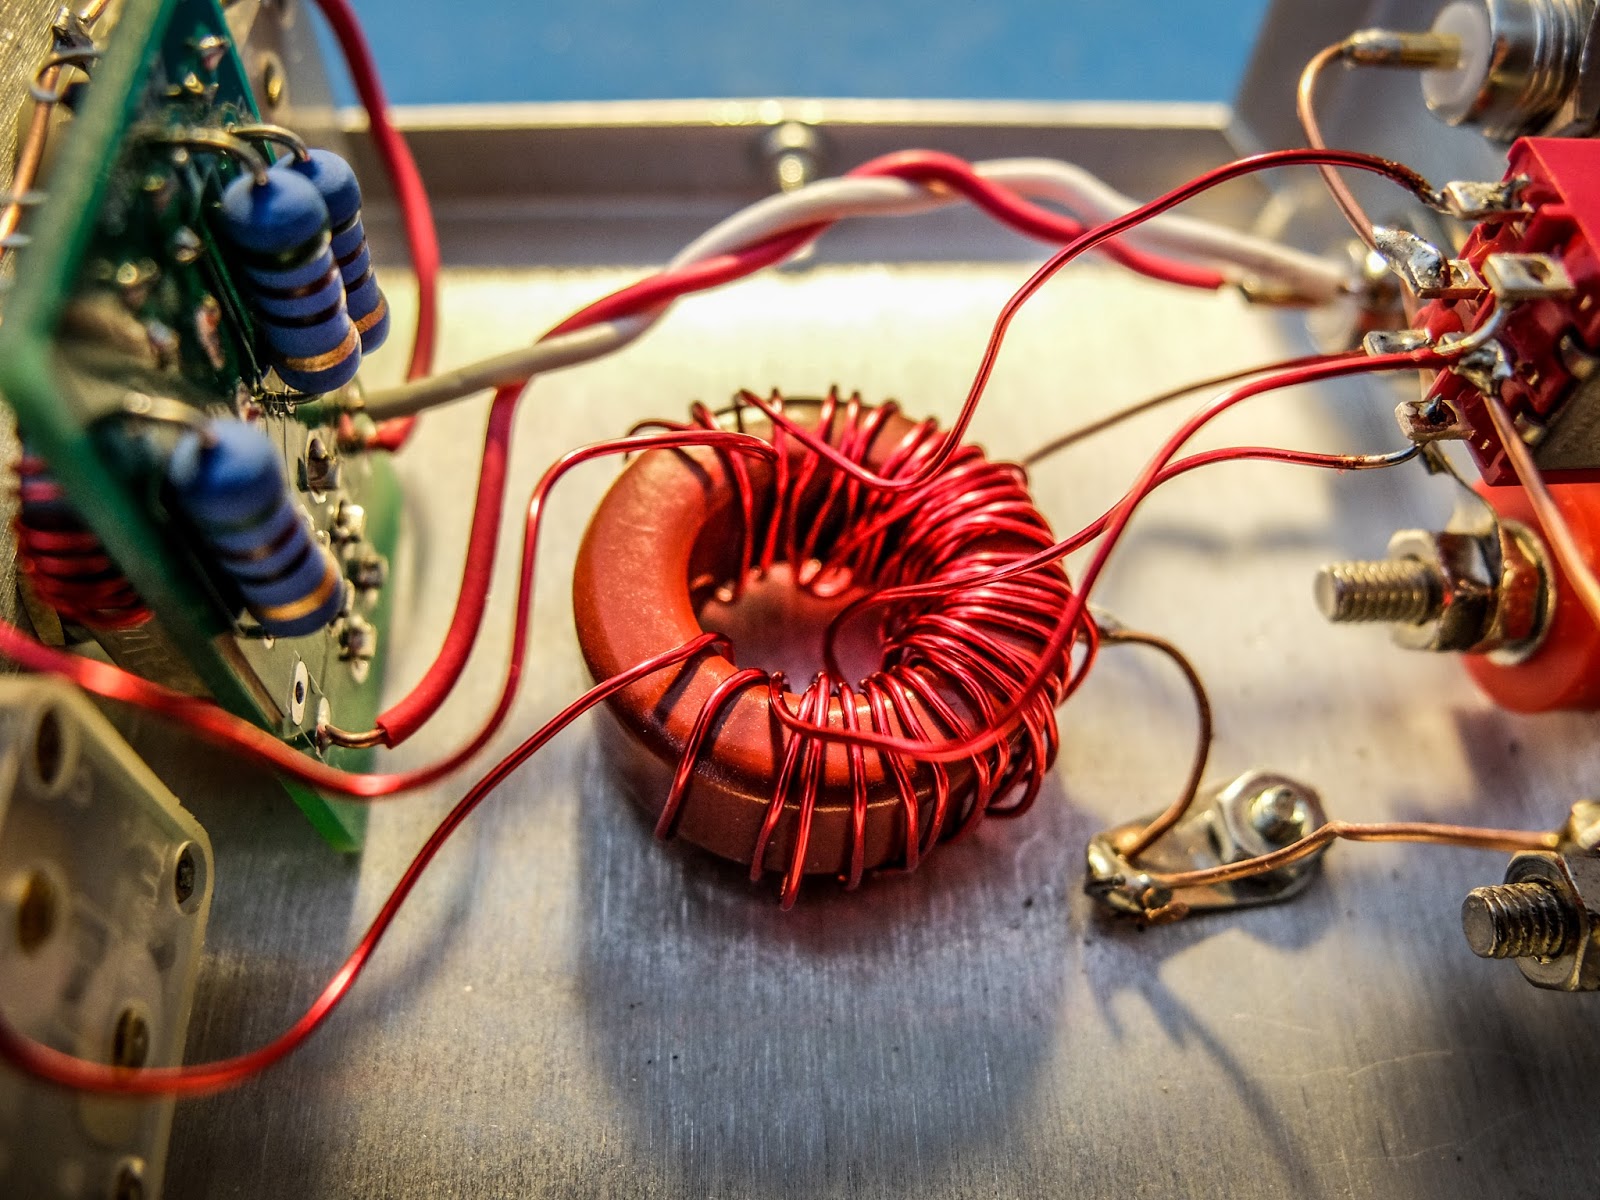 |
| My messy toroid winding... but it's working fine |
Operation
- Connect your transmitter and antenna.
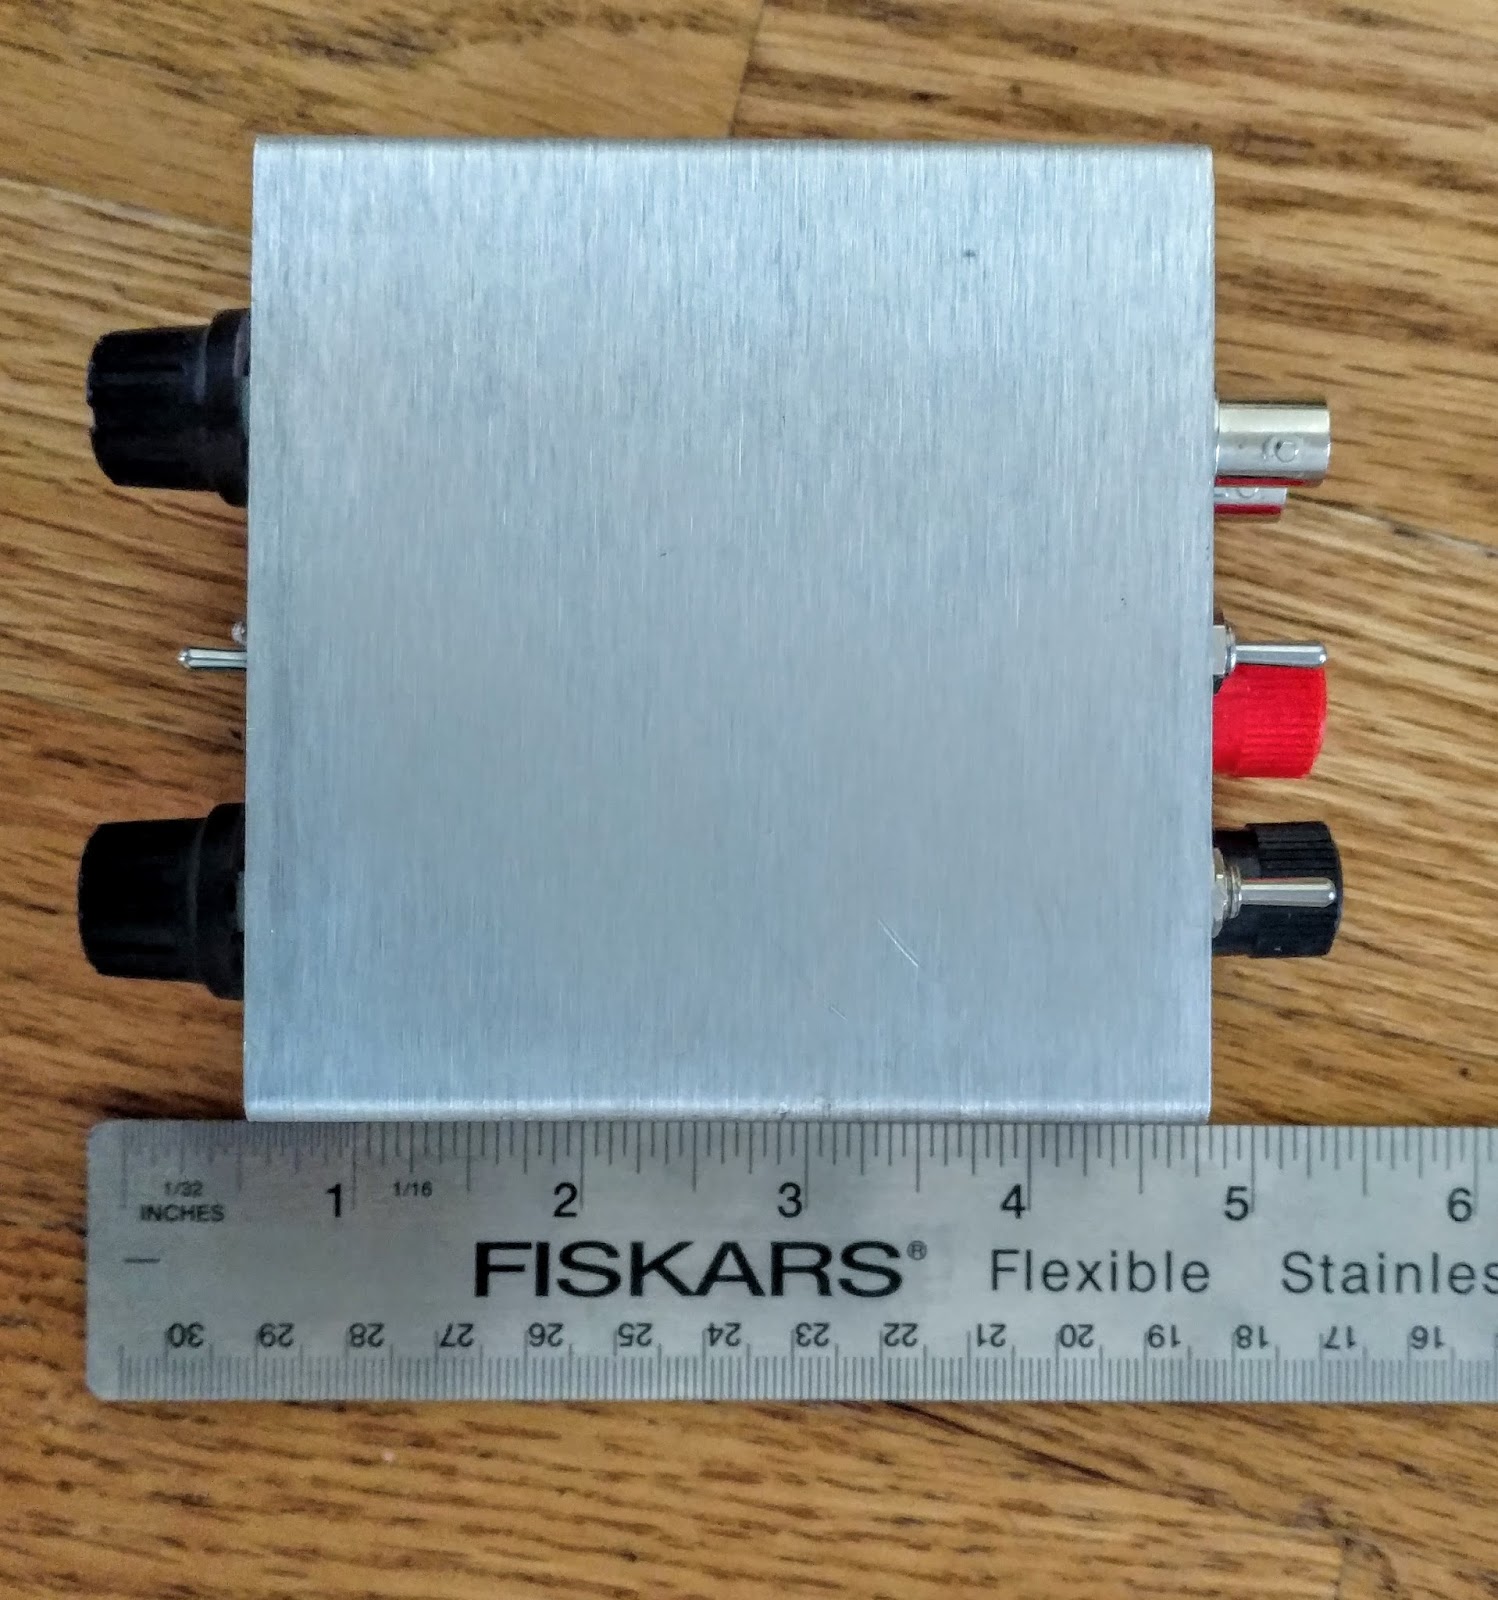
- Choose the appropriate switch in the back for coax or balanced line antenna (Up for coax, Down for balanced line).
- Start with the inductance switch on the back set to low-impedance (Low-Z) because it is the most efficient. It uses the 6 turn secondary rather than the 12.
- Switch the front switch to "Tune"
- Key the transmitter and be sure you are using 5 watts or less
- Turn the "Load" knob first until you see a dimming of the LED then the "Tune" knob to make it go out completely
- The knobs interact so you'll need to go back and forth between them to achieve best match
- If you can't get a good match switch the inductance switch on the back to "High Z" and try again
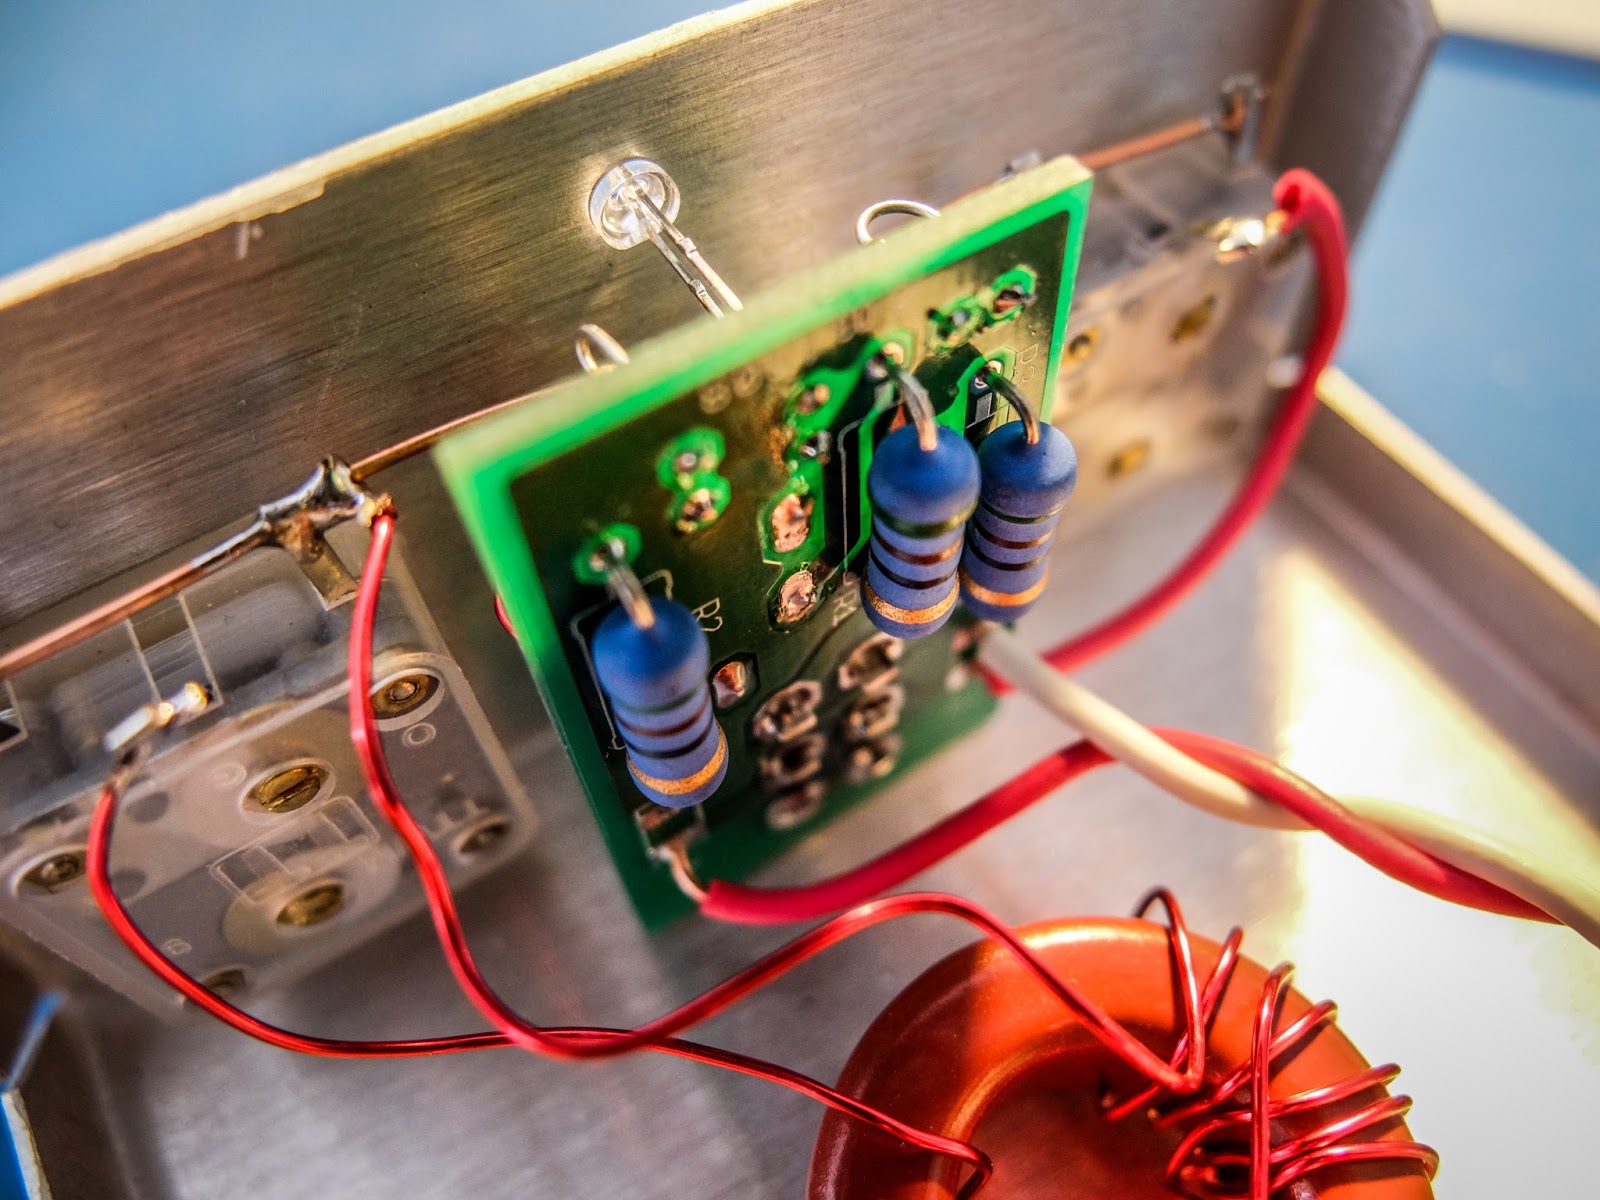
- Don't apply power too long at a time during tune because the 50 Ohm resistors are heating up in there during the Tune process
- When the LED goes out or gets very dim you have a very good match. Switch to "Operate" and enjoy a well matched antenna
Photos
 |
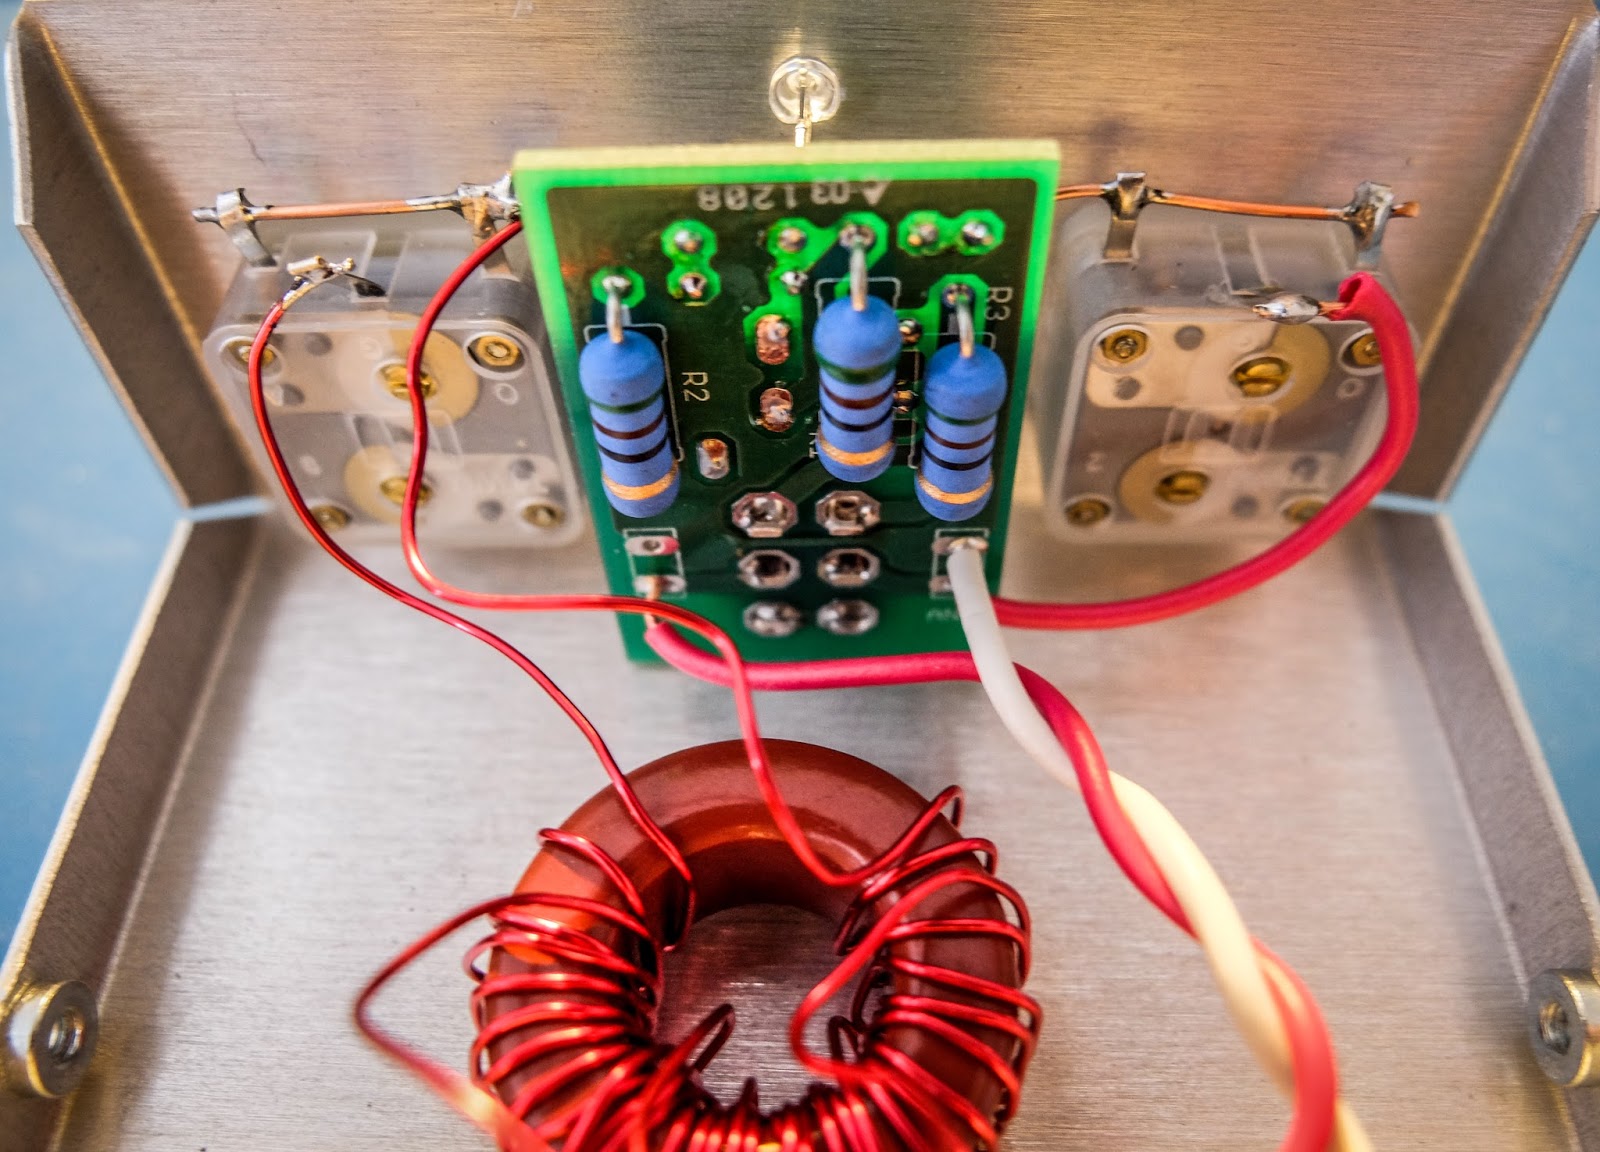
| Result of having to rewind the secondaries made it messier than I'd like |

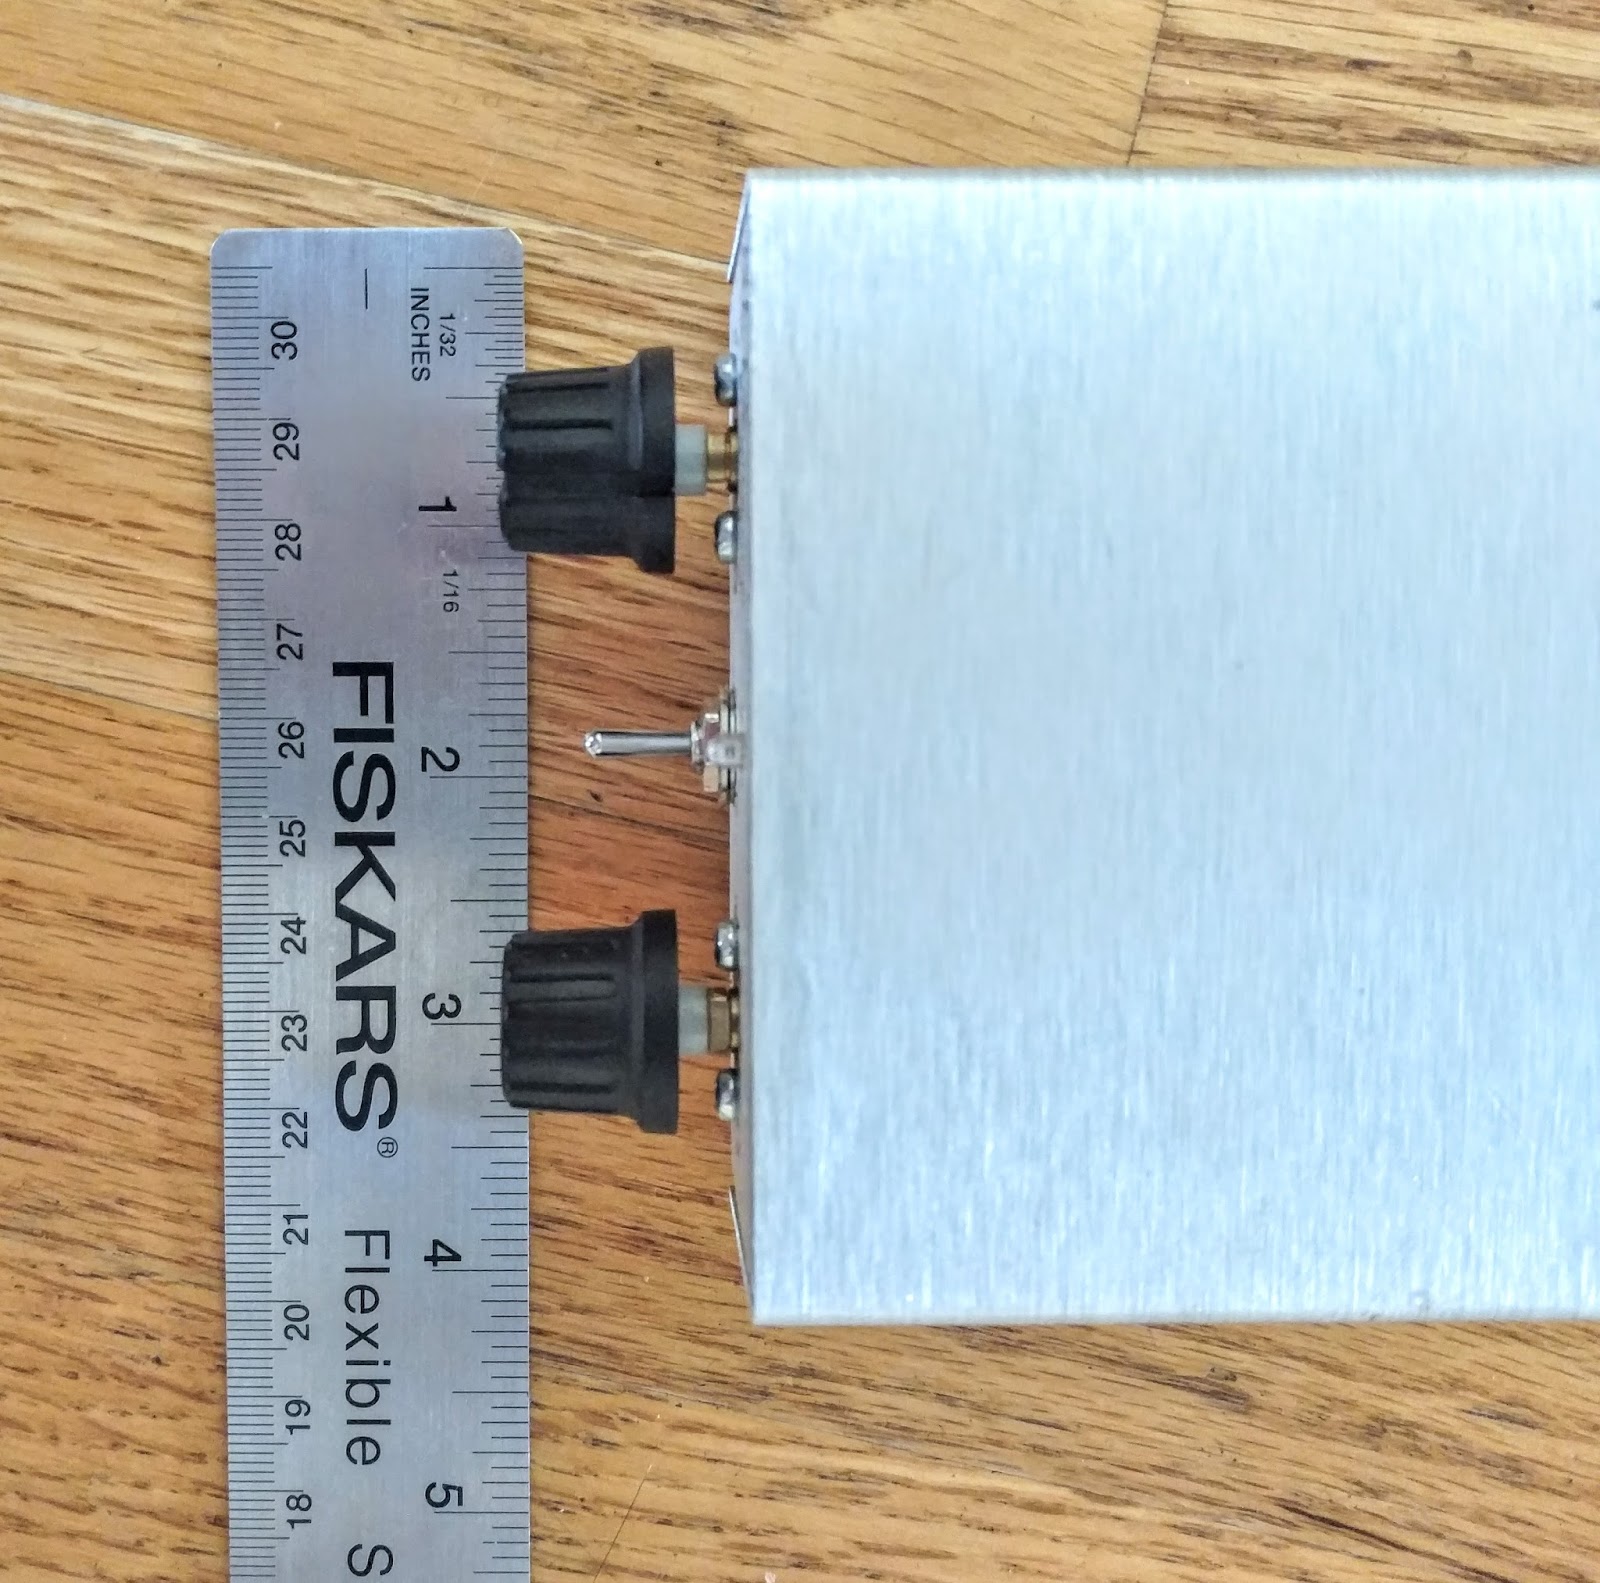
Dimensions
Remarks
Richard Carpenter, AA4OO, is a regular contributor to AmateurRadio.com and writes from North Carolina, USA. Contact him at [email protected].
Amateur Radio Weekly – Issue 102

First look: Tytera TYT MD-390 DMR HT
The Tytera TYT MD-390, the successor of the popular Tytera TYT MD-380 DMR HT, has arrived.
amateurradio.com
Just one more db
See if you can hear the difference between each 1 db increment.
VE7SL
Mobile AREDN Mesh Networking
I built a Mobile Mesh Node. It consists of 2 Ubiquiti Rocket M2 units – one for the AREDN node, and the other to act as a local wireless access point.
VA3QR
ARRL 2016 August UHF Contest Cancelled
Many commenters expressed dissatisfaction with the timing of the contest, occurring as it does at the hottest time of the year.
ARRL
Embed APRS position on your website
Paste the following HTML code on your web page, and you’ll have an automatically updating real-time APRS Google Map running in minutes.
aprs.fi
Find the signal in the noise
GPS signals are very weak, coming in at about 120 dBm which is below the thermal noise floor of ~100 dBm.
Software Defined GPS
ARRL really needs to reach out more effectively
I don’t believe that they’re doing enough to attract new members and retain existing members, and a few recent incidents have only solidified my opinion.
KB6NU
Supporting disaster communications from space
We owe it to these volunteers to do everything we can to support their work to help communities bounce back when disaster strikes.
FEMA.gov
CW call sign weight analyzer
A useful tool when trying to figure out how long it will take to send a call sign using CW.
RadioQTH
Listening to an astronaut transmit from the International Space Station
A fun and educational use of the RTL-SDR.
TRL-SDR.com
Amateur Extra Query Tools
AE7Q
Video
Rowetel FreeDV SM1000 in action
A transmission of the weekly WIA Broadcast in both SSB and then FreeDV.
YouTube
Introduction to the Icom IC-7300 HF/50/70MHz Transceiver
Icom’s first Software Defined Radio (SDR) HF radio.
Icom
Amateur Radio Weekly is curated by Cale Mooth K4HCK. Sign up free to receive ham radio's most relevant news, projects, technology and events by e-mail each week at http://www.hamweekly.com.
The big ‘secret’ to successful DXing
 Jim Heath, W6LG, has launched a new video series about the art of DXing. He should know about the subject — he’s been working DX on 20-meters with great success for over 50 years.
“It doesn’t take a huge station to work DX, and it doesn’t take a lot of money,” Heath says. “You can have a lot of fun with a very modest station.”
He says that one key to success is not getting caught up following the crowd. “The skill is not getting onto a DX net and putting your call sign in and waiting for your turn to work a guy in Japan. That’s not working DX — that’s being spoon-fed DX,” he says. “If you’re new to DXing, go for the easy countries: the guys who are calling CQ.”
Most people who have real success working DX do a lot more listening than talking. “A DXer listens, listens, and listens some more and learns about propagation and knows when the band is going to open to certain parts of the world,” he says.

Hans, SM5BUS
“A good example of a guy who has a tremendous signal out of Scandinavia day after day is SM5BUS,” Heath says. “If you’ve tuned 20-meters, you’ve more than likely heard him. He knows propagation really well. He’s learned over the years when the band is open and he listens a lot.”
 “While you might think because this guy is the only thing you can hear out of Scandinavia, that he has an antenna at 100 feet and 1,500 watts behind it. It’s not true,” Heath says. “He’s got a two-element Yagi attached to his chimney 10 meters above ground, but he knows when propagation is good. He’s there to work the propagation, to work the band opening. He does it over and over again and that’s been true for decades.”
If you want to learn more secrets of DXing, watch Jim’s first video below and subscribe to his YouTube channel.
Matt Thomas, W1MST, is the managing editor of AmateurRadio.com. Contact him at [email protected].
Thinking
This time I have a hankering to go on up to HP28, Morristown National Historical Park, which actually consists of four different areas:
1) The Ford Mansion
2) Washington's Headquarters Museum
3) Jockey Hollow
4) Fort Nonsense
The best area for operating without causing too much undo commotion to anyone else, is from the parking lot at Jockey Hollow. Jockey Hollow is where the Continental Army wintered in 1779-1780 - a winter which turned out to be way more severe than the previous winter, which has become better known as "The Winter at Valley Forge".
That's where Dave KD2FSI activated HP28 back in January (and where I logged for him as he handled his really first big HF pileup). I noticed some pretty tall trees right next to the parking spots (the parking lot is big), so maybe I can quietly throw my PAR END-FEDZ 40/20/10 into one of them. Of course, the main bands for operating will be 40 and 20 Meters. As is always the case for W2LJ, operations will be primarily CW - but I am thinking of perhaps even doing a little QRP SSB if activity on the CW bands gets lax. I'm not sure if HP28 has been activated via CW. Maybe I can be the first.
This weekend, if I get the time, I would like to finally experiment with building a magnetic loop antenna for 40 - 10 Meters. I have some coax in the basement that's too short for anything else and would serve well, I think. I have a 365pF variable cap that I got from eBay. I have been reading some articles lately and it doesn't look like building a rudimentary loop would be all that difficult. If I have success with it, maybe I can eventually come up with a homebrewed version of the AlexLoop WalkHam model that I can use for portable ops. It might prove to be a viable option when I want to be away from the Jeep, and yet I can't hang an EFHW, or doublet.
72 de Larry W2LJ
QRP - When you care to send the very least!
Larry Makoski, W2LJ, is a regular contributor to AmateurRadio.com and writes from New Jersey, USA. Contact him at [email protected].
Ham Talk LIVE! Episode 4: Tom Vinson, NY0V

It’s a call-in talk show about ham radio!
 Ham Talk LIVE! Episode 4
w/ Tom Vinson, NY0V
Myanmar trip – Boy Scout Merit Badge
Thursday, 10 March 2016
9:00 PM Eastern Time (02:00 UTC)
Listen to this episode LIVE (and to all previous episodes) in the player below:
[spreaker type=standard width=620px autoplay=false show_id=1607081]
Matt Thomas, W1MST, is the managing editor of AmateurRadio.com. Contact him at [email protected].
Just One More db …

How often have you struggled to pull a weak signal out of the noise? "Just give me one more db", you tell yourself.
A recent posting to the Topband reflector by Frank, W3LPL, sent me to the interesting webpage of Dave, AB7E. Dave had been pondering two antenna systems, one of which would provide a 2db improvement in forward gain but at a much higher cost ... he wondered if the extra expense would be worthwhile and could he even hear the difference that 2db would make? He created a series of CW files, incrementing the signal level in 1db steps to see for himself!
Now I've always been told that you need to increase signal strength by at least 3db before your ears can detect any difference ... but listen carefully and you may be in for a surprise, as AB7E discovered.
It's probably best to listen to this signal with headphones but, even on my I-Pad's tiny speaker, the demonstration is clear. The first recording starts at "zero db", which is sent twice while the next signal is "one db", sent twice. See if you can hear the difference between each 1 db increment as he steps up to "six db":

Lastly, AB7E demonstrates the problem with sending too fast when conditions are very marginal. Here, several signals are sent at 20, 25, 30 and 35 WPM. Sending calls at high speed can often seem effective, even under poor conditions but this seems to demonstrate that slowing down just a bit would make it somewhat easier:
One of the more interesting comments posted regarding these recordings was from Bob, N6RW who cited his work in satellite communications:
"I spent part of my engineering career designing satellite command FSK
demodulators - including the deep space Pioneer Venus orbiter. To test
the performance of them, we would mix the test signal with white noise.
When you look at the FSK Bit-Error-Rate (BER) curve (bit errors versus
signal to noise ratio in a bandwidth equal to the bit rate), you can see
the BER improves by a factor of 10 to 1 for every dB in S/N ratio. In
other words, for every dB improvement, you get one tenth the errors."
Now Dave never did tell us if he bought the bigger antenna or not but I'm betting that he did ... it looks like "just one more db" may really be just enough after all.
Steve McDonald, VE7SL, is a regular contributor to AmateurRadio.com and writes from British Columbia, Canada. Contact him at [email protected].
 Ham Radio Deluxe |
 W5SWL Electronics |
 Ham Radio Prep |
 KB3IFH QSL Cards  Hip Ham Shirts  HamRadioAuctions HamRadioAuctions Reliance Antennas Reliance Antennas Enigma Shop Enigma Shop |  morseDX  Ni4L Antennas  R&L Electronics R&L Electronics antennas.us antennas.us QRV QRV |
- Matt W1MST, Managing Editor
