 |
 SOTA Activation Without The Tears
I recently confessed blogged about a not-that-well-executed SOTA (Summits on The Air) activation, in How Not to Do a SOTA Activation. This past weekend, I made another run at it with much better results. Still, I did use a slacker low impact approach to the activation.

My hiking partner spouse and I decided to go for a hike on Sunday afternoon. It had been many years since we had climbed up to the fire lookout on Devils Head in Pike National Forest, so that sounded like a great destination. There is an excellent view at the top (fire lookouts tend to be like that) and the weather was awesome. I checked the SOTA list, and sure enough, Devils Head is a legitimate SOTA peak (W0/FR-051).
The hike is about 2.8 miles round trip with an elevation gain of 950 feet. I put this in the category of a good tourist hike…with just enough huffing and puffing to make you think you worked for it but not so much that it kills you. Here’s the topo map and route taken from everytrail.com: 
As I put together my daypack, I tossed in my Yaesu FT-60 handheld radio and a 1/2-wave vertical whip antenna. This was going to be a 2M FM operation only. (I don’t have anything against HF, but there is something magic about VHF propagation with a little altitude.) Then I sent a quick message to a couple of the local email lists asking for people to try to work me on the summit. We drove to the trailhead and started our hike up the trail, which is heavily used but well maintained.
The fire lookout is not a tower. It sits on top of a large rock formation with stairs leading up the side of the rock.

When we got to the top, we spent some time enjoying the view and catching our breath. As the sign says, the stairs have 143 steps which take you to an elevation of 9748 feet.

I got out the radio and started calling CQ on 146.52 MHz. Ted (NØNKG) came right back to me…I think he probably saw my email message. Over the next half hour, I worked a total of 7 contacts: NØNKG, N2RL, NØGWM, W7RTX, WB9QDL, KØDEN and WXØPIX. I even remembered to bring along a log book and a pen to write it all down.
Bill Ellis staffs the fire lookout for the US Forest Service most of the time during the summer. He handed me a card that certifies that I climbed up to the lookout station. Note that this card indicates that it is the 100th anniversary of the fire lookout! And Bill’s been doing this for 26 years. Cool!
Various people have said that Devils Head is a must do hike in Colorado and I have to agree (whether you are doing a SOTA activation or not). It turns out that I was the second person to activate Devils Head as a SOTA summit, with Chuck (N6UHB) having done it in October 2011. I’ll probably do some more of this since it is a nice blend of ham radio, hiking and enjoying the view from a high spot.
73, Bob K0NR
Bob Witte, KØNR, is a regular contributor to AmateurRadio.com and writes from Colorado, USA. Contact him at [email protected].
HOT STUFF!!!!!
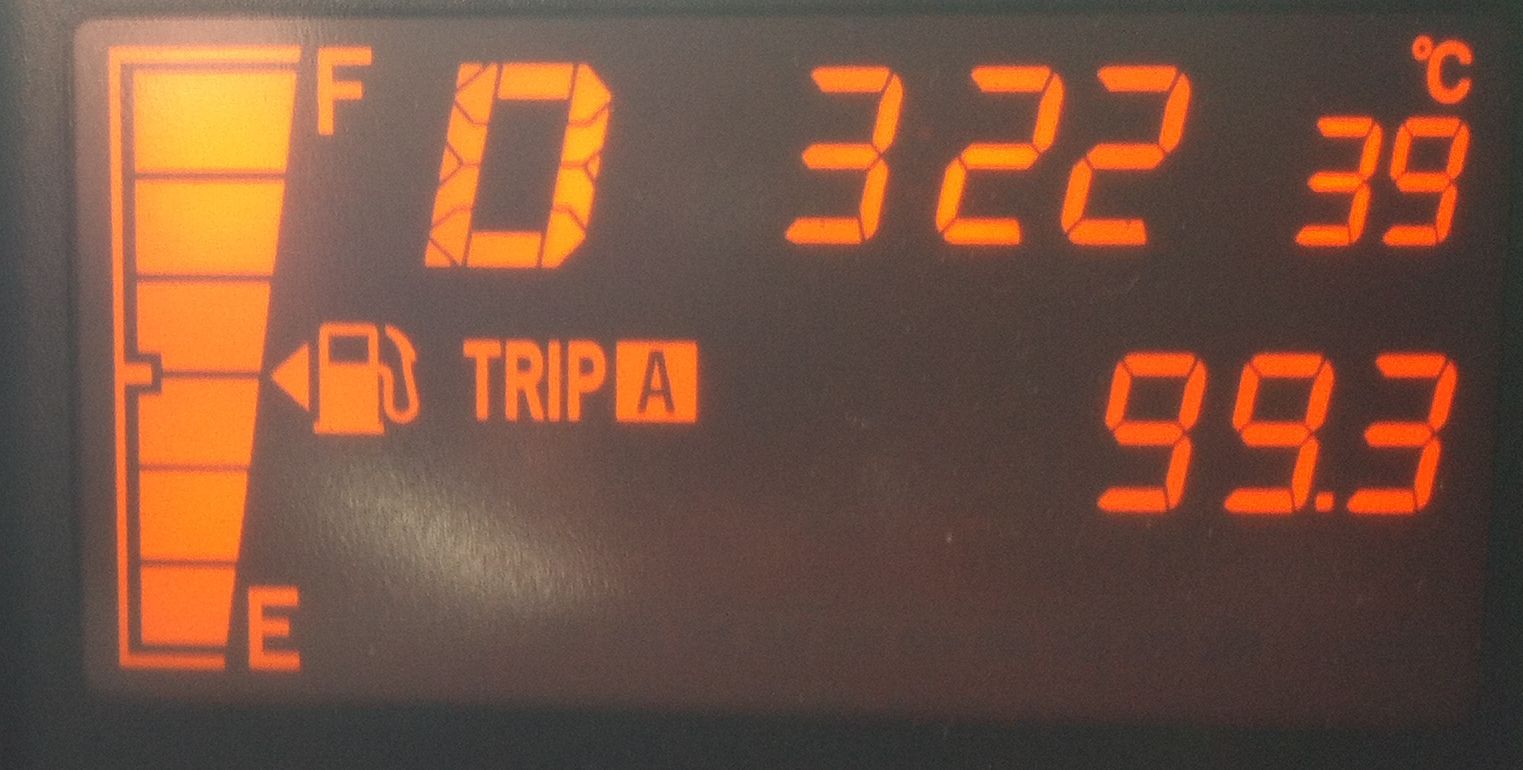 |
| Outdoor temperature reading |
Mike Weir, VE9KK, is a regular contributor to AmateurRadio.com and writes from New Brunswick, Canada. Contact him at [email protected].
New WSPR / QRSS beacon kit
Hans Summers (G0UPL) and Steve Farthing (G0XAR) have recently begun selling a new kit for a QRPp (150mW) beacon that can generate Hellschreiber, various QRSS modes and best of all WSPR. Unlike the ones now sitting unused in a drawer in G4ILO’s shack which have my details programmed in, the Ultimate QRSS Transmitter Kit has a user interface with an LCD panel that allows you to input your own callsign, locator and power output. This means it has resale value – when you get bored you can sell it on and the new owner can program it with his own details.

At the moment, kits are only available for the 30m, 40m and 80m bands, though they can also generate an audio signal that can be used to drive an SSB transmitter.
I asked Hans if they were going to offer a version for 20m, which has become one of the most popular WSPR bands. His reply was that the kits will actually work fine on any frequency between 1MHz and 20MHz, they just require a different crystal and different components in the low pass filter.
A 20m beacon for WSPR would need a 14.097MHz crystal. I searched my junkbox and couldn’t find one. Nor could I find a source for one and having one specially made would be expensive. Perhaps if there is enough demand for a 20m version it will be worth Hans and Steve’s while to have a batch made which will be cheaper.
Julian Moss, G4ILO, is a regular contributor to AmateurRadio.com and writes from Cumbria, England. Contact him at [email protected].
Aurora 15 July 2012
I was enjoying a leisurely sweltering summer Sunday afternoon in the back yard with Evan, Sarah, two Adirondack chairs, a kiddie pool, and the schematics for an IC-290A I have on the bench. I came in to get a glass of water and while I was inside, I checked my e-mail (since I have some equipment for sale). No prospective buyers, but I did have a message from Sean, KX9X, that he was working aurora on 6 and 2 meters. I quickly plugged in the 2-meter rig and swung the beam around to the north. Sure enough, there were raspy aurora signals all over two meters. I quickly put N9GX (EN60) in the log for my first ever aurora QSO. This was at least as cool as working K5QE on 2-meter Es with 10 watts.
So, I fumbled around a drawer and pulled out a cable to connect the TS-700S to the computer and fired up Audacity. I made this interesting recording of KA1ZE/3. I started out with the beam to the NE (45 degrees azimuth) with a strong auroral buzz on Stan’s signal. Then I swung the beam around to the NNW direct path (345 degrees azimuth). I’m in FM19la and he’s in FN01xt, which is exactly 200 miles (322 km) direct path. On the direct (forward tropo scatter) path, there is still a hint of aurora, but the tone is a bit purer. When I turn the rotor there is pretty bad hum from a (not unexpected) ground loop.
In order to better visualize a few things, I ran a short-time Fourier transform (this is the actual technical term for a “waterfall”) on the audio file. I need to code-up a polyphase implementation of the FFT like that used in Rocky, but there are only so many hours in a day. Click on the image for full-size.

There are lots of interesting details here. First, you can see that the auroral scatter is both Doppler-shifted (lower in frequency) and Doppler-broadened (spread out from the central frequency) compared with the direct tropo scatter signal. Second, you can see the ground-loop-induced hum at the low-frequency end. Auroral backscatter comes from field-aligned plasma density irregularities embedded in the auroral convection flow. Because most readers will be allergic to the vector math, we make the (somewhat gross) approximation that KA1ZE and I are transmitting and receiving from the same location. Now, we can take a stab at estimating the flow velocity from the following equation:

Where delta-f is the Doppler shifted frequency (about 300-Hz from these data), c0 is the speed of light (300,000,000 m/s), f is the carrier frequency (144 MHz), and vflow is the flow velocity. While we’re making approximations, if we round f up to 150 MHz, the twos cancel and we get the Doppler shift of 300 Hz corresponding to a flow velocity of 300 m/s (670 mi/hr). Fast! Because it is lower in frequency than the direct signal, we can also infer that the flow was directed away from us.
There you have it! Science fair projects with your ham radio.
Ethan Miller, K8GU, is a regular contributor to AmateurRadio.com and writes from Maryland, USA. Contact him at [email protected].
Running Your First Ham Radio Technician Class
I have a crazy idea. I want to run a ham radio technician class at the community center in my small town. I’ve never done anything like this before.
I told you it was a crazy idea.
I need your help. I want to hear from people who have successfully run technician license courses. I’m also looking to hear what DIDN’T work so I can avoid those things. I’m most interested in:
- How did you decide what book to use? There seem to be many good choices including the ARRL book and Stu Turner’s HamRadioSchool.com. There are also some free (and low cost) PDF texts available online.
- Did you use a specific curriculum, or did you kind of follow along with the book you chose?
- What multimedia did you use? Again, so many choices here including Andy Vellenga’s Ham Whisperer videos. I worry about putting them to sleep with PowerPoint.
- Was there just one instructor (you), or did you utilize several members of your club to offer other points of view?
- Did you let everyone in who expressed interest, or did you have some sort of selection criteria?
- How did you choose a venue for your class? I’m thinking maybe the local fire station or community center.
- What did you find works best for a class schedule? I’m debating between running the class over two weekends versus one night a week for 8 weeks. Both have their pluses and minuses.
- What percentage of your students finished the class, and how many of those successfully licensed? I’ll be pretty depressed if I start with 15 students and only one gets their ticket.
- What’s the most important thing you wish you’d known before you did it, and what would you change because of it?
No reply is too short or too long. Address all of the questions, or just one. I appreciate any insight you can offer.
Matt Thomas, W1MST, is the managing editor of AmateurRadio.com. Contact him at [email protected].
The ARRL Radiogram, Part 2
In this post I’ll describe how to compose a basic radiogram. I won’t wax on about everything involved here — if you want to learn more just click here. Here’s an example that I’d like to explain piece by piece. (Thank you to the Oregon ACES program for sharing a fillable PDF of the radiogram; I used it to create what you see here.)

The four main parts of the radiogram are the preamble (at the top), the address block (just below the preamble on the left), the text (the main body of the message), and the signature (just below the text). For now I’ll ignore the part at the bottom where it says “REC’D” and “SENT” as well as the box just below the preamble on the right where it says “THIS RADIO MESSAGE WAS RECEIVED AT,” since those are just for record-keeping.
Preamble:

Notice that a couple of the boxes are blank. I’ll still explain them, but because they’re optional and often not used I’ve left them blank. The preamble has eight boxes:
- NUMBER: This is whatever number the originating station chooses. (If you are the first station to send this radiogram, then you are considered the “originating station.”) Typically you start with “1″ on the first radiogram of the year and number each subsequent radiogram sequentially. Just make sure that it’s a number with no letters and that it doesn’t start with a zero.
- PRECEDENCE: Either R, W, P, or EMERGENCY. The first three letters stand for Routine, Welfare, and Priority, but “EMERGENCY” is always spelled out. Unless you’re dealing with a disaster, your radiogram is probably Routine, so put “R” in this box.
- HX: This is for one or more of seven optional handling instructions: HXA, HXB, HXC, etc. You don’t have to put anything in this box unless you have some special need, like to authorize a collect call for delivery, hold delivery until a certain date, etc. To learn more, click here.
- STATION OF ORIGIN: Your call sign, if you’re the first station to send the radiogram.
- CHECK: The number of words in the text of your message. If there is an ARL code used in your message, then put “ARL” in front of the check number. Later I’ll say more about ARL codes — and a dangerous trap that some operators fall into with this box when delivering a radiogram.
- PLACE OF ORIGIN: The location of the person who actually authored the text of the message. If you as the originating station are the one and only person composing it, then this would be your location. But if you’re not, then it may be some other location. Say for instance that your non-ham friend wants you to send a message of his own by radiogram. The place of origin would be your friend’s location, not yours.
- TIME FILED: This is optional (unless you have entered special handling instructions in “HX” that require it) and is often left blank for routine messages. If you do enter a time, enter the time you (the originating station) created the message. Use 24 hour format followed by an indicator of the time zone, e.g. 1730Z (UTC), 1730L (Local time).
- DATE: The three-letter abbreviation for the month followed by a number for the day. This is assumed to be UTC unless you have indicated a different time zone in “TIME FILED.”
Address block:

Enter the address of the person the radiogram is intended for. Don’t neglect the phone number (and remember to include the area code!) since usually radiograms are delivered by telephone once they make it to a ham who lives close enough to place a local call. I’ve put dashes in the phone number, which I should point out is technically incorrect but I’ll probably keep doing it.
Text and signature blocks:

Notice that there are five rows, each row containing five blanks? Each blank is for one word. The rows of five are to make it easier to count the words to compare with the “CHECK” box in the preamble. Instead of counting every word, you can just count by fives for every row that is full. This makes it easier for stations in the NTS to rapidly check for missing/extra words after they have copied a message. Here are a few notes on this part of the radiogram:
- Punctuation: Don’t use any punctuation marks. At the end of a sentence where a period would normally go, write “X” on a blank (it counts as a word and is pronounced “X-RAY” when read over the air). Don’t write “X” at the end of your last sentence, though. For a question mark, write “QUERY” on its own blank line (it also counts as a word).
- ARL Codes: ARL codes are a handy way to say a lot with only two or three words. For a listing of all the ARL codes, click here (it’s toward the end of the document). “ARL FIFTY” means, “Greetings by Amateur Radio,” and that’s what the recipient will hear when finally a ham calls him and reads the radiogram to him. Note that the number “FIFTY” is spelled out, and both “ARL” and “FIFTY” each count as a word. If you used, say, “ARL FIFTY ONE,” that would count as three words. Warning! Don’t confuse the “CHECK” in the preamble with the ARL code you are trying to send. In the example I’ve shown here, “ARL 15″ is in the “CHECK” box, but all that means is that 1) there is an ARL code in your message 2) there are 15 words total in your message. Frankly I wish we didn’t have to put that “ARL” in the check box because it’s confusing and can be disastrous. Just read the story in the Operating Manual about the time a poor ham delivered a radiogram and mistakenly interpreted “ARL 13″ in the “CHECK” box for “Medical emergency situation exists here” (the meaning of ARL THIRTEEN, if it were actually in the text of the message). After the family received this botched radiogram, they threatened to file a lawsuit!
- Wording: Be concise. The fewer words the better, as long as it still makes sense.
- Closing: Closing words like “sincerely,” “love,” etc. should be included in the text of the message, not the signature.
- Signature: The name of the person(s) writing the text. The signature goes just below the text as shown. At first this is a bit confusing when you’re staring at a blank radiogram form because it’s not obvious that the top border of the REC’D/SENT boxes doubles as the line for the signature. But that’s where it goes — above that top border, not below it. It has nothing to do with “REC’D/DATE/TIME” or “SENT/DATE/TIME,” which are for record keeping as the radiogram is sent and received. Note: the signature does not count toward the number in the “CHECK” box of the preamble.
I hope this is helpful! In my next post about the ARRL Radiogram I’ll discuss how to send it using a voice mode like SSB.

![]()
Todd Mitchell, NØIP, is a regular contributor to AmateurRadio.com and writes from Minnesota, USA. He can be contacted at [email protected].
Map your grid squares worked using WG7J Gridmapper
Somewhere over the last few days, I saw something somewhere about the WG7J GridMapper and how you can use it to map the locator squares (grids) that you’ve worked.

No software to install, it’s a webpage (http://wg7j.reinalda.net/gridmapper/gridmapper.php).
All you need to do is to use your logging program to create an ADIF file of your contacts and then you can use the WG7J GridMapper to create some nice maps. You can select the band you want to map – in my case I chose 50MHz since 1st January (I limited the date range in my logging program) – change the appearance of the map and decide whether to send the output to Google Maps – or if you have Google Earth – you can produce a KML extract that Google Earth will read. I tried both. The Google Maps is the first one to play with.
I liked the output to KML option better, but you have to download the file that the page produces and open it in Google Earth – easy enough if you are confident with Google Earth, KML and so on.

Tim Kirby, G4VXE, is a regular contributor to AmateurRadio.com and writes from Oxfordshire, England. Contact him at [email protected].
 Ham Radio Deluxe |
 W5SWL Electronics |
 Ham Radio Prep |
 KB3IFH QSL Cards  Hip Ham Shirts  HamRadioAuctions HamRadioAuctions Reliance Antennas Reliance Antennas Enigma Shop Enigma Shop |  morseDX  Ni4L Antennas  R&L Electronics R&L Electronics antennas.us antennas.us QRV QRV |
- Matt W1MST, Managing Editor
