 |
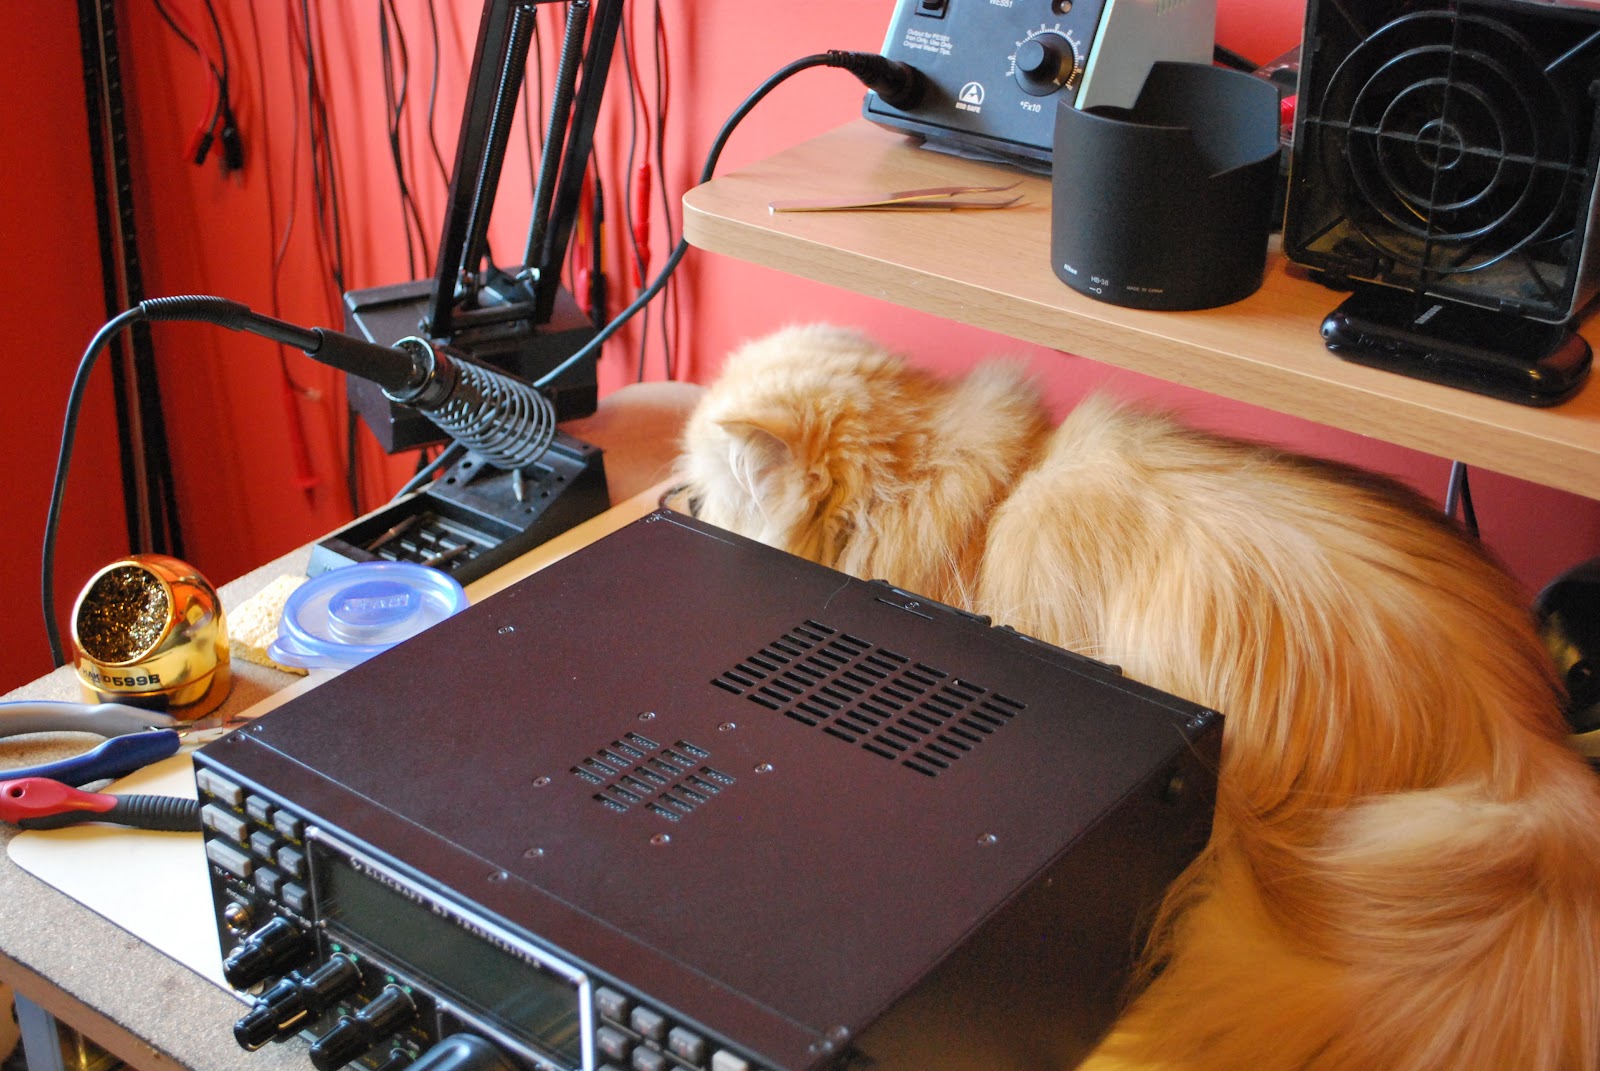
| Ready for action |
The time has come for me to open up my Elecraft K3 and preform some surgery. When I purchased the
Elecraft P3 to enhance my K3 all was fine until the
P3SVGA board was added to the P3. Since the power source for the P3 comes from the K3 with the addition of the P3SVGA board to much power was being drawn. A
 |
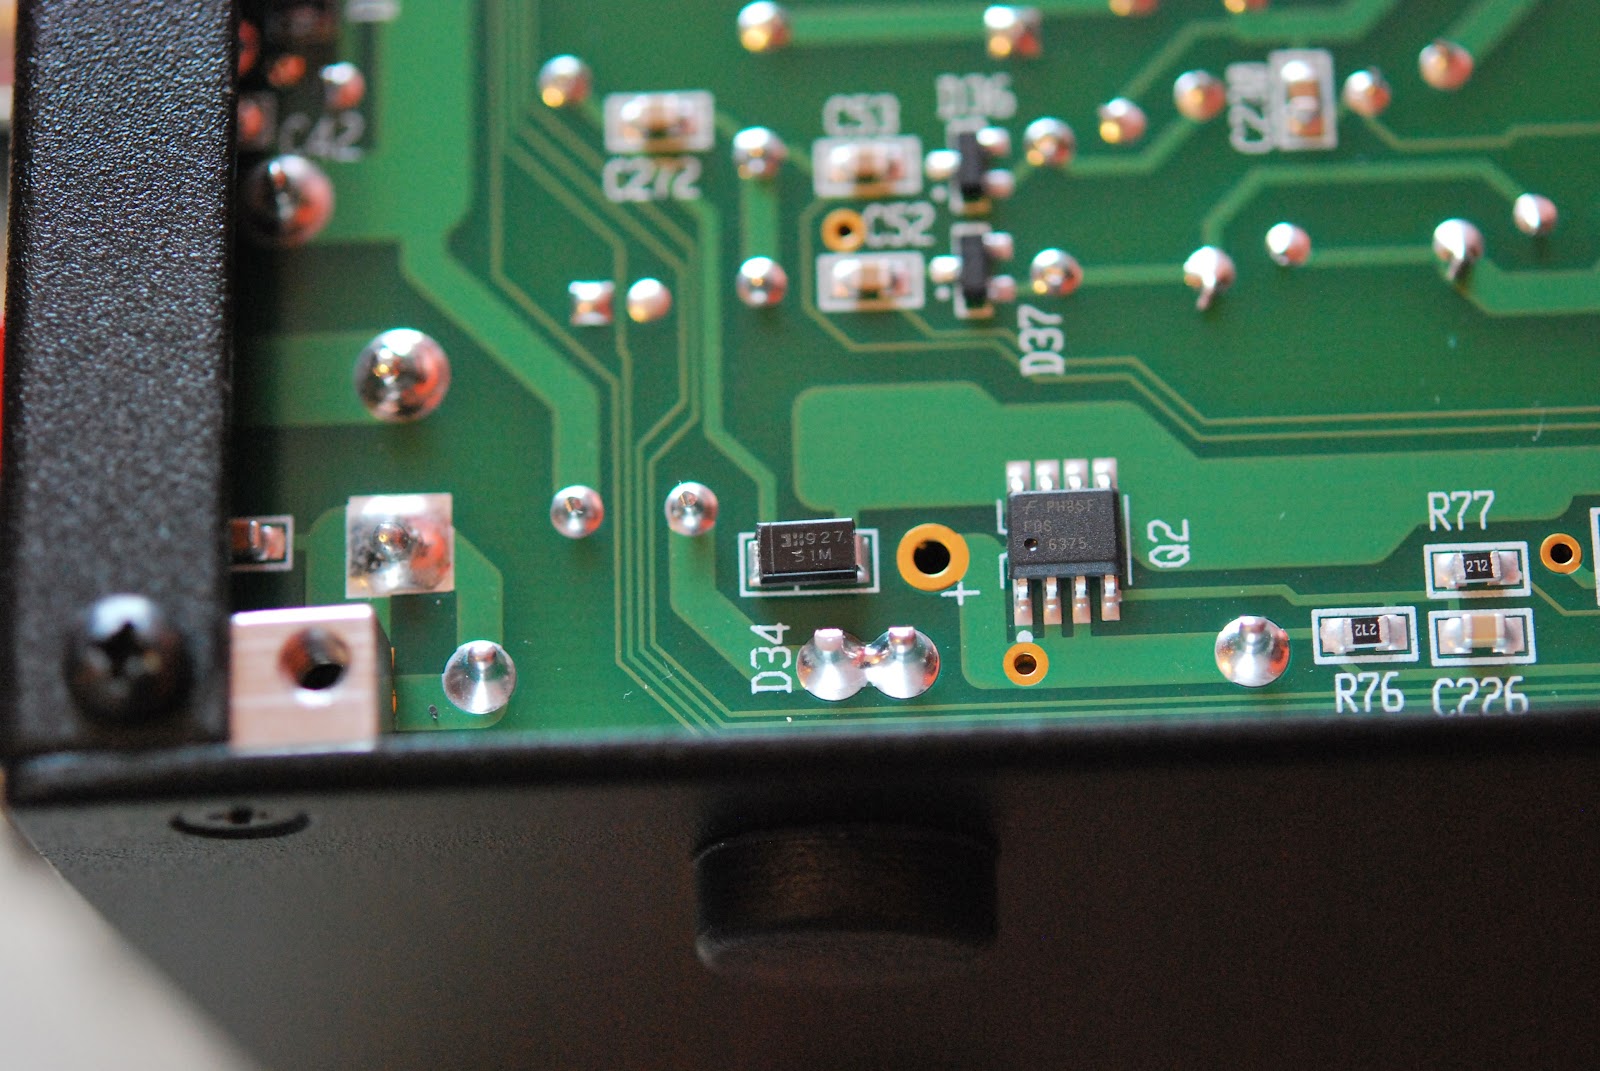
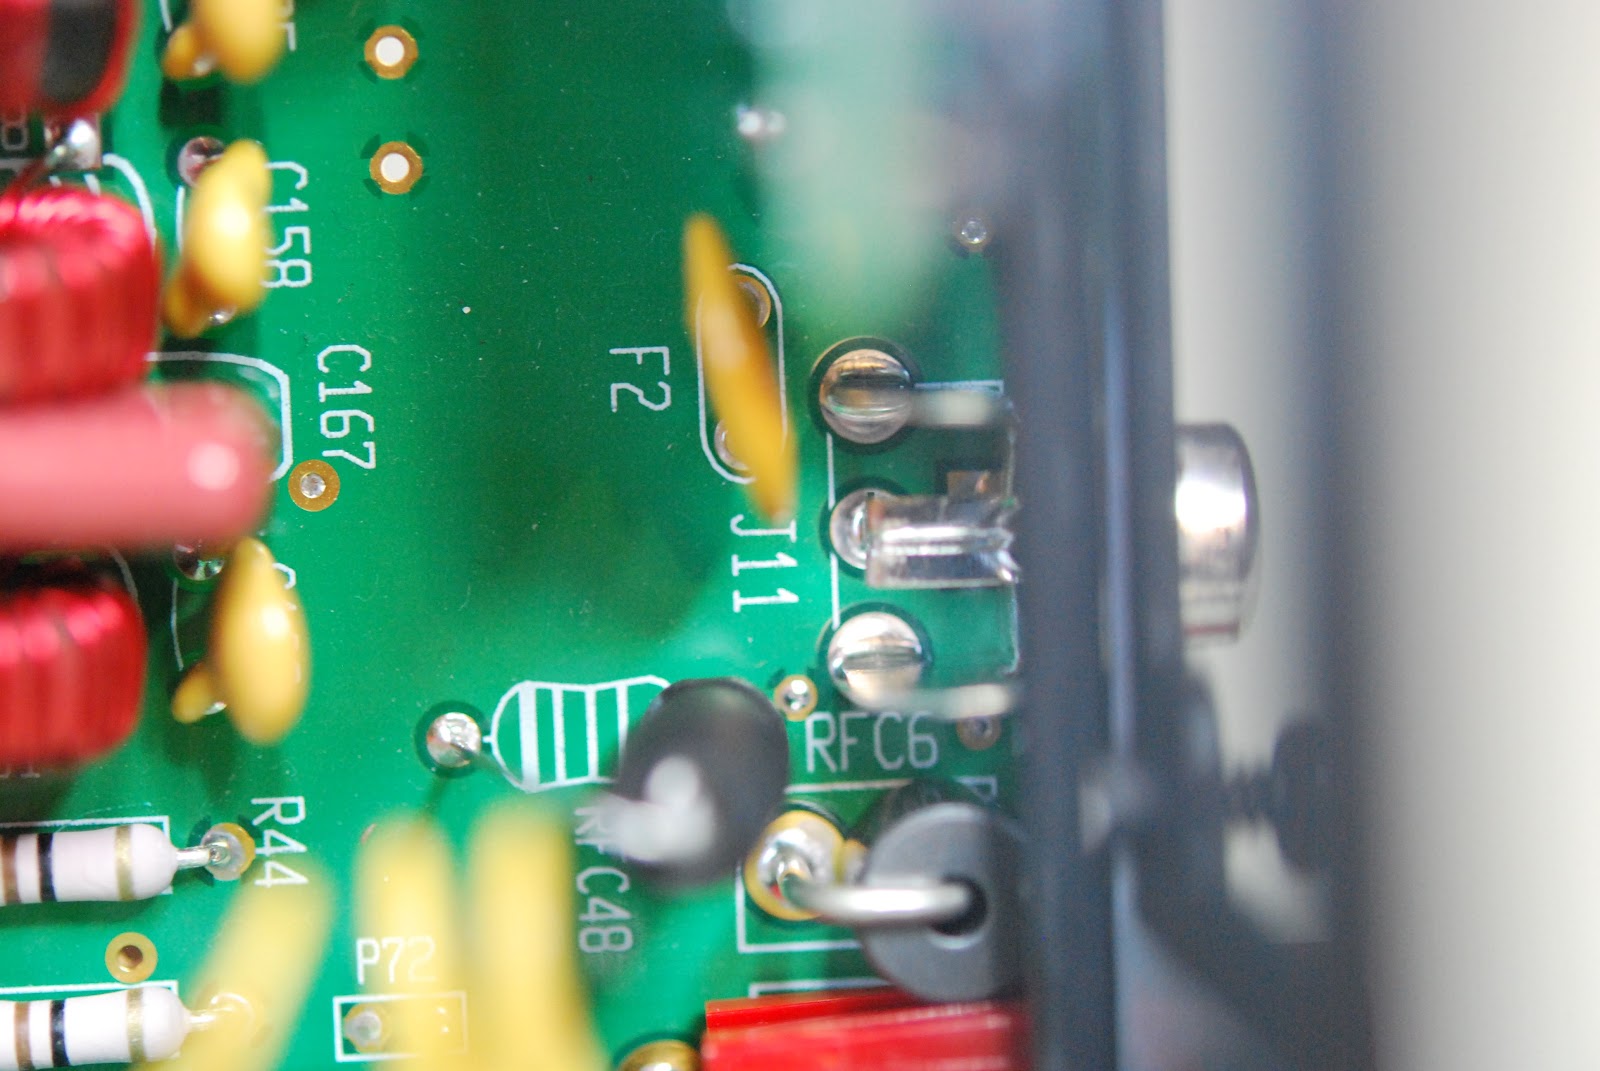
| Diode to be removed |
resettable fuse in the K3 now and then would trip out. So Elecraft (as they always do) came up with a mod for this problem.
The mod was sent out free BUT it meant opening up my 4k plus radio and removing one
SMT diode, inductor and resettable fuse and replacing them with beefed up components. I didn't mind opening up the K3 and adding plug-in components....whole different story when it comes to De-soldering and soldering on the boards!!! For that reason the mod kit sat on my self for about 2 months, after all the P3 was now plugged into it's own power source so the problem was more or less solved. This weekend in Canada is a long weekend (Canada day) and as always I get bored when I have to much time on my hands.......a little bird whispered in my ear that the board-um can be solved by doing the long over due K3 mod!!! The board-um got the best of me along with that dam bird!! I removed the K3 from service and I will say there sure is lots
 |
| Fans removed |
 |
| KPA3 removed |
of cables that go into the rig!! With the rig on the bench and beads of sweat starting to form I was off to the races and I hope with a celebration when I hit the finish line!! As many times in the past I took the covers off and dove in. The first step was to remove the SMT diode easer said then done. This thing is very small it came out with
very little trouble. Installing the new one was another story and it did take me several attempts. When all was said and
 |
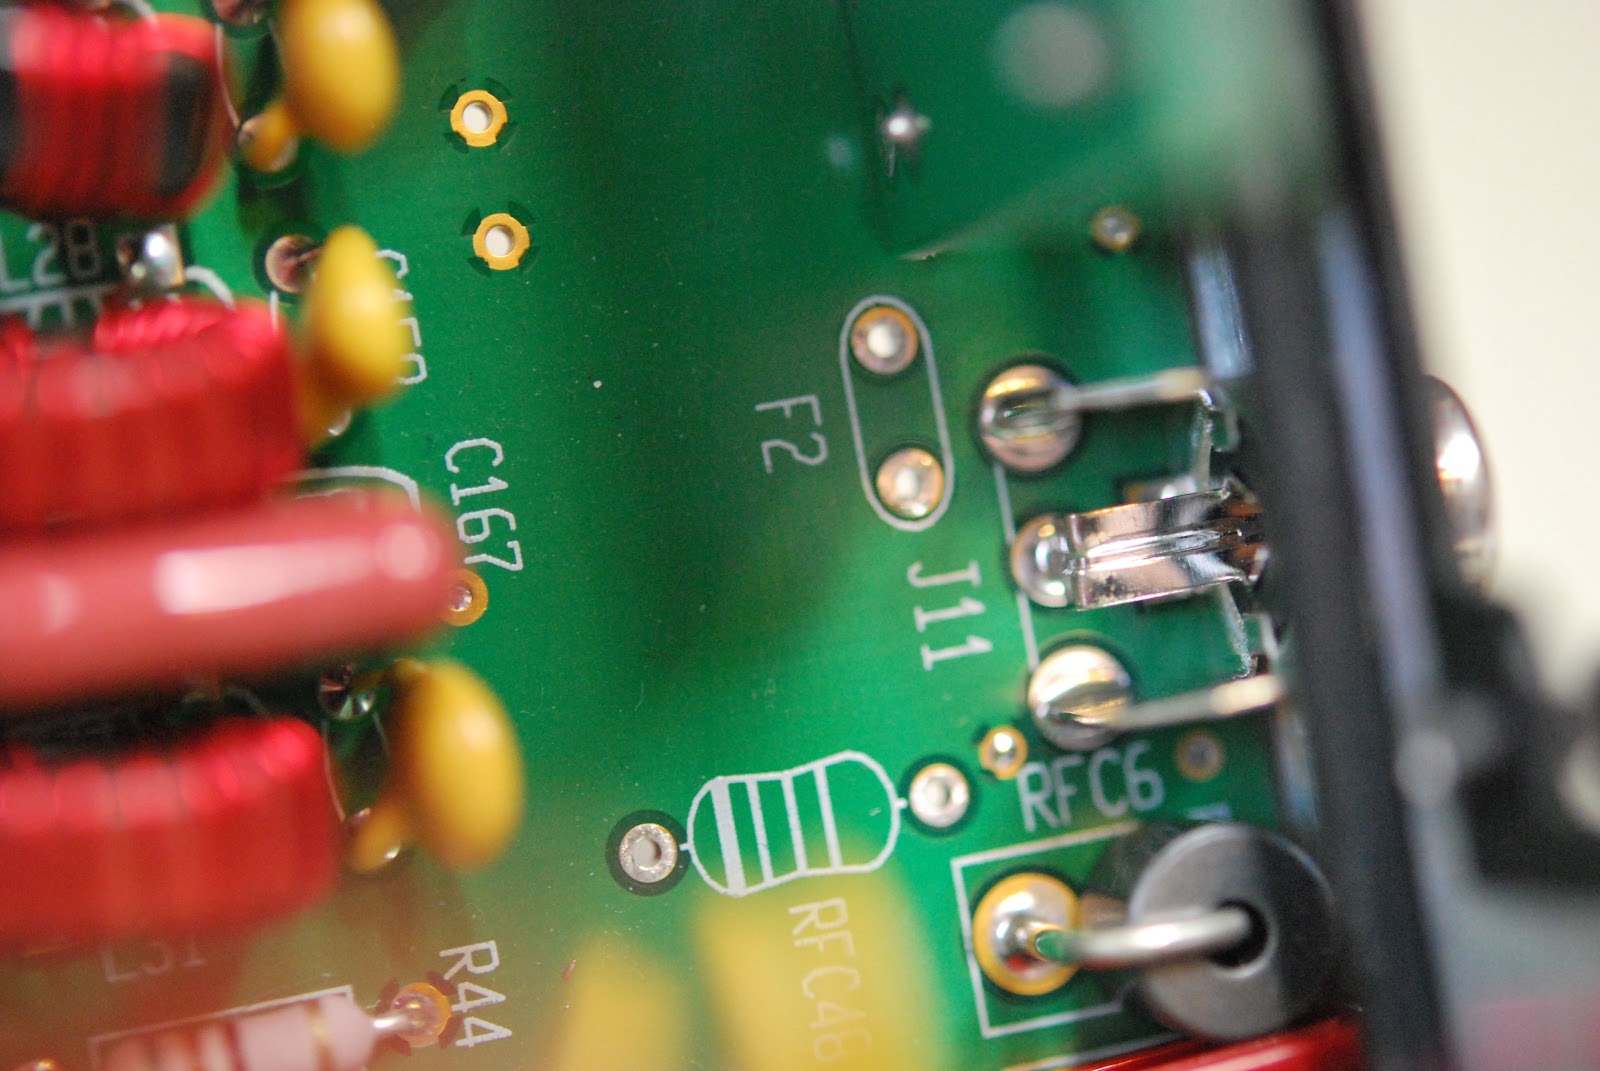
| Old F2 and RFC 48 |
done it was not a pretty site at all but it's in and I hope it works. I was so nervous about screwing the SMT install up that it caused me to hesitate and be over cautious. So that resulted in the SMT not looking professional at all BUT I have fallen into this trap in the past, trying to make it look good and in the end totally screwing the install and or component up. I told myself "it may not look great but if it works thats what counts in the end" The other two component replacement required me to remove the KPA3 cooling fans and the KPA3 unit. The
 |
| Ready for new parts |
instructions did say the KPA3 unit did not have to be removed if you were very very careful it could be done. Not feeling at all brave out came the KPA3 unit as well. The inductor and resettable fuse that had to be replaced were in plan view and HUGE compared to the SMT diode. I now had to DE-solder the two components and this is were the
Hakko 808 was stellar. In under 30 seconds both component were
 |
| Great tool to have |
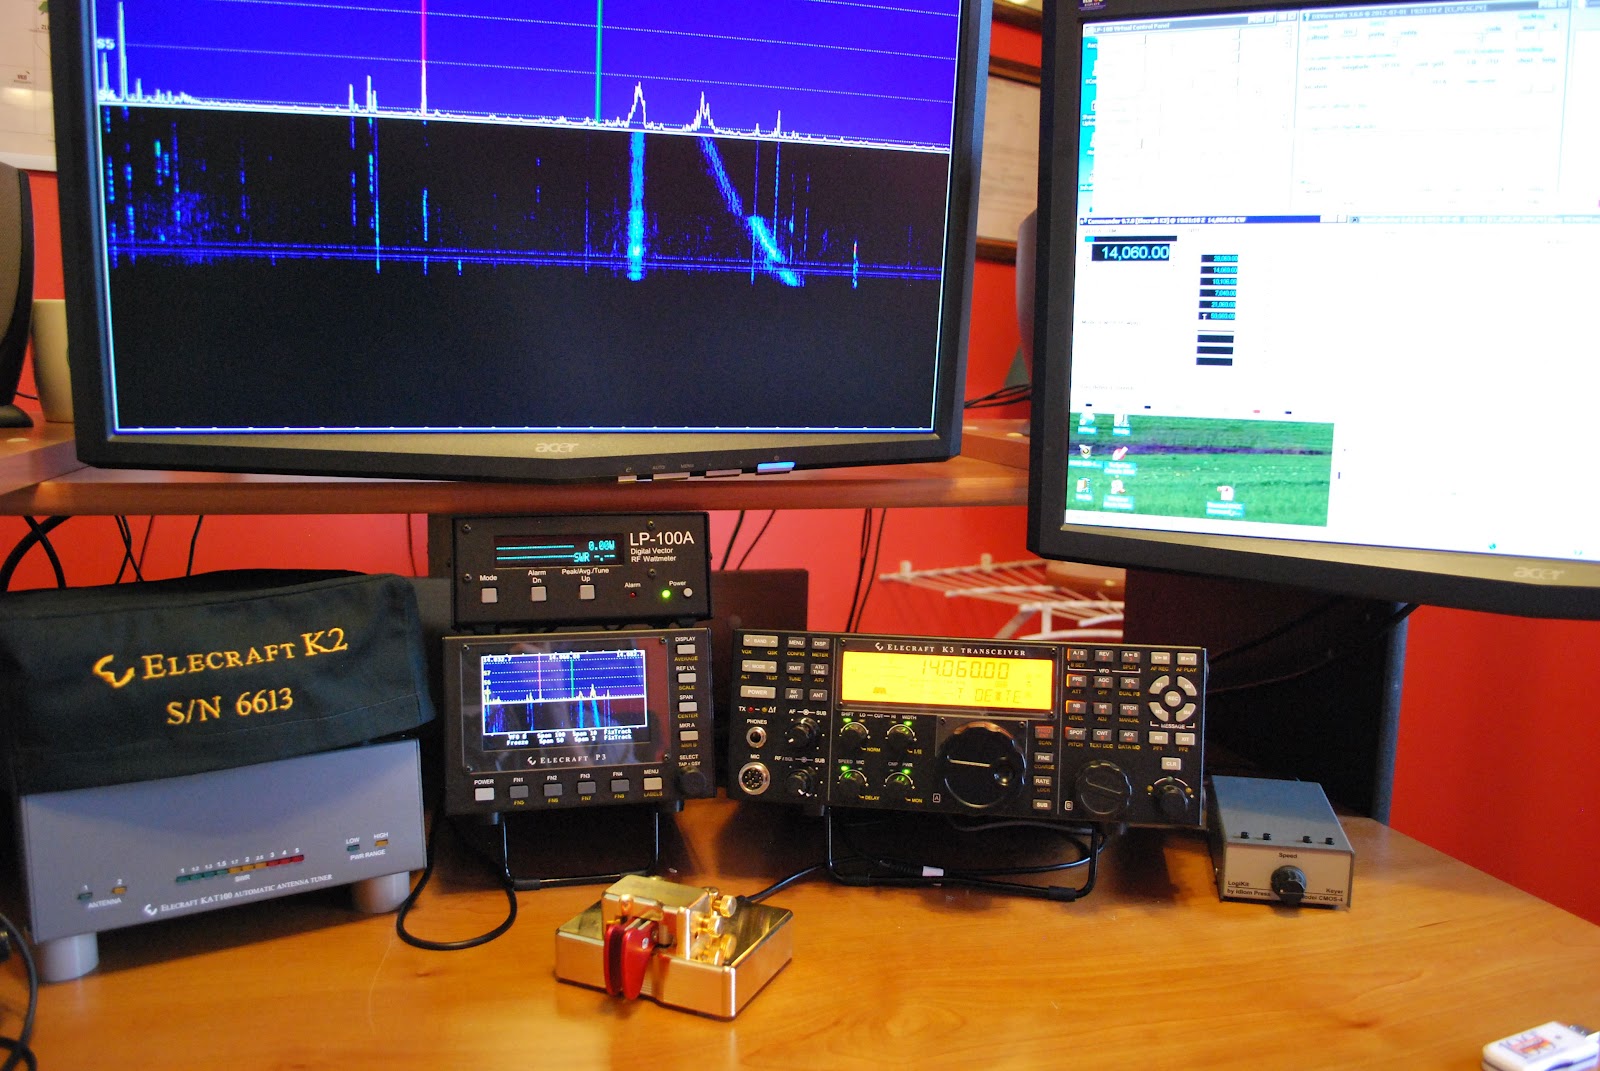
out and not a drop of solder was left on each pad. The Hakko 808 is well worth the money that was spent on it, for removing components it's the cats behind!! Soldering in the new components was a breeze and it was time to put the rig back together and do the smoke test.
 |
| back home and working |
 |
| New parts installed |
 |
| Oliver gives the ok to power up |

 It’s time for surgery………..
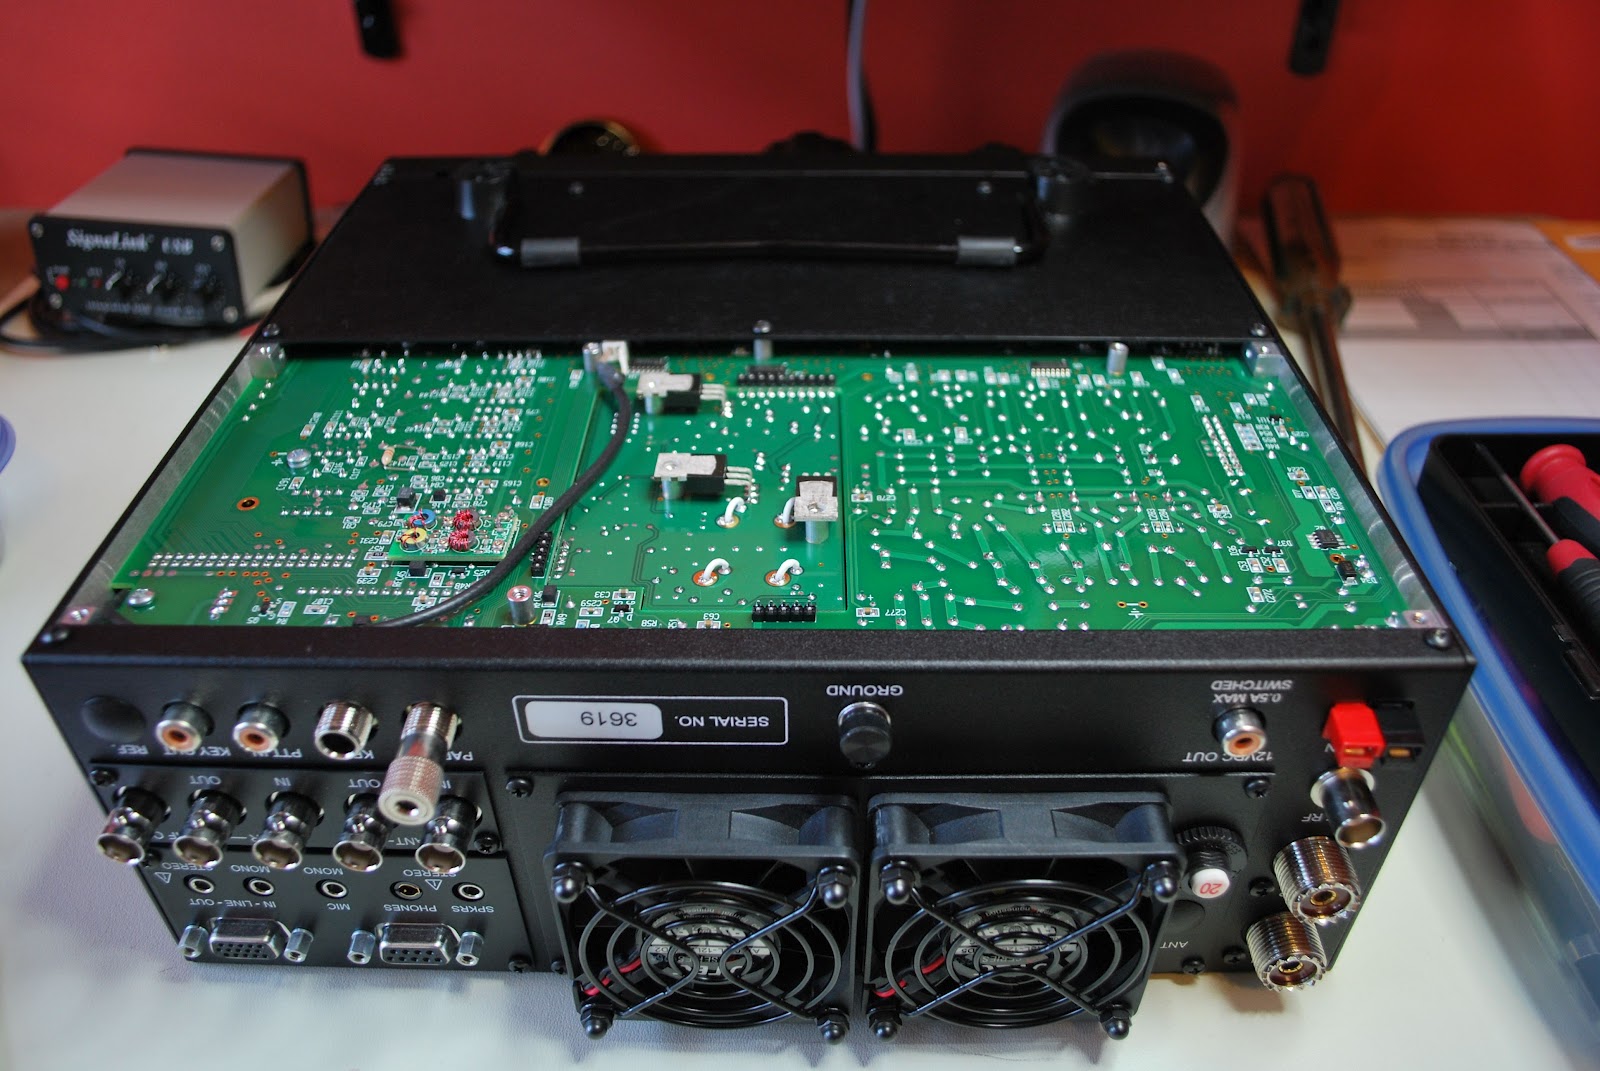


 HamRadioAuctions
 Reliance Antennas
 Enigma Shop

 R&L Electronics
 antennas.us
 QRV
QRV