 |
 Front panel work
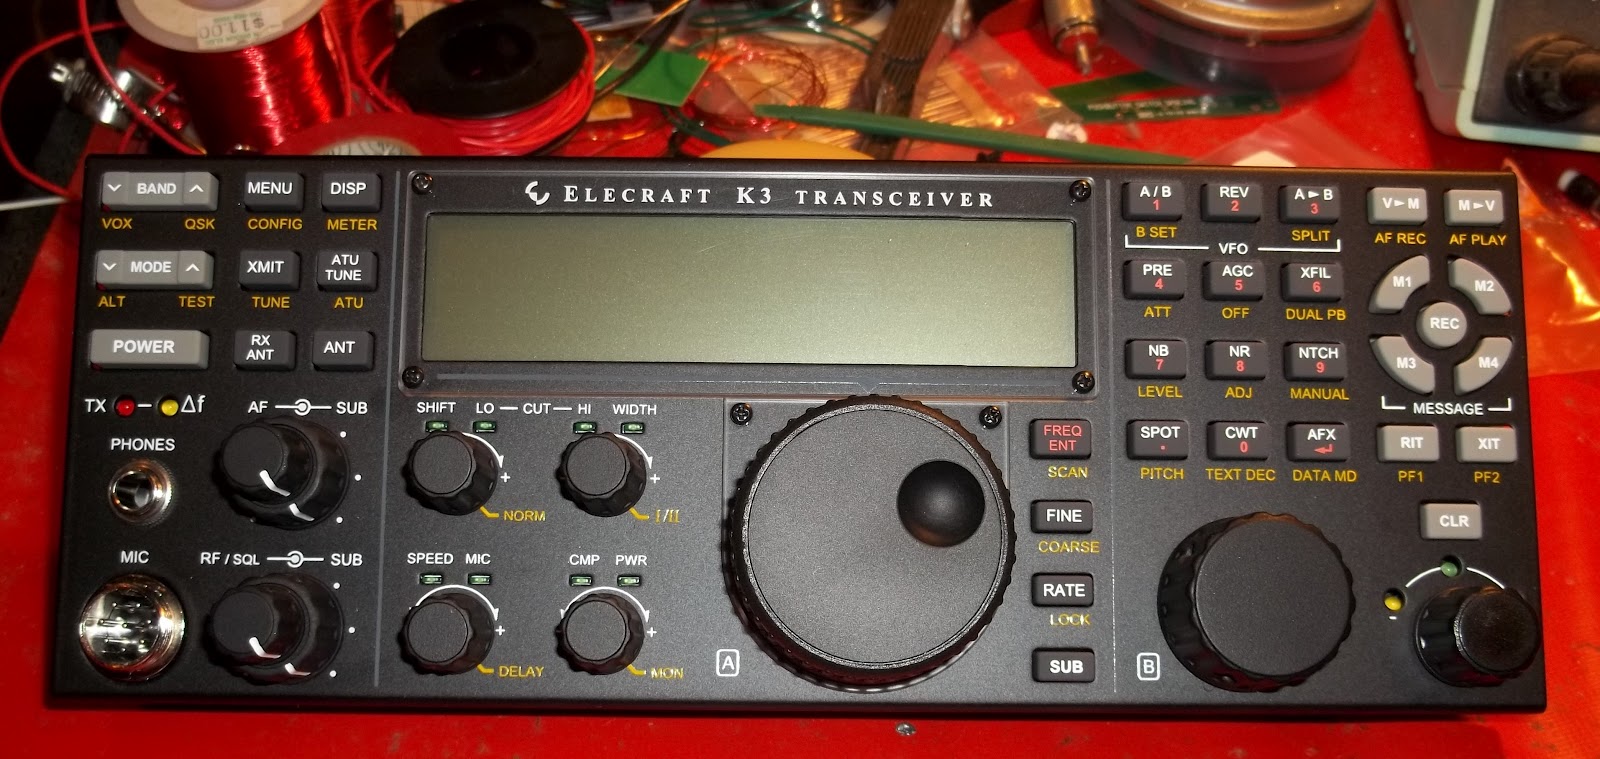
Tonight I spent getting the front panel assembly done. I haven’t attached it to the main chassis yet. I stopped after completing the panel itself as I’m a bit tired.
Two things that caused beads of sweat to pop out on my forehead.
1) The four screws that hold down the LCD cover bezel. The first step, before even thinking of securing the bezel is a step that Elecraft calls, “removing the paint from the screw threads in the holes”. I think that’s Elecraft just being nice and faking us out. I don’t think there were any threads to get gunked up with paint, to begin with. You’re cutting these threads by inserting these screws!
Elecraft recommends wetting the screw’s threads with “a drop of water” (oil can leave marks that can be difficult to clean up). I didn’t feel like getting up to get a cup of water, so I did the next best thing. I stuck the screws in my mouth. Not the most sanitary, I suppose, but oddly effective. Only one screw hole gave me trouble where I was worried about rounding off the screw; but firm pressure while very slowly torquing the screw did the trick in the end.
2) Mounting the mated Front Panel circuit and DSP circuit to the front chassis panel. In the manual, Elecraft states that it’s a tight fit for the phones socket through the hole in the front panel. Wow! I’ll say! I finally got it through with some firm pressure but when the socket hit the back of the front panel, I got a loud “snap” from metal hitting metal. For a second I thought I broke the circuit board, but a careful inspection revealed that all was well.
Other than those two panic moments, all went well. Tomorrow, I will continue mounting the front panel to the chassis, and I may even get to the point where I get to do an initial power up.
Six man hours into this, so far.
72 de Larry W2LJ
QRP – When you care to send the very least!
One Response to “Front panel work”
 Ham Radio Deluxe |
 W5SWL Electronics |
 Ham Radio Prep |
 KB3IFH QSL Cards  Hip Ham Shirts  HamRadioAuctions HamRadioAuctions Reliance Antennas Reliance Antennas Enigma Shop Enigma Shop |  morseDX  Ni4L Antennas  R&L Electronics R&L Electronics antennas.us antennas.us QRV QRV |
- Matt W1MST, Managing Editor

My only piece of advice is: be careful how you orient the crystal filters when you install them!!! If you install a filter backwards you will have NO RF OUT when the filter is selected….