 |
| The 2 resistor through hole and SMT |
Once I received my K-Pod I wanted to get it up and operating to see how it worked. One of the things that had to be done was to power up the K-Pod. This can be done one of two ways either via a separate power cable or with a small mod to the
Elecraft K3 you can power the K-pod with the RJ12 inter connecting cable. The fasted way at the time was to power it via my power supply. In time I would do the mode so only one small cable would run between the Elecraft K3 and the K-pod.......Well that time had come and the mod was to be done. Elecraft gave you a choice of resistors
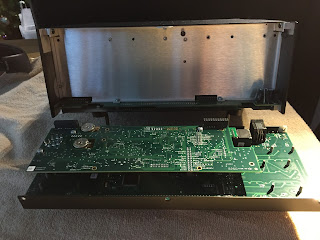 |
| Front panel removed |
for the mod, an SMT as mentioned already or a through hole resistor. I chose the SMT as the leads from the though hole resistor had to be maneuvered around other SMT resistors. This method seemed to be asking for a short to a neighbouring SMT. It was time to replace a small (and I mean small) SMT resistor in my Elecraft K3. The resistor is supplied by Elecraft along with very detailed
 |
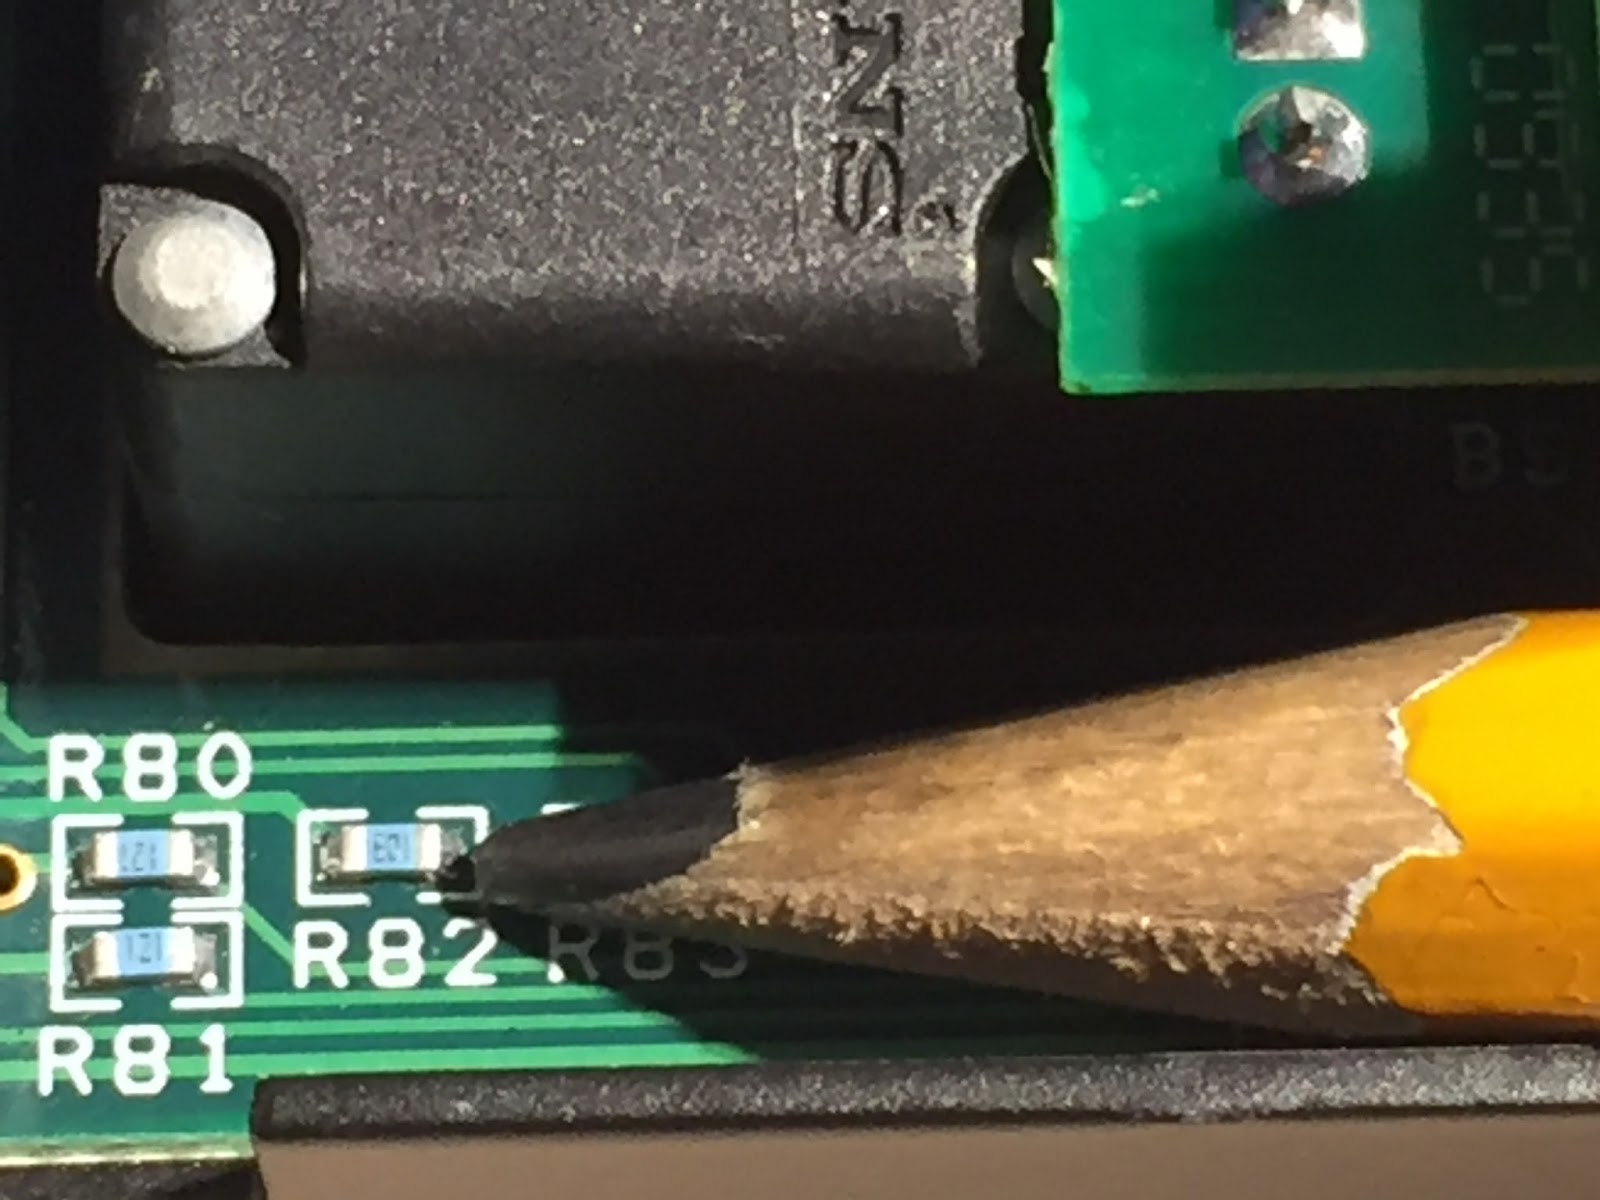
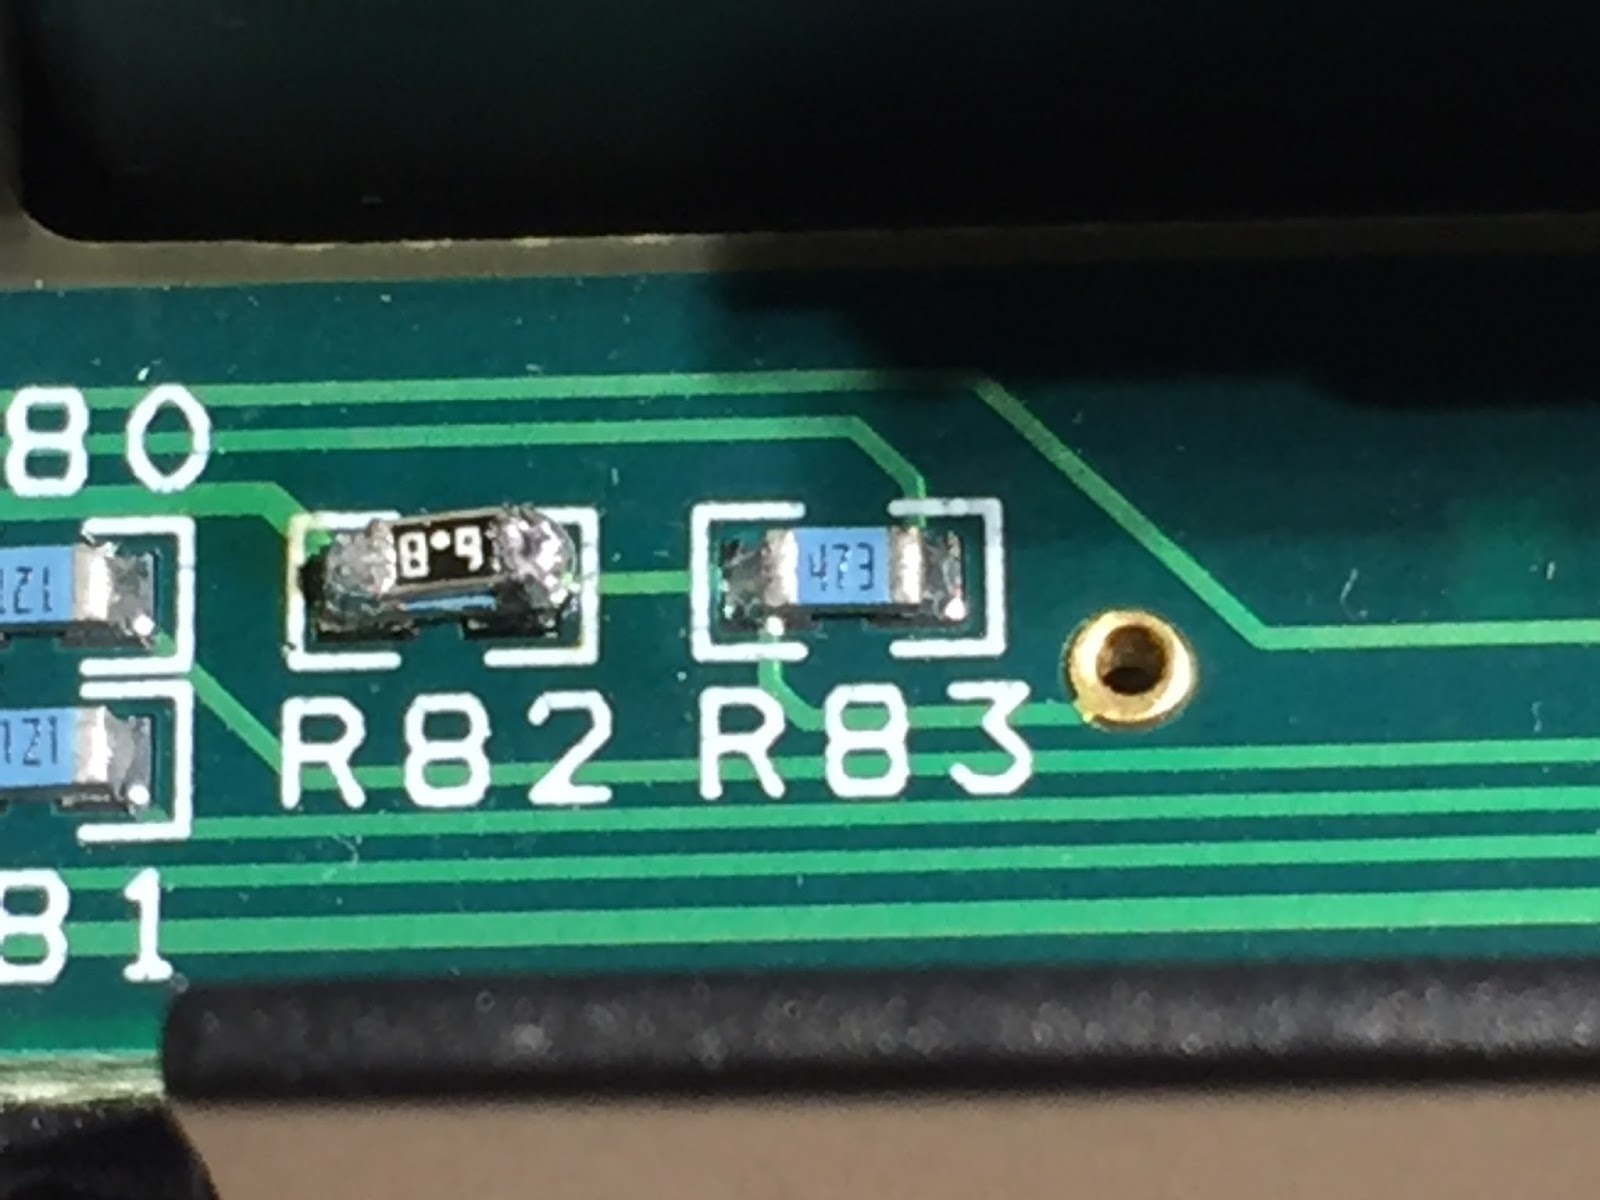
| Now that is small!! |
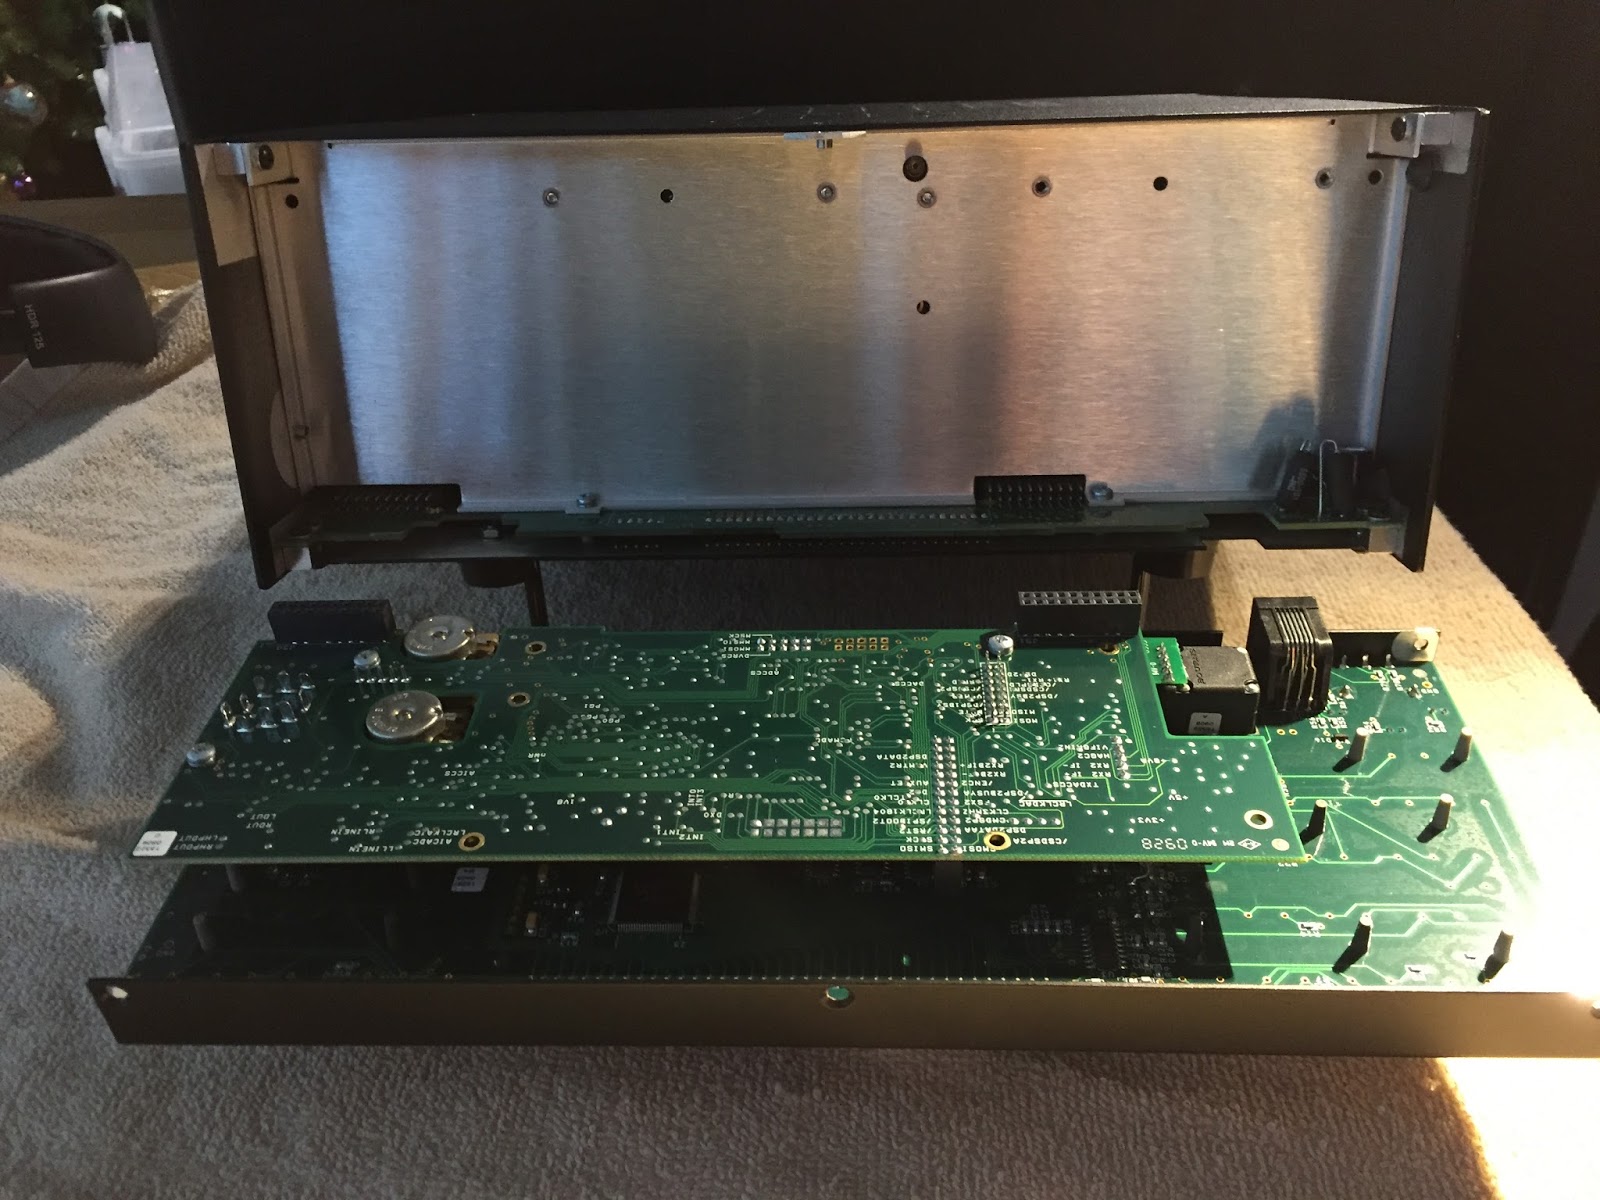
instructions. The first step was to remove the front control board from the K3, this would get me access to the area the SMT resistor was to be installed. With the front panel off and in front of me my next step was to identify R82 in the lower left corner. I located the resistor and the job on a scale of 1-10 was about a 7 for me. So It was now time to heat up the Weller soldering station and get to work. Now having said that I do want to make it clear that I am never really thrilled about placing a soldering iron anywhere close to my rig! Elecraft does offer there services for this if you want to ship them your radio......BUT.....I have done other modes to the Elecraft K3 in the past and without issue. Fortunately the old SMT resistor did not have to be removed, the new one could be mounted on top of it. After some very deep breaths the deed was done and it was time for the smoke test! With the K-pod connected to the K3 I powered up the radio and low and behold the K-pod was alive and well.
 |
| The deed was done not pretty but it works fine. |

 Powering the K-Pod via its RJ12 cable.
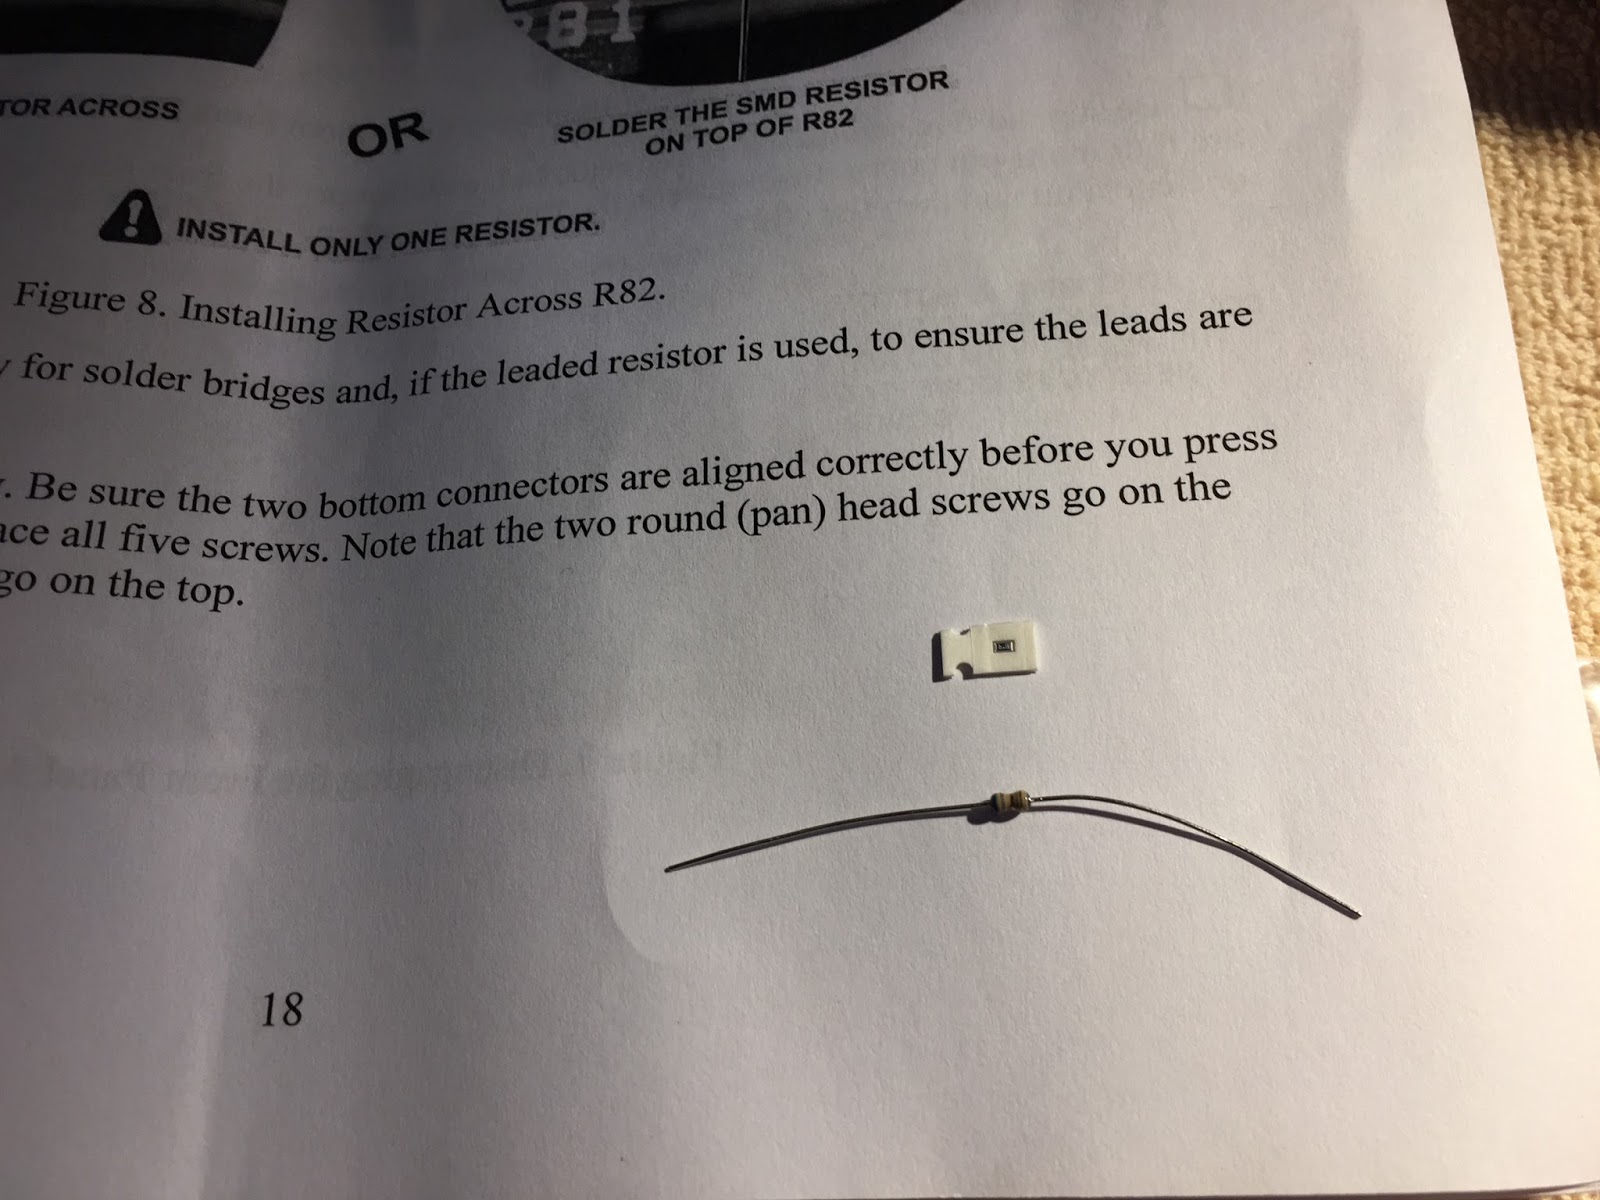


 HamRadioAuctions
 Reliance Antennas
 Enigma Shop

 R&L Electronics
 antennas.us
 Ears to Our World
Why should you have to do this “mod” for an incredibly over-priced ($250) simple thing like the K-Pod knob? Why doesn’t it work out of the box with the K3?
The HAM way: Everybody knows what a K-POD is, of course.
Good morning again David, the user of the Elecraft K-pod does not have to do this Mod to their Elecraft K3. As mentioned in the post the user can power the k-pod via the DC jack on the K-pod. There is a DC cord shipped with the unit and you can power it either from your power supply or plug it in the the rear of the Elcraft K3.
Have a good weekend David and thanks for the feed back
73,
Mike
Hello Angelo, “guilty” very sorry for just going on about the Elecraft (could have put Elecraft in front of K-pod too) K-pod thinking it was just a common Ham thing. In my bog the post before this post was about a review of the K-pod, when reading my bog the dots seemed to connect. BUT I have to keep in mind that my posts are also posted here and things get busy on this site with posts so my last post may not even be on this page anymore…….and thus no dots to connect…:)) Thanks very much for bringing this to my attention, sorry for the confusion and I will for sure keep this in mind.
Thanks again for the input and have a great weekend
73
Mike